To start constructing furniture, you should first create a detailed design plan. This plan should include the dimensions, materials, and joinery methods you intend to use. It is recommended to select softwoods, as they are more beginner-friendly. It is crucial to ensure precision cutting by using sharp tools and following safety precautions. When assembling your pieces, use wood glue and screws, and perform a dry fit to confirm everything fits together properly. Finish by sanding and applying stain or sealant for a sleek appearance. By utilizing the right tools and techniques, you can craft impressive furniture that reflects your personal style. Keep practicing, and you will uncover more tips and tricks for successful projects.
Key Takeaways
- Start with a detailed project design, including dimensions and materials, to guide your furniture build effectively.
- Select appropriate materials, like softwoods for beginners or plywood for stability on flat surfaces.
- Utilize precision cutting techniques, ensuring accurate measurements and safe tool usage for quality pieces.
- Organize the assembly process by dry fitting components first to check alignment and fit before securing them.
- Finish with sanding and applying a protective coat, inspecting for imperfections under good lighting for a polished result.

Wood Carving Kit Whittling Kit: Deluxe Wood Carving Tools Knife Set with Leather Case – Woodworking Hobby Kit for Beginners Adults Kids – DIY Art Craft Gift for Men Teens
[Wood Carving Kit Deluxe Edition] Everything you need to start carving: 4 knives, 4 chisels, 7 basswood blocks,…
As an affiliate, we earn on qualifying purchases.
As an affiliate, we earn on qualifying purchases.
Project Design
When it comes to project design, having a clear plan in hand is vital for your furniture build. Start by specifying dimensions, fixtures, joinery, and finishes. This detailed plan helps guarantee that you're on the right track from the get-go.
For those looking to incorporate unique elements into their designs, consider exploring unique planter designs to add a touch of creativity. Sketching your designs, whether by hand or using software like Sketchup, lets you visualize the final product, making adjustments before you start cutting wood.
Once you've nailed down your design, it's time to create a detailed cut list. This list is essential as it allows for accurate material estimation and keeps you organized during the building process. By knowing exactly what you need, you can minimize waste and save time.
Also, think about the style you want—modern, rustic, or traditional. Aligning your furniture design with the intended aesthetic and functional purpose will guide your decisions throughout the project.

RUITOOL Japanese Hand Saw 6 Inch Double Edge Sided Pull Saw Ryoba SK5 Flexible Blade 14/17 TPI Flush Cut Beech Handle Wood Saw for Woodworking Tools
An Idea Gift for Woodworker, Carpenter and Craft Man
As an affiliate, we earn on qualifying purchases.
As an affiliate, we earn on qualifying purchases.
Material Selection
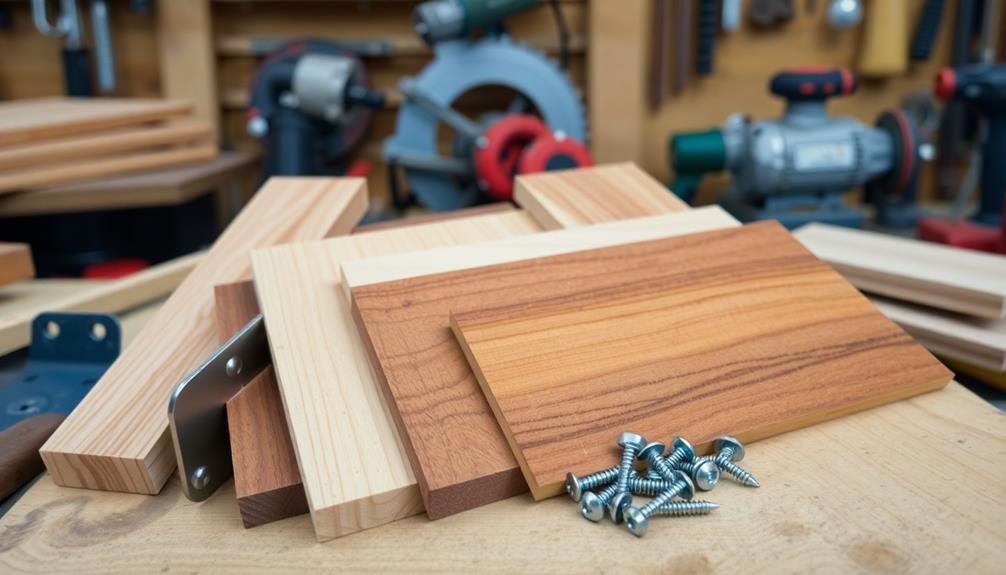
After finalizing your project design, the next step is material selection. Choosing the right wood is essential. If you're a beginner, softwoods like pine are more manageable due to their workability.
On the other hand, hardwoods such as oak and walnut provide durability but can be trickier to work with and costlier. For flat surfaces, consider using plywood; it's strong, stable, and less prone to warping, making it perfect for tabletops or shelving.
Incorporating natural materials like reclaimed wood can also enhance the rustic charm of your furniture, aligning with the modern farmhouse decor trends.
Don't overlook sustainable materials like reclaimed wood or certified wood products. They not only lessen your environmental impact but also bring unique character to your furniture.
Additionally, understanding the properties of different materials is essential. For outdoor projects, opt for rot-resistant wood to enhance longevity and functionality.
As you navigate your material selection, always weigh the cost against quality. Investing in higher-quality hardwoods or finishes can lead to improved durability and aesthetic appeal in your final product.
With the right tools in hand, you'll be well-equipped to bring your furniture vision to life, ensuring that your selections meet both your needs and your style.

Titebond Speed Set Wood Glue 8 Oz. – Fast-Setting PVA Adhesive with 15-Minute Clamp Time, Strong Gap-Filling Bond, Heat-Resistant, Easy Water Cleanup – 4363
Exremely Fast Setting Formula: High-solids PVA adhesive delivers a rapid 15-minute clamp time, boosting productivity on cabinetry, furniture,…
As an affiliate, we earn on qualifying purchases.
As an affiliate, we earn on qualifying purchases.
Cutting Techniques
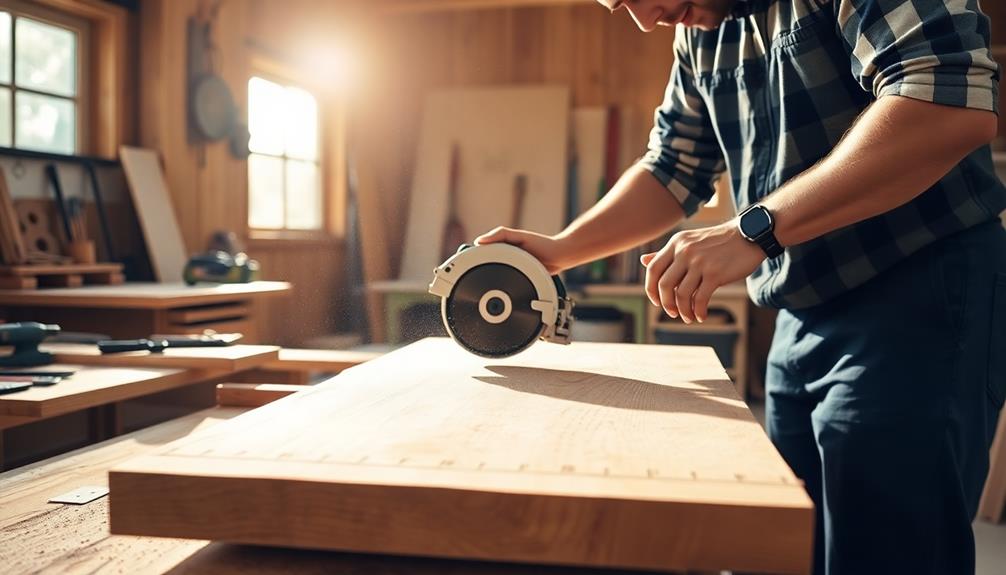
When you're cutting your materials, precision is key to achieving a polished final product.
To guarantee you're equipped for the best results, consider utilizing tools that offer superior dust and allergen elimination during your workspace cleanup.
Always prioritize safety by using the right protective gear and tools.
With the right techniques, you can guarantee clean cuts and a perfect fit during assembly.
Precision Cutting Methods
Achieving precision in cutting is essential for any furniture-building project, as it directly impacts the overall quality and fit of your pieces. Start by milling your lumber properly; guarantee it's flat and straight to maintain accuracy during the cutting process. Use jigs or guides to achieve precision cuts, which helps maintain consistent lengths and widths for all project parts, guaranteeing uniformity in assembly.
Employ a radial saw for your initial cuts to manageable lengths and check for cupping, guaranteeing that panels are cut to appropriate widths. Before you cut, mark all pieces on the lumber with chalk to avoid mistakes and guarantee accurate measurements throughout the project.
Here's a quick reference table to highlight the emotional aspect of precision:
| Emotion | Importance in Cutting | Outcome |
|---|---|---|
| Frustration | Poor measurements | Wasted materials |
| Satisfaction | Accurate cuts | Perfect fit |
| Confidence | Consistent lengths | Smooth assembly |
| Pride | Quality craftsmanship | Beautiful furniture |
| Relief | Avoiding mistakes | Successful project |
Using these precision cutting methods will elevate your furniture-building experience and lead to stunning results.
Safety During Cutting
Prioritizing safety during cutting is essential to secure a successful and injury-free furniture-building experience. Always wear appropriate safety gear, including goggles, gloves, and a dust mask, to protect yourself from flying debris and harmful dust.
Before you begin, verify that all cutting tools are sharp and well-maintained. This minimizes the risk of accidents and helps you achieve cleaner cuts.
When using table saws or band saws, employ push sticks or push blocks to keep your hands at a safe distance from the blades. A clear workspace is vital; make sure all materials are secured and stable to prevent slips or unexpected movements while cutting.
Additionally, familiarize yourself with the specific safety protocols and operational guidelines for each cutting tool you'll be using. Different tools may have unique safety requirements that are important to follow.
By taking these precautions, you'll not only protect yourself but also enhance the quality of your work. Remember, a safe cutting environment leads to better results and a more enjoyable furniture-building experience.
Stay safe and focused, and you'll find that cutting can be both efficient and rewarding!

Minwax 308200000 Wood Finishing Cloths, Natural Oak
Experience the fast and easy way to finish wood
As an affiliate, we earn on qualifying purchases.
As an affiliate, we earn on qualifying purchases.
Assembly Process
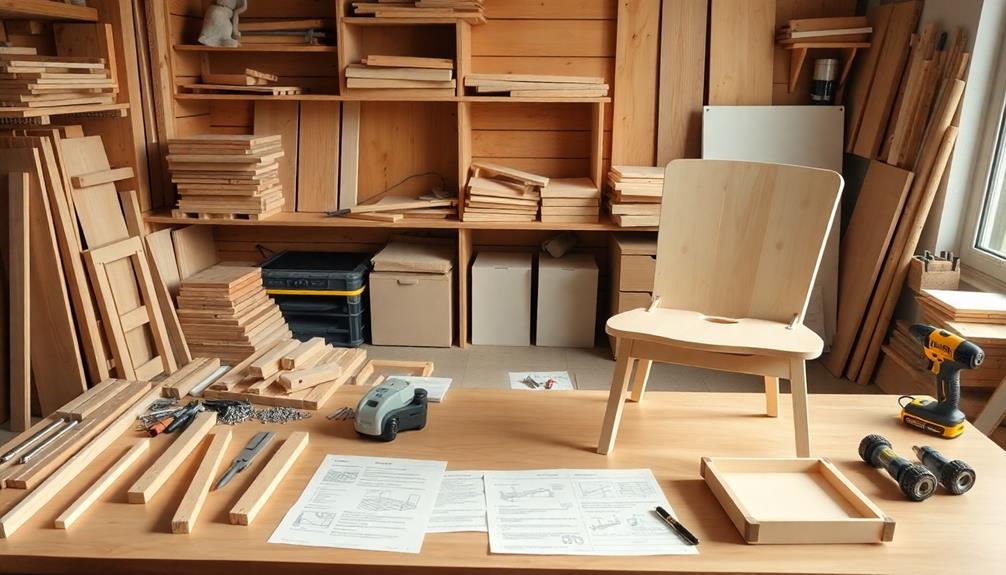
Before you start assembling your furniture, make sure to organize all your parts for an efficient workflow.
Conduct a dry fit of the components to check their alignment and fit—this step can save you a lot of time later.
Efficient Workflow Organization
When tackling furniture assembly, organizing your workflow can make all the difference in efficiency and effectiveness. Start by gathering all project parts and grouping similar components together. This not only streamlines your workflow but also minimizes time spent searching for pieces during the process.
Before you plunge into assembly, perform a dry fit of all components to guarantee proper alignment and fit. This step allows you to make any necessary adjustments before applying adhesives or fasteners.
When you're ready to build furniture, utilize appropriate adhesives and fasteners, like wood glue and screws, to confirm strength and stability in your assembled piece. Be sure to double-check all joints and connections for tightness before considering the project complete. In addition, when moving heavy furniture safely, it’s important to use proper lifting techniques or enlist help to avoid injury and prevent damage to your floors or walls. Using felt pads or sliders can further protect surfaces during transport. When disassembling or reassembling for transport, label and store all hardware securely to avoid misplacing any important pieces. To move heavy furniture easily, consider using dollies or specialist moving straps, which can significantly reduce strain and make the process smoother. Always plan your path in advance to ensure there is enough space to maneuver and prevent any accidents.
Employ clamps to secure parts during the drying or setting phase. This keeps joints aligned and square while the adhesive cures, preventing any mishaps.
Throughout the assembly process, continuously check for square and alignment. This vigilance helps you avoid structural issues that may arise from misalignment.
Dry Fit Components
To guarantee a successful assembly, dry fitting your components is essential. This process involves putting together your furniture parts without adhesive or fasteners, allowing you to check for proper alignment and fit. By doing this, you can spot any gaps or inconsistencies in joints and make adjustments before the final assembly.
Start by using your Kreg pocket hole jig to create precise joints. Once you've prepared your components, assemble them using your hand tools. Don't forget to measure diagonally across the frame; equal measurements will confirm that everything is square and aligned. If you notice any discrepancies, adjust your pieces accordingly.
Clamps are vital during the dry fit. They'll hold your components in place, simulating the pressure you'll apply during the final assembly. This step can save you time and materials by preventing mistakes that could lead to costly rework or wasted supplies.
In the end, a thorough dry fit sets the foundation for a smoother assembly process, ensuring your furniture turns out exactly as you envisioned.
Finishing Touches
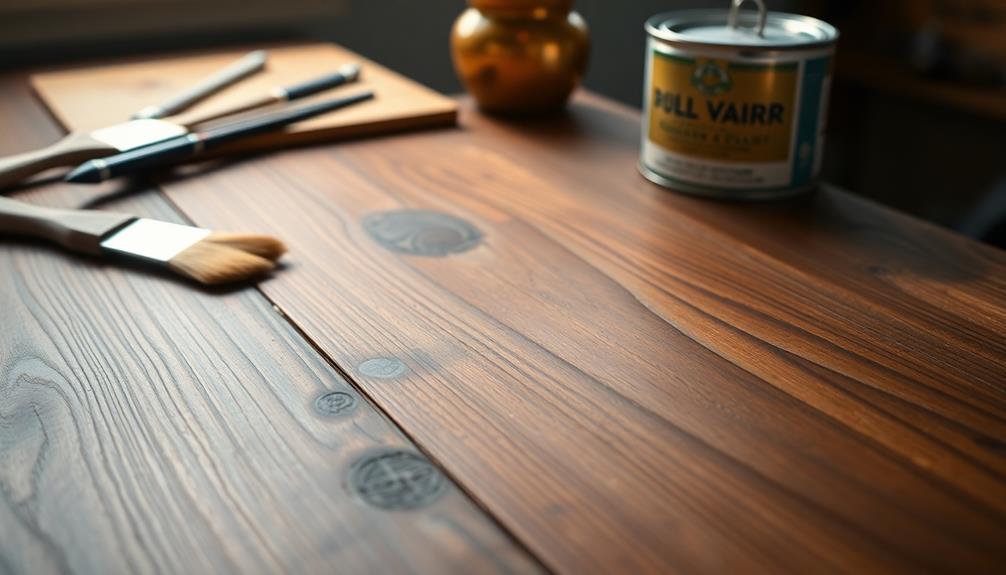
Finishing touches are essential for transforming your furniture project from a basic build to a polished masterpiece. To achieve a smooth finish, start by sanding all surfaces using progressively finer grits, beginning with 80 and moving up to 220. This step removes imperfections and preps the wood for staining.
If you're working with blotchy woods like cherry or pine, I highly recommend applying a pre-stain wood conditioner. This guarantees even absorption of stain and prevents unsightly splotches. Use a foam brush or lint-free cloth to apply your stain, always following the wood grain for a natural look.
After applying each coat of finish, let it dry fully—typically at least 24 hours—before adding the next layer. Lightly sand with fine grit sandpaper between coats to improve adhesion. Finally, inspect your finished piece under good lighting to catch any imperfections. If you find rough spots, smooth them out with fine-grit sandpaper for that perfect touch.
| Step | Action | Recommendation |
|---|---|---|
| Sanding | Use grits 80 to 220 | Guarantee a smooth surface |
| Pre-Stain | Apply wood conditioner | For even stain absorption |
| Finishing | Follow grain with a foam brush | Achieve a natural appearance |
Essential Tools
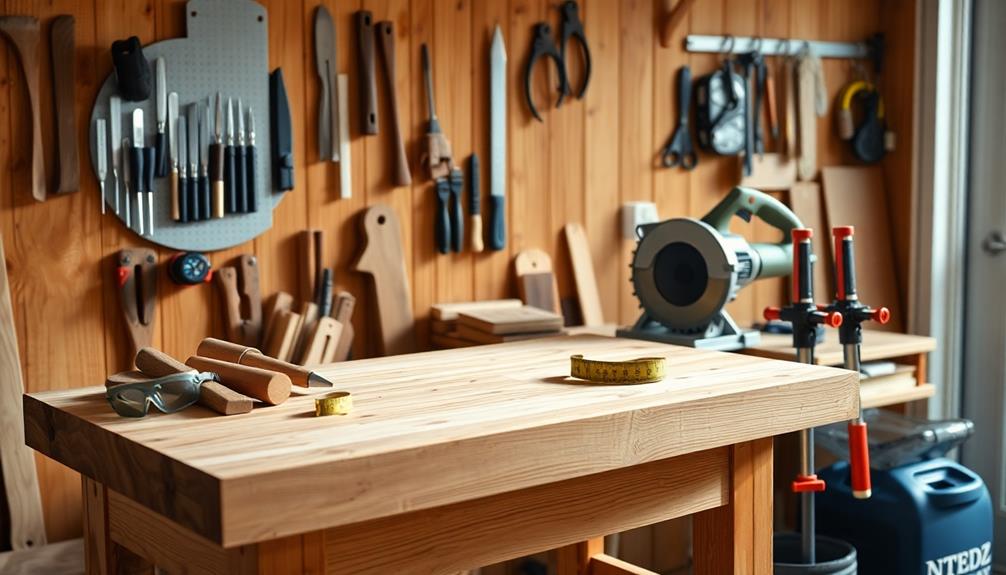
Having the right tools at your disposal can make a significant difference in your furniture-building experience. For successful furniture making, essential tools include a miter saw for making crosscuts, a cordless drill for drilling holes and driving screws, and clamps to secure pieces during assembly.
These clamps help create strong joints, guaranteeing your furniture holds up over time. A Kreg pocket hole jig is a game-changer, simplifying the process of creating strong, hidden joints. It's an invaluable tool for both beginners and seasoned woodworkers.
To achieve precise angles and squareness in your cuts, invest in a speed square and a framing square. These tools are vital for achieving professional-looking results.
Don't overlook the importance of a measuring tape for obtaining accurate dimensions and a level to guarantee that your assembled furniture is stable and properly aligned.
Investing in high-quality power tools not only improves durability and performance but also enhances your overall woodworking experience. By equipping yourself with these essential tools, you'll set a solid foundation for your furniture-making projects, paving the way for success.
Overcoming Challenges

How do you tackle the challenges that come with building furniture? Start by overcoming any intimidation you might feel toward power tools. Choose simpler projects initially to build your confidence and become familiar with tools like the circular saw. This hands-on experience is essential.
Consider engaging in online tutorials or local workshops; they provide practical learning opportunities that tackle specific obstacles you may face.
Next, focus on accurate measuring and planning. Measure multiple times and create a detailed plan, including a cut list, to minimize errors and prevent wasting materials. This thorough preparation sets a solid foundation for your project.
Don't hesitate to tap into community resources, such as forums and social media groups. These platforms offer invaluable support and advice from experienced DIYers who've encountered the same challenges.
Aesthetic Considerations
What makes furniture truly stand out? Aesthetic considerations play an essential role in elevating your piece of furniture from ordinary to extraordinary.
First, maintaining square cabinets is critical for inset door installation, which enhances the overall look. Understanding the difference between inset and overlay cabinet doors can greatly impact both design and functionality.
Next, think about your choice of colors and textures. Finishing touches can dramatically influence the visual impact and perceived value of your furniture. Incorporating contrasting materials, like wood and metal, adds visual interest and depth, making your piece more appealing.
Don't overlook the importance of consistent grain flow across the pieces. This not only contributes to a cohesive look but also showcases the quality of craftsmanship involved.
Using a miter saw guarantees precise cuts that align perfectly, which is necessary for achieving that polished finish.
By focusing on these aesthetic elements, you'll create furniture that not only serves a purpose but also enhances the beauty of your space.
Prioritize these considerations, and you'll find your work resonates with style and sophistication.
Frequently Asked Questions
Is It Cheaper to Buy or Build Your Own Furniture?
It's generally cheaper to build your own furniture than to buy it. By sourcing materials wisely and investing time in DIY projects, you'll save money while creating customized pieces that suit your style and needs.
How Hard Is It to Build My Own Furniture?
You might think building your own furniture's impossible, but it's not that hard. With some patience, practice, and the right tools, you'll find yourself creating pieces that reflect your style and save you money.
How to Build Furniture Out of Wood?
To build furniture out of wood, start by selecting your lumber. Plan your project with detailed drawings, cut lists, and gather tools. Cut accurately, assemble with strong joints, and finish with sanding and protective coatings.
What Is the Most Profitable Furniture to Build?
Did you know custom-made furniture can yield profits between 50% to 300% above material costs? To maximize earnings, focus on unique designs, eco-friendly materials, or outdoor pieces, appealing to consumers' desires for quality and style.
Conclusion
Building your own furniture can not only save you money but also allow you to express your personal style. Did you know that DIY furniture projects can boost your home's value by an average of 10%? By following the steps we've discussed—from design to finishing touches—you can create pieces that are both functional and beautiful. So grab your tools, release your creativity, and enjoy the rewarding experience of making furniture that's uniquely yours!