
Caring for your tanning bed is crucial to maintaining its condition. Begin by checking for scratches or strange odors, and make sure to clean it after each use – consider it a spa day for your bed! Use mild cleansers, such as a mixture of distilled water and vinegar, and avoid harsh products that could harm the acrylic. Always inspect the bed afterwards to ensure it is spotless and ready for the next user. By following these steps, you are guaranteeing an enjoyable, sun-kissed experience! Stay tuned for more helpful tips to keep your tanning sessions flawless!
Key Takeaways
- Regularly inspect tanning beds for wear, damage, and functionality of timers and fans to ensure optimal performance.
- Use gentle, DIY cleaning solutions with soft cloths to maintain acrylic shields and avoid scratches.
- Wipe down the tanning bed after each session to promote hygiene and a pleasant user experience.
- Schedule routine professional cleaning services for thorough sanitization and to identify potential issues early.
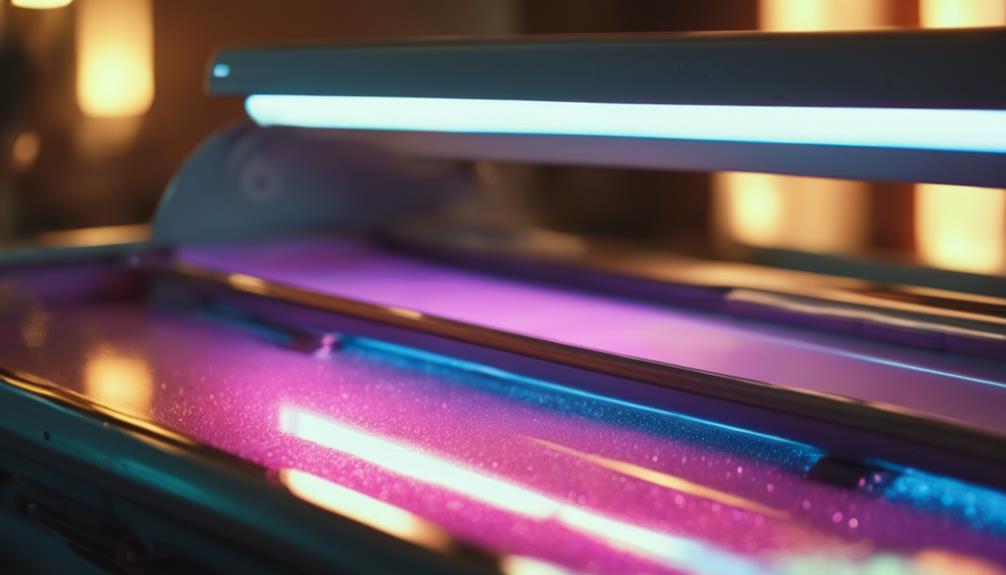
Tanning Bed Condition Assessment
To keep your tanning bed in top shape, regularly assess its condition by checking for wear and damage, especially on the acrylics and high-touch areas. Think of it like giving your favorite gaming console a check-up; after all, you want it to last!
Look for scratches, cracks, or any unusual odors—these could signal trouble. You wouldn't want to sit on a wobbly chair, right?
Also, verify the timers, fans, and circuit boards are functioning properly; they're like the heart of your tanning bed. If something seems off, don't hesitate to call a professional.
A little maintenance goes a long way in keeping your tanning sessions enjoyable and safe, so make it a routine! Who doesn't love a good glow?
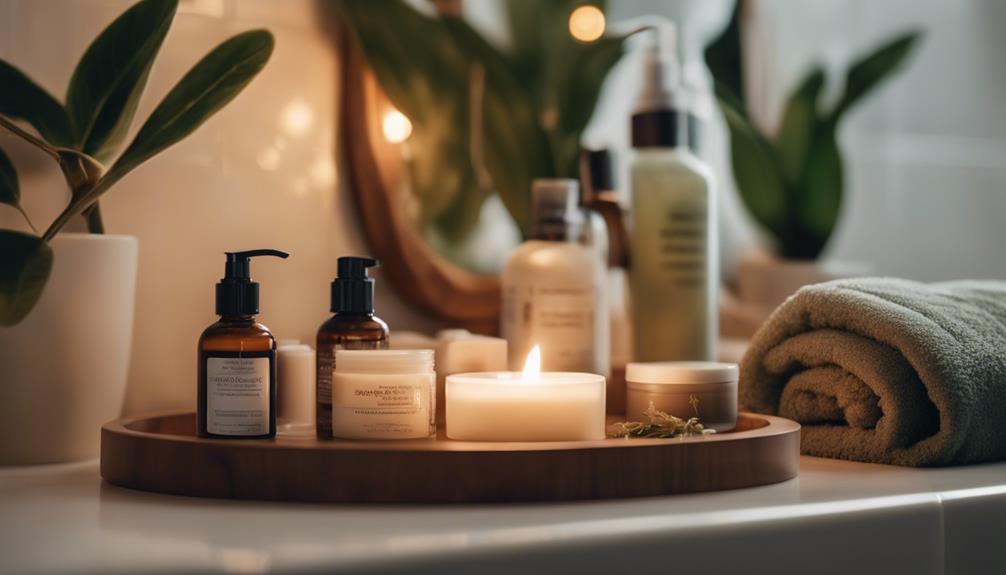
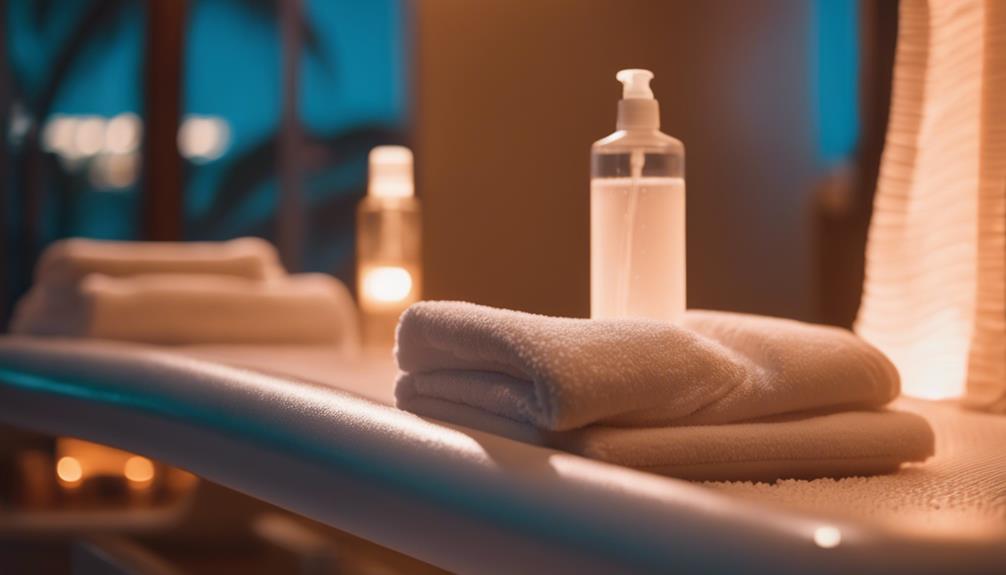
Cleaning Solutions and Techniques
What's the best way to keep your tanning bed spotless and hygienic?
Start by mixing a simple cleaning solution with distilled water, vinegar, and a few drops of your favorite essential oils.
Spray this magical mix all over the tanning bed, especially on those high-touch spots like the armrests and control panel.
Let it sit for the recommended time—think of it as letting your favorite pizza cool before you indulge!
Then, grab a clean, damp cloth and wipe everything down, making sure to get into all the nooks and crannies.
Avoid anything harsh like ammonia or abrasive cleaners; they're the villains in our tanning bed story.
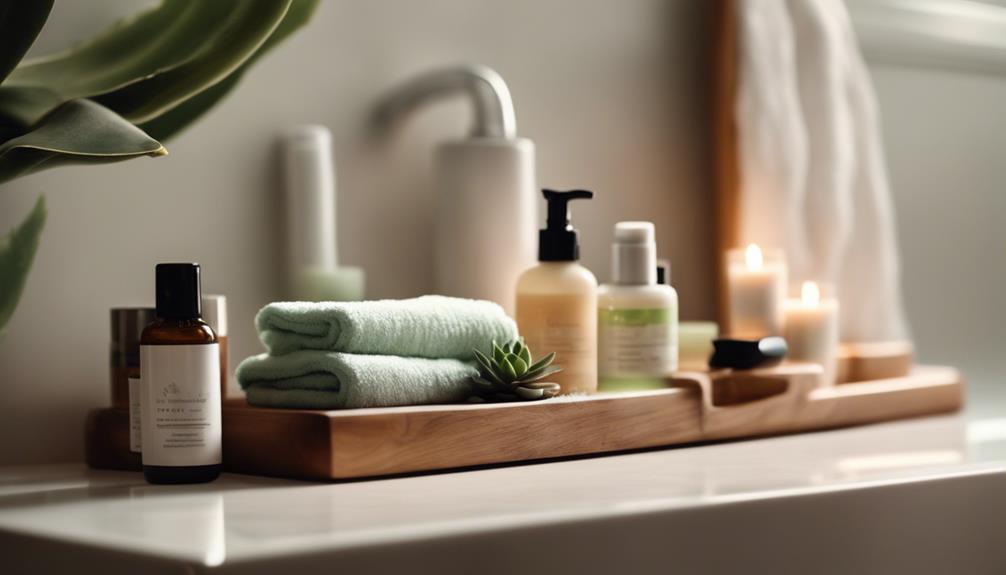
Acrylic Shield Care

Caring for the acrylic shield of your tanning bed guarantees both clarity and safety for a better tanning experience. Imagine trying to tan through a foggy window—yikes!
To keep that shield sparkling, always use soft cloths and natural cleaners. Harsh abrasives? No way! They'll scratch that beautiful surface. You wouldn't want to ruin your favorite pair of sunglasses, right?
Make sure to use fresh cloths each time and wash them regularly, too.
And hey, don't forget about your safety—wear gloves and goggles while cleaning, and keep your space well-ventilated. Mixing your cleaners according to the instructions is super important, too. It's like cooking; you wouldn't throw in random ingredients!
Take care of that acrylic shield, and it'll take care of you!
Post-Cleaning Inspection
After cleaning the acrylic shield, it's important to conduct a thorough inspection to confirm every surface is free from dirt and streaks. Think of it like checking your favorite pair of shoes before stepping out—you want them to shine!
Here's a quick checklist to follow:
- Look for streaks: Confirm the acrylic is crystal clear and shiny.
- Check high-touch areas: Inspect spots like handles and buttons for any lingering grime.
- Assess for wear and tear: Look for scratches or cracks that could affect safety.
- Make sure everything's dry: A smooth, dry surface is essential for the next user's comfort.
Regular Hygiene Practices
Regularly maintaining hygiene practices is essential to guarantee a safe and pleasant tanning experience for all users.
Think of it like keeping your favorite gaming console clean; nobody wants to deal with sticky buttons or weird smells!
After each session, make sure to wipe down the tanning bed, especially those high-touch areas where everyone lays down.
Check for any leftover dirt or streaks, too — nobody enjoys the thought of sharing a tanning bed that's not fresh.
Plus, it's a great idea to remind your friends about hygiene when they're using the bed.
Keeping things clean not only keeps you safe but also helps everyone enjoy their tanning experience.
Cleaning Products to Avoid
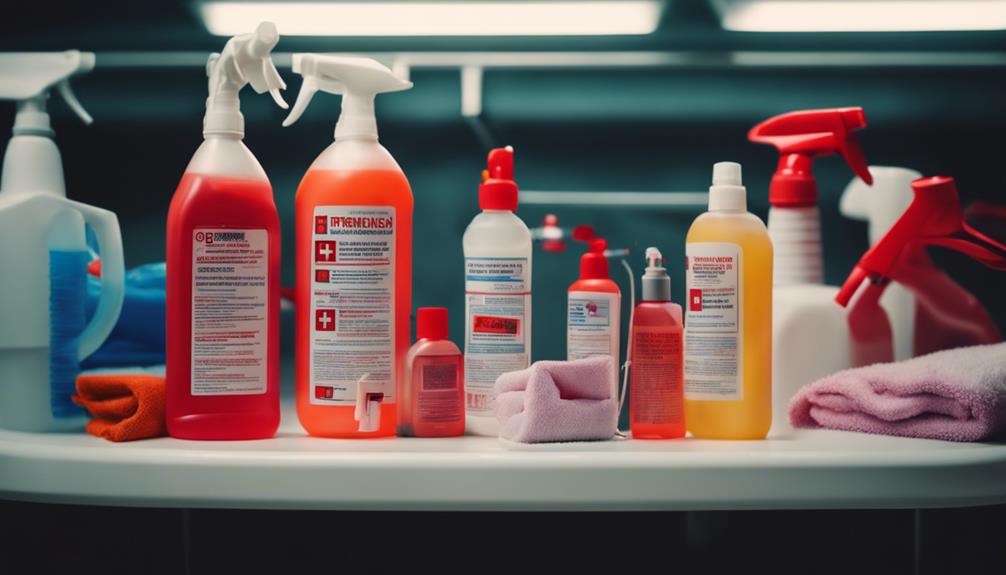
What should you steer clear of when cleaning your tanning bed? Choosing the wrong products can lead to damage, making your bed less effective. Here are some cleaning products you definitely want to avoid:
- Abrasive Cleaners: These can scratch and ruin the acrylic surface.
- Harsh Chemicals: Anything with ammonia can break down materials, so avoid!
- Rough Sponges: They might be great for scrubbing pots, but they'll ruin your tanning bed.
- Clorox Wipes: While convenient, they can cause damage to the acrylic, so it's best to skip them.
Instead, opt for gentle, DIY solutions. Keeping your bed clean guarantees a great tanning experience, so don't take shortcuts!
What's your favorite way to keep things tidy?
Professional Cleaning Services

If you're unsure about cleaning your tanning bed yourself, hiring professional cleaning services can guarantee thorough sanitization and maintenance. These experts know exactly what to do, making your life so much easier!
Imagine trying to clean every tiny nook and cranny—it's like searching for a needle in a haystack! Pros use specialized tools and hospital-grade disinfectants, ensuring your bed is spotless and germ-free.
Plus, they can spot potential issues you might miss, like wear on acrylics or funky odors. Investing in these services not only keeps your tanning bed in top shape but also provides peace of mind.
Frequently Asked Questions
How Often Should I Replace Tanning Bed Bulbs?
You should replace tanning bed bulbs every 500 to 1,000 hours of use, or roughly every six months to a year. Regularly check their performance to guarantee consistent results and ideal tanning experience.
Can I Use My Tanning Bed During Pregnancy?
Imagine stepping into sunlight, but during pregnancy, it's best to tread carefully. You shouldn't use tanning beds while pregnant; they could pose risks to you and your baby. Prioritize health and safety instead.
What Are the Signs of a Malfunctioning Tanning Bed?
You'll notice signs of a malfunctioning tanning bed if you see unusual odors, flickering lights, inconsistent timers, or if the fans aren't working. Regularly check for scratches and guarantee everything's functioning properly to avoid issues.
How Can I Reduce Tanning Bed Odors?
To reduce tanning bed odors, regularly clean surfaces with a gentle solution, ventilate the area, and inspect for any malfunctioning parts. You might also consider using essential oils to mask unpleasant smells effectively.
Is There a Recommended Tanning Bed Usage Time for Beginners?
For beginners, it's recommended you start with 5 to 10 minutes per session. Gradually increase your time, but always listen to your skin to prevent overexposure and potential damage. Enjoy your tanning experience safely!
What Are the Best Practices for Keeping Tanning Beds in Good Condition?
When it comes to maintaining tanning beds, following essential tanning bed tips is crucial. Regular cleaning and sanitizing of the bed, changing the bulbs as needed, and checking for any damage are important practices. Proper ventilation and temperature control in the tanning area are also essential for keeping tanning beds in good condition.
Conclusion
So, there you have it! Caring for your tanning bed is like giving it a spa day—your investment deserves all the pampering to keep it glowing!
By regularly checking its condition, using the right cleaning techniques, and avoiding harsh products, you'll not only keep your tanning bed in tip-top shape but also guarantee your clients feel like rock stars every time they step in.
Remember, a well-maintained tanning bed means happy customers and a thriving business.
Let's get to it!