To prepare your skin for indoor tanning, start by knowing your skin type. Exfoliate gently 24 hours before your session to remove dead skin cells for an even tan. Stay hydrated by drinking plenty of water and applying a lightweight, non-oil-based moisturizer to avoid dry patches. Choose loose, dark clothing to minimize irritation and protect your tan from transfer. Finally, select the right tanning products that match your skin tone for the best results. With these steps, you'll set the stage for a beautiful glow, and there's plenty more to discover about enhancing your tanning experience.
Key Takeaways
- Exfoliate 24 hours before tanning to remove dead skin cells for an even tan application.
- Stay hydrated by drinking plenty of water and using lightweight moisturizers to prevent dry patches.
- Choose suitable tanning products based on your skin tone and conduct a patch test for compatibility.
- Wear loose-fitting, breathable clothing to minimize irritation and avoid tan transfer during tanning sessions.
- Consult tanning experts for personalized advice on skin type assessment and product recommendations.
Know Your Skin Type
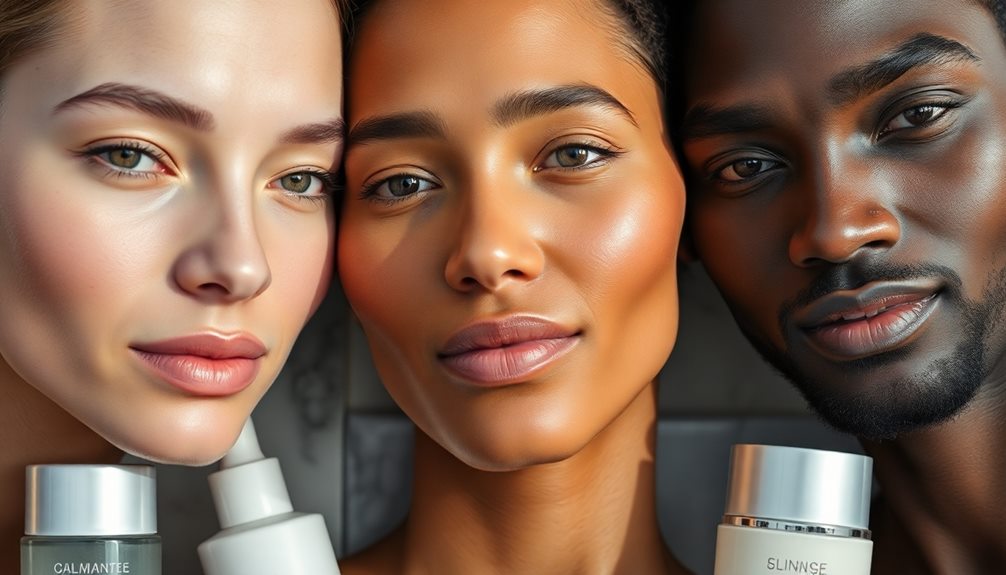
Knowing your skin type is imperative for achieving the best results with indoor tanning. Different skin types respond uniquely to UV exposure, so understanding yours helps you select the right tanning products and develop an effective tanning routine.
If you have pale skin, you probably burn easily and mightn't tan at all. It's essential to choose products specifically formulated for sensitive skin to avoid irritation. Fair skin can struggle to tan and usually burns, so careful product selection is critical.
If you have light brown or olive skin, you can tan gradually but still need to monitor your exposure time. Be mindful of the product formulation you're using.
Caramel or medium brown skin tans easily and rarely burns, which gives you more flexibility in your tanning sessions and product choices. Finally, if your skin is bronze or rich brown, you likely tan effortlessly without burning. You may not need to tan as frequently to maintain your color.
Knowing your skin type allows you to prep effectively and guarantees a safer, more enjoyable tanning experience. By following a tailored tanning routine, you'll achieve the desired glow while minimizing risks.
Pre-Tanning Preparations
Before you hit the tanning bed, it's essential to prep your skin properly.
Start by exfoliating to slough off dead skin cells and then hydrate with a lightweight moisturizer for ideal absorption.
These steps guarantee an even and long-lasting tan, so don't skip them!
Exfoliation Techniques
Exfoliating your skin 24 hours before indoor tanning is essential for achieving a smooth and even application of tanning products. This step helps remove dead skin cells, ensuring your tan looks flawless.
Additionally, proper hydration is vital for maintaining skin elasticity, which enhances the overall appearance of your tan. Start your skin prep routine by choosing a physical exfoliant, like a body scrub or a loofah. Focus on rough areas, such as elbows and knees, where tanning products tend to cling.
Effective options include the Frank Coffee Scrub or the Bangn Body Smooth Skin Scrub, both designed to slough away those pesky dead skin cells. If you need to remove an old tan, the St Tropez Tan Remover Mousse is a great choice.
When you're exfoliating, use gentle circular motions to minimize skin irritation and inflammation. This approach not only promotes a better tanning canvas but also helps improve circulation.
Remember to stay hydrated for a healthier skin appearance, as noted in the importance of hydration.
Additionally, consider incorporating dry brushing into your routine before showers, as it can enhance exfoliation and prime your skin even further for tanning.
Skin Hydration Tips
Proper hydration is essential for getting the most out of your indoor tanning session. When your skin is hydrated, it prevents the tanning solution from clinging to dry patches, which can lead to an uneven tan. To achieve this, drink ample water in the days leading up to your appointment. Staying hydrated not only helps your tan look natural but also promotes overall skin health.
Additionally, remember that all skin types require protection from UV rays, even when tanning indoors, so consider using a broad-spectrum sunscreen for any exposed areas. This can help you avoid potential skin damage while enhancing your glow understanding UV radiation types.
The night before your tanning session, apply a light moisturizer to create a smooth base for the tanning solution. Make sure it's non-oil-based to avoid interfering with absorption. Pay special attention to rough areas like your elbows, knees, and ankles; using thicker creams or body butters on these spots will help keep them hydrated, preventing them from absorbing too much product and darkening unevenly.
On the day of tanning, skip heavy creams or oils right before your session. Instead, verify your skin is clean and prepped, ideally using an exfoliating mitt to remove any dead skin cells. This way, you'll achieve an ideal tan that looks even and radiant!
Exfoliation Techniques
To achieve an even and lasting tan, you'll want to exfoliate your skin about 24 hours prior to your indoor tanning session. This process removes dead skin cells, creating a smooth canvas that helps the tanning product adhere better and develop uniformly.
For body exfoliation, consider using physical exfoliants like scrubs or loofahs. These tools effectively slough off rough patches, especially on areas like elbows, knees, and ankles, where uneven tan can often occur.
On your face, opt for gentle chemical exfoliants, such as glycolic acid toners, to avoid irritation while ensuring an even tan.
Be cautious with your choice of exfoliant; avoid oil-based scrubs before tanning. These can create a barrier that prevents the tanning product from absorbing properly, leading to patchy results.
Regular exfoliation not only enhances your skin's texture but also prolongs the life of your tan by allowing for better product adherence and even fading.
Moisturization Strategies
To get the best results from your indoor tanning session, hydration is key.
Choose lightweight, non-oil based moisturizers and focus on applying them to dry areas like your elbows and knees.
This will help you achieve an even and vibrant tan while preventing patchiness.
Importance of Hydration
Hydration plays an essential role in achieving a flawless indoor tan. When your skin is adequately hydrated, you can prevent dry patches that lead to uneven tanning results and patchiness.
To kick off your pre-tan routine, apply a lightweight moisturizer the night before your tanning session. This helps create a smooth canvas without diluting the tanning solution. Additionally, maintaining proper skin health through hydration can enhance your overall appearance, as noted in the importance of moisturizing.
Don't forget to focus on extra hydration for commonly dry areas like your knees, elbows, and ankles. Using thicker products, such as balms or oils, can offer better protection for these spots.
Additionally, drinking plenty of water in the days leading up to your tanning session is vital. Staying hydrated enhances both the longevity and quality of your tan.
However, avoid applying heavy creams or oils immediately before tanning. These products can form a barrier that prevents the tanning solution from adhering properly to your skin, compromising your desired results.
Choosing the Right Moisturizer
Selecting the right moisturizer can make a significant difference in your indoor tanning experience. To guarantee peak hydration without compromising your tan, choose lightweight, non-oil based formulas. These won't create a barrier that hinders absorption and intensity.
Fast-absorbing creams or lotions with hydrating ingredients like hyaluronic acid or glycerin are ideal because they distribute moisture evenly without leaving a greasy residue.
For effective skincare, apply your moisturizer the night before your tanning session. This timing allows your skin to fully absorb the product, preparing it for the tanning solution without dilution.
While lightweight products are essential for overall skin prep, don't forget to give extra attention to particularly dry areas like elbows, knees, and ankles. Using thicker balms or oils on these spots can enhance hydration and help prevent patchiness in your tan.
Targeting Dry Areas
Dry patches on your skin can ruin an indoor tanning session, so it's crucial to target these areas for best results. Focus on applying thicker, hydrating products like balms or oils to commonly dry spots, such as your knees, elbows, wrists, and ankles. This guarantees even tan application and prevents patchiness.
In the days leading up to your tanning appointment, regularly hydrate your skin, as well-hydrated skin promotes a more natural and lasting tan appearance.
Use fast-absorbing creams or lotions containing humectants like glycerin to attract moisture and maintain skin hydration. Incorporating a dedicated pre-tan moisturizer specifically formulated for tanning can be a game-changer. These products often contain ingredients that enhance the tanning process, making your tan look more vibrant.
Before applying any tanning solutions, confirm that your skin is completely dry. Excess moisture can lead to uneven absorption and unsightly streaks in your tan.
Clothing and Environment
When you're prepping for indoor tanning, the right clothing and environment play an essential role in achieving that perfect glow. Start by choosing loose-fitting, dark clothing. This helps avoid tan transfer and minimizes irritation on your freshly tanned skin. Opt for breathable fabrics like cotton or linen; they'll keep you comfortable throughout your tanning session.
Make certain your tanning environment is well-ventilated. This prevents overheating and helps maintain your skin's hydration. Remember to bring a towel to sit on during the tanning process. It protects your clothing and keeps the area clean. Avoid tight shoes or accessories that may rub against your skin, disrupting the tanning process.
Here's a quick reference table to guide you:
| Clothing Type | Fabric Choice | Environment Tip |
|---|---|---|
| Loose-fitting attire | Cotton or linen | Make certain good ventilation |
| Dark clothing | Breathable materials | Keep the area cool |
| Comfortable footwear | Avoid tight accessories | Bring a towel for cleanliness |
With these tips, you're set for a successful indoor tanning session!
Nail Preparation
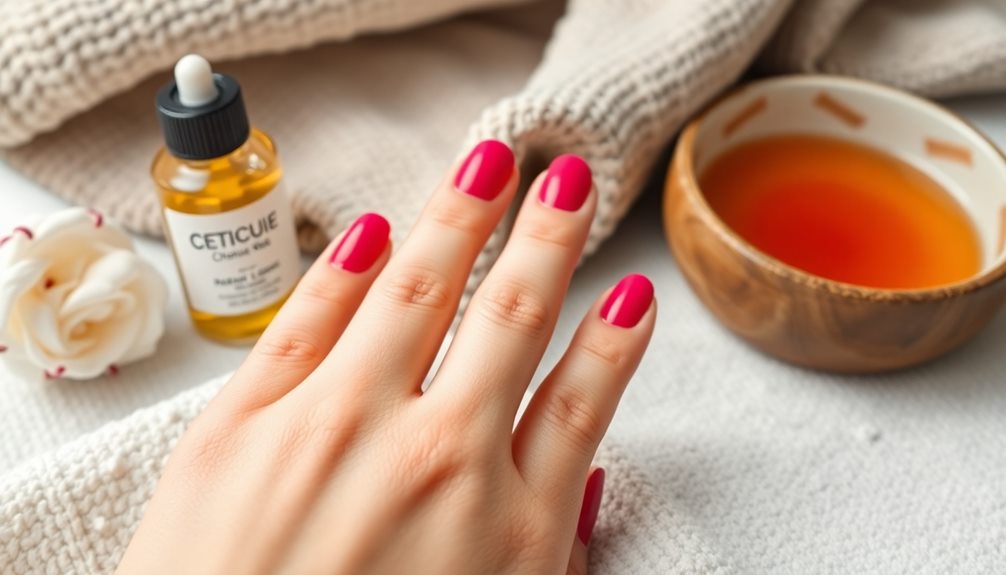
Nail preparation is an essential step in your indoor tanning routine to guarantee your tan looks flawless. Before your spray tan appointment, schedule any nail services to avoid interference from chemicals in nail products that can affect the tanning solution.
To protect your nails from staining, apply a clear coat of nail polish before tanning. This not only enhances their appearance but also acts as a barrier against potential discoloration.
Make certain your nails are clean and free of any products, as residues can create barriers that lead to an uneven tan. It's also wise to remove any makeup from your nails to ensure a smooth application.
After tanning, avoid soaking your nails or using polish remover immediately, as this can result in patchiness and uneven fading of your tan.
If you've used light-colored nail polish, consider removing it after your session to prevent staining from the tanning solution, especially if your tan turns out darker than the polish.
Remember to wear protective goggles to shield your eyes during the tanning process. With these steps, your nails will complement your glow beautifully!
Skin and Shade Considerations
When it comes to indoor tanning, picking the right shade is key to achieving a natural look.
You should consider your skin tone and undertones to find a product that complements your unique complexion.
Don't forget to conduct a patch test beforehand to guarantee the shade works well for you and avoids any reactions.
Choosing Appropriate Shade
Selecting the right tanning shade is essential for achieving a natural look, and it starts with understanding your skin tone. When you're choosing an appropriate shade, consider your natural complexion. If you have lighter skin, opt for tanning solutions that are 1-2 levels darker to prevent an unnatural appearance.
For those with medium to dark skin, deeper shades can enhance your look without making it seem overdone.
Additionally, pay attention to your skin’s undertones. Warm undertones pair well with golden or bronze tanning products, while cool undertones should lean toward ash or neutral shades to complement your natural tone. When choosing tanning products or makeup, understanding your undertones can help you achieve a more natural and flattering look. For those with warm undertones, consider using products that will enhance your natural golden or bronze hues. On the other hand, if you have cool undertones, opt for tanning and makeup products in ash or neutral shades to complement your skin tone. These tips can be especially helpful when trying out different winter styling ideas.
A helpful tip is to conduct a patch test with your selected tanning solution at least a week before any big event. This way, you can see how the tan develops on your skin and guarantee you achieve the desired color.
If you're unsure about which shade to choose, start with a lighter option. This allows for gradual color building, minimizing the risk of an overly dark tan.
Skin Tone Matching
Finding the right tanning shade goes hand-in-hand with understanding how your skin tone interacts with different products. When you're working on your tan prep routine, remember that lighter skin tones should choose shades one to two levels darker than their natural color. This approach helps avoid an unnatural appearance.
If you have medium to olive skin, you can go for one to three levels darker to achieve your best look.
For those with fair skin, it's wise to start with a lighter shade and gradually build up your color over multiple sessions. This method guarantees a natural-looking tan without overwhelming your complexion. Conducting a patch test a week before application is also vital. It can help you assess how compatible the tanning product is with your skin tone and prevent any adverse reactions.
If you're unsure about your ideal shade, don't hesitate to consult a tanning expert. They can provide personalized recommendations tailored to your unique skin tone and desired outcomes.
Skin tone matching is essential for getting that perfect glow, so take the time to find the shade that complements you best!
Undertone Considerations
Understanding your skin's undertone is essential for achieving a natural-looking tan, as it directly influences how the shade will appear on your complexion. Knowing whether you have cool, warm, or neutral undertones can guide your tanning decisions and help you meet your tanning goals effectively.
Consider these undertone considerations:
- Cool Undertones: If you have pink or blue hues, go for ashier tan shades to complement your skin.
- Warm Undertones: If your skin has golden or peachy tones, warmer tan shades will enhance your natural glow.
- Neutral Undertones: Lucky you! You can wear both cool and warm shades, giving you more flexibility in your color choices.
- Patch Testing: Conduct a patch test with various shades a few weeks before a significant event to find the best match for your skin.
Immediate Post-Tan Care
After your tanning session, it's important to take immediate care of your skin to guarantee your tan looks its best.
First, allow your tan to dry completely before dressing. This step helps avoid transfer and guarantees even application.
When it's time to cleanse your skin, stick to a mild, oil-free body wash. This choice will help maintain the tan's integrity and extend the life of your glow. For your face, use gentle, non-abrasive cleansers to prevent stripping the color away.
It's also vital to avoid hot showers right after tanning. Instead, opt for lukewarm water to protect your tan and preserve the natural oils in your skin.
Once you've rinsed off, keep your skin moisturized with non-greasy lotions or creams. This will support tan longevity and help prevent any flaking.
Hydration Tips
To achieve that perfect tan, hydration plays a significant role in how your skin reacts to tanning products. Keeping your skin well-hydrated not only enhances the tanning process but also guarantees a more even application.
Here are some hydration tips to follow:
- Drink at least 8 glasses of water daily in the days leading up to your tanning session.
- Apply a lightweight, non-oil based moisturizer the night before to create a hydrated base without interfering with the tanning solution.
- Focus on dry areas like elbows, knees, and ankles by using thicker creams or balms to prevent these spots from absorbing too much pigment.
- Consider hydrating serums containing hyaluronic acid before tanning to lock in moisture and improve your skin's overall appearance.
Also, steer clear of alcohol-based skincare products, as they can dry out your skin, negatively affecting the tan's adherence and longevity.
Consultation With Experts
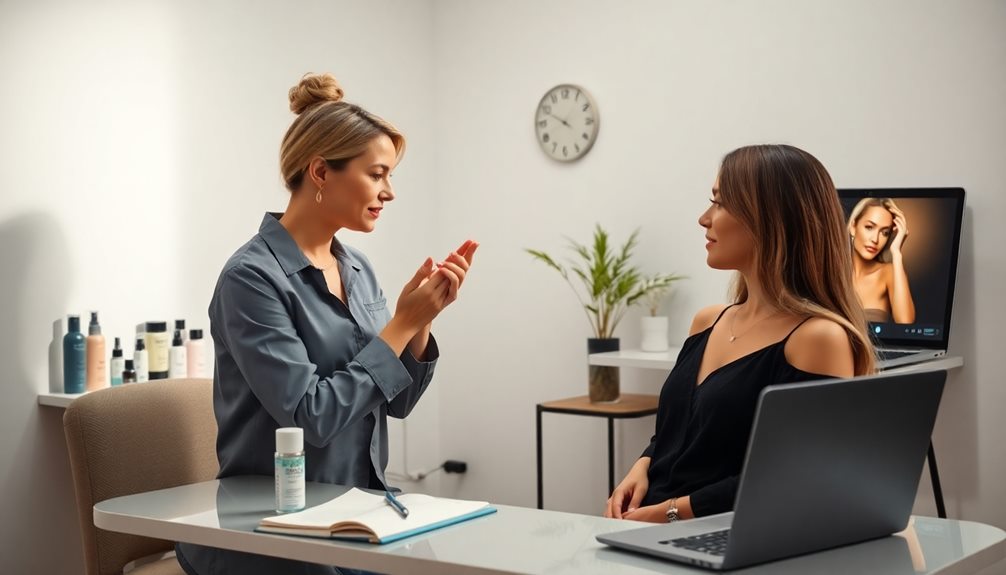
Consulting with tanning experts can make a significant difference in achieving your desired glow. They provide personalized recommendations tailored to your unique skin type and tanning goals, ensuring ideal results and safety. During your consultation, experts will discuss essential pre-tanning products like exfoliators and moisturizers, vital for preparing your skin for an even tan.
| Consultation Topics | Benefits |
|---|---|
| Skin Type Assessment | Customized tanning plan |
| Pre-Tanning Products | Enhanced skin prep |
| UV Sensitivity Check | Safe tanning options |
Experts can identify any medications that may increase UV sensitivity, guiding you toward sunless tanning options if needed. They're also skilled in advising on appropriate session durations and frequencies based on your skin's response to UV exposure. Scheduling a consultation not only clarifies any doubts about the tanning process but also enhances your confidence in achieving a beautiful glow. Don't underestimate the value of expert advice—it's your best bet for a stunning tan while prioritizing skin health!
Frequently Asked Questions
What Should I Put on My Skin Before Tanning Bed?
Before hitting the tanning bed, exfoliate your skin gently, then apply a light, non-oil based moisturizer. Don't forget to remove makeup and jewelry, and use specific tanning lotion for the best results.
How Do I Prep My Skin Before Fake Tan?
Before applying fake tan, exfoliate your skin to remove dead cells, hydrate with a lightweight moisturizer, and guarantee your skin is clean of makeup and lotions. Test new products to avoid allergic reactions.
How to Prep Your Skin for Tanning?
Getting your skin ready for a sun-kissed glow is essential. Exfoliate gently, hydrate deeply, and guarantee you're makeup-free. A little prep goes a long way in achieving that flawless, radiant tan you desire.
How Do I Prepare My Skin for Gradual Tanning?
To prepare your skin for gradual tanning, exfoliate gently, hydrate with a lightweight moisturizer, and choose a suitable product for your skin tone. Apply evenly, focusing on dry areas, and maintain with regular moisturization.
Conclusion
Preparing your skin for indoor tanning is like setting the stage for a great performance. By knowing your skin type, exfoliating, and moisturizing, you'll create the perfect canvas for that sun-kissed glow. Don't forget to take into account your clothing and environment, and always hydrate afterward to maintain your tan. With these tips in mind, you'll guarantee your tanning experience is as smooth as possible. Enjoy your time in the tanning booth and flaunt your beautiful, radiant skin!
