
Bid farewell to those annoying self-tanning streaks by following a few simple tips! To start, prepare your skin by exfoliating and moisturizing – this helps create a smooth canvas. When applying self-tanner, use circular motions and remember to use a tanning mitt to avoid orange palms! In case streaks do appear, you can create a baking soda paste or apply lemon juice to lighten them. For stubborn spots, coconut oil can come to the rescue. Master these techniques and achieve a sun-kissed glow without any streaky drama. Interested in more tips? Stay tuned!
Key Takeaways
- Exfoliate Before Tanning: Remove dead skin cells to create a smooth canvas and reduce the likelihood of streaks.
- Moisturize Problem Areas: Apply extra moisturizer on elbows and knees to prevent uneven absorption and streaking during application.
- Use a Tanning Mitt: Protect hands and ensure an even application by using a mitt, applying tanner in circular motions.
- Combine Removal Techniques: Utilize a baking soda paste followed by lemon juice and coconut oil for effective streak removal.
Top picks for "goodbye self tann"
Open Amazon search results for this keyword.
As an affiliate, we earn on qualifying purchases.
Methods for Removing Streaks
When you notice those stubborn self-tanning streaks, several effective methods can help you quickly restore your skin's even glow.
First up, try a baking soda paste—just mix it with water, rub it on gently, and watch those streaks fade away!
Or, if you love citrus, grab some lemon juice. Apply it with a cotton ball, let it sit for a bit, and rinse for that brighter look.
Oil-based remedies like coconut oil can work wonders too, especially when you scrub with a loofah.
If you want a quick fix, specialized tan removal products work like magic! Have you ever tried any of these? It's like a mini science experiment for your skin!
Skin Preparation Tips
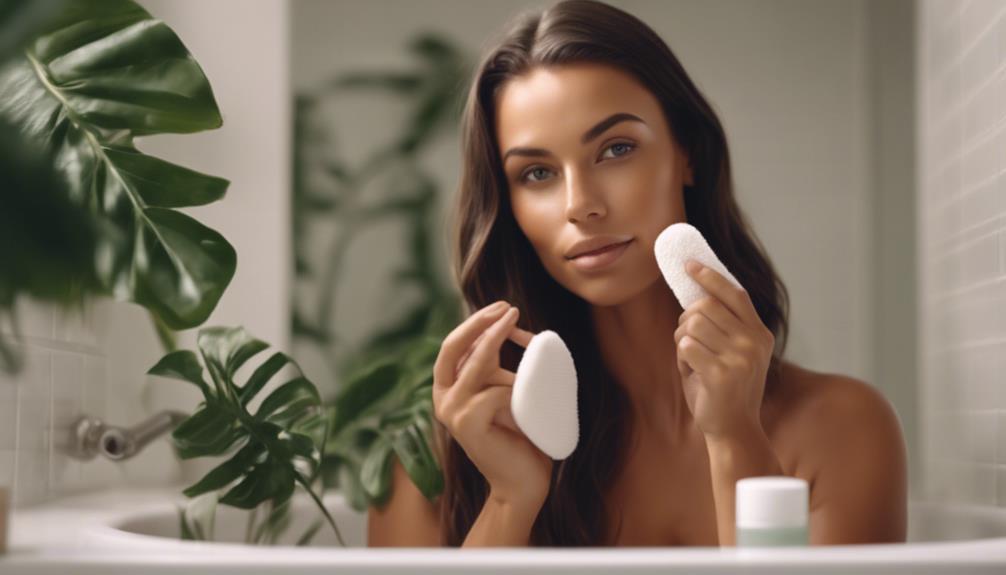
Proper skin preparation is essential for achieving an even self-tan and starts with exfoliating to remove dead skin cells.
Think of it like polishing a surface before painting; you want a smooth canvas! Use a gentle scrub or exfoliating mitt, focusing on areas that tend to be drier, like elbows and knees.
Next, hydrate your skin with a lightweight moisturizer, but skip heavy lotions right before tanning—those can mess things up!
If you shave, do it a day in advance to avoid irritation.
Finally, always patch test new products to guarantee your skin doesn't throw a tantrum.
With these tips in your back pocket, you're on your way to a fabulous, streak-free glow that'll have everyone asking for your secret!
Effective Application Techniques

To achieve a flawless self-tan, apply the product in two even coats on your body and one coat on your face for a more uniform finish.
Start by using a tanning mitt—trust me, your hands will thank you! Apply the tanner in circular motions, working from your feet up, which helps prevent those pesky streaks.
Don't forget areas like your elbows and knees; a little extra moisturizer there can work wonders. Let each coat dry before applying the next, giving your skin time to absorb the color.
And hey, if you miss a spot, it happens! Just blend it in with a little extra product.
Tanning Bed Maintenance

Regularly cleaning tanning beds is essential for preventing bacteria buildup and ensuring a safe tanning experience. Think of it like cleaning your room—nobody wants to sit on a messy bed!
After each use, grab disinfectant wipes or sprays specifically made for tanning beds, and give those surfaces a good scrub. Pay special attention to the acrylic, where germs like to hide. You wouldn't want to catch any skin issues from a dirty bed, right?
Keeping your tanning bed spotless not only protects your skin but also helps the equipment last longer. Plus, it makes each tanning session feel fresh and inviting!
Protecting Your Eyes and Skin

Cleaning your tanning bed is just the first step; protecting your eyes and skin during tanning is equally important for a safe and effective experience. You wouldn't stroll into a sunny day without shades, right?
Tanning bed goggles are a must—they block 99% of harmful UV rays, keeping your eyes safe and sound. Plus, look for ones with an anti-fog coating so you can see your glow-up clearly!
Don't forget about your face; using a breathable face cover can shield your delicate skin from those sneaky UV rays. Just like a cozy blanket, it keeps your skin comfy while you tan.
Moisturizing for a Smooth Finish
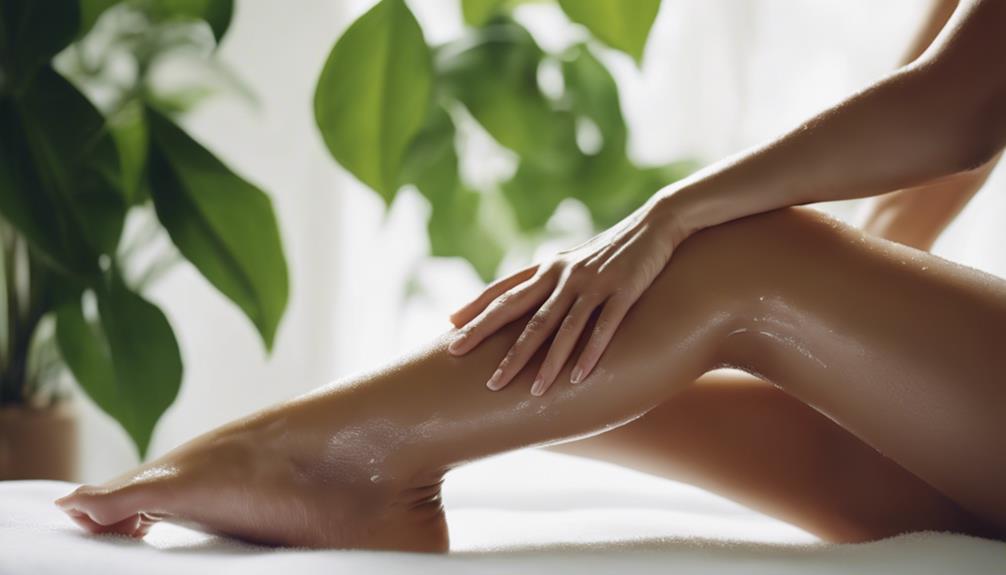
Moisturizing your skin before and after tanning is key to achieving a smooth, even finish that enhances your glow.
Think of your skin as a canvas; if it's dry or patchy, the paint won't apply evenly. So, lather on a good moisturizer, especially on those tricky spots like elbows and knees.
After you tan, keep the hydration going! This helps your tan last longer and looks way more natural. You wouldn't want to walk around looking like a zebra, right?
Plus, moisturizing can help blend any streaks that might pop up, giving you that sun-kissed look you're aiming for.
Remember, happy skin equals a happier tan, so don't skip this vital step!
What's your favorite moisturizer?
Combining Removal Techniques

Using a combination of removal techniques can effectively tackle those stubborn self-tanning streaks while ensuring your skin remains healthy and hydrated.
Imagine your skin as a canvas; if there are streaks, it's time to mix your paint! Start with baking soda and water to gently exfoliate, then follow up with lemon juice to lighten those pesky areas.
If you've got some coconut oil lying around, use it to help lift the tan while keeping your skin moisturized.
Don't forget specialized products—they're like magic erasers for your skin!
By combining these methods, you'll not only achieve a smoother look, but also feel like a self-tanning pro.
Have you ever tried mixing techniques before? It can be a game-changer!
Frequently Asked Questions
Can Self-Tanner Cause Allergic Reactions on Sensitive Skin?
Yes, self-tanner can cause allergic reactions on sensitive skin. You should patch test any product before applying it widely, and if you notice redness or irritation, discontinue use immediately and consult a dermatologist.
How Long Does It Take for Self-Tanner to Fade Naturally?
Wondering how long it takes for that self-tanner glow to fade? Typically, it fades naturally within 5 to 10 days, depending on your skin type and care routine. Regular exfoliation can speed up the process, too.
Are There Specific Self-Tanners Recommended for Oily Skin?
If you've got oily skin, look for self-tanners labeled as oil-free or gel-based. Products like St. Tropez Self Tan Purity and Isle of Paradise offer lightweight, non-comedogenic options that won't clog your pores.
What Should I Do if I Accidentally Apply Too Much Self-Tanner?
If you've spilled too much self-tanner, think of it as a painter with too much color. Gently exfoliate the area with a scrub or baking soda paste, and balance the hues for a flawless finish.
Can I Self-Tan if I Have Sunburned Skin?
You shouldn't self-tan on sunburned skin. Your skin needs time to heal, and applying self-tanner can worsen irritation. Wait until it's fully healed for a safer and more even tanning experience.
How can I prevent self-tanning streaks and white armpits while tanning?
To say goodbye to white armpits while tanning, exfoliate your skin to remove any dead cells. Apply a gradual tanner evenly and blend well to avoid streaks. Use a tanning mitt for a smooth application. Pay special attention to blending around the armpits to ensure an even, consistent tan.
Conclusion
Now that you've got the scoop on tackling those pesky self-tanning streaks, it's time to shine like a star!
With a little preparation and the right techniques, you can strut your stuff with confidence and a smooth, even glow.
Remember, even the sun has its cloudy days, but you can easily turn things around.
So grab your tools, put on your favorite music, and let's wave goodbye to streaks forever.
You've got this!