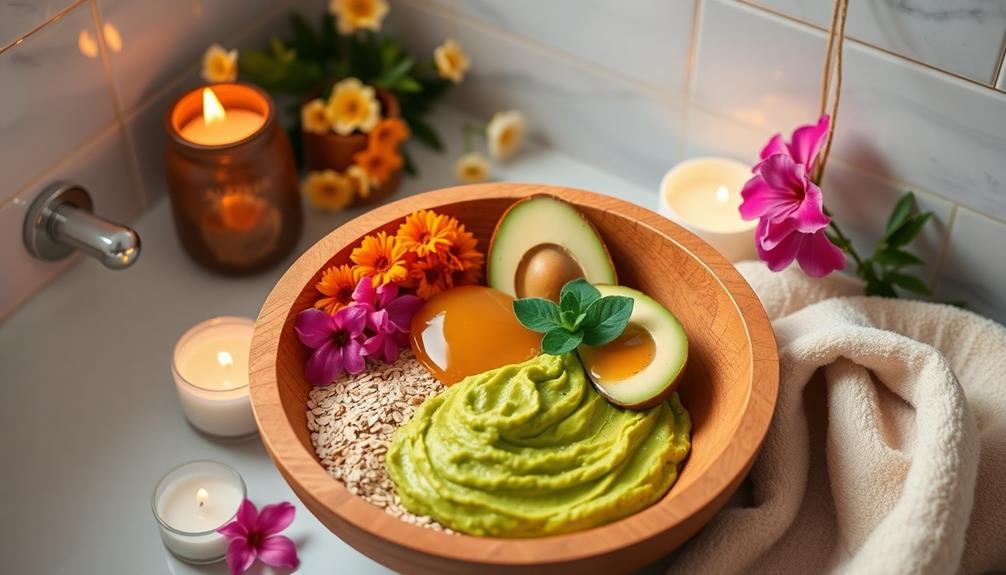
Creating your own spa-quality face mask is easy and fun! Start with a clean face and choose a base like yogurt or honey. Add ingredients tailored to your skin's needs, such as avocado for hydration or oatmeal for soothing effects. Mix until you have a smooth paste, then apply it evenly, avoiding your eyes. Let it sit for 15-20 minutes before rinsing. You can customize your mask by incorporating items like turmeric or lemon juice for added benefits. This simple process not only rejuvenates your skin but is also cost-effective. There's so much more to explore to enhance your DIY skincare routine!
Key Takeaways
- Start with a clean face to enhance ingredient absorption and effectiveness.
- Choose natural ingredients like honey, yogurt, and fruits for hydration and nourishment.
- Mix and match ingredients based on specific skin concerns for personalized results.
- Allow the mask to sit for 15-20 minutes to maximize its benefits.
- Follow up with a hydrating serum or moisturizer for a complete skincare routine.
Overview of Homemade Face Masks
Homemade face masks have gained popularity as a simple and effective way to rejuvenate your skin while pampering yourself at home.
These masks improve your skin's appearance, addressing issues like acne, dryness, and dullness. They're often free from harmful chemicals, promoting healthier skin and offering a relaxing experience that enhances your mental well-being.
Crafting your own masks allows you to personalize recipes based on your specific skin concerns, making them more effective. Plus, it's a cost-effective alternative to pricey spa treatments, letting you enjoy a luxurious experience without breaking the bank.
Key Ingredients for Masks
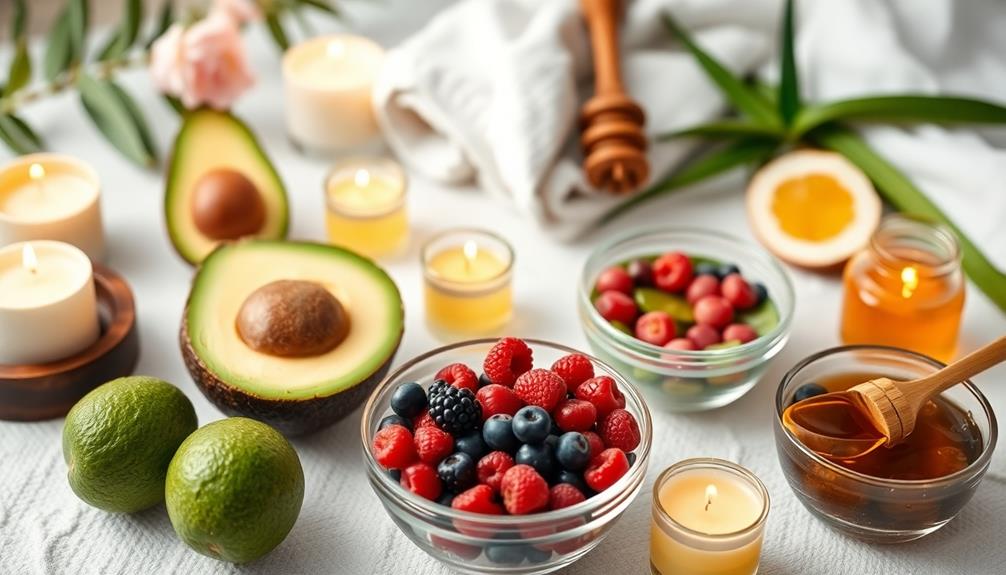
Often, the key to a successful face mask lies in the ingredients you choose. Fruits and vegetables like avocado, banana, and cucumber offer hydration and nourishment.
Dairy products such as yogurt and milk can exfoliate and moisturize, making them excellent bases for your mask. Pantry staples also play an essential role; oats soothe irritation, while turmeric brightens your complexion.
Lemon juice helps even out skin tone and lightens dark spots. Honey is a versatile ingredient that hydrates and adds antibacterial properties.
Basic Mask Preparation Steps
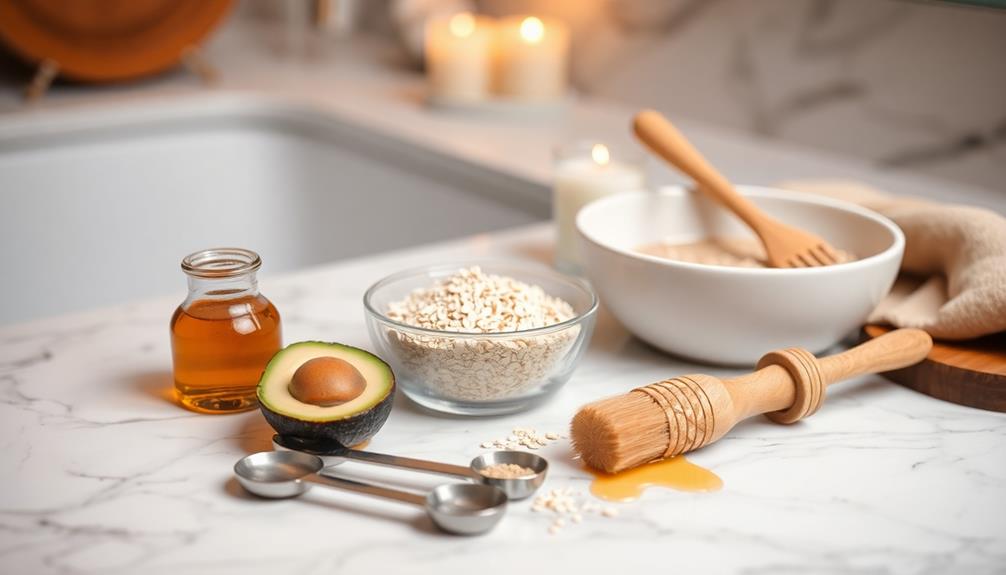
To create an effective face mask, start with clean skin to guarantee the ingredients penetrate deeply and work their magic. Follow these basic preparation steps for a flawless mask experience:
| Step | Action |
|---|---|
| 1. Cleanse | Wash your face to remove dirt and oil. |
| 2. Choose a Base | Select a base ingredient like yogurt or honey. |
| 3. Mix Ingredients | Combine your base with add-ins like essential oils or oatmeal. |
Stir the mixture in a bowl until it forms a smooth paste. Carefully apply it to your face, avoiding the eye area. Let the mask sit for 15-20 minutes, then rinse off with warm water for refreshed skin. Enjoy your homemade spa treatment!
Remedies for Skin Issues
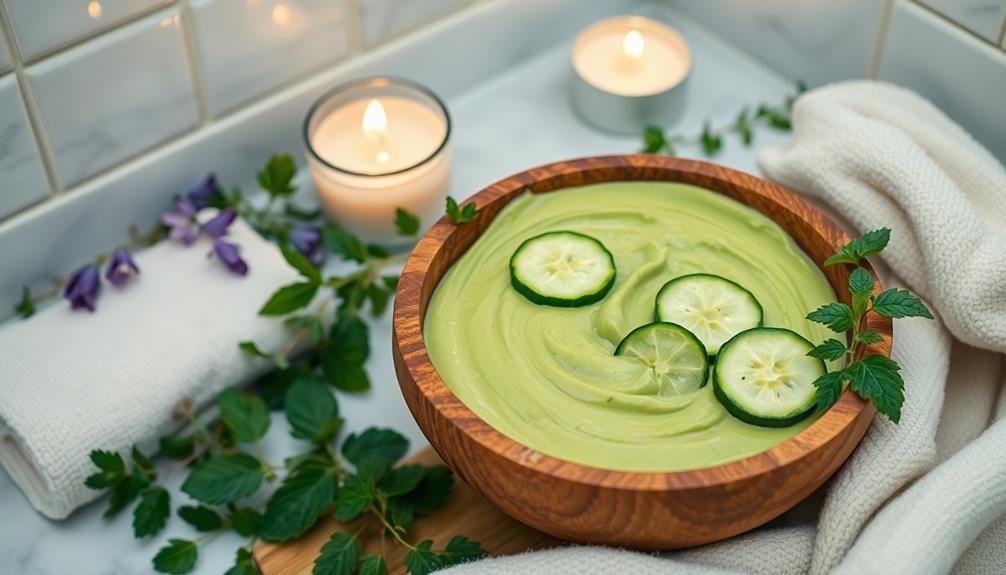
When it comes to addressing specific skin issues, natural remedies can be incredibly effective.
For acne, try mixing honey and cinnamon; this combination reduces bacteria and inflammation.
If you're dealing with sensitive skin, aloe vera gel is your best friend, as it calms irritation and redness.
Oatmeal masks can also soothe redness and itchiness, providing relief for irritated skin.
For blemishes, dabbing tea tree oil directly onto affected areas can help dry them out.
Remember to patch test any new ingredients to avoid allergic reactions.
By customizing your remedies to target your unique skin concerns, you’ll create a more effective skincare routine that promotes healthier, happier skin. It’s essential to stay informed about common skincare mistakes to avoid, as they can hinder your progress and lead to unwanted breakouts or irritation. Regularly reassessing your regimen and making adjustments based on your skin’s changing needs will ensure you maintain optimal results. Remember, what works for one person may not necessarily suit another, so personalizing your approach is key.
Embrace these natural solutions and enjoy the benefits they bring!
Popular DIY Mask Recipes
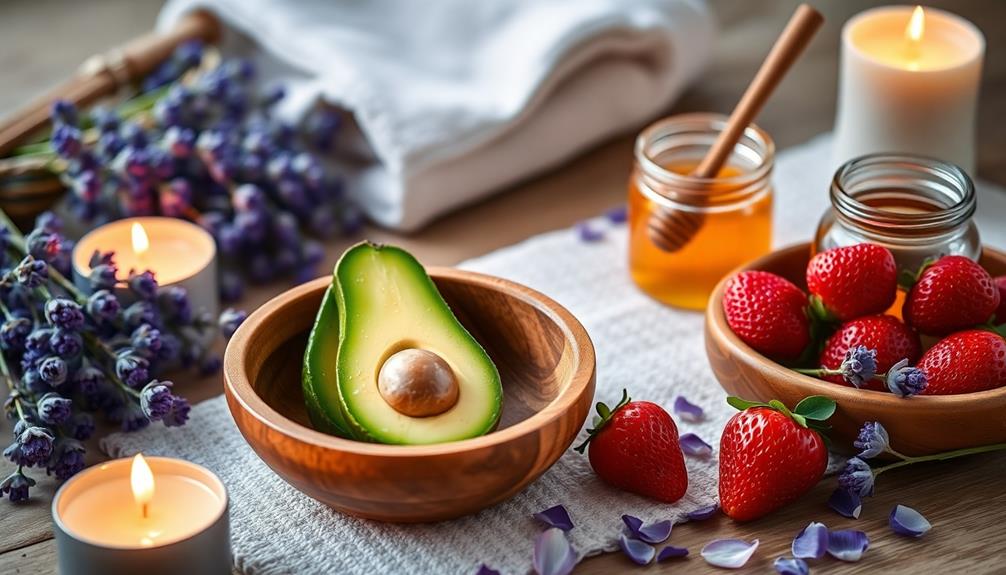
Many DIY mask recipes are popular for their effectiveness and ease of preparation. You might enjoy trying a honey and oatmeal mask, which hydrates and gently exfoliates your skin.
For nourishment, mix yogurt and avocado; this combo delivers moisture and vitamins. If you're looking to soothe irritated skin, an aloe vera and cucumber mask can work wonders.
For deep cleansing, consider a charcoal and clay mask that detoxifies and revitalizes. Finally, a banana and olive oil mask provides anti-aging benefits, leaving your skin looking youthful.
These recipes are simple to make and can easily fit into your skincare routine, encouraging you to explore and experiment with different combinations for glowing results.
Tips for Best Results
After trying out popular DIY mask recipes, you'll want to maximize their benefits for your skin. Here are some tips to guarantee you get the best results:
- Always start with a clean face to allow ingredients to penetrate effectively.
- Apply the mask evenly, avoiding the eye area to prevent irritation.
- Leave the mask on for the recommended time—typically 15-20 minutes.
| Tip | Benefit |
|---|---|
| Use fresh ingredients | Guarantees maximum potency |
| Patch test first | Avoids allergic reactions |
| Stay hydrated | Enhances skin absorption |
Enhancing Your Skincare Routine
Enhancing your skincare routine can be as simple as incorporating a few key practices to boost the effectiveness of your DIY face masks.
First, always start with clean skin; this allows your mask's ingredients to penetrate deeply and work their magic. Consider using a gentle exfoliant before applying the mask to remove dead skin cells and reveal a fresh layer.
Next, follow your mask application with a hydrating serum or moisturizer to lock in the benefits.
Don't forget to tailor your masks to your skin type—whether it's oily, dry, or sensitive—using ingredients that provide specific benefits.
Frequently Asked Questions
How Often Should I Use Homemade Face Masks?
You should use homemade face masks about once or twice a week. This frequency allows your skin to benefit from the nourishment without overdoing it, keeping your complexion healthy and vibrant while maintaining balance.
Can I Store Leftover Masks in the Fridge?
Yes, you can store leftover masks in the fridge! Just make sure to keep them in an airtight container. This helps maintain freshness, but try to use them within a week for best results.
Are There Any Potential Side Effects of DIY Masks?
Yes, DIY masks can cause side effects like irritation, allergic reactions, or breakouts. Always patch test new ingredients on a small area of skin first, and avoid using anything that doesn't suit your skin type.
Can I Combine Different Mask Recipes?
"Variety's the spice of life!" You can absolutely combine different mask recipes. Experimenting with ingredients tailored to your skin can enhance benefits, but remember to patch test to avoid any reactions. Enjoy your creative skincare journey!
How Do I Know Which Mask Suits My Skin Type?
To find the right mask for your skin type, assess your specific concerns like dryness or acne. Experiment with different ingredients, and observe how your skin reacts to each mask for the best results.
Conclusion
As you blend ingredients and apply your homemade mask, think of it as painting a masterpiece on the canvas of your skin. Each mask not only nourishes but also rejuvenates, turning your self-care ritual into a vibrant celebration of beauty. Embrace this creative journey, and let your skin reflect the love and care you pour into it. With every application, you're one step closer to revealing a radiant glow that's uniquely yours. Happy masking!
