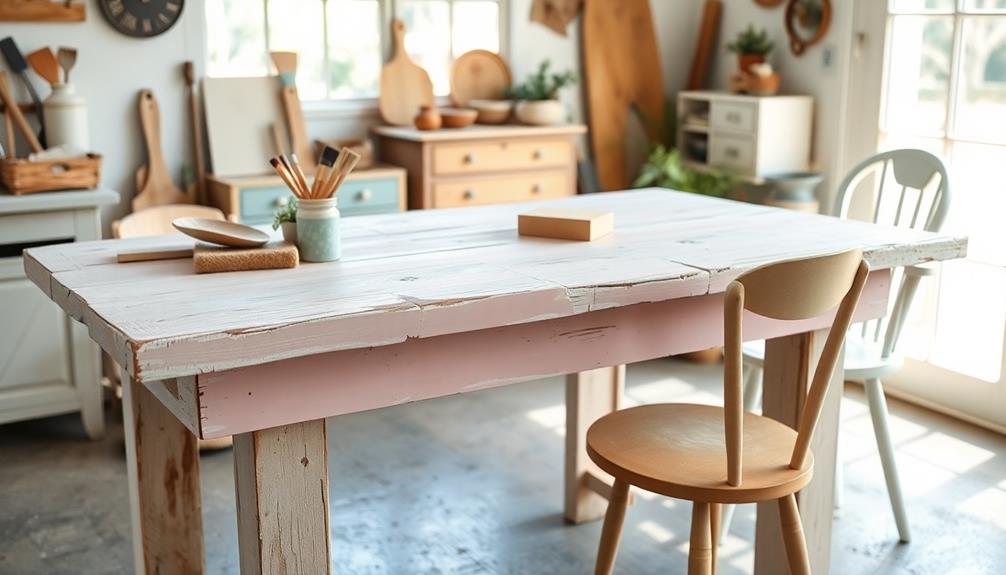
You can easily distress furniture using chalk paint by following some simple techniques. Begin by cleaning your piece and making sure it’s free of dust. Apply a base coat of darker chalk paint to add depth. Once it has dried, lightly sand the edges and corners to reveal the wood underneath, or use a damp cloth for a wet distressing effect. After achieving the desired look, seal it with clear wax for added durability. Feel free to experiment with different color combinations and layering for unique results. Interested in taking your furniture transformation to the next level? There are plenty of tips and tricks to discover next!
Key Takeaways
- Clean the furniture thoroughly with Murphy's Oil Soap and sand glossy areas for better paint adhesion before starting the distressing process.
- Choose a darker base color for depth, and test color combinations on small areas to visualize the final effect.
- Apply chalk paint using a brush, and use dry distressing by sanding edges to reveal the underlying wood for a weathered look.
- Seal your distressed finish with clear wax or polyurethane, applying multiple thin coats for optimal protection and durability.
- Share your completed projects on social media and engage with crafting communities to showcase your work and gain inspiration.
Understanding the Distressing Technique
Understanding the distressing technique is vital for transforming your furniture into a charming focal point. Distressing with chalk paint involves intentionally creating a weathered, aged appearance that enhances the nostalgic vibe of your pieces. By using sanding, wiping, or other techniques, you can expose underlying layers or textures, adding depth to your furniture.
This method resonates beautifully with the modern farmhouse decor trends that emphasize natural aesthetics and vintage charm. There are various methods you can explore, such as dry distressing and wet distressing. These techniques allow for different levels of control and creativity, so you can achieve the exact effect you desire. For instance, if you choose a dark base color, you'll create a striking contrast when you distress it with a lighter topcoat.
However, proper preparation is essential for smooth results. Make sure to clean your furniture thoroughly and fill any scratches beforehand. This step will guarantee that your distressing looks polished and intentional, rather than haphazard.
Once you've prepared your piece, you're ready to plunge into the world of shabby chic styles, making your furniture truly one-of-a-kind. So gather your materials, choose your base color wisely, and let your creativity flow as you master the art of distressing!
Choosing the Right Chalk Paint
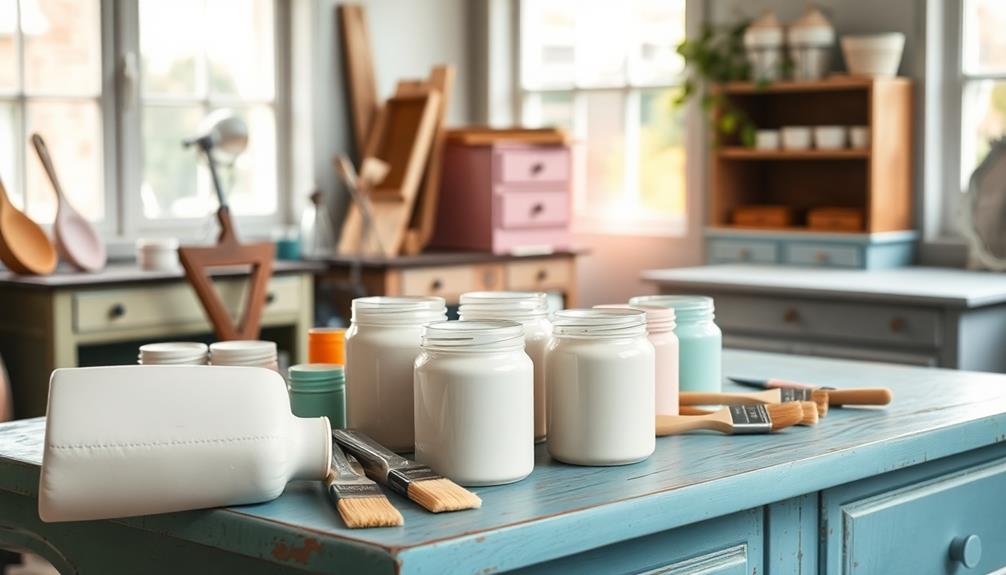
When you're ready to choose chalk paint, it's crucial to compare different types and finishes to find what suits your project best.
Consider how the right innovative coffee gear and accessories can inspire your creative process.
Think about the colors that will enhance your decor and consider experimenting with multiple shades for a unique look. You might choose to incorporate bold contrasts or soft gradients to create depth and visual interest within your space. Balinese style interior design, for example, often embraces earthy tones and natural materials, which can bring a sense of calm and harmony to your home. By layering textures and introducing complementary hues, you can achieve a balanced yet dynamic aesthetic that feels both inviting and stylish.
Paint Types Comparison
Choosing the right chalk paint can greatly impact your furniture distressing project, especially since various brands and finishes offer unique benefits. One of the most popular options is Annie Sloan Chalk Paint, known for its smooth, velvety matte finish and excellent adhesion. This paint allows you to skip priming or sanding, making it ideal for beginners.
When considering your options, you might also want to explore how essential oils can enhance your workspace to create a more enjoyable environment while you paint.
When you're distressing furniture with chalk, consider how the paint's characteristics will enhance the final look. Chalk paint chips and scuffs easily, which is perfect for achieving that desired distressed look. You can control the wear and tear on your piece precisely, allowing for a custom finish that suits your style.
Moreover, the extensive range of paint colors available lets you get creative. Layering colors can create a stunning two-tone effect that adds depth to your project. If you aim for a vintage look, a matte finish will enhance that rustic aesthetic beautifully.
Don't forget to seal your work with a layer of wax for added protection and to guarantee your hard work lasts. With the right chalk paint, your furniture can transform dramatically!
Color Selection Tips
To achieve the perfect distressed look for your furniture, start by carefully selecting your chalk paint colors. Begin with a darker base color that'll show through your top coat, adding depth and contrast. For instance, a navy blue under a white paint can create a stunning effect. Pair your base with complementary colors that align with your existing decor to guarantee a cohesive aesthetic. Softer pastels paired with deeper tones can enhance your overall look.
When choosing colors, consider how they'll work together. Test various color combinations on small areas or samples to visualize the final effect before diving into your project. Additionally, using lighter chalk paint colors makes glazing techniques more effective, allowing the contrasting stain to pop. Remember, chalk paint has a matte sheen, which helps achieve a rustic look and makes it easier to layer colors effectively.
Here's a quick reference table for your color selection:
| Base Color | Top Coat Color | Complementary Color |
|---|---|---|
| Navy Blue | White | Soft Gray |
| Charcoal | Light Blue | Cream |
| Olive Green | Antique White | Dusty Pink |
| Burgundy | Pale Yellow | Sage Green |
| Slate Gray | Light Lavender | Blush |
Finish Options Explained
After settling on the perfect colors for your distressed furniture, it's time to explore the finish options that can elevate your project. Choosing the right finish is essential to achieve a polished look while enhancing the distressed effect.
High-quality brands, like Annie Sloan, offer chalk paint that dries to a smooth, velvety matte finish, allowing the underlying hue to shine through beautifully. Additionally, take into account how environmental factors, such as air quality, can affect your workspace since a clean atmosphere contributes to a better painting experience air quality considerations.
Here are some finish options to take into account:
- Clear Wax: This provides a protective seal that helps to protect the paint and maintain its vibrant appearance.
- Dark Wax: Use this to deepen the color and add richness, enhancing the aged look of your furniture.
- Apply Two or Three Coats: For ideal results, apply two to three thin layers of chalk paint, ensuring each coat dries completely before distressing.
- Take into account the Distressing Technique: The way you distress can reveal the layers of paint, creating a stunning contrast.
Preparing Your Workspace and Materials
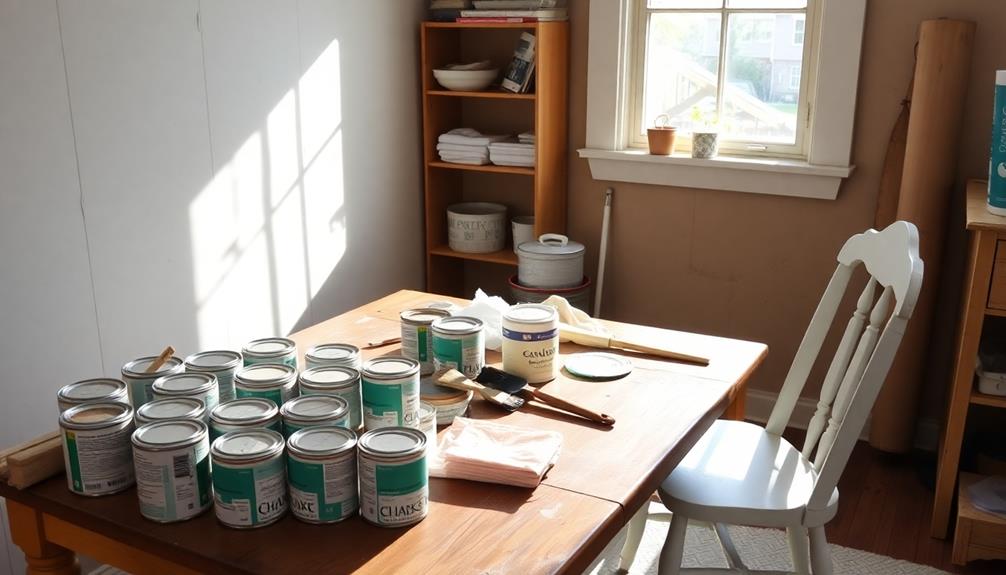
Before diving into your furniture distressing project, it's crucial to set up an organized and safe workspace. Start by ensuring your workspace is well-ventilated, at room temperature, and adequately lit.
Protect your surfaces with brown builders paper and painter's tape to avoid any mess while you work with Chalk Paint. For additional inspiration on maintaining a clean workspace, consider tips for window cleaning services.
Gather all your essential supplies: a quart of Chalk Paint (about $34.95), a recommended size S bristle brush, Annie Sloan Clear Soft Wax, a wax brush, and sandpaper ranging from 100 to 220 grit.
Make sure your furniture is clean; use Murphy's Oil Soap or a similar cleaner to remove dust and grime. If your furniture has glossy surfaces, lightly sand them to enhance paint adhesion.
Prepare the furniture by filling any deep scratches with wood putty, allowing it to dry completely.
Once your materials are organized and within reach, you can easily apply two to three thin coats of chalk paint for the best results. An organized workspace not only saves time but also makes the distressing process more enjoyable and efficient.
Step-by-Step Distressing Methods
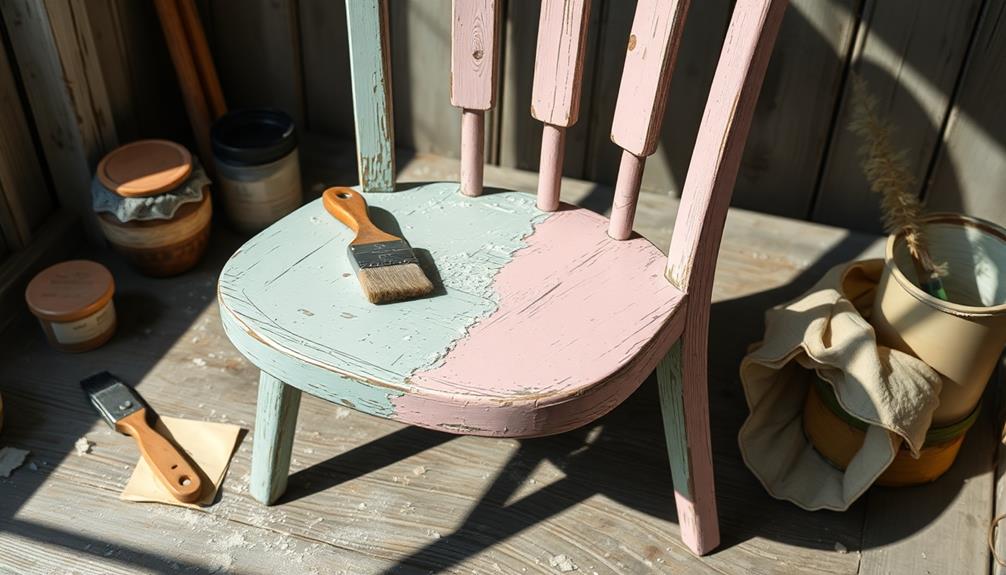
To get started on distressing your furniture, you'll first need to clean the surface thoroughly and sand any shiny areas for better paint adhesion.
This preparation is essential to guarantee a smooth application and a successful finish.
Once that's done, you can explore various distressing techniques to achieve the perfect aged look.
Let's break down the key methods and tips for a successful project, including how mood boards can help visualize your desired outcome.
Preparation and Surface Cleaning
When you're ready to start distressing your furniture, proper preparation and surface cleaning are essential for achieving the best results.
Begin by cleaning the furniture surface thoroughly. Use Murphy's Oil Soap or a degreaser to eliminate any dust, grease, or dirt that could affect the chalk paint's adhesion. Incorporating a DIY Fire Pit Ideas project can also inspire creativity in your overall outdoor space.
Once cleaned, lightly sand any shiny or glossy surfaces to create a rough texture, focusing on areas with deep scratches or imperfections.
If you encounter deep scratches, fill them with wood putty and let it dry completely before you paint. This will guarantee a smoother finish.
To protect areas you don't want painted, use painter's tape, which will help maintain clean edges and prevent unwanted distressing.
Here's a quick checklist for your preparation:
- Clean the surface with Murphy's Oil Soap or a degreaser.
- Lightly sand glossy areas and imperfections.
- Fill deep scratches with wood putty.
- Use painter's tape for clean edges.
Distressing Techniques Overview
As you immerse yourself in the world of furniture distressing, it's essential to understand the various techniques you can use to achieve the perfect look. Start by using a thorough cleaning method to remove dust, ensuring your paint adheres well. Lightly sand any shiny surfaces before applying your first coat of chalk paint in thin, even layers.
It's significant to mention that while you're working on your furniture, maintaining a clean workspace is key to preventing any unwanted debris from affecting your finish, similar to how proper storage can prolong the lifespan of freeze-dried candy.
One popular technique is dry distressing. Here, you'll sand edges and corners to reveal the underlying wood, giving it a naturally worn appearance. Alternatively, wet distressing allows you to wipe away paint with a damp cloth before it dries, creating a softer, weathered look.
You might also try the dry brush technique, applying a small amount of paint to a dry brush and lightly dragging it across the surface. This adds texture and seamlessly blends colors.
When sanding, start with coarse grit to distress and gradually switch to finer grits for a refined finish, concentrating on areas that would typically wear over time.
After achieving your desired distressed effect, clean any sanding dust and apply a protective sealant, like clear wax or polyurethane, for added durability and a beautiful top coat.
Sealing and Finishing Touches
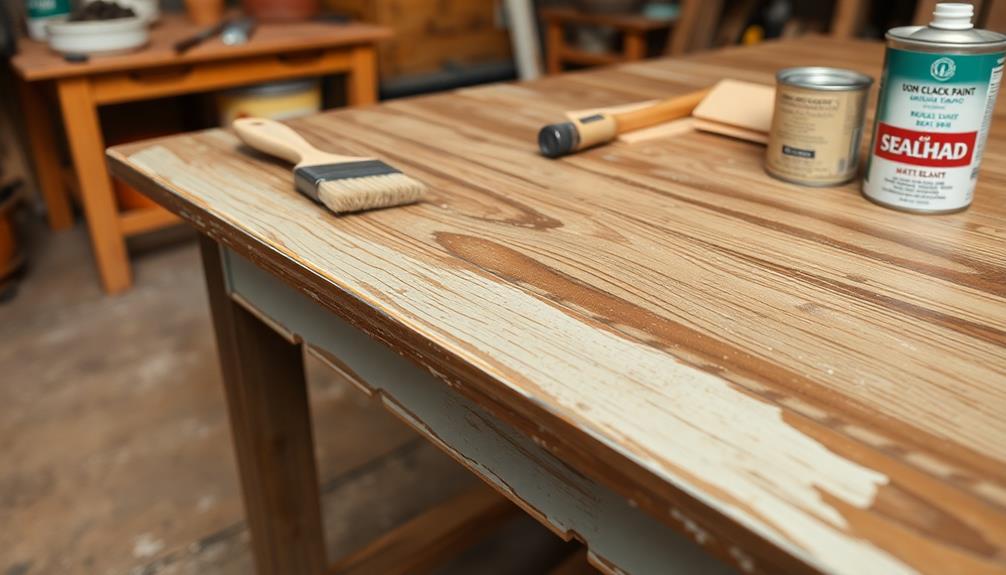
Sealing and finishing touches are essential steps after you've distressed your furniture, as they protect your hard work and enhance durability. To achieve a polished look, start by applying a high-quality clear wax or polyurethane. This sealant not only protects the finish but also improves its longevity, much like how best home printers provide quality results to your projects.
Use a clean wax brush to apply the sealant evenly in thin coats, avoiding drips and bubbles for a smooth finish.
Here are some tips to guarantee your distressed furniture looks its best:
- Sand lightly between paint and sealant applications for better adhesion.
- Allow the wax or sealant to cure fully; wax may take up to 30 days, while polycrylic usually needs just a few hours.
- For frequently used surfaces, consider applying multiple layers of wax for increased protection.
- Always check that your brush is clean to avoid any unwanted texture on your finish.
Sharing Your Distressed Creations
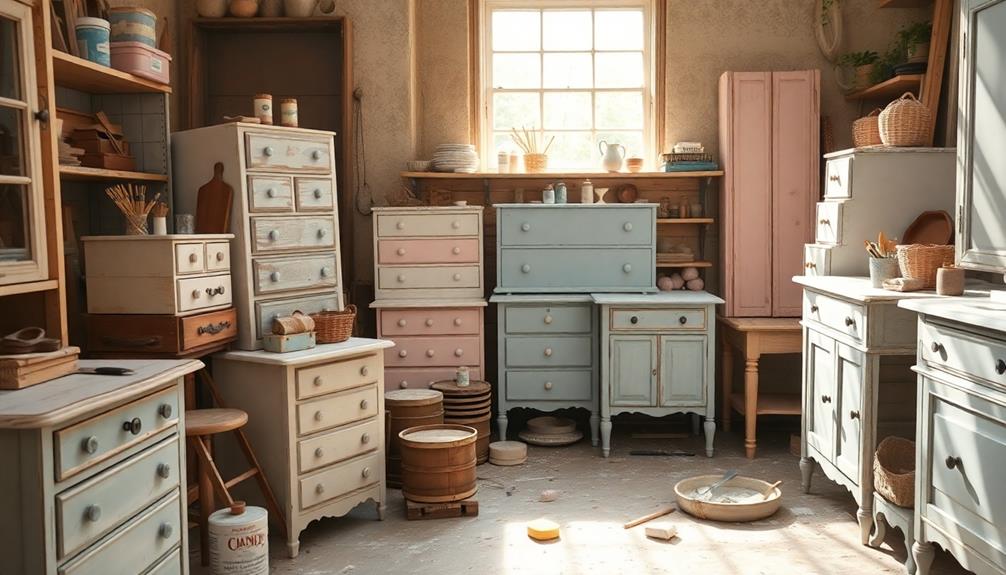
Now that your furniture is beautifully distressed and sealed, it's time to share your creations with the world. Start by posting photos of your chalk paint project on social media platforms. Use hashtags like #AnnieSloan and #ChalkPaint to connect with other DIY enthusiasts who appreciate your unique techniques.
Engaging in this creative process can enhance your emotional well-being and foster a sense of mindfulness, similar to the benefits of music therapy integration. Your work can inspire others and foster a vibrant community of creators.
Consider participating in local craft fairs or listing your distressed furniture on online marketplaces. This not only showcases your creations but also opens the door for feedback and potential sales. Document the entire process, from preparation to final touches, so you can provide valuable insights and tips for those looking to replicate your style.
Engaging with online forums or groups dedicated to chalk paint and distressing can enhance your skills. By sharing your experiences and learning from seasoned crafters, you'll grow as an artist.
Frequently Asked Questions
Can You Distress Furniture With Chalk Paint?
Yes, you can definitely distress furniture with chalk paint. It chips and scuffs easily, giving you that vintage, well-worn look. Just apply a few coats, then sand the edges for a natural finish.
How Long Should Chalk Paint Dry Before Distressing?
You might think you can distress chalk paint right away, but waiting's key. Let it dry for 1-2 hours before distressing, or even up to 24 hours for the best results. Patience pays off!
How Do You Distress Chalk Paint Without Sanding It?
You can distress chalk paint without sanding by using a damp cloth to wipe away paint, applying petroleum jelly for resist spots, or gently scraping with a plastic putty knife for a weathered look.
How to Make Chalk Paint Look Antique?
To make chalk paint look antique, start with a dark base coat. Layer on a lighter top coat, then lightly sand edges. Consider glazing for depth, and seal with wax for a rich, aged finish.
Conclusion
Now that you've mastered the art of distressing furniture with chalk paint, your pieces can shine like a well-loved novel, each scratch and scuff telling a unique story. Remember, the beauty lies in the imperfections that reflect character and charm. Don't hesitate to experiment and let your creativity flow. As you share your creations, you'll inspire others to transform their own furniture into cherished works of art. Happy painting!
