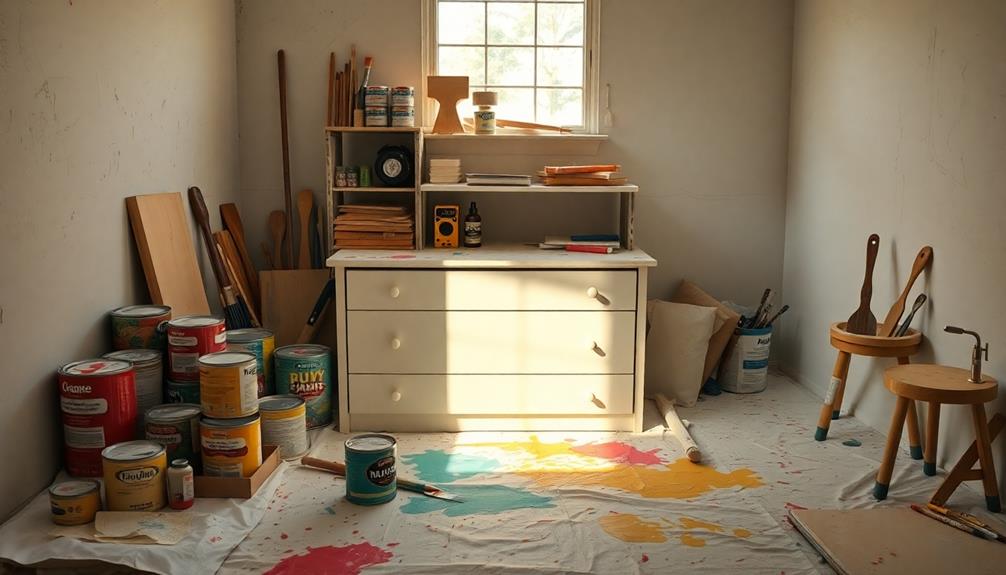
To refurbish particle board furniture, begin by thoroughly cleaning and sanding the surface to eliminate any shine and grime. Once the surface is smooth, apply a premium primer specifically formulated for furniture, allowing it to dry completely. Then, use a fine finish roller to add 2-3 thin coats of paint, being mindful of fixing any drips before they dry. Upon completion of painting, seal any exposed areas with an acrylic sealant to safeguard against moisture. Finally, apply a clear protective finish for added durability. Providing regular maintenance will help prolong the life of your piece. For a more detailed walkthrough of each step, there is plenty more to delve into.
Key Takeaways
- Clean the surface thoroughly to remove dust and dirt, allowing it to dry completely before painting.
- Sand the particle board with fine-grit sandpaper to improve paint adhesion and create a smooth finish.
- Apply a high-quality primer specifically designed for furniture, allowing it to dry for at least 24 hours.
- Use a fine finish roller to apply paint in 2-3 thin coats, correcting drips before drying.
- Seal exposed areas with acrylic sealer and finish with a clear topcoat for added moisture protection.
Project Overview and Cost
When you decide to paint particle board furniture, you can expect the entire project to take about 4 hours of working time spread over 2 days. This timeline includes essential preparation tasks like cleaning, sanding, and priming to guarantee a smooth finish.
To enhance your project, consider incorporating DIY techniques that foster creativity and relaxation, much like engaging in coffee-related DIY projects. You’ll find that even if you’re a beginner, this project is manageable and a great way to enhance a small piece of furniture, like a bookshelf or end table. Additionally, by incorporating coffee-related DIY techniques, you can personalize your project to better match your home decor. If you’re looking for more creative inspiration, consider researching bathroom remodeling tips to further enhance your home. Whether it’s adding a fresh coat of paint or installing new fixtures, these tips can help elevate the look and feel of your space.
In terms of cost, painting particle board furniture is quite budget-friendly, typically ranging from $20 to $30. This makes it an attractive DIY option for those looking to refresh their living spaces without breaking the bank.
You'll want to invest in quality paint and primer to achieve the best results, but you won't need to spend a fortune.
Understanding Particleboard Furniture
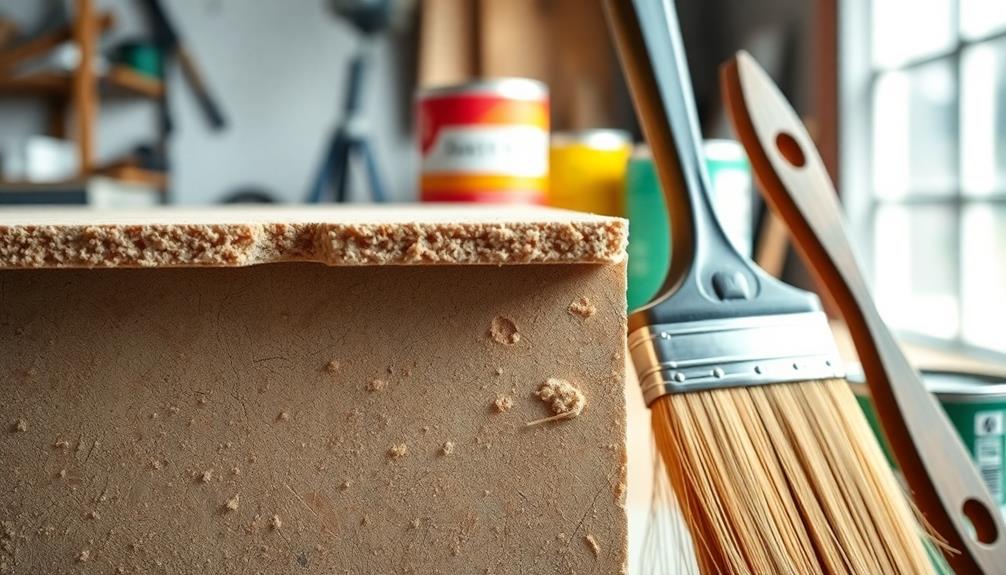
Particleboard furniture is a popular choice for those looking for affordable and lightweight options. Made from wood by-products like sawdust, particle board presents a budget-friendly alternative to solid wood. Many homeowners appreciate its versatility and the ability to easily paint or finish it to match their decor, making it an excellent candidate for DIY projects like best vacuums for dust removal.
However, it's important to be aware of its limitations, as it's generally less durable and more susceptible to damage. Common issues you might encounter include:
- Scratches
- Chips
- Moisture damage
- Warping
To extend the lifespan of your particleboard furniture, proper care and maintenance are important. Before you paint, make sure you clean the surface thoroughly to remove any dirt or grease.
Sanding the surface is also important; this creates a smooth base for paint adhesion. Additionally, sealing exposed areas with an acrylic sealer can prevent moisture absorption, which is essential in maintaining the integrity of the particle board.
Keep in mind that using the right primer and paint suited for particleboard greatly impacts the final look and durability of your project. With the right preparation, your furniture can transform beautifully, providing you with a stylish and practical solution for your space.
Preparation Steps Before Painting
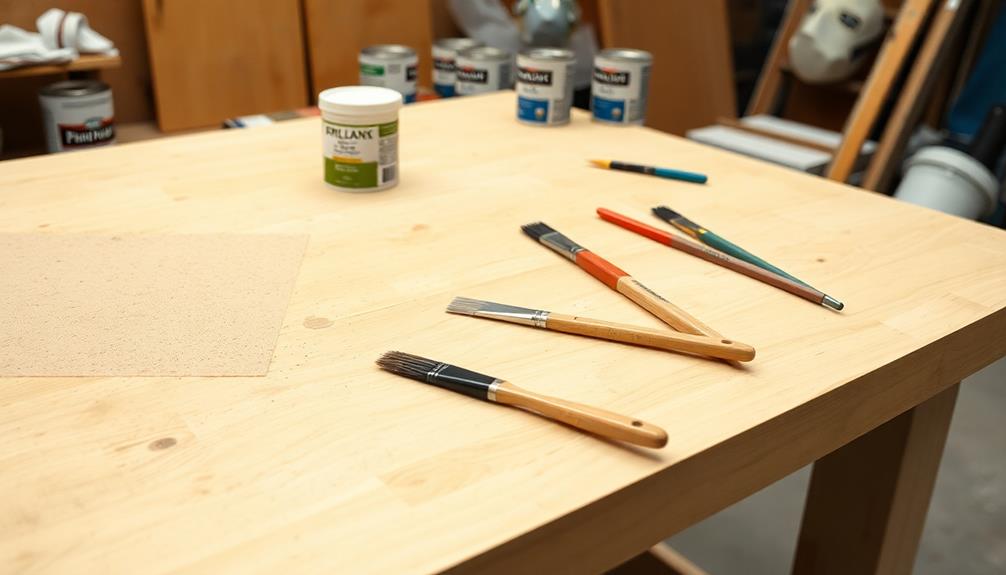
Before you start painting your particle board furniture, you need to prepare the surface properly.
Cleaning it thoroughly to remove any dirt and grease will guarantee better paint adhesion. Consider using energy-efficient cleaning products to minimize your environmental impact, as energy-efficient appliances can lower overall energy consumption.
Then sand it down for a smooth finish. Don't forget to seal any exposed areas to protect against moisture before applying primer.
Clean the Surface Thoroughly
Cleaning the surface of your particle board furniture is essential for a successful paint job. To guarantee ideal paint adhesion, you need to clean the surface thoroughly.
Start by following these steps:
- Remove Dust and Dirt: Use a damp cloth or mild cleaning solution to wipe down the entire surface, eliminating any dust, dirt, or grease.
- Focus on Scratches and Chips: Pay special attention to areas with scratches or chips, as these can trap dirt and affect the final appearance.
- Eliminate Debris: After cleaning, use a vacuum or soft brush to remove any lingering debris. This helps prevent contaminants from interfering with the paint job.
- Dry Completely: Allow the surface to dry fully before moving on to the next steps. Moisture can greatly hinder paint adhesion.
Sand for Smooth Finish
To achieve a smooth finish on your particle board furniture, it's vital to sand the surface properly. Start by using a sanding block with fine-grit sandpaper to remove any gloss and create a better base for paint adhesion.
As you sand, be cautious not to apply excessive pressure on the edges. This can lead to chipping or damage to the particle board material, which you definitely want to avoid.
Once you've sanded the surface, you need to clean it thoroughly to remove all dust and debris. Any particles left behind can interfere with the paint application and ruin your smooth finish.
Consider using a vacuum or a damp cloth to wipe down the sanded surfaces, ensuring they're completely free of dust before you move on.
After the primer layer has dried for about 24 hours, lightly sand it as well. This step is vital for achieving an even smoother finish before applying your final paint coat.
Taking the time to sand properly will make a significant difference in the overall appearance of your newly painted furniture.
Seal Exposed Areas
Sealing exposed areas of your particle board furniture is essential for ensuring long-lasting protection against moisture and damage. If you skip this step, moisture can seep in and cause significant harm over time.
To effectively seal exposed areas, follow these steps:
- Use an acrylic sealer: Apply it to all exposed surfaces to prevent moisture absorption.
- Fill gaps and chips: After sanding, use a putty knife to apply wood filler for a smooth surface.
- Allow for drying: Let the sealer dry completely according to the manufacturer's instructions—typically a couple of hours is ideal for maximum adhesion.
- Sand lightly: Once dry, lightly sand the sealed areas to create a smoother base for paint.
Additionally, consider using a primer specifically designed for particle board. This not only enhances paint adhesion but also provides extra protection against moisture and wear.
Sanding and Priming Techniques
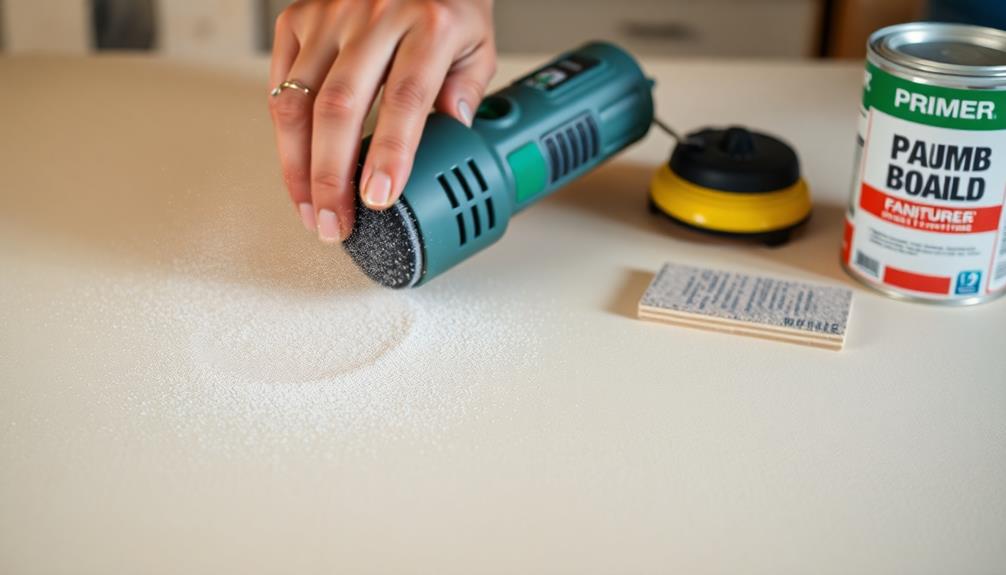
Sanding and priming are essential steps in painting particle board furniture, as they guarantee a smooth surface and better paint adhesion.
You'll want to use fine-grit sandpaper to prepare the surface and choose the right primer based on your paint color.
With these techniques, you set the stage for a beautiful, long-lasting finish.
Surface Preparation Importance
Effective surface preparation is key to achieving a professional finish when painting particle board furniture. Neglecting this vital step can lead to peeling paint and an uneven appearance.
Here's why surface preparation is important:
- Sanding: Use fine-grit sandpaper to remove gloss and create a smooth surface. Light pressure is essential to avoid damaging edges.
- Repairing: Before sanding, fill any chips or scratches with wood filler. This guarantees a uniform finish across the surface.
- Priming: Applying primer enhances paint adhesion and prevents moisture absorption. Choose gray for dark paint and white for light.
- Drying and Final Sanding: Allow the primer to dry for at least 24 hours. Lightly sand the primed surface to achieve a smooth base.
Primer Selection Tips
When it comes to painting particle board furniture, choosing the right primer is essential for achieving a durable and attractive finish. Start by scuffing the surface with fine-grit sandpaper. This step removes any gloss and improves paint adhesion without damaging the edges.
For your primer selection tips, opt for a gray primer if you're using dark paint and a white primer for lighter colors. You can enhance coverage by tinting the primer with leftover paint. Make sure to apply the primer evenly, covering all surfaces, including exposed particle board areas to prevent moisture damage.
After applying the primer, let it dry for at least 24 hours. Once dry, lightly sand the primed surface to achieve a smoother finish before applying your first coat of paint.
For the best results, always choose a high-quality primer specifically designed for furniture, as it enhances both the durability and adhesion of the final paint layer. By following these primer selection tips, you'll set a solid foundation for your painting project, ensuring your particle board furniture looks great and lasts longer.
Painting Process and Tips
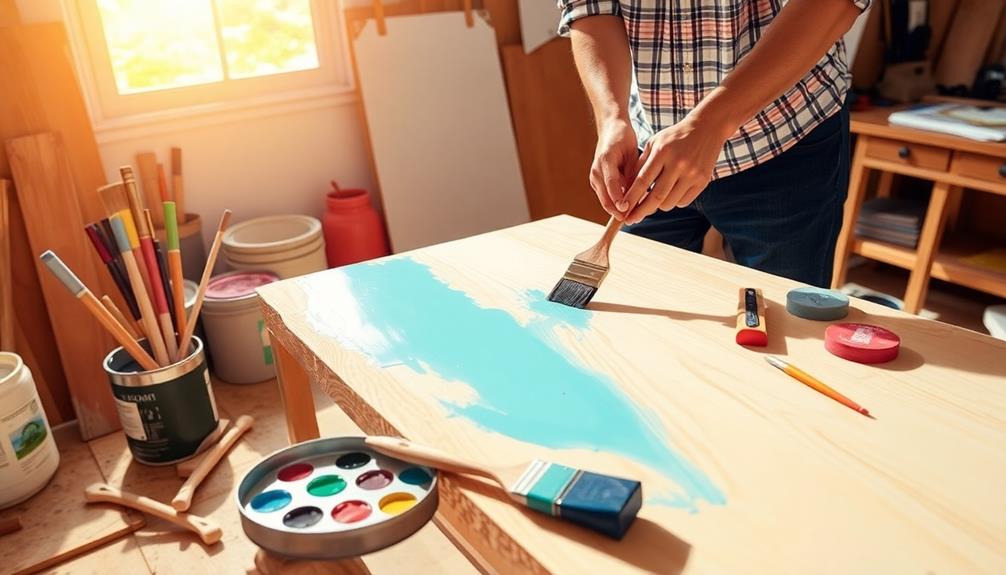
Start your painting project by thoroughly cleaning the particle board surface to eliminate any dirt or grease.
Once cleaned, sand it with fine-grit sandpaper to create a smooth base for better paint adhesion.
Next, apply a suitable primer—gray for dark paints and white for light paints—and let it dry for 24 hours.
Afterward, lightly sand the primer for an even finish.
When you apply the paint, use a fine finish roller to achieve a smooth application.
Here are some tips for your first coat:
- Always apply in 2-3 thin coats for better durability.
- Correct any drips before they dry to guarantee a clean finish.
- Use gloss or high-gloss paint for easy cleaning.
- Employ the lazy Susan technique for drawers to achieve a uniform coat.
For edges and detailed areas, a brush works best.
Keep in mind that patience is key; let each coat dry completely before applying the next.
This will give your furniture a fresh, professional look that lasts.
Enjoy your newly painted particle board furniture!
Sealing and Finishing Touches
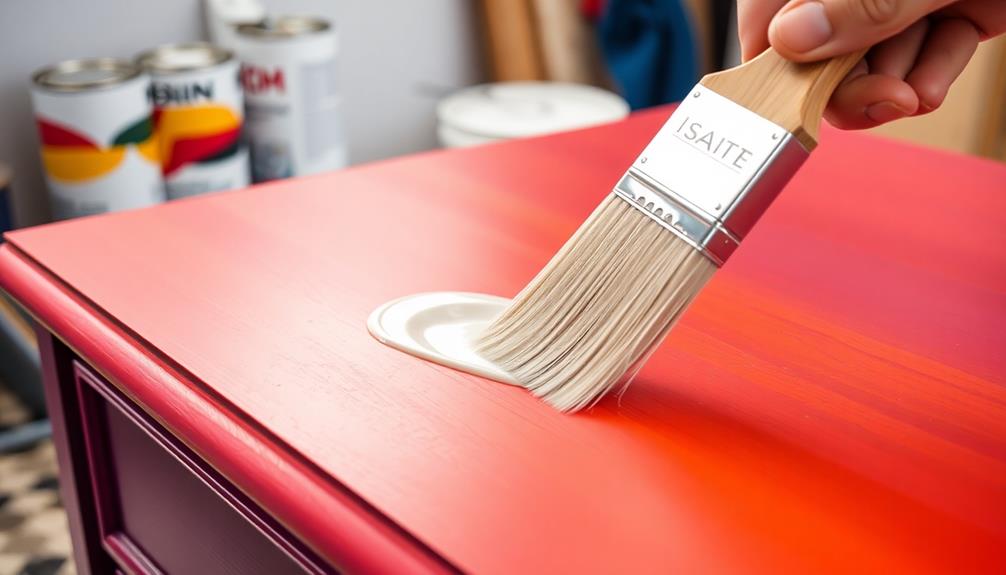
After applying your paint and achieving that smooth finish, it's time to focus on sealing and adding the final touches to your particle board furniture.
Start by sealing any exposed particle board areas with an acrylic sealer. This step prevents moisture absorption and protects your furniture from damage over time.
Next, apply a primer to the entire surface to enhance paint adhesion; use a gray primer for dark colors and a white primer for light colors.
Once the primer's dry, lightly sand the surface with fine-grit sandpaper. This creates a smooth base for your paint application.
After painting, you'll want to finish with a clear topcoat, like polyurethane. Apply multiple coats, sanding between each to achieve a durable and polished finish.
Lastly, don't forget to regularly inspect and maintain your sealed and painted surfaces. Reapply the topcoat as needed to prolong the refurbished look and safeguard against wear.
These sealing and finishing touches will guarantee your particle board furniture not only looks great but also stands the test of time.
Addressing Hardware Issues
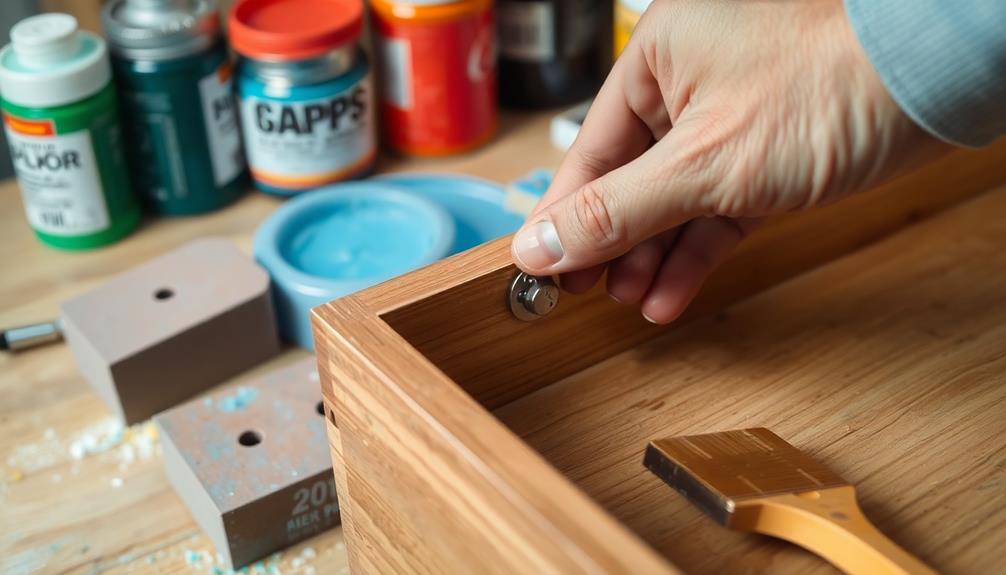
Addressing hardware issues is vital for guaranteeing your particle board furniture functions properly. When you're ready to replace or install hardware, follow these steps to avoid common pitfalls:
- Measure Accurately: Verify drawer pull holes are spaced correctly, typically five inches apart. This prevents misalignment.
- Fill Misaligned Holes: If previous holes are misaligned, use Bondo or a similar filler to create a smooth surface. Once dry, you can drill new holes.
- Drill Carefully: Always drill new holes with care. Excessive force can weaken the particle board, leading to further hardware issues down the line.
- Use Pilot Holes: If new hardware requires additional drilling, start with a small pilot hole. This helps guide the larger drill bit and reduces the risk of splitting the particle board.
Proper alignment of hardware is essential for functionality. Take your time to measure and mark placements accurately before you proceed with installation.
Structural Enhancements
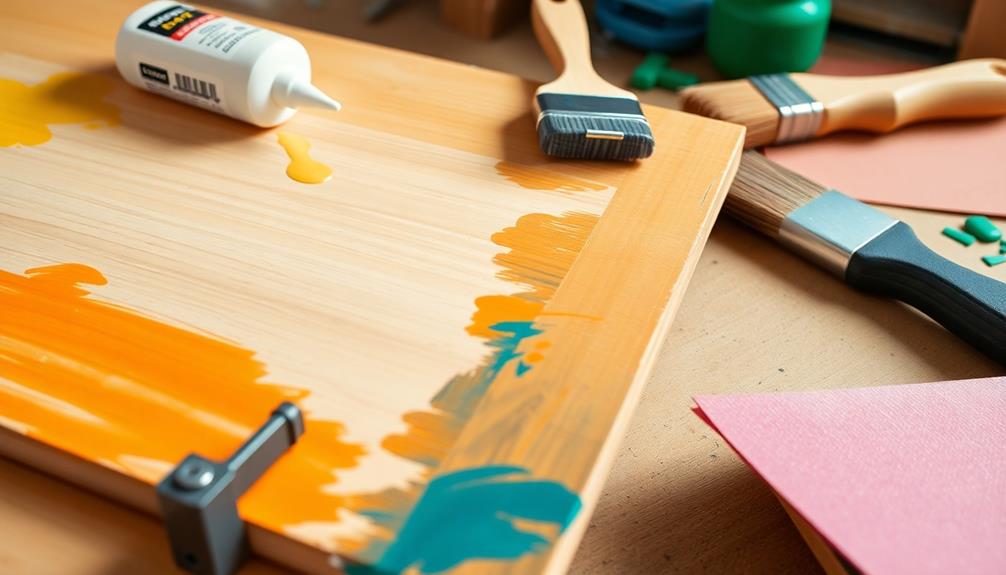
Enhancing the structure of your particle board furniture is vital for improving its longevity and performance. One effective way to achieve this is by elevating your furniture. Using legs or L brackets can prevent moisture damage by keeping it off the ground, reducing contact with water.
When you attach legs, make certain to use L brackets for a secure fit. Install screws from the inside of the dresser into the structural leg pieces to enhance stability.
If you notice any damaged areas, reinforce them with wood glue or Bondo before adding new hardware. This step greatly boosts structural integrity and durability. Proper alignment of your new hardware is essential, so use a level and take precise measurements. Misaligned holes can lead to complications down the line.
Additionally, consider adding weight-distributing supports to the underside of your furniture. This structural enhancement minimizes the risk of sagging and prolongs its lifespan.
Maintenance and Care Tips
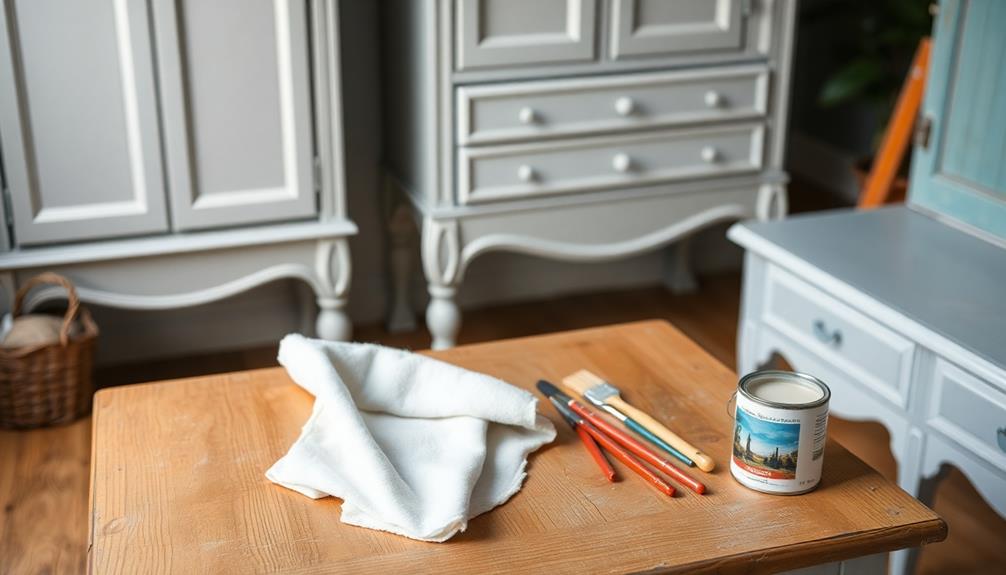
To keep your particle board furniture looking its best, regular maintenance is essential. By following these maintenance and care tips, you can extend the life and appearance of your furniture:
- Clean Regularly: Use a damp cloth to wipe down surfaces, removing dust and grime. Avoid harsh chemicals that could damage the finish.
- Protect the Surface: Apply a clear topcoat over painted areas. This adds a layer of protection against scratches and moisture, guaranteeing a longer-lasting finish.
- Monitor for Wear: Keep an eye out for signs of wear like chipping or fading paint. Reapply the protective finish as needed to maintain its appearance.
- Prevent Moisture Damage: Always use coasters and placemats to shield your furniture from spills. Particle board is sensitive to water exposure, and prevention is key.
Additionally, if you notice any scratches or chips, touch them up promptly with matching paint or wood filler. This helps preserve the aesthetic and integrity of your furniture.
Frequently Asked Questions
Can You Paint Over Particle Board Furniture?
Yes, you can paint over particle board furniture. Just make certain you prepare the surface properly by cleaning, sanding, and priming it first. This helps guarantee the paint adheres well and lasts longer.
What Is the Best Paint for Particle Board?
When you're choosing paint for particle board, consider acrylic for durability, latex for easy application, or spray paint for a smooth finish. Glossy options enhance aesthetics, while primer guarantees better adhesion and moisture protection.
How Do You Get Paint to Stick to Particle Board?
To get paint to stick to particle board, clean the surface, sand lightly, and apply a quality primer. Use multiple thin coats of paint and finish with a clear topcoat for durability and adhesion.
How to Paint Particle Board Furniture Without Sanding?
Did you know that 80% of paint failures happen due to poor adhesion? To paint particle board furniture without sanding, clean it well, apply a quality primer, and use durable paint for a smooth finish. Additionally, consider using chalk paint for an easy, fuss-free application, as it often requires no sanding or priming on surfaces like particle board. If you’re wondering how to use chalk paint, simply clean the surface, apply the paint in thin layers, and then finish it with a protective wax or sealer for durability. This can give your furniture a charming, matte finish while saving you time and effort.
Conclusion
So, you've transformed your particle board furniture from drab to fab—congratulations! Just remember, while you might be tempted to juggle chainsaws while flaunting your masterpiece, it's best to stick to a paintbrush. After all, who needs structural integrity when you've got a fabulous finish? Maintain that newfound beauty with care, and maybe keep the chainsaws for your next home improvement project. You're now the proud owner of a chic, albeit slightly fragile, work of art!
