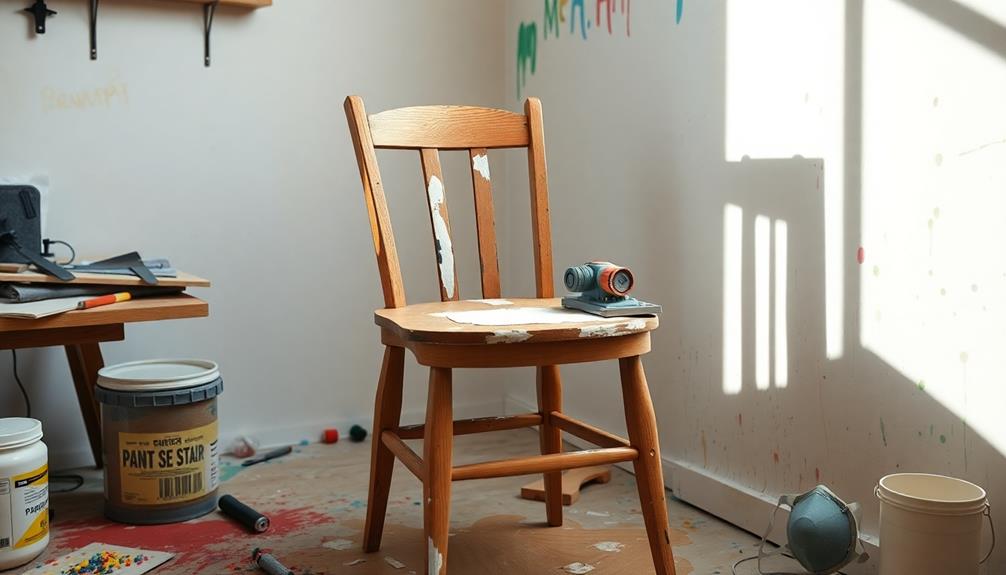
In order to strip paint from furniture, you should first choose an appropriate method such as chemical stripping, using a heat gun, or sanding. Apply a paint stripper evenly, following the instructions provided by the manufacturer. When using a heat gun, keep it a few inches away from the surface and move it slowly. When sanding, start with coarse grit sandpaper and finish with a finer grit for a smooth finish. Always wear protective gear and ensure good ventilation to avoid inhaling harmful fumes. Clean any residue with denatured alcohol afterwards. It is important to evaluate various factors for a successful outcome and consider the type of wood and paint being used, as different surfaces may react differently to different methods. For more specific advice on how to strip paint from wood furniture, make sure to determine whether the paint is oil-based or water-based, as this can affect your choice of stripper and tools. Taking your time and testing on a small section first can help prevent damage to the wood surface. Consider the age and condition of the wood before proceeding, as older or more delicate pieces may require extra care. Always test your chosen method on a hidden area to ensure it will not cause any damage. By carefully considering these factors, you will be able to effectively remove paint from wood without compromising its integrity or appearance.
Key Takeaways
- Choose the appropriate paint stripper based on your project's needs, considering safety and effectiveness of products like Citristrip or SmartStrip.
- Use a heat gun for detailed areas, maintaining a distance of about 2 inches from the surface to avoid damage.
- Sand surfaces starting with 80-grit sandpaper, progressing to finer grits for a smooth finish while sanding with the wood grain.
- Always wear protective gear and ensure proper ventilation to minimize exposure to harmful fumes and dust during the paint removal process.
- Clean surfaces post-removal with denatured alcohol or mineral spirits to eliminate residue before applying any new finishes.
Overview of Paint Removal Methods
When it comes to removing paint from furniture, you have several effective methods at your disposal. One popular technique is chemical stripping, using products like paint strippers that soften the paint for easy removal. This method works well for detailed areas, as chemical strippers come in various formulations tailored to different surfaces. Another option is sanding, which physically removes layers of paint and can be useful for larger surfaces. Heat guns can also be employed to soften paint, making the task easier. Just as with paint removal, maintaining furniture extends beyond this, as many people also seek effective ways to remove cat hair from furniture, using tools like lint rollers or vacuum attachments designed for upholstery.
For those looking to enhance their cleaning efficiency, consider investing in a vacuum that's designed for dust removal, such as best vacuums for dust removal, which can help in keeping your workspace clean during the paint removal process.
Another effective option is a heat gun. By applying high temperatures, you can loosen paint quickly, but you need to handle it carefully to avoid damaging the wood or creating fire hazards.
If your furniture has flat surfaces, sanding might be the best choice. Utilizing multiple grits of sandpaper helps achieve a smooth finish, but be cautious, especially with older furniture that could contain lead paint.
Regardless of the method you choose, always prioritize safety precautions. Verify you work in a well-ventilated area, wear protective gear, and be aware of the risks associated with lead exposure.
Choosing the Right Paint Stripper
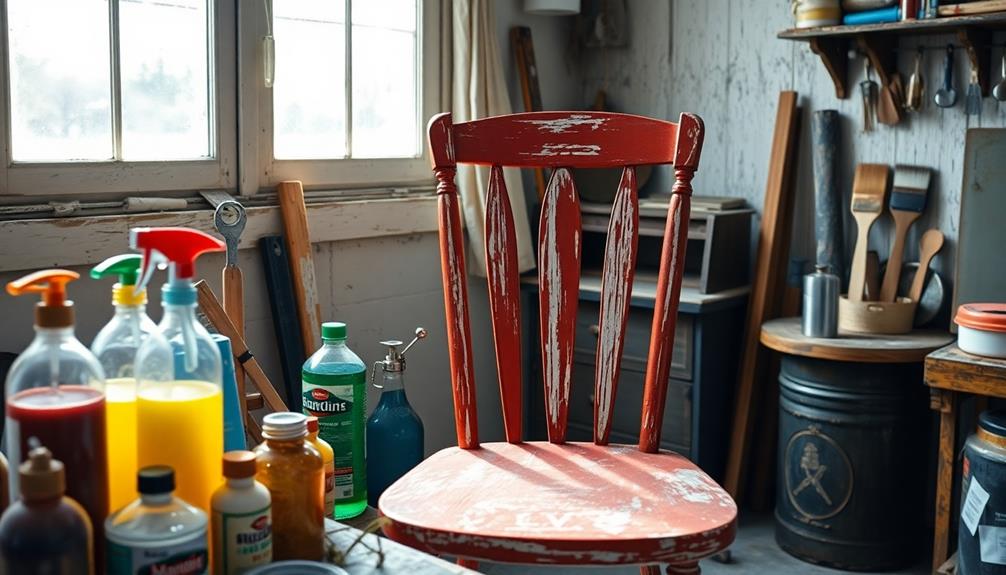
When choosing a paint stripper, you'll want to take into account the type that's best suited for your project, such as Citristrip or SmartStrip.
For instance, using a professional cleaning method can enhance the effectiveness of your paint removal efforts.
Safety is essential, so steer clear of strippers with harmful ingredients like methylene chloride.
Types of Paint Strippers
Choosing the right paint stripper is essential for achieving the best results in your furniture restoration project. With various options available, you'll want to evaluate the specific needs of your project, such as the type of paint and the condition of the furniture.
Additionally, understanding the importance of budgeting can help you allocate funds for necessary supplies and tools, enhancing your overall efficiency in the restoration process.
Here are three popular types of paint strippers:
- Citristrip: This less toxic chemical stripper is great for removing up to 7 layers of paint while leaving a pleasant citrus scent. It's perfect for detailed work on smaller surfaces.
- SmartStrip: If you're tackling a large project, this paste formulation can strip paint from wood effectively, removing up to 15 layers. Just be prepared for a dwell time of 3 to 24 hours for best results.
- Peel Away: Ideal for lead paint removal, this product can handle up to 30 layers and features a paper cover to control evaporation during the stripping process.
When selecting a paint stripper, evaluate factors like the number of paint layers, type of paint, and surface area.
Safety Considerations
Selecting the right paint stripper isn't just about effectiveness; safety should be a top priority as well. When choosing a stripper, always look for non-toxic options that are biodegradable or have low volatile organic compounds (VOCs) to minimize health risks. Avoid products that contain methylene chloride, as they can cause respiratory issues and skin irritation.
Before starting, check the manufacturer's safety data sheet (SDS) for detailed information about chemical components and recommended protective gear. This is essential, especially if you're dealing with lead-based paint, which requires additional precautions.
In the table below, you'll find a quick comparison of various paint strippers and their safety features:
| Paint Stripper | Non-Toxic | Recommended Protective Gear |
|---|---|---|
| Citristrip | Yes | Gloves, mask |
| Klean-Strip | No | Gloves, goggles |
| EcoFast Gel | Yes | Gloves |
| Smart Strip | Yes | Gloves, mask |
| Regular Paint Stripper | No | Gloves, goggles |
Always work in a well-ventilated area to further enhance your safety while removing paint.
Application Techniques
Applying the right paint stripper effectively can make all the difference in your furniture restoration project. Choosing a stripper tailored to your specific needs is key. For instance, Citristrip works wonders on detailed work, while SmartStrip can tackle up to 15 layers of paint.
Additionally, understanding the importance of content relevance and authority can help you choose the best products backed by reliable reviews and techniques.
Here are some essential tips for application:
- Application Thickness: Apply a thick, even coat of stripper. A thicker application enhances absorption, ensuring the product works effectively on your furniture.
- Dwell Time: Follow the manufacturer's instructions on dwell time, which can range from 30 minutes to 24 hours. This allows the stripper to loosen the paint properly.
- Observation Indicators: Watch for bubbling paint or color changes; these are signs that it's time to scrape the paint away.
After scraping, don't forget the post-application cleanup. Wipe away any excess stripper promptly to avoid residue buildup.
This step is vital for maintaining the integrity of the wood surface and ensuring a cleaner finish. By following these techniques, you'll set yourself up for success in your furniture restoration journey.
Using a Heat Gun Effectively
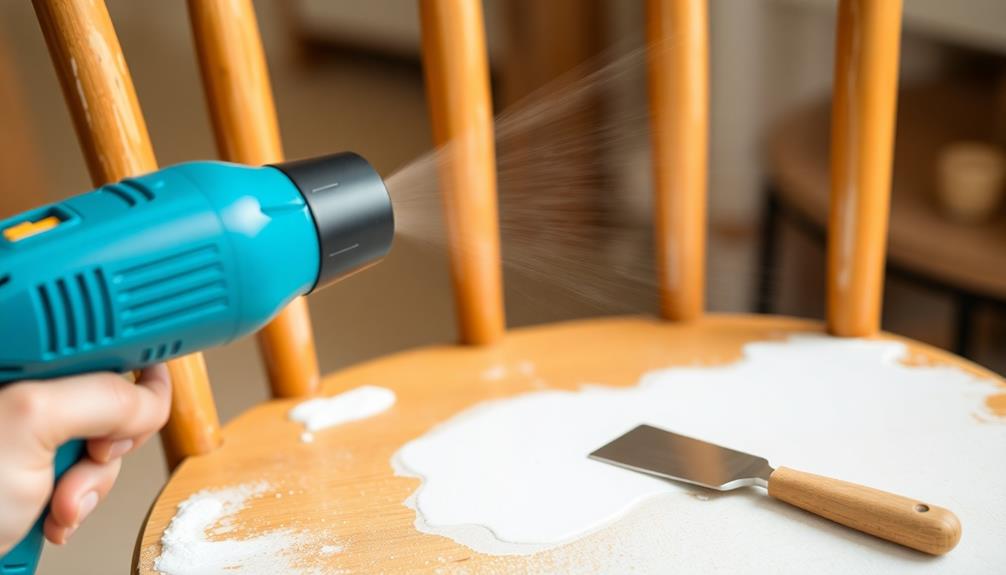
When you're ready to use a heat gun, keep it about 2 inches from the surface and move it back and forth until the paint bubbles.
This method can be particularly effective for removing paint from furniture that has intricate details or multiple layers of finish.
Remember to prioritize safety by having a fire extinguisher nearby and working in a well-ventilated area.
Once you've removed the paint, clean the surface with denatured alcohol or mineral spirits to prepare it for finishing.
For a smooth finish, you might also consider using an airless paint sprayer after your furniture is stripped.
Heat Gun Operation Basics
Using a heat gun effectively can make paint removal from furniture a straightforward task. To start, hold the heat gun nozzle about 2 inches away from the painted surface. Move it back and forth to evenly distribute heat, causing the paint to bubble and loosen.
It's important to manage your budget during home improvement projects, as a plan for managing income and expenses can help you allocate funds wisely. Here's a quick guide to help you:
- Heat Application: Keep the heat gun moving to prevent damage to the wood. High temperatures can ignite flammable materials, so stay alert.
- Scraping: Once the paint is softened, use a scraper at a 30-degree angle to push away the loosened paint. Make sure to revisit detailed areas as needed for complete removal.
- Clean Up: After removing the paint, clean the surface with denatured alcohol or mineral spirits to eliminate any remaining residue and prepare for refinishing.
Always work in a well-ventilated area to avoid inhaling fumes generated during the heating process. Following these steps will guarantee an effective and efficient paint removal experience, leaving your furniture ready for its next chapter.
Safety Precautions Required
Operating a heat gun requires careful attention to safety to prevent accidents and guarantee a smooth paint removal process. First and foremost, always wear safety goggles and a respirator. These will protect your eyes and lungs from harmful paint fumes and debris.
It's also essential to work in a well-ventilated area to minimize inhalation of any fumes. Additionally, make sure to keep your workspace free from dust and allergens, as a clean environment can enhance your overall safety and efficiency while working on your project. For further protection, consider using an air purifier to maintain air quality and reduce harmful particles in the air during your task, as mentioned in air quality considerations.
Keep a fire extinguisher nearby, as high temperatures can ignite materials if left unattended. When using the heat gun, maintain a safe distance of about 2 inches from the painted surface. This distance helps avoid overheating and damaging the wood.
Move the heat gun back and forth to evenly distribute the heat, ensuring effective paint removal without risking harm to the furniture.
Once you've finished, remember to clean the surface with mineral spirits or denatured alcohol to eliminate any remaining residue.
Post-Removal Surface Cleaning
After you've successfully stripped away the paint with a heat gun, it's time to clean up the surface to guarantee it's ready for finishing.
You'll want to verify the wood furniture has cooled completely to avoid burns or damage from your cleaning solution.
It's essential to recognize that choosing the right cleaning technique can greatly impact the final appearance of your furniture, much like how different coffee varieties can enhance a brew's flavor profile.
Here's how to tackle the post-removal surface cleaning effectively:
- Choose Your Cleaning Solution: Use denatured alcohol or mineral spirits to eliminate any remaining paint residue. These solvents work well for paint removal and prepare the surface for other treatments.
- Apply with Care: Dampen a clean cloth or rag with your chosen cleaning solution. Wipe the area in the direction of the wood grain to achieve the best results and avoid scratching the surface.
- Let It Dry: Allow the wood to dry thoroughly before proceeding with sanding or applying any finishes. This verifies proper adhesion and a smooth final result.
Sanding Techniques for Paint Removal
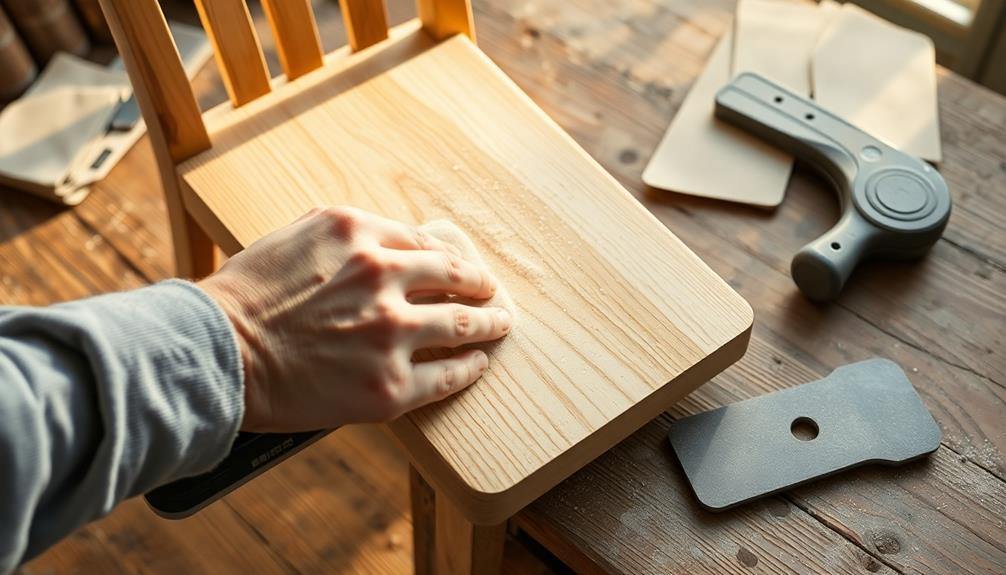
When you're ready to tackle paint removal from furniture, sanding is one of the most effective techniques to strip away layers and prepare the surface for refinishing. Understanding the mechanics of brewing methods can also lead to a mindful approach to other DIY projects, like furniture restoration.
Start with 80-grit sandpaper to remove the bulk of old paint. This coarse grit effectively tackles stubborn layers, but be careful not to damage the wood underneath. For smoother results, progress to 150-grit sandpaper, which refines the surface and eliminates rough patches. Finally, finish with 220-grit sandpaper for a fine, polished surface that's ready for staining or sealing.
If you're dealing with large, flat areas, consider using a power sander to speed up the process. Remember to always sand with the grain of the wood; this practice prevents scratches and enhances the final appearance of your furniture. Clean the surface thoroughly before and after sanding to remove dust and promote better adhesion for any subsequent finishes.
While sanding is a straightforward paint stripping method, guarantee you're taking necessary precautions. The quality of your finish will greatly depend on how well you prepare and sand the wood, so take your time for the best results.
Safety Precautions to Consider
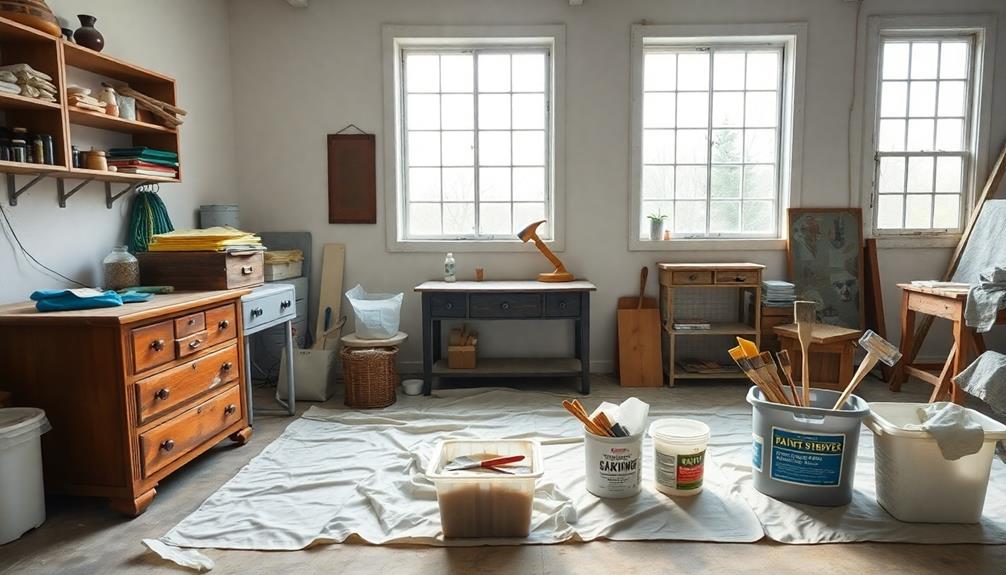
Before diving into paint removal, it's essential to prioritize your safety. Here are some vital precautions you should consider:
1. Wear Protective Gear: Always wear safety goggles and a respirator with a chemical cartridge when using paint strippers or heat guns. This protects your eyes from splashes and your lungs from harmful fumes.
Additionally, make sure that your workspace is equipped with proper heating solutions, like the best heat pumps, to maintain a comfortable environment while you work.
2. Guarantee Proper Ventilation: Work outdoors or in a well-ventilated area. This minimizes inhalation of toxic fumes that can arise from chemical strippers or heated paint. Good airflow is key!
3. Be Aware of Lead Paint: If your furniture was painted before 1978, it may contain lead paint. Testing for lead is essential before you start the removal process to avoid exposure.
Additionally, use protective clothing like disposable coveralls and gloves to prevent skin contact with chemicals.
It's also wise to keep a fire extinguisher handy when using heat tools, as heat guns can ignite flammable materials if mishandled.
Taking these safety precautions seriously will help guarantee a safer paint removal experience.
Materials Needed for Stripping Paint
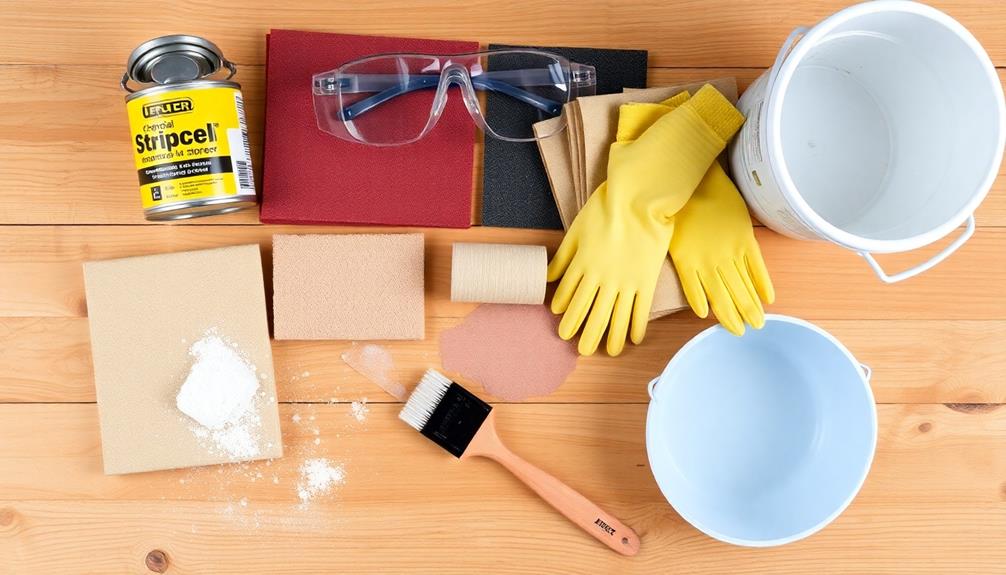
To effectively strip paint from furniture, you'll need a few essential materials on hand. First, invest in a high-quality paint stripper like Citristrip. This product is effective for removing multiple layers and is less toxic than many alternatives.
Additionally, consider using a Graco FFLP Fine Finish Low Pressure Reversible Tip for any fine detail work you might need to do after stripping, as it can help achieve a superior finish. You'll also want a paint scraper for scraping off the loosened paint after applying the stripper.
Next, gather steel wool. This is particularly useful for detailed scraping on curved surfaces and intricate designs, ensuring you don't miss any stubborn spots. Remember to protect your skin by wearing rubber gloves, and consider a mask for added safety to shield your respiratory system during the process.
To keep your workspace clean and organized, lay down drop cloths or a tarp to catch any drips or debris. This will protect your work surface and prevent any messy accidents.
Finally, prepare some Saran wrap to cover the treated areas after you apply the paint stripper. This helps maintain moisture and enhances effectiveness, ensuring you get the best results from your paint stripping project.
With these materials ready, you'll be set to start the paint removal process efficiently.
Step-by-Step Paint Stripping Process
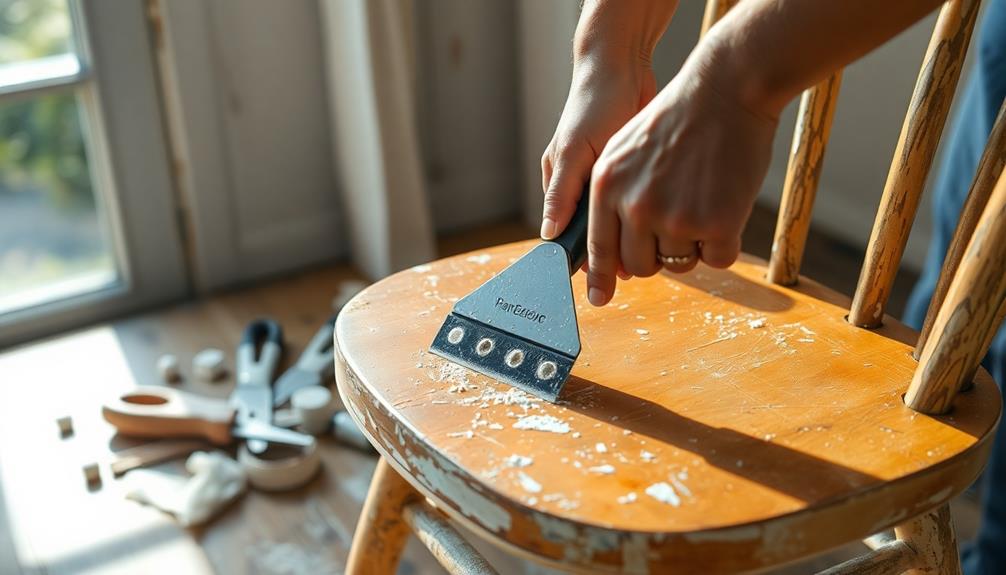
Kick off the paint stripping process by choosing a well-ventilated area and laying down a tarp to safeguard your workspace. Grab your old paintbrush and apply a generous coat of Citristrip or your chosen paint stripper to the painted wood surface.
Next, follow these steps:
- Wait for the Stripper to Work: Allow the paint stripper to sit for the recommended time, typically between 30 minutes to 24 hours. Look for bubbling or cracking in the paint; this means it's ready for removal.
- Scrape Away the Paint: Using a metal scraper at a 30-degree angle, gently lift away the softened paint. Work in sections and reapply the stripper as needed for stubborn areas.
- Clean the Wood Surface: After scraping, use mineral spirits to clean the wood surface and remove any remaining residue. Confirm the wood is completely dry before you proceed to sanding.
Cleaning Up After Stripping
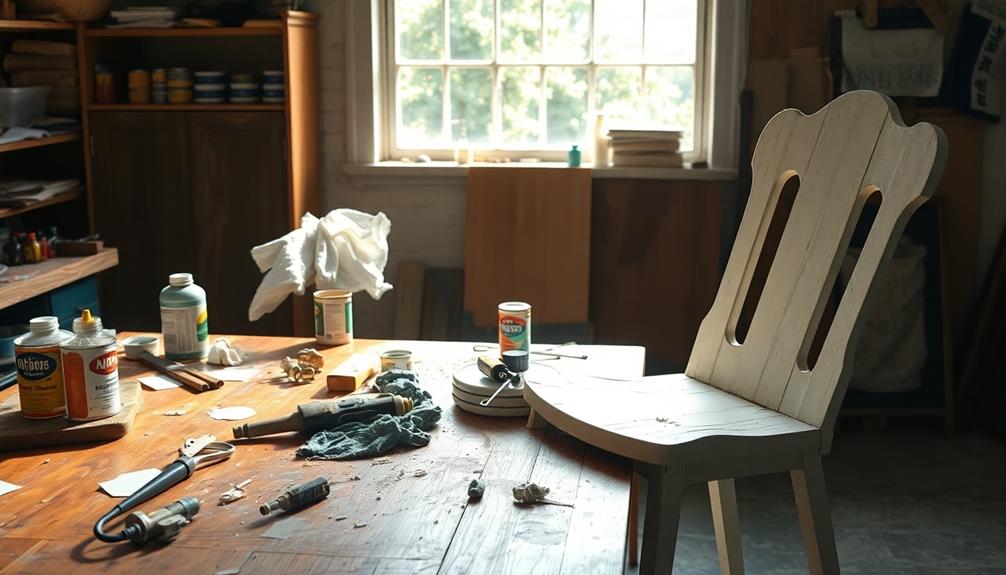
After scraping away the paint, it's important to tackle the cleanup process effectively.
Start by misting your drop cloths with water before folding them up. This helps minimize airborne dust and guarantees safe disposal in trash bags.
Next, grab a HEPA-filtered vacuum to clean the area thoroughly, capturing any remaining dust and debris from the paint removal process.
Once you've vacuumed, wipe down all surfaces with a damp cloth and mild detergent. This step removes any residual paint stripper and dust, helping you achieve a clean workspace.
For the rinse water you used, be certain to dispose of it in designated containers to prevent contamination of local water sources.
It's vital to follow local hazardous waste disposal guidelines. If you've collected any chemical strippers or lead paint chips during your cleanup, consult local hazardous waste programs for proper disposal methods.
When to Seek Professional Help
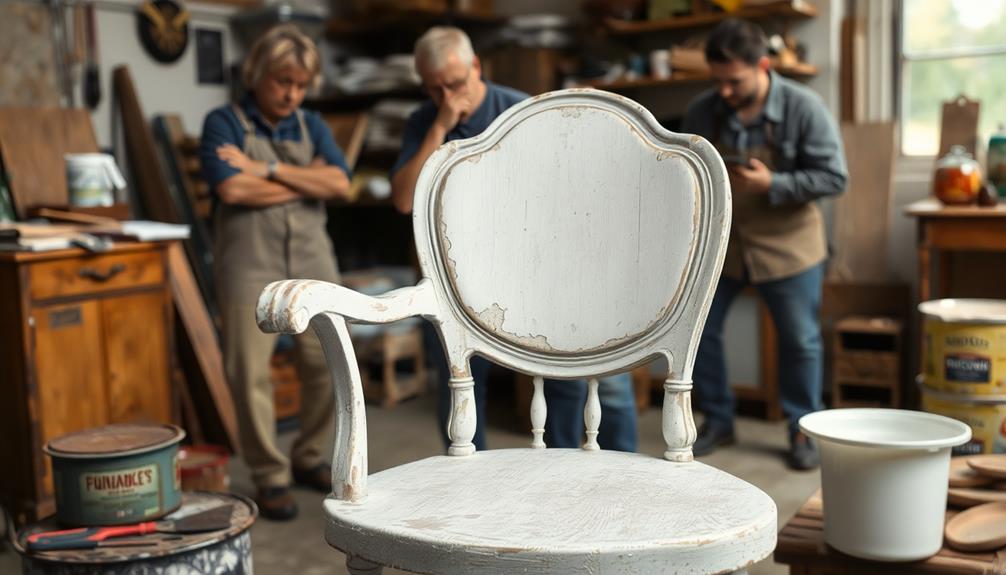
Cleaning up after stripping paint can be a straightforward process, but knowing when to seek professional help is equally important. Here are three situations to ponder:
- Intricate Areas: If your furniture has intricate areas or joints that require disassembly for effective paint removal, it's wise to call in experts. They've the tools and experience to navigate these challenging spots without causing damage.
- Lead Paint Presence: If you find lead paint during testing, don't risk your health. Hiring a professional experienced in safe lead paint removal practices is vital to minimize health risks associated with exposure.
- Valuable or Antique Pieces: For furniture that holds significant monetary or sentimental value, professional help is essential. Incorrect removal methods can diminish their aesthetic appeal and value, making it important to trust specialized skills for restoration.
If you lack the time or confidence to tackle the project, professionals can expedite the process and guarantee quality results.
Frequently Asked Questions
What's the Easiest Way to Remove Paint From Furniture?
If you're looking for the easiest way to remove paint, consider using a paint stripper. It dissolves the paint quickly, making the process less labor-intensive. Just remember to follow safety precautions while you work.
Will Vinegar Remove Paint From Wood?
Vinegar's versatile virtues can indeed help you remove paint from wood. You'll simply heat some up, apply it, and let it sit. Just remember, it's best for water-based paints, not oil-based ones.
Can You Get Dried Paint Out of Furniture?
Yes, you can get dried paint out of furniture. Try using chemical strippers, warm water, a heat gun, or sanding. Just remember to test a small area first to guarantee the finish won't be damaged.
How Do You Remove Paint From a Wooden Couch?
You've got a paint-covered wooden couch? No sweat! Just grab a heat gun and a scraper, and you'll be peeling that paint away like it's nobody's business. Safety first—gear up and get to work!
Conclusion
In the quest to restore your furniture, remember that patience is key—much like Michelangelo chiseling away to disclose his masterpiece. By choosing the right method and taking safety precautions, you can breathe new life into your pieces. Whether you opt for a heat gun or sanding, each step brings you closer to revealing the beauty beneath the layers. Don't hesitate to seek professional help if needed; sometimes, even the greatest artists need a little support along the way.
