
You can easily dye your sofa to give it a fresh look. Start by reinforcing seams with heavy-duty thread to prevent fraying during the process. Test your dye on a small, inconspicuous area to ensure color compatibility. Mix your dye carefully, keeping notes on ratios for consistent results. Apply the dye evenly, avoiding direct sunlight to maintain color vibrancy. After dyeing, protect your investment with a fabric protector like ScotchGard. Regular maintenance, like spot cleaning and checking seams, will help keep your sofa looking vibrant. If you'd like more detailed steps, there's plenty more to explore ahead.
Key Takeaways
- Inspect and reinforce seams and frame to ensure structural integrity before starting the dyeing process.
- Choose a compatible fabric dye and test it on a small, inconspicuous area for color accuracy.
- Mix dye according to instructions and apply evenly, maintaining consistency for uniform color.
- Allow the fabric to air dry completely after dyeing to prevent mold and maintain color vibrancy.
- Apply a fabric protector post-dyeing to shield against stains and fading for long-lasting results.

Rit Dye – Liquid Fabric Dye for Crafting, Clothing, and Décor – 8 oz. Bottle – Black (Gloves Included)
Easy to Use – The process is super easy to follow. Simply add dye to hot water with…
As an affiliate, we earn on qualifying purchases.
As an affiliate, we earn on qualifying purchases.
Introduction
When you decide to dye your sofa, maintaining its fabric is key to achieving great results. Establishing a weekly brushing routine, using fabric-specific cleaning techniques, and tackling any stubborn stains like wine can help prepare your furniture for the dyeing process. With the right care, you'll ensure your sofa looks vibrant and lasts for years to come.
Weekly Fabric Brushing Routine
To keep your fabric sofa looking its best, a weekly brushing routine is essential. Regular brushing helps remove dust, dirt, and debris that can accumulate and settle into the fibers over time. By dedicating a few minutes each week to this task, you can significantly enhance the overall cleanliness and appearance of your sofa.
Using a soft-bristled upholstery brush or a lint roller is effective for lifting pet hair and other particles. Be sure to work in the direction of the fabric nap, as this technique avoids damaging the fibers while ensuring a thorough clean. It's recommended to perform this brushing routine at least once a week to keep the fabric looking fresh and to prolong the life of the dye applied to the sofa.
Additionally, incorporating a vacuum with an upholstery attachment can complement your brushing routine. This helps you reach crevices and provides a deep clean of the sofa fabric. By maintaining this weekly routine, you not only preserve the beauty of your sofa but also extend its lifespan, allowing you to enjoy your investment for years to come.
Fabric-Specific Cleaning Techniques
Effective cleaning techniques vary based on the type of fabric your sofa is made from, making it crucial to understand the specific needs of your upholstery. Start by vacuuming the sofa to remove dust, hair, and debris. This prepares the fabric for a more effective cleaning process.
For water-safe fabrics, mix a mild detergent with warm water. Use a soft cloth or sponge to gently scrub the surface, being careful to avoid excessive moisture that could damage the material. If you're dealing with tougher stains, consider a fabric cleaner specifically designed for your sofa's material. Always follow the manufacturer's instructions for the best results.
Before applying any cleaning solution, perform a spot test on an inconspicuous area. This step ensures that the cleaner won't discolor or damage the fabric. After cleaning, it's essential to allow the sofa to air dry completely. This helps prevent mold or mildew growth, particularly in humid environments. By adhering to these fabric-specific cleaning techniques, you can maintain the beauty of your sofa while preparing it for a fresh dye job.
Targeting Wine Stains
Wine stains can turn a relaxing evening into a headache, especially when they find their way onto your fabric sofa. To tackle these pesky stains, you need to act quickly. Start by gently blotting the stain with a clean cloth. This helps absorb as much wine as possible before you apply any cleaning solution.
For a simple yet effective approach, mix equal parts white vinegar and water. Apply this mixture to the stain, and blot it with a cloth to lift the wine from the fabric upholstery. If the stain proves to be more stubborn, consider using a specialized upholstery cleaner or a stain remover designed for your fabric type.
Once you've treated the stain, rinse the area with cold water to remove any cleaning residue. Allow it to air dry completely before contemplating a dye job to cover any lingering discoloration. By following these steps, you'll not only address the wine stain effectively but also preserve the integrity of your sofa's fabric. Remember, quick action is key to preventing permanent discoloration!

Scotchgard Fabric Water Shield, 13.5 Ounces, Repels Water, Ideal for Couches, Pillows, Furniture, Shoes and More, Long Lasting Protection
Strong fabric protection repels water based spills for easier cleanup
As an affiliate, we earn on qualifying purchases.
As an affiliate, we earn on qualifying purchases.
Avoiding Direct Sunlight
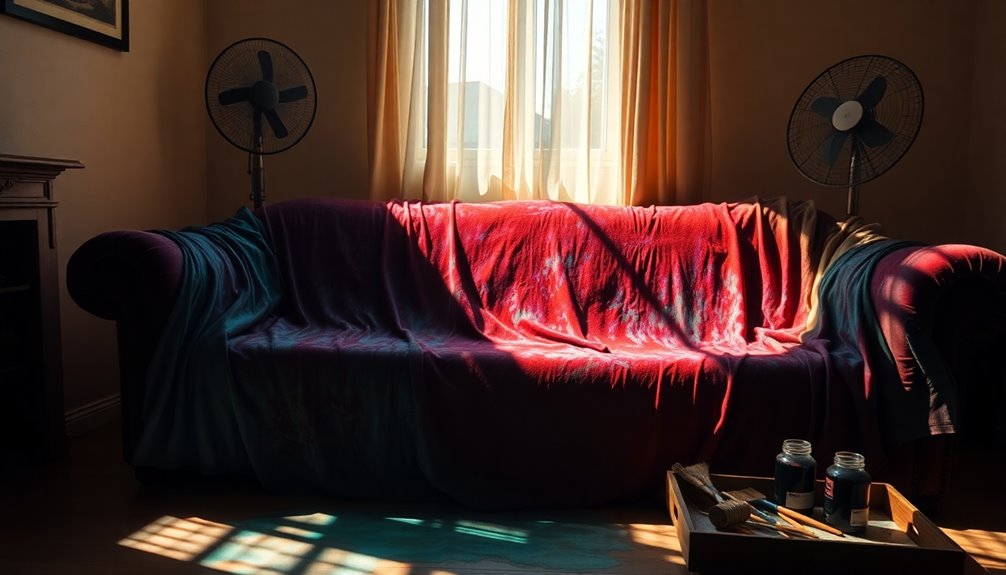
To keep your newly dyed sofa looking fresh, it's essential to protect it from direct sunlight. Consider using scratch-resistant fabric options, decorative blankets, or fabric protectant sprays to shield the color. These simple steps can help you maintain the vibrant hues you've worked hard to achieve.
Scratch-Resistant Fabric Options
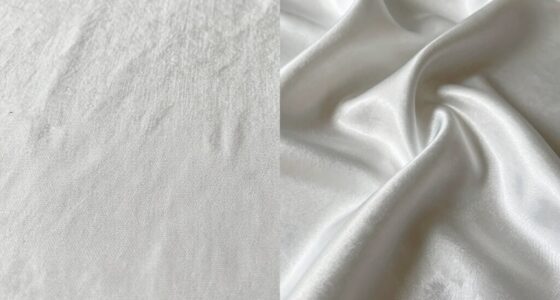
When choosing scratch-resistant fabric options for your sofa, it's crucial to consider materials that can stand up to wear and tear while also resisting fading from sunlight. Synthetic fabrics like polyester or nylon are excellent choices, as they're inherently more resistant to scratches compared to natural fibers like cotton or linen. Look for upholstery with a tight weave and a high rub count; these characteristics enhance durability and help prevent damage over time.
Fabrics designed for outdoor use, such as acrylic or solution-dyed polyester, often come with UV protection, guarding against fading in direct sunlight. Opting for textiles with a protective coating, like Teflon or Scotchgard, can further repel stains and resist abrasion. This way, you maintain the fabric's appearance longer.
Lastly, avoid placing your sofa in direct sunlight or using fabric that lacks colorfastness, as this can lead to fading and deterioration over time. By selecting the right scratch-resistant fabric options, you'll ensure your sofa not only looks great after a dye bath but also withstands the rigors of everyday life.
Protect With Decorative Blankets
Although you might love the natural light streaming into your living space, it's essential to protect your sofa from the damaging effects of direct sunlight. One effective way to do this is by using decorative blankets. These blankets not only reduce the risk of your sofa fading and discoloring over time but also add a stylish touch to your decor.
When selecting blankets, opt for those made from UV-resistant materials to provide an extra layer of protection against harmful rays. This choice enhances the protective qualities of your decor while keeping your sofa looking fresh. Additionally, choose colors that complement your sofa's design, creating a cohesive look in your living area.
Don't forget to regularly rotate and wash these decorative blankets. This maintenance helps preserve their appearance and ensures they continue to offer optimal protection. During warmer months, consider using lighter-weight blankets to allow for better airflow while still shielding the fabric from sun exposure.
Using Fabric Protectant Sprays
After taking steps to protect your sofa with decorative blankets, consider using fabric protectant sprays to further enhance its durability. These sprays create a barrier that repels stains and spills, helping maintain the vibrancy of your newly dyed fabric. For optimal effectiveness, make sure to apply the fabric protectant only after the dye has fully set and dried.
When you apply the protectant, avoid doing so in direct sunlight. UV rays can degrade both the protectant and the dye, leading to unwanted color fading. Follow the manufacturer's instructions for application, ensuring even coverage to maximize the protective benefits.
It's also crucial to regularly reapply the fabric protectant, typically every 6 to 12 months, to keep its protective qualities intact and prolong the life of your dyed sofa. By taking these steps, you'll not only safeguard your investment but also enjoy your beautifully dyed sofa for years to come. So, grab your fabric protectant spray, choose a shady spot, and give your sofa the protection it deserves!
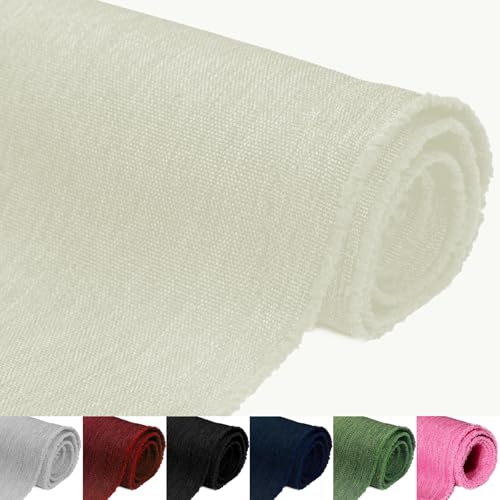
Gryvmnos 900D Upholstery Fabric, Waterproof Canvas Fabric by The Yard, 58" W Heavy Duty UV Resistant Durable Outdoor Fabric for DIY Sewing Tool Bags Chairs Furniture Covers, White, 1 Yard
【Heavy Duty Canvas Fabric】This premium 100% polyester canvas fabric by the yard features our signature "Dragon Weave" texture,…
As an affiliate, we earn on qualifying purchases.
As an affiliate, we earn on qualifying purchases.
Upholstery Seam Reinforcement
When you dye your sofa, reinforcing the upholstery seams is crucial for keeping the fabric intact and looking great. This step not only addresses frame stability concerns but also prepares the piece for a fresh, vibrant transformation. By securing your seams, you'll ensure the cozy comfort of your newly dyed fabric lasts longer.
Frame Stability Concerns
Ensuring your sofa's seams are reinforced is crucial for maintaining its stability during the dyeing process. Before you start, take a moment to inspect the frame and upholstery for any structural issues. A sturdy frame is essential; any weakness can lead to further complications during dyeing.
Focus on the seams, especially at high-stress points like corners and edges. Use heavy-duty upholstery thread and a needle designed for thick fabrics to stitch over weak areas, enhancing their durability. If you notice any frayed or compromised seams, consider applying a fabric adhesive or seam sealant for added support. This precaution helps prevent fabric wear or tearing, ensuring a smoother dyeing experience.
Don't forget to check the overall stability of the sofa's frame. A solid structure allows the upholstery to maintain its integrity throughout the dyeing and drying processes. Regular inspections can help you catch potential issues before they escalate, ensuring your sofa looks great long after the dyeing is done. By reinforcing seams and addressing frame stability, you set the stage for a successful sofa transformation.
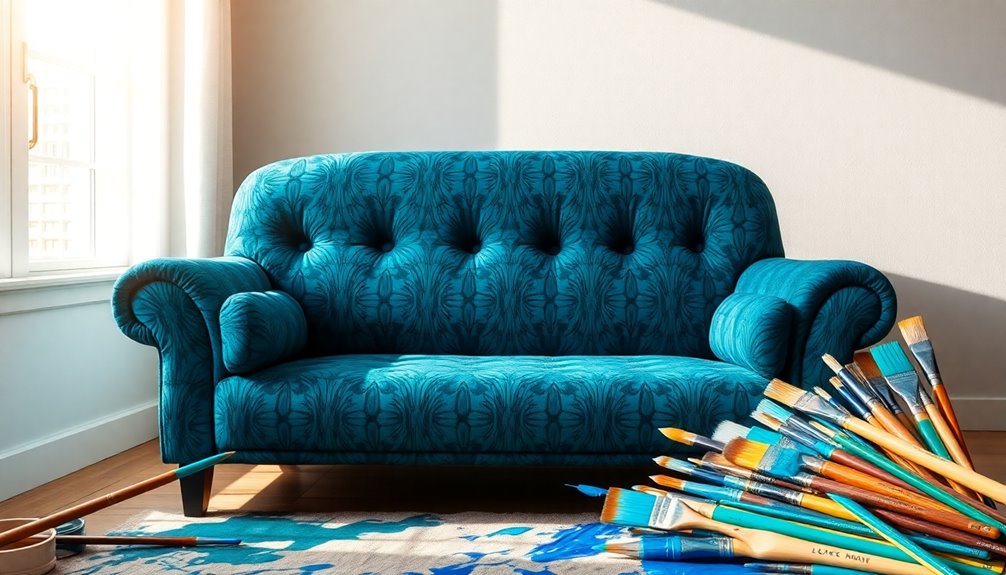
Reupholstering for a Fresh Look
Reupholstering your sofa involves more than just choosing a stylish fabric; reinforcing the upholstery seams is essential for durability. Start by using heavy-duty thread and a sewing machine to stitch the seams securely. This ensures they can withstand wear over time, especially in high-stress areas like corners and edges. Double-stitching these seams adds extra strength, significantly reducing the risk of future tearing.
When selecting fabric, opt for upholstery-grade fabric with a higher rub count—over 30,000 double rubs is ideal. This choice enhances the longevity of your reupholstering project and minimizes the frequency of repairs.
To keep the fabric tight and prevent fraying, consider using a staple gun to secure it firmly to the frame. This method helps maintain the integrity of the seams. Additionally, inspect any worn-out padding or batting at the seams and replace it as necessary. Doing so not only preserves the overall shape of your sofa but also ensures a professional-looking finish. By focusing on these critical aspects, you'll achieve a fresh look that stands the test of time.
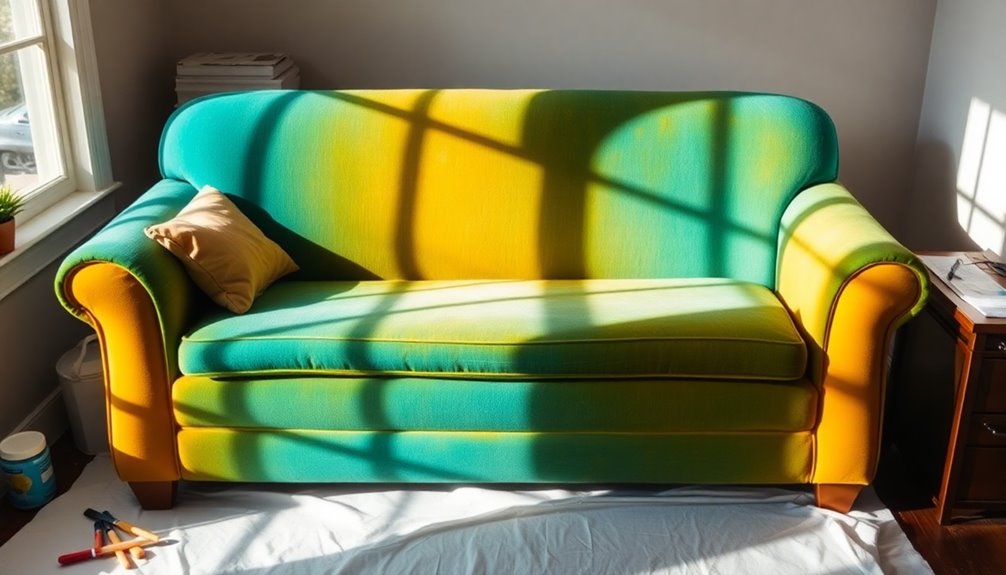
Cozy, Vibrant Fabric Transformation
After giving your sofa a fresh look through reupholstering, you can take it a step further by transforming its color with dye. Before diving into the dyeing process, it's essential to focus on reinforcing seams. This step is crucial to prevent fraying and ensure your newly dyed fabric lasts, especially in high-use areas like cushions and armrests.
Start by using a strong upholstery thread and a sewing machine or hand-sewing techniques to securely stitch seams. For added support, consider applying a fabric adhesive along the seams, making sure it's compatible with both the dye and the fabric type. Double-stitching seams is another effective method to enhance durability; this involves sewing over the original seam, providing an extra layer of strength.
Once you've completed the dyeing, don't forget to check the reinforced seams for any signs of wear or stress. If you notice any potential issues, apply additional stitching or adhesive as needed to maintain the integrity of your fabric transformation. By focusing on these details, you'll ensure your beautifully dyed sofa remains cozy, vibrant, and resilient for years to come.

PAVILIA Yellow Herringbone Throw for Couch, Decorative Outdoor Accent Blanket, Faux Cashmere, Lightweight, 50×60
YELLOW HERRINGBONE THROW BLANKET: Measures 50 x 60 inches, this faux cashmere blanket with fringe tassel is made…
As an affiliate, we earn on qualifying purchases.
As an affiliate, we earn on qualifying purchases.
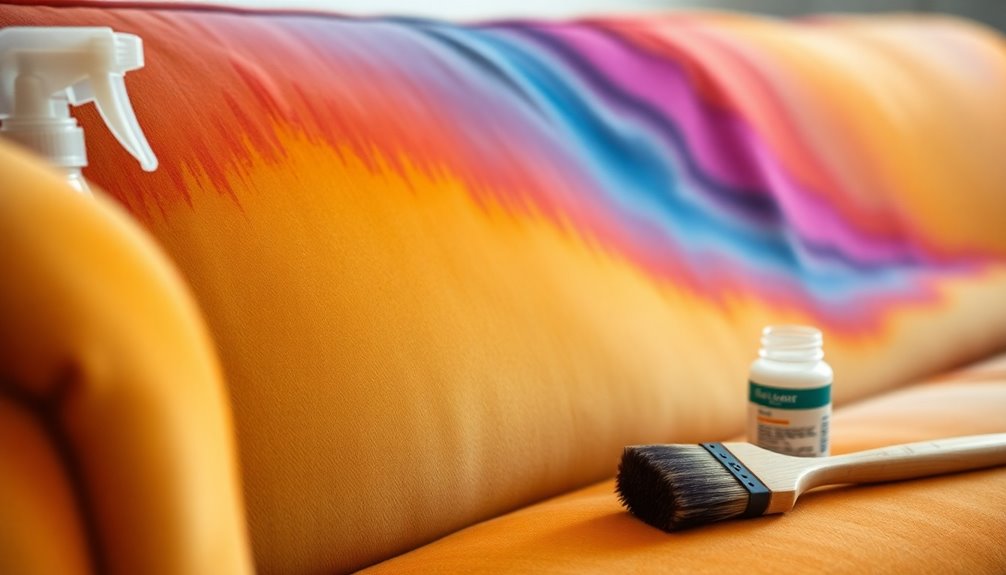
Color Blending Techniques
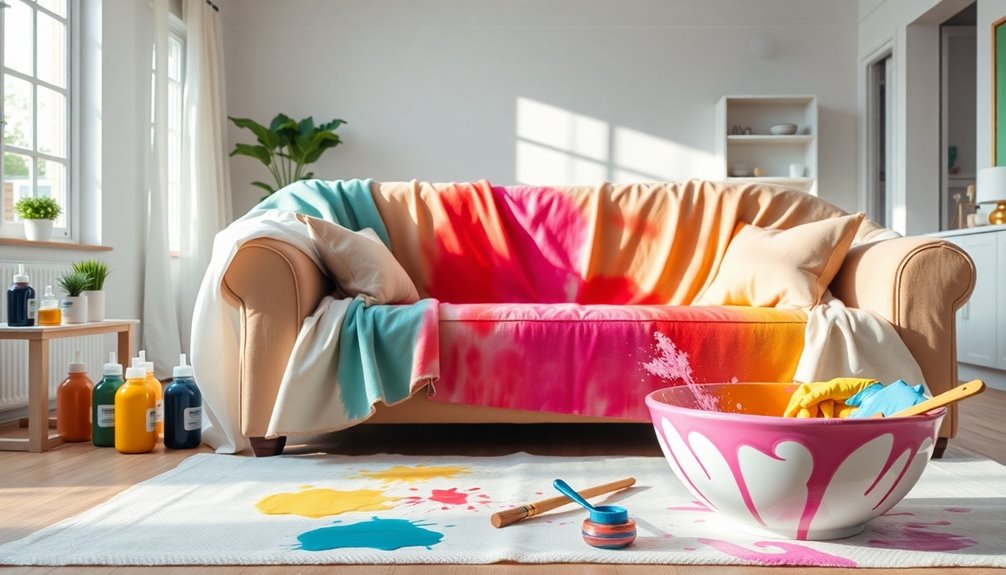
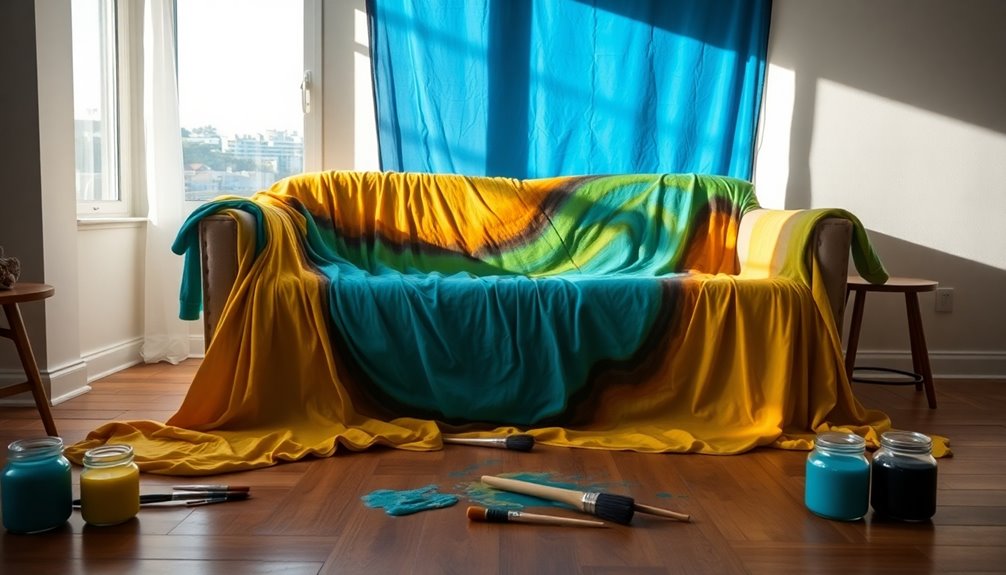
Mixing dyes can transform your sofa into a stunning centerpiece that reflects your personal style. To achieve a custom color, you'll want to experiment with dye blending by combining different shades, like brown and black, in specific ratios. Always start by testing the blended dye on a small, inconspicuous area of the fabric. This step ensures the combined colors yield the intended result before you apply them to larger sections.
Consider the original fabric color and its undertones, as they'll interact with the dye and affect the final appearance. Lighter fabrics typically yield better results with dye blending, so keep this in mind when planning your project.
Consistency is key—use the same mixing method and maintain the same proportions for each batch to ensure uniform color throughout your sofa. Document the dye blending ratios and application techniques you use for easy reference in the future. This way, you can replicate successful color results for touch-ups or other projects. With careful planning and experimentation, you'll create a beautiful, personalized hue that breathes new life into your sofa.
Maintenance for Vibrant Upholstery

To keep your newly dyed sofa looking vibrant and fresh, it's essential to adopt a regular maintenance routine. Start by regularly vacuuming your sofa to remove loose particles and prevent dirt from settling into the fabric, which can dull the color over time. After dyeing, apply a fabric protector like ScotchGard to create a barrier against stains and spills. This step will help maintain that vibrant color you achieved.
Using ColorStay Dye Fixative post-dyeing is also crucial. It locks in the color and reduces the chances of fading or color transfer onto your clothing. If you do encounter any spills, clean them immediately with a damp cloth and a mild detergent. Avoid harsh chemicals, as they could strip the dye or alter its appearance.
Keep an eye on your sofa for signs of color fading or unevenness. If you notice any issues, consider reapplying dye or doing touch-ups as needed. By following these steps, you can ensure your dyed sofa remains a stunning centerpiece in your living space for years to come. Regular care will keep it looking as vibrant as the day you dyed it!
Conclusion
In the end, dyeing your sofa can breathe new life into your living space, offering a budget-friendly alternative to purchasing new furniture. The dyeing process involves careful preparation, from cleaning the fabric thoroughly to ensuring the dye is compatible with your sofa's material. Rit dye, for instance, works well on a variety of fabrics, making it a popular choice for this project.
When you apply the dye, use thin, even coats for a uniform finish. Techniques like a paint sprayer or foam brush can help you achieve this. Don't be surprised if multiple coats are necessary to get the desired color saturation. After dyeing, utilizing a fixative is essential. It locks in the color and prevents transfer, ensuring your newly dyed sofa remains vibrant for years to come.
Engaging with the community can also provide valuable insights, encouragement, and tips from others who have tackled similar projects. So, if you're considering a DIY sofa dyeing project, know that it's accessible and effective, making it a rewarding endeavor that enhances both your sofa and your home.
Frequently Asked Questions
Is It Possible to Dye a Fabric Sofa?
Yes, it's possible to dye a fabric sofa! If your sofa's made from natural fibers like cotton or linen, you'll have better results. Just remember to clean it thoroughly first to remove any dust or stains. Then, test the dye on a small, hidden area to see how it absorbs. If it looks good, go ahead and dye the entire sofa. Just be sure to choose the right dye for the fabric type!
How Can I Change the Color of My Sofa?
To change the color of your sofa, start by checking the fabric type for dye compatibility. Gather your materials, like fabric dye, salt, and gloves. Clean the sofa thoroughly, then apply the dye using a sponge or spray bottle for even coverage. You'll want to apply multiple coats, allowing them to dry in between. Finally, use a fixative to lock in the color, and don't forget to touch up any uneven spots!
Can You Dye Upholstered Furniture?
Yes, you can definitely dye upholstered furniture, but it depends on the fabric. If you've got natural fibers like cotton or linen, you'll likely see better results. Before you start, make sure to clean the fabric thoroughly to help the dye absorb. Always do a spot test first to check compatibility. After dyeing, using a fixative can help lock in the color and prevent it from transferring to other surfaces.
Can You Spray Rit Dye on Fabric?
Yes, you can spray Rit dye on fabric! Using a paint sprayer or spray bottle gives you more control over the application, especially on larger surfaces. Just make sure to clean the fabric thoroughly first to ensure even dye absorption. Keep the fabric wet while spraying to avoid streaks, and always test a small area before going all in. Don't forget to apply a fixative afterward to lock in the color!