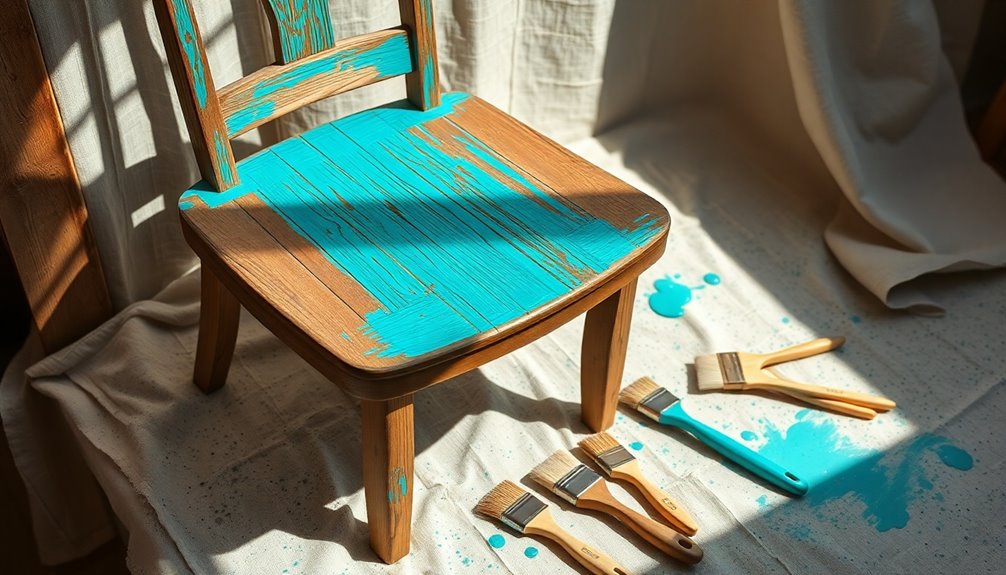
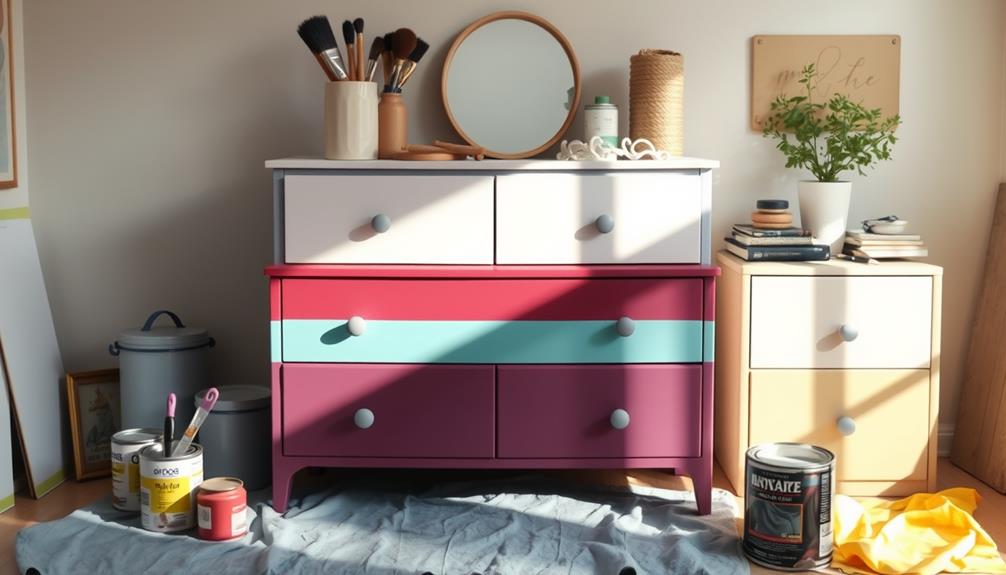
To paint old furniture, start by cleaning it with a damp cloth to remove dust and sticky spots. Once dry, lightly sand the surface and apply a primer for better paint adhesion. Choose a suitable paint type—latex for wood, milk paint for an antique look, or oil paint for metal. Use high-quality brushes or sprayers to apply thin coats, letting each layer dry properly. Finish with a protective topcoat for durability, and reattach any hardware. These steps can transform your furniture beautifully. Keep going to uncover more tips and techniques for a successful painting project!
Key Takeaways
- Clean and prepare the furniture by removing dust, debris, and any sticky spots before painting.
- Sand surfaces to create a smooth finish and ensure better paint adhesion.
- Choose the appropriate paint type, like latex for wood or oil for metal, based on the material.
- Apply a primer to block stains and enhance paint adherence for a more durable finish.
- Finish with a protective topcoat and reattach hardware for a polished look.
Cleaning and Preparation
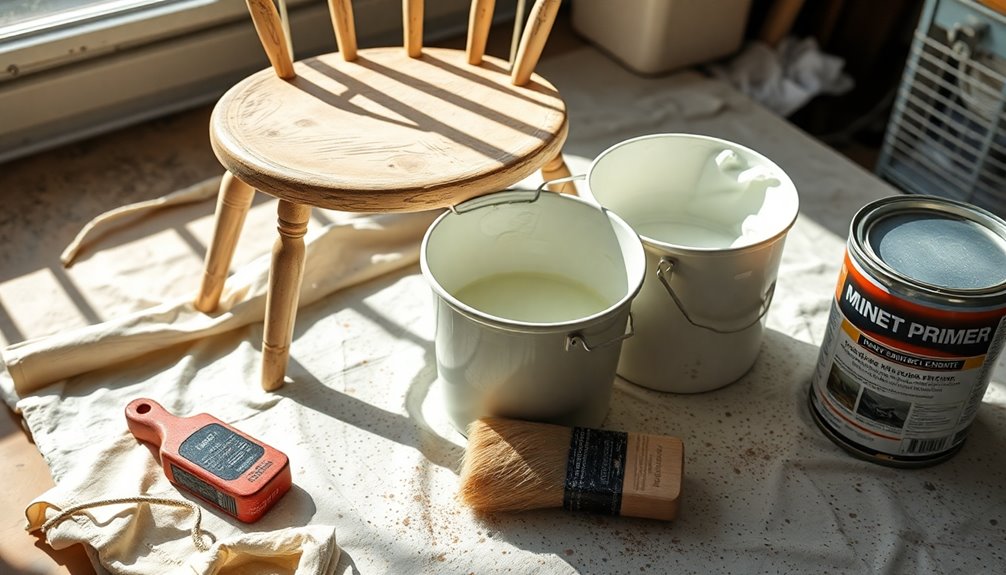
Cleaning and preparation are crucial steps in revitalizing old furniture. Start by using a damp cloth or paper towel to wipe away dust and debris. Don't overlook the inside, outside, and underneath; vacuum these areas to eliminate cobwebs and particles. For sticky spots, grab a degreasing spray like Zep Heavy-Duty Citrus Degreaser or Krud Kutter. Make sure to clean all surfaces, including drawers and the back.
If your furniture is heavily soiled, mix water with dishwashing detergent like Dawn, and scrub with a sponge. For grimy areas, try Simple Green or Fusion's TSP with a Dobie sponge. Mineral Spirits can help remove grease; just wipe in the direction of the wood grain. Also, use diluted Denatured Alcohol for cleaning and deglossing. This increases the longevity of furniture finishes, ensuring that your hard work will be appreciated for years to come.
Next, remove any hardware and accessories, like drawers and cabinet doors, to avoid damage. Bag and label these pieces to keep them organized. After cleaning, let the furniture dry completely to prevent water damage. Finally, use a tack cloth to catch any dust before painting, ensuring a smooth, clean surface for your project.
Sanding Techniques
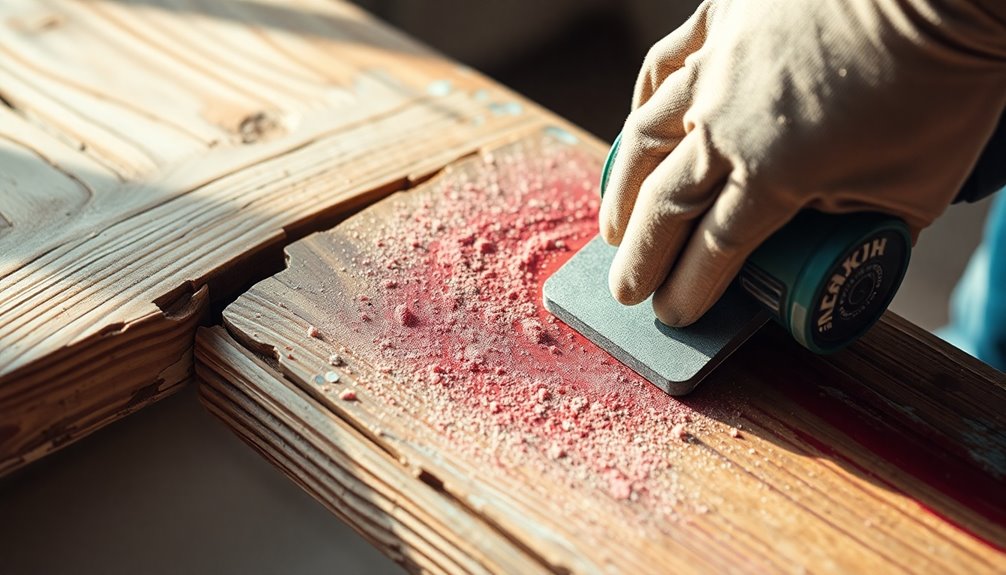
Sanding techniques are essential for achieving a smooth and professional finish on your old furniture. When you're working with bare wood, start by using medium grit sandpaper, sanding in the direction of the grain. This process smooths the surface and prepares it for painting, preventing rough spots that could affect the final look. After sanding, vacuum the area and use a tack cloth to remove any residue, ensuring the paint adheres properly.
For previously painted furniture, lightly sand to remove any flaking or chipping paint. You don’t need to reach bare wood; just create a smooth surface using a medium grit sanding block or 180 grit discs. Again, remove all sanding dust with a tack cloth. After preparing the surface, it’s important to apply a good primer to ensure better adhesion of the paint. This step is especially crucial when learning how to paint laminate furniture, as laminates can often be tricky to coat effectively. Once the primer has dried, you can begin painting with your chosen color, applying thin coats for an even finish.
Between paint coats, sand with fine sandpaper once the previous coat has dried. This step is crucial for achieving an even finish and preventing brush strokes. Use high-grit sandpaper (220 grit or higher) for this task. Additionally, it's important to remove sanding residue before applying additional coats to ensure optimal adhesion. Finally, after applying your last coat of paint, lightly sand with super fine sandpaper (600 grit or higher) for added smoothness before applying a clear top coat.
Importance of Priming
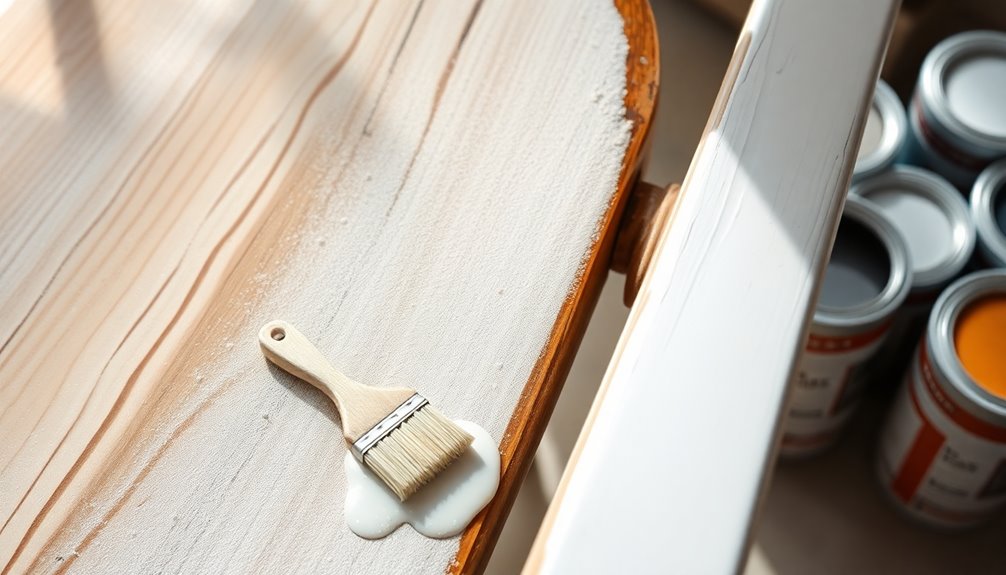
Once you've prepared your furniture with effective sanding techniques, it's time to focus on priming. Priming is crucial because it hides and seals the surface, preventing the previous color from showing through your new paint. It also creates an ideal base for paint adhesion, especially on glossy or stained surfaces, while filling in the wood grain for a smooth finish.
Using a primer ensures better adhesion and durability. It helps the paint stick, reducing the chances of peeling, cracks, and fading, which ultimately enhances the lifespan of your finish. Plus, it optimizes the surface, so you'll need fewer top coats, saving you time and materials. Additionally, a good primer can block stains and seal surfaces, further improving the quality of your paint job.
Moreover, priming improves the paint's appearance and coverage. It provides a smooth, even surface, enhances color vibrancy, and covers imperfections, blocking out any stains or odors from the original surface.
Finally, priming streamlines the painting process. It speeds up your job by providing a ready surface and allows for lighter sanding afterward. Many modern primers dry quickly and are compatible with specific finish paints, making your painting experience even more efficient. Don't skip this vital step!
Choosing the Right Paint
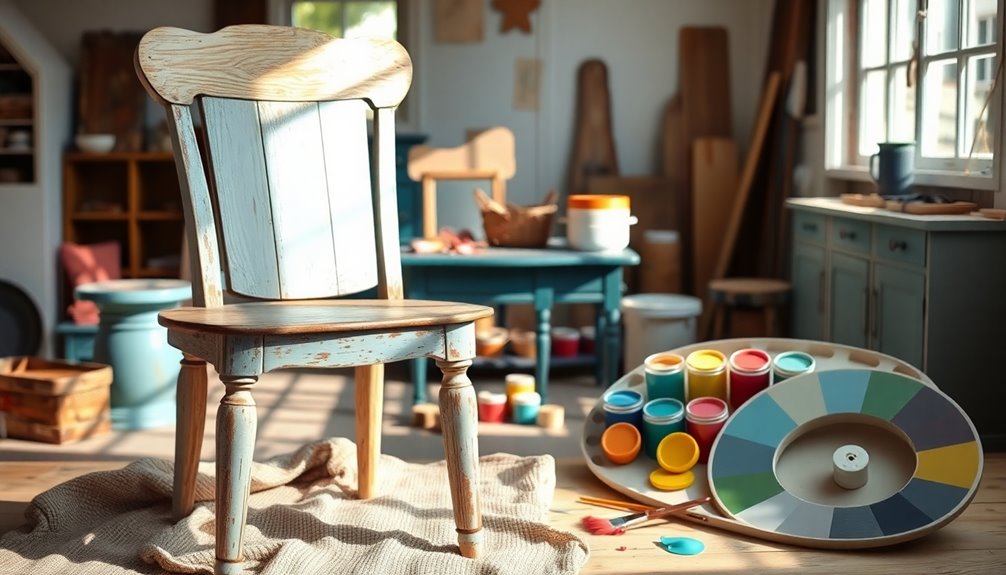
When selecting the right paint for your old furniture, it's essential to consider both the material and intended use. For wood and laminate pieces, latex paint is a popular choice, offering a variety of finishes from flat to gloss. Acrylic paint is also a versatile option, especially for small furniture items or accent pieces that experience light to moderate use. If you're aiming for an antiqued look, milk paint can create that weathered effect, but remember to use a bonder for better adhesion.
For metal furniture, oil paint is your best bet due to its durability. Just ensure you properly clean and prep the surface before applying. If you're working with smooth surfaces like glass or plastic, both milk and acrylic paints can be effective, though they may require special preparation for a flawless finish. Oil paint provides a hard, durable finish that is ideal for high-use furniture. Lastly, consider the environment. For outdoor furniture, acrylic paint with a glossy sheen helps prevent blistering and flaking. By taking into account the material and use of your furniture, you can choose the right paint that not only looks great but also lasts.
Painting Methods
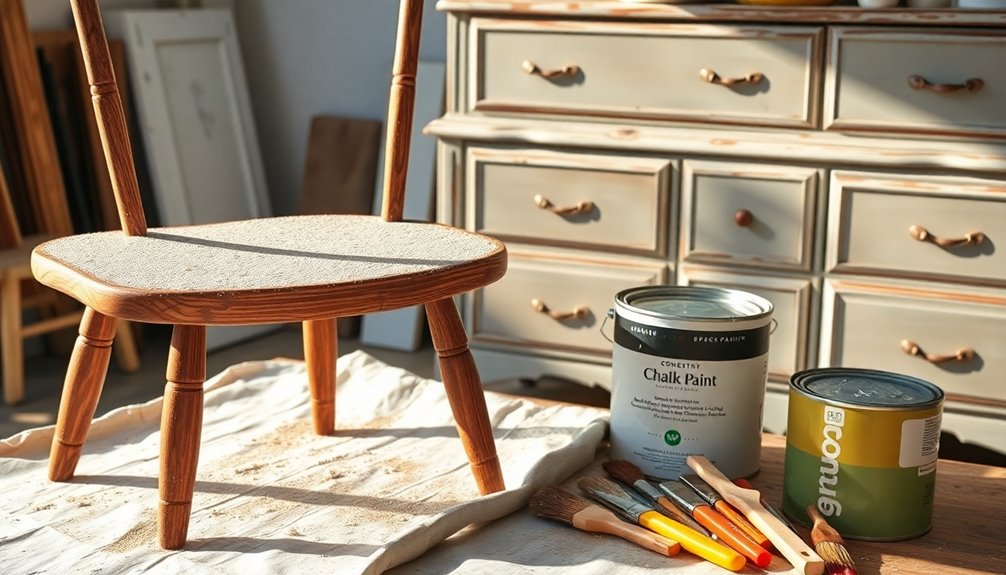
Three key painting methods will help you achieve a professional-looking finish on your old furniture. First, ensure your furniture is clean and prepped properly. Remove dust and grime using TSP and water, and check for oil-based paint. Sand the surface with medium-grit sandpaper to eliminate any glossy finish, making it easier for the paint to adhere. For detailed areas, use sanding blocks or zip sanders, and don't forget to vacuum up dust afterward.
Next, apply a suitable primer, especially over knots or dark paint. A good primer like KILZ will prevent bleed-through and enhance adhesion. Make sure to prime all surfaces, including inside drawers, for a uniform look. Allow the primer to dry completely before moving on. Additionally, consider using Chalk Paint® for a unique antique effect that complements the refreshed style of the furniture.
Finally, when painting, choose high-quality brushes, rollers, or paint sprayers. Apply thin coats, allowing each to dry before sanding lightly and applying the next. Remember to cut in first around trim to avoid hard lines. For a durable finish, opt for at least a semi-gloss paint, as it'll be easier to clean and maintain. Following these methods will ensure your furniture looks refreshed and stylish.
Advanced Painting Techniques
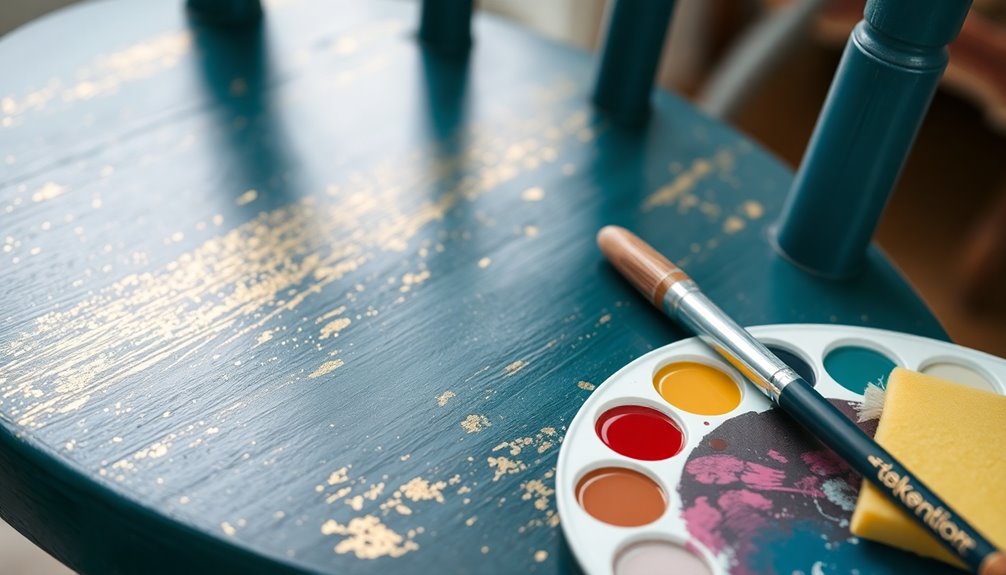
Achieving a stunning finish on your old furniture goes beyond basic painting methods; advanced techniques can elevate your project to a whole new level. Start with proper surface preparation. Lightly sand newer pieces with a sanding sponge, while heavily damaged surfaces may require aggressive sanding. Using reusable sanding disks like Diabo SandNet can make this process efficient. Sanding removes imperfections and helps paint adhere better, ensuring optimal paint adhesion.
Next, apply paint effectively. Begin by cutting in with a high-quality brush, like a Purdy, to paint trim and moulding, feathering the edges. This prevents hard lines and ensures a smooth transition. Work in small sections, especially with quick-drying chalk paint.
For detailed work, consider highlighting and distressing. Use a flat or small round brush to apply highlights on carved areas, utilizing dry brushing to touch only the peaks. Wet distressing with a damp sock can reveal the wood beneath, creating an authentic worn look. Finally, apply a tack cloth to remove dust before layering on additional coats. With these advanced techniques, you'll transform your old furniture into a true masterpiece.
Final Touches
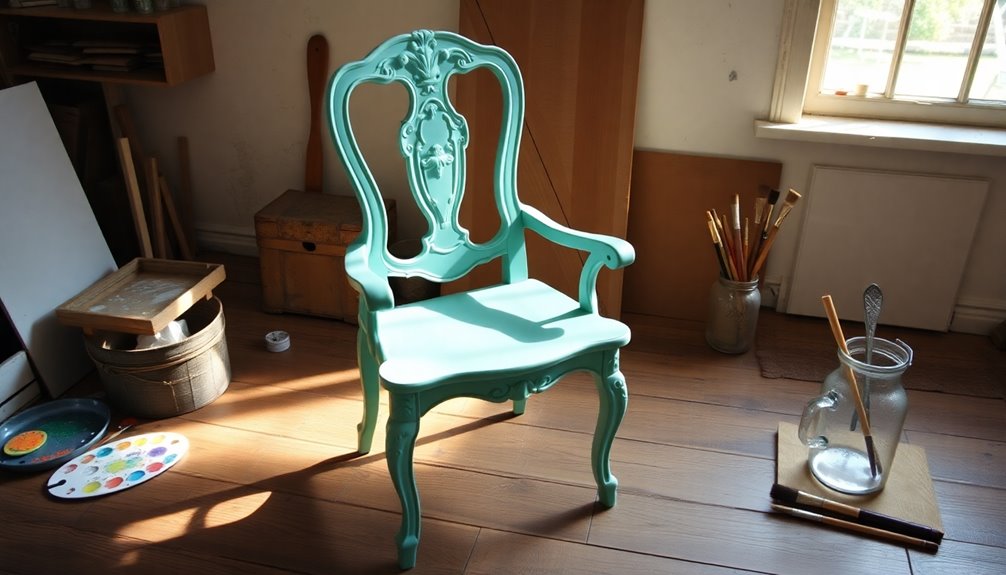
The final touches on your painted furniture can make all the difference in achieving a polished look. Start by reattaching any hardware you removed during painting. Make sure to remove any protective coverings and use a screwdriver or drill to secure the hardware in its original position. If you want to refresh the look, consider swapping out old knobs or handles for something new. You can also enhance the hardware's appearance with decorative finishes like Rub n' Buff.
Next, inspect your piece for imperfections or missed spots. Gently clean the surface using a soft cloth and mild cleaner to remove any dust or debris that settled during drying. Ensure all areas are dry and free from dust before you move on. Remember, proper surface preparation is crucial for achieving a lasting finish.
Once everything looks good, add decorative elements like stencils or decals if desired. Applying a topcoat can protect the paint and enhance durability.
Finally, place your beautifully transformed furniture in its designated spot. Arrange decorative items and step back to admire your work. Make any adjustments as necessary to ensure it fits seamlessly with your decor. Don't forget to capture the before-and-after transformation with some photos!
Maintenance Tips
To keep your painted furniture looking its best, regular maintenance is essential. Start by dusting with a soft cloth or feather duster to prevent dirt and grime buildup. When it's time to clean, use a mild detergent mixed with water, steering clear of harsh chemicals. Always perform a spot test in an inconspicuous area before applying any cleaning solution.
For everyday maintenance, wipe down surfaces with a slightly damp cloth, avoiding excessive moisture. Rinse with clean water to eliminate soap residue and let it air dry. Protect your furniture from environmental factors by positioning it away from direct sunlight, which can fade paint colors. Keep the humidity and temperature stable to prevent wood damage and cracking or peeling paint.
If spills occur, clean them up promptly to avoid staining or warping. For minor chips, use a small detail brush to apply matching paint. Keep a bottle of touch-up paint handy for quick fixes. Regularly inspect for loose joints or peeling paint and use a soft microfiber cloth to keep surfaces dust-free. Apply furniture polish sparingly to enhance shine without buildup. With these tips, your painted furniture will remain beautiful for years to come.
Frequently Asked Questions
Can I Paint Furniture Without Sanding It First?
Yes, you can definitely paint furniture without sanding it first! Using specialized paints like chalk or mineral paint allows for excellent adhesion without the prep work. You might also try a high-adhesion primer, which helps your paint stick better, especially on glossy surfaces. If you're working with varnished wood, consider a deglosser to prep the surface. Just remember to clean your furniture well before starting for the best results!
What Type of Paint Works Best for Outdoor Furniture?
When choosing paint for outdoor furniture, it's crucial to consider the material. For metal, you can't go wrong with Rust-oleum Protective Enamel or Universal for durability. Plastic needs paints like Krylon Fusion or Rust-oleum 2X for strong adhesion. If you're working with wicker or wood, Rust-oleum 2X and Sadolin Superdec Satin are excellent choices. Always prep the surface properly to ensure the paint adheres well and lasts through the seasons.
How Long Should I Wait Between Paint Coats?
You should wait at least 4 hours between coats for most paints, but it's often better to wait 8 hours or even overnight for optimal results. Factors like temperature, humidity, and airflow can affect drying time, so keep those in mind. For oil-based paints, you'll need to wait at least 24 hours. Always check the manufacturer's recommendations for specific guidelines to ensure a smooth, even finish.
Can I Use Leftover Wall Paint on Furniture?
Yes, you can use leftover wall paint on furniture, especially if it's an acrylic latex paint. Just make sure it's compatible with the material of your furniture. If it's a smooth surface, consider applying a primer first to help the paint adhere better. Keep in mind that while it can work, wall paint might not be as durable as paint specifically formulated for furniture, so be cautious with heavy items.
What Should I Do if Paint Starts to Peel?
If you notice paint starting to peel, first inspect the affected area closely. Gently scrape off the peeling paint using a putty knife, being careful not to damage the surface. Clean the area thoroughly and sand it to create a smooth finish. Afterward, apply a primer to enhance adhesion, then repaint with thin, even layers, allowing each coat to dry properly. This'll help prevent future peeling and ensure a lasting finish.
Conclusion
Now that you've learned how to breathe new life into your old furniture, it's time to get started! Remember, the key steps—cleaning, sanding, priming, and choosing the right paint—will make all the difference. Don't be afraid to experiment with advanced techniques to add your personal touch. Once you've finished, keep up with maintenance to ensure your newly painted pieces stay beautiful for years to come. Happy painting!
