To give yourself a buzz cut, start by preparing your tools, including clippers and a hand mirror. Check your scalp for bumps and wash your hair thoroughly. Select the right clipper guard based on your hair type, typically using #2 or #3 for a balanced cut. Start cutting from the front to back in smooth strokes, adjusting guard sizes for the sides. Pay attention to symmetry when trimming sideburns and defining your neckline. Make sure to inspect your work for any uneven spots. Keep your scalp healthy with proper aftercare, and you'll be ready for the next steps to enhance your style.
Key Takeaways
- Inspect your scalp for irregularities and ensure your head shape is suitable for a buzz cut before starting.
- Choose the appropriate clipper guard size based on your hair type and desired length for an even cut.
- Use smooth, upward strokes with the clippers, starting from the front and blending shorter lengths on the sides.
- Define your neckline and sideburns with precision, using a hand mirror for symmetry and clean lines.
- Maintain your buzz cut with regular trims every few weeks and proper scalp care to keep it looking fresh.
Preparing for Your Buzz Cut

Before diving into your buzz cut, it's essential to gear up properly. First, make sure you have dedicated hair clippers on hand, as beard clippers just won't cut it for this style. You'll also need a hand mirror to help you see the back and sides of your head while cutting. Don't forget a vacuum or clean-up tool to manage those pesky hair clippings.
Next, check your scalp for any irregularities like scars or bumps. Run your fingers over your scalp to feel for any abnormalities that could be exposed after your cut. Also, consider your head shape and make sure a buzz cut suits your overall look. Being aware of your scalp condition can inform your haircut decisions and help you avoid potential issues.
Prepare your hair by washing it thoroughly with shampoo, then let it dry completely. Comb your hair forward to align it properly and remove any tangles. Oil the clipper blades to ensure a smooth cut.
Lastly, set up your environment by clearing your workspace and laying out all your tools. Ensure the area has good lighting and is free from distractions. Position your mirrors so you can see every angle, especially the back. With everything ready, you're all set to start!
Selecting Clipper Guards
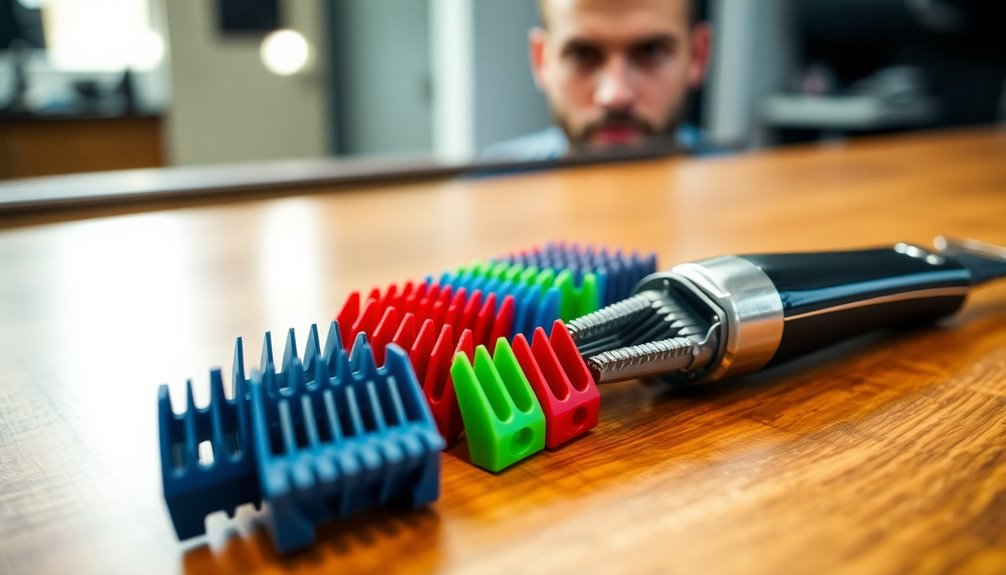
When you're ready to select clipper guards for your buzz cut, understanding the different numbers and their corresponding hair lengths is crucial. Each guard number corresponds to a specific hair length, starting with Guard 0, which leaves just 1.5mm of hair. If you prefer a bit more length, Guard 1 leaves about ⅛ of an inch (3mm) but might expose your scalp. Guard 2 is a good option for those wanting ¼ of an inch (4.5mm), often used for side fades. For a slightly longer look, Guard 3 leaves ⅜ of an inch (6mm) and is popular for faded hairstyles. If you're leaning towards a crew cut, Guard 4 leaves ½ inch of hair.
Consider your hair type when selecting guards. For thinning hair, higher guard numbers like #4 or #5 are best to avoid scalp exposure. In contrast, if you have thick hair, lower numbers like #2 or #3 can work well. For faded cuts, Guards #2 and #3 are commonly used. Additionally, understanding guard numbers can greatly enhance your ability to communicate with your stylist about your desired look. Experiment with different combinations to find what suits you best, and don't hesitate to communicate your preferences clearly if you're visiting a stylist.
Cutting Techniques to Follow
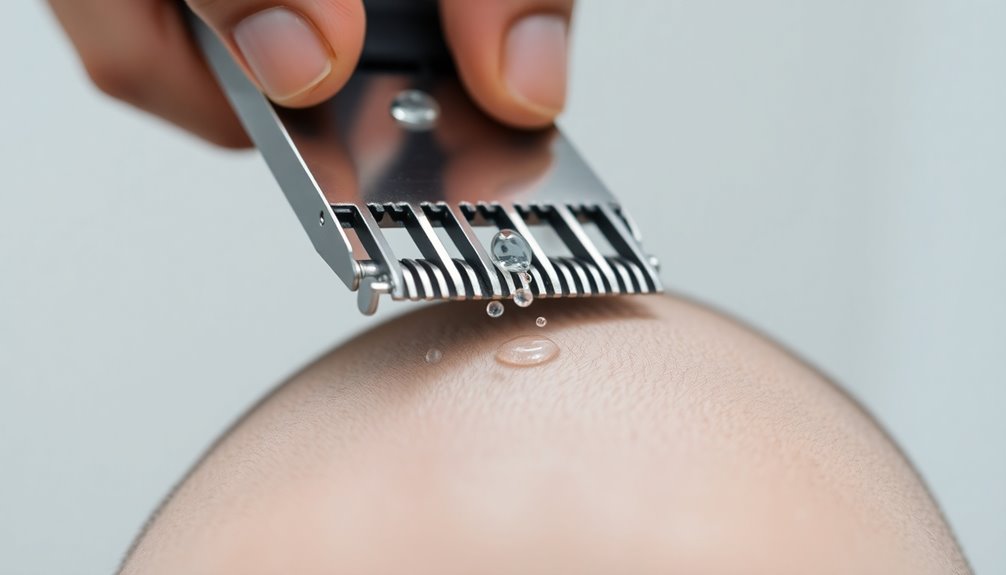
Once you've selected the right clipper guards, it's time to focus on your cutting techniques. Start by ensuring your hair is clean and dry. Check your scalp for any lumps or scars that could affect the cut. With your clippers fully charged and blades oiled, gather your tools, including a hand mirror and a vacuum.
Begin cutting at the top of your head with your chosen guard size. Move the clippers from front to back in smooth strokes against the direction of hair growth. Make sure to cover the entire area, repeating strokes as necessary. If needed, use an upward rocking motion to achieve an even cut and check for stray hairs, clipping them with the same guard. Remember that regular trims are recommended to keep the style fresh and maintain an even look.
Next, move to the sides, using a guard size one length shorter than the top. Cut from the bottom to the top, blending the lengths smoothly. For the back, stand with your back to the mirror, using the hand mirror to see what you're doing. Finally, use the inverted clipper technique around your neck and ears for clean edges, holding the clippers upside down and making small, precise strokes.
Trimming and Edging Details
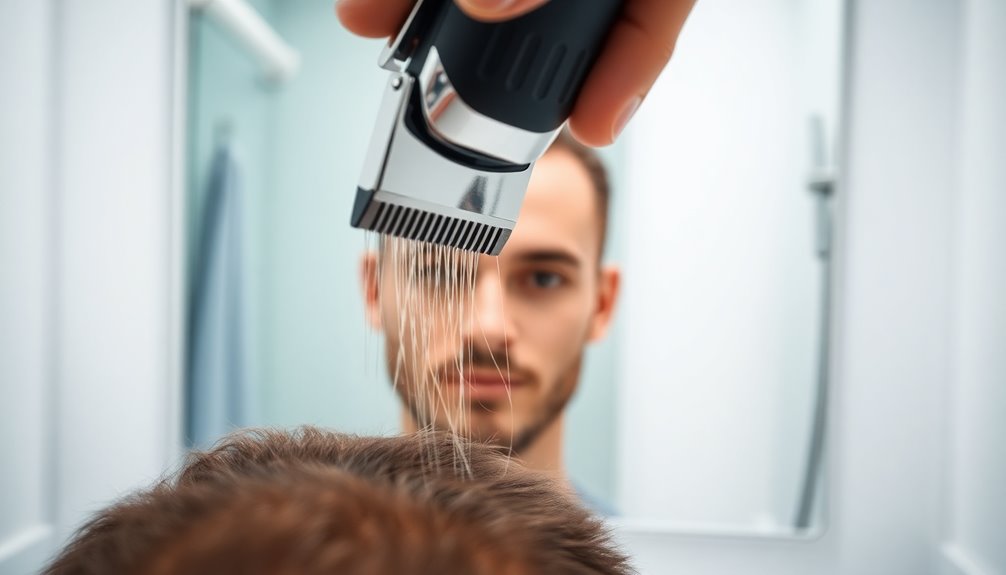
Achieving a clean and polished buzz cut involves meticulous trimming and edging details that elevate your look. Start by trimming your sideburns with a #1 guard. Place the clippers flush against your face, just below the sideburns, and slide them up to your desired height, ensuring symmetry by checking in the mirror.
Next, focus on the back of your neck. Use a hand mirror to see what you're doing. If you're flying solo, consider leaving the neckline natural, or ask someone to help. Aim for a straight line across the back, rounding the corners for a polished finish. Angle the clippers straight for a square neckline or curve them for a rounded look. For detailed edges, a razor or fine trimmer works wonders. A buzz cut's simplicity is especially beneficial during warmer months when minimal maintenance is desired.
Now, define your hairline. Create clean lines around your hairline, temples, and sideburns with slow, deliberate movements. Pull the skin taut for precision, paying extra attention to corners. Finally, blend any harsh lines using thinning shears, ensuring smooth transitions, especially if you've created a fade. Regularly check for symmetry in the mirror to make necessary adjustments for a fresh appearance.
Ensuring Uniformity in Length
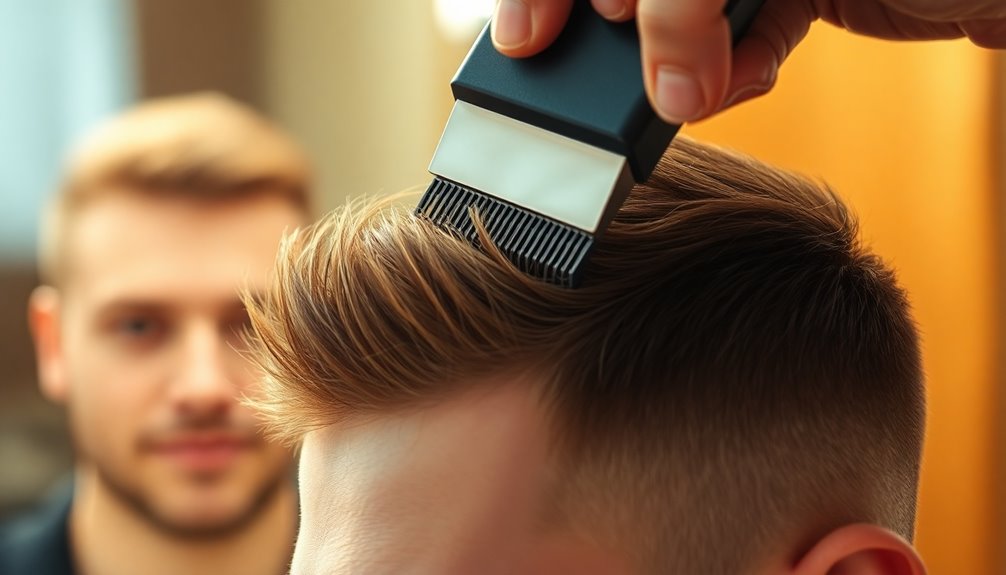
To ensure uniformity in length, start by selecting the right guard length that complements your personal style and facial features. For a very short buzz, consider a Number 1 or 2 guard, as these will emphasize your face's shape. If you prefer a bit more texture, go for a Number 3 or 4 guard. For a softer look that adds height and elongates rounder face shapes, use a Number 5 or 6 guard.
Next, always clip on completely dry hair to maintain an even length. Employ a hand mirror to check all angles and ensure consistency. Apply the same guard length all around your head, such as a Number 3 for a uniform buzz cut. Remember to blend any harsh lines between different clipper lengths with thinning shears for a polished finish. Additionally, this style is ideal for men with thinning hair, as it minimizes contrast in hair density.
When using the clippers, work in straight, repetitive motions against the grain on top and move upward from the bottom-front near the temple for the sides. If you notice any missed spots, touch them up to achieve that perfect uniform look. Consistency is key for a fresh and clean buzz cut.
Final Touches for a Clean Look
With your buzz cut now uniform, it's time to focus on the final touches that create a polished and clean look. Start by trimming the edges. Use a #1 guard for precise trimming of your sideburns and the back of your neck. Place the clippers flush against the side of your face and slide up to your desired height. For the back, use a hand mirror to see clearly or ask for a friend's help. Round the corners of your neckline for a neat finish, ensuring your hairline is straight and even.
Next, consider creating a fade. Begin with a longer guard at the top and switch to shorter ones as you move down. Maintain a seamless motion to blend the different lengths smoothly. Employ thinning shears to blend any harsh lines where guard sizes meet. Buzz cuts can suit most face shapes with proper variation, so adjust your technique based on your facial features for an ideal finish.
Finally, focus on detailing and blending. Inspect the blend from multiple angles, using light pressure and smooth strokes to achieve a natural look. Don't forget to check the back and sides for any unevenness. With these final touches, you'll achieve that clean, polished appearance you're aiming for.
Aftercare for Your Buzz Cut
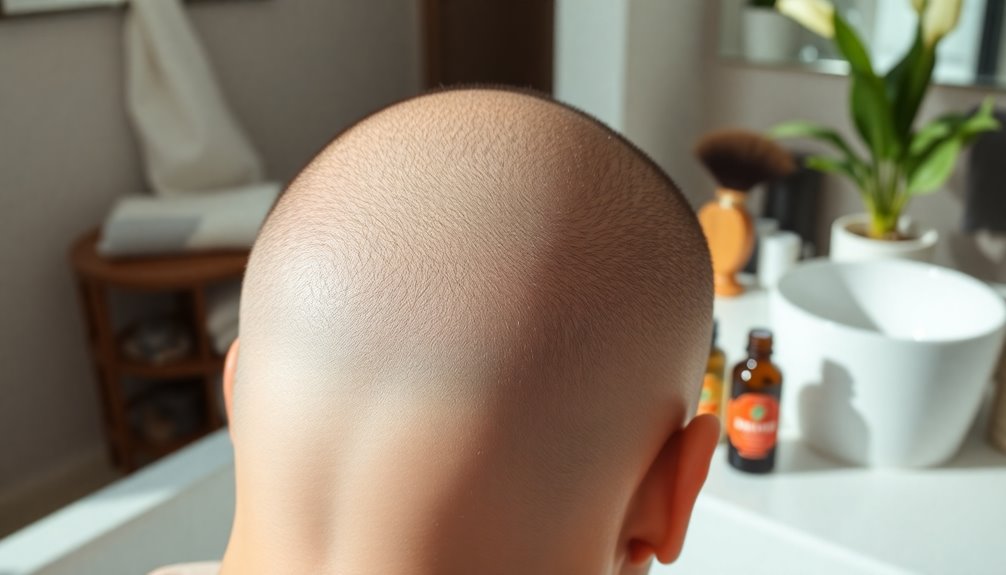
After getting a buzz cut, proper aftercare is essential for maintaining a healthy scalp and ensuring your new look stays fresh. Start with washing your hair using a mild and organic shampoo, especially if you're in a hot climate or using hard water. Daily washing might be necessary, but you can reduce it to every 3-5 days to avoid dryness. An acidic rinse can help counteract hard water effects and prevent buildup.
Moisturizing your scalp is crucial. Mix coconut and castor oil, applying a small amount daily, particularly after washing. This not only keeps your scalp hydrated but also promotes healthy hair growth. Just be careful not to over-oil, as it can make your hair look greasy. Additionally, using a hair clipper with a number two guard is recommended for maintaining longer cuts to ensure a more blended look.
Regularly check your scalp for any abnormalities and maintain good hygiene practices to prevent infections or irritation. Consider using a sponge to gently scritch the scalp before washing; this enhances cleanliness and relaxation. Finally, avoid harsh products that could irritate your sensitive scalp. With the right care, your buzz cut will look sharp and fresh while keeping your scalp healthy.
Tips for Maintaining Your Style
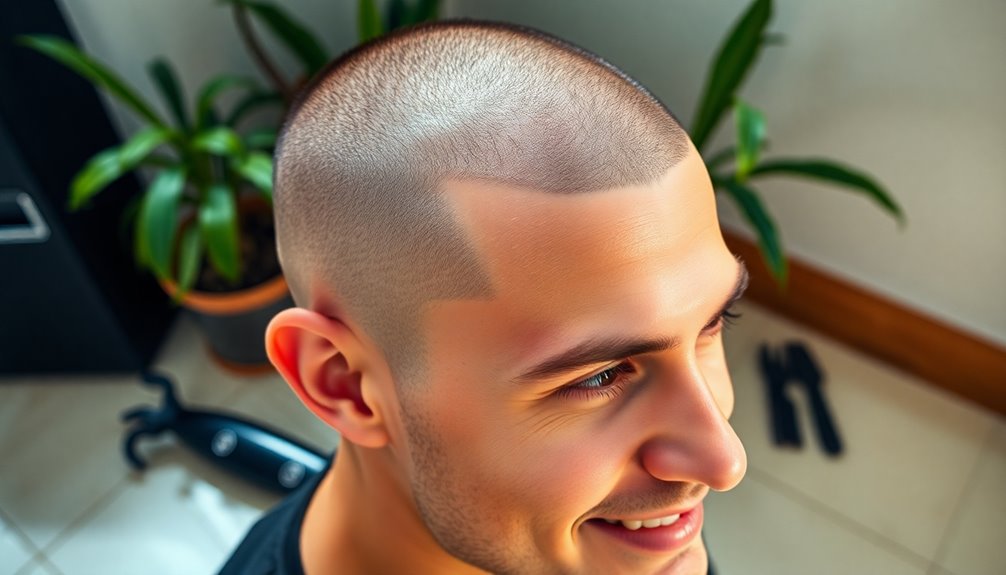
Maintaining your buzz cut requires attention and regular upkeep to keep it looking sharp. Start with regular trims every few weeks. Since hair grows about ½ inch per month, these trims prevent awkward stages and ensure a balanced style. Focus on keeping the sides and back shorter than the top for a polished look. Additionally, maintaining proper scalp health is vital, as it can enhance the overall appearance of your buzz cut.
Don't overlook your scalp health. A healthy scalp is crucial for a great buzz cut, so use a gentle shampoo and consider a moisturizer to combat dryness or irritation. This will ensure your hair looks its best, promoting better hair appearance for your buzz cut.
Defining your look is essential too. Ask your barber for a clean edge-up to enhance your hairline. Experiment with different guard sizes to find the perfect length that complements your features. Regularly exfoliating your scalp can also help to keep it healthy and free of dead skin cells.
Finally, use styling products to manage texture. Opt for dry paste or clay wax for a subtle hold, or a small amount of pomade for some length on top. Applying these products evenly will help enhance your natural texture and create a slightly tousled effect. By following these tips, you'll maintain a fresh and stylish buzz cut effortlessly.
Frequently Asked Questions
Can I Buzz Cut My Hair if It's Wet?
You can buzz cut your hair while it's wet, but it's not always the best choice. Wet hair clumps together, making it easier to manage, but it's also more prone to damage and breakage. Clippers might struggle with wet strands, leading to uneven cuts. If you decide to cut wet hair, ensure you use water-resistant clippers and take safety precautions to avoid accidents and equipment damage. Clean, dry hair is usually the safest option.
How Long Does a Buzz Cut Typically Last?
A buzz cut typically lasts about 1 to 2 months before it grows out to a length that no longer qualifies as a buzz. Since hair grows roughly ½ inch per month, you might find yourself needing a trim every 1 to 3 weeks to keep that fresh look. Regular maintenance not only keeps your style sharp but also helps avoid awkward stages as your hair grows. Embrace the journey, and enjoy the change!
What Should I Do if I Make a Mistake?
If you make a mistake while cutting your hair, don't panic. First, assess the uneven areas carefully with a mirror. Adjust your guard size and trim in small sections to even things out. Blend any patchy spots by using a shorter guard and smooth out disconnected layers. If you're struggling with your hairline or edges, take your time or ask someone for help. Remember, it's all about patience and precision!
Is Buzzing My Hair Suitable for All Hair Types?
Buzzing your hair can work well for many hair types, but it’s not universally suitable. Straight, wavy, and curly hair often look great with a buzz cut, providing a clean, stylish look. Coarse hair offers a distinctive edge, while thinning hair can benefit too. However, if you have prominent scars, scalp conditions, or an irregular head shape, you might want to reconsider. Always consult a professional for personalized advice before making the cut. Additionally, maintenance is essential for any buzz cut, as it requires regular trims to keep the look fresh and clean. For those contemplating the change, a prose hair product evaluation can help you identify the best products to maintain the health and style of your hair post-cut. Ultimately, a well-considered buzz cut can become a bold expression of your personal style, providing both versatility and ease of care.
Can I Use Regular Scissors Instead of Clippers?
You shouldn't use regular scissors for a buzz cut. Clippers are designed for precision and speed, ensuring a uniform length that scissors just can't provide. With scissors, you'll struggle to maintain that even cut and waste a lot of time measuring. Plus, the clean finish from clippers gives you that sharp look, while scissors are better suited for longer hair. For a buzz cut, clippers are definitely the way to go.
Conclusion
Now that you've mastered the steps to give yourself a buzz cut, you can enjoy your fresh look with confidence. Remember to regularly maintain your style for the best results and don't hesitate to experiment with different lengths. With practice, you'll become a pro at this quick and easy haircut. So grab your clippers, embrace the change, and rock that buzz cut like a champ! Your new look is just a trim away!
