
To create a softer boho look with DIY archways and rounded corners, start by planning your space and sketching gentle, natural curves. Use affordable tools like a jigsaw and sandpaper to shape plywood or trim into arches or rounded corners, attaching them securely for a seamless flow. Finish with earthy paints or natural stains to enhance the organic feel. With patience and attention to detail, you can achieve stylish, handcrafted features that transform your home—keep exploring to learn more.
Key Takeaways
- Measure and sketch gentle, organic curves to create archways and rounded corners that enhance boho aesthetics.
- Use affordable woodworking techniques like jigsaw cutting and sanding to shape curves with a soft, natural flow.
- Incorporate natural finishes, muted paints, or stains to emphasize earthy tones and handmade charm.
- Attach curved moldings or bendable wood strips for seamless, flowing edges that soften room transitions.
- Personalize designs to reflect your style, blending architectural features seamlessly into boho-inspired decor.
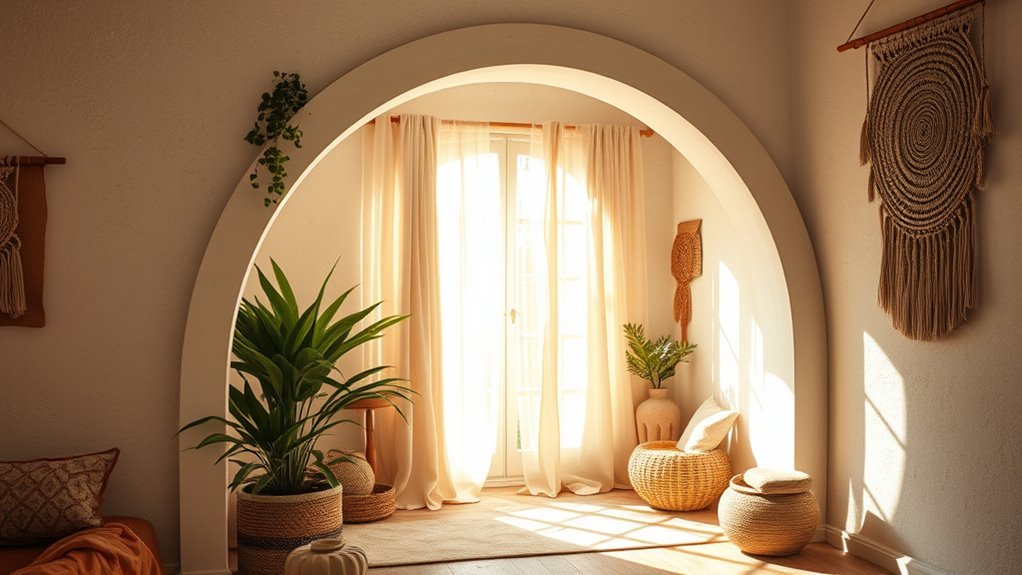
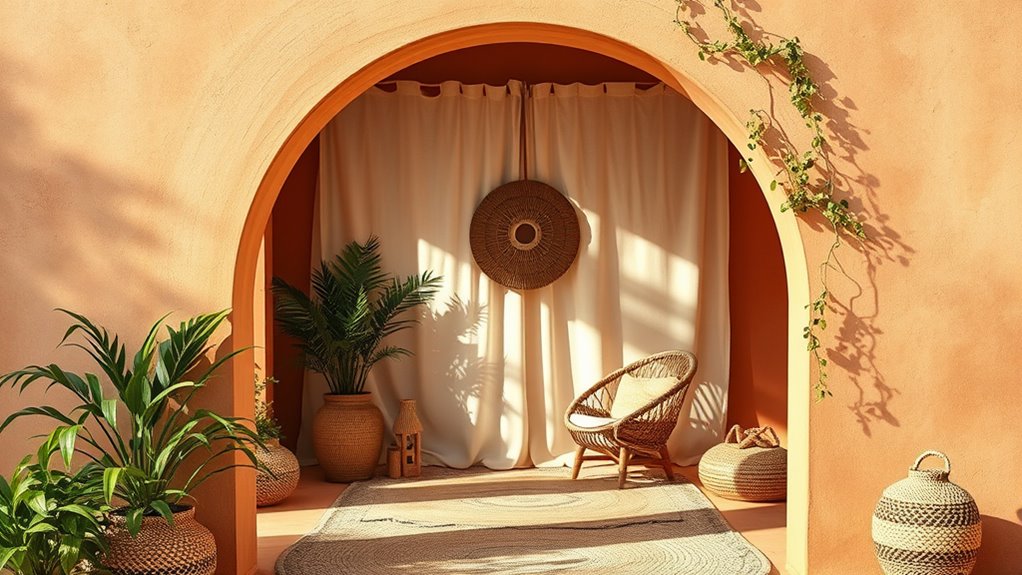
Have you ever wanted to add a touch of elegance and architectural interest to your home? Creating DIY archways and rounded corners is a fantastic way to achieve that softer, boho-inspired look while staying true to current interior design trends. These features can transform plain walls into enchanting focal points, giving your space a warm, inviting atmosphere. Plus, with the right woodworking techniques, you can craft these elements yourself, saving money and adding a personalized touch to your decor. Ensuring your projects are safe and secure involves understanding load‑planning and proper attachment methods. Getting started is easier than you might think. First, you’ll want to plan your design carefully. Measure the spaces where you want to install archways or rounded corners, considering the overall flow and style of your rooms. Sketch out your ideas, keeping in mind the natural curves and gentle arches that fit the boho aesthetic. Once you’ve settled on a design, gather your materials, such as plywood, trim, and paint, and prepare your workspace. Using affordable woodworking techniques, like cutting curves with a jigsaw and sanding smooth edges, you can shape your arch or corner pieces with precision. Practicing on scrap wood first helps build confidence and ensures your final pieces fit perfectly. When it comes to constructing the archways, framing is key. Create a template or jig to guide your cuts for consistent curves. Attach the shaped wood to your wall or ceiling using sturdy drywall anchors or screws, making sure everything lines up correctly. Rounded corners can be achieved by installing curved molding or creating custom rounded trim from flexible plywood or bendable wood strips. These techniques allow you to craft seamless, flowing edges that emphasize the soft, relaxed vibe of boho decor. Painting or staining your wood pieces in earthy tones or muted shades completes the look, blending the architectural features seamlessly into your interior. Incorporating these elements into your home reflects the latest interior design trends, emphasizing organic shapes and handcrafted details. Rounded corners and archways soften sharp angles, making rooms feel more open and inviting. The beauty of doing it yourself is that you can customize every detail to match your personal style. Whether you prefer a more rustic, natural finish or a sleek, modern touch, woodworking techniques give you full control over the final look. As you bring your vision to life, you’ll find that these DIY projects not only enhance your home’s aesthetic but also provide a satisfying creative experience. With patience and precision, you can achieve professional-looking results that showcase your craftsmanship and elevate your space with timeless, architectural elegance.
Frequently Asked Questions
What Tools Are Essential for Building Archways and Rounded Corners?
You’ll need a measuring tape to accurately mark your arch or corner curves. A jigsaw is essential for cutting the curved shapes out of your material, whether it’s wood or drywall. Additionally, having a pencil for marking, a level for straight lines, and sandpaper for smoothing edges will make your project easier. These tools help you craft smooth, precise curves that add that soft boho charm effortlessly.
How Long Does It Take to Complete a DIY Archway Project?
You can complete a DIY archway project in about 1 to 3 days, depending on your skill level and project complexity. Keep in mind, the project timeline offers great design flexibility—you can customize shapes, sizes, and finishes to match your style. Rushing might compromise quality, so plan accordingly. With patience and proper preparation, you’ll enjoy transforming your space into a softer, boho-inspired haven in no time.
Can I Customize the Size and Shape of My Archway?
Yes, you can customize the size and shape of your archway to fit your space perfectly. With design flexibility, you can choose from various arch styles, dimensions, and curves to match your aesthetic. Whether you want a wider, more dramatic arch or a subtle rounded corner, DIY projects let you tailor the customization options to create a unique, softer boho look that complements your home decor.
Are There Safety Precautions I Should Follow During Installation?
Think of safety as your guiding star. You should wear safety gear like goggles and gloves, especially when working with tools or paint. Always check for electrical safety; turn off power when drilling or cutting near outlets. Keep your workspace clear of clutter, and follow instructions carefully. Taking these precautions guarantees your project stays a beautiful addition, not a hazard, so you can enjoy your cozy, boho-inspired space with peace of mind.
How Do I Maintain or Clean the Finished Archways?
To maintain your finished archways, regularly dust them with a soft cloth to prevent dirt buildup. For cleaning tips, use a gentle mixture of mild soap and water, avoiding harsh chemicals that could damage the surface. Follow a simple maintenance routine by wiping down weekly and inspecting for any cracks or chips. This keeps your archways looking fresh and ensures their longevity, enhancing your boho-inspired space.
Conclusion
By adding DIY archways and rounded corners, you transform your space into a haven of effortless charm and serenity. These small changes create a ripple effect, turning your home into a sanctuary so inviting, it might just make the rest of the world feel dull in comparison. With your creativity and a few simple steps, you’re not just decorating—you’re crafting a personal oasis that radiates warmth and personality. Your home’s new look will truly be unforgettable.