
The essential LiftMaster wiring guide is your go-to resource for installing and troubleshooting your garage door opener. Begin by understanding the wiring diagrams; they show how to correctly connect color-coded wires. Red wires provide power, while white wires connect to the motor. Make sure you have the necessary tools such as screwdrivers and wire strippers for a smooth installation. Also, check for compatibility issues with your specific model. If you face any issues, examine connections and utilize the diagnostic LED indicators. Keep following for more tips to make your LiftMaster installation a breeze.
Key Takeaways
- LiftMaster models feature color-coded wiring: red for power, white for motor, green for safety sensors, ensuring correct connections during installation.
- Understanding wiring diagrams is crucial for successful installation, as they illustrate connections and identify terminals.
- Essential tools for installation include screwdrivers, wire strippers, pliers, and a level, ensuring a smooth setup process.
- Verify model compatibility before installation, as some models may have unique wiring configurations that could cause integration issues.
- Troubleshoot wiring problems by checking power supply, inspecting connections, and ensuring safety sensors are aligned for proper functionality.
Overview of LiftMaster Models

Exploring LiftMaster models reveals a range of options tailored to fit various needs, whether for residential or commercial use.
You'll find models like the LiftMaster 882LMW and 877LM, both packed with advanced features. The MyQ series stands out, offering smartphone control for added convenience.
All models come with Security+ 2.0 technology, ensuring encrypted communication for enhanced security against hacking. You can choose wall-mounted options for easy access, making operation seamless.
With energy-efficient designs, these openers not only save power but also operate quietly, minimizing noise. Plus, the multi-function wall control panels simplify your experience.
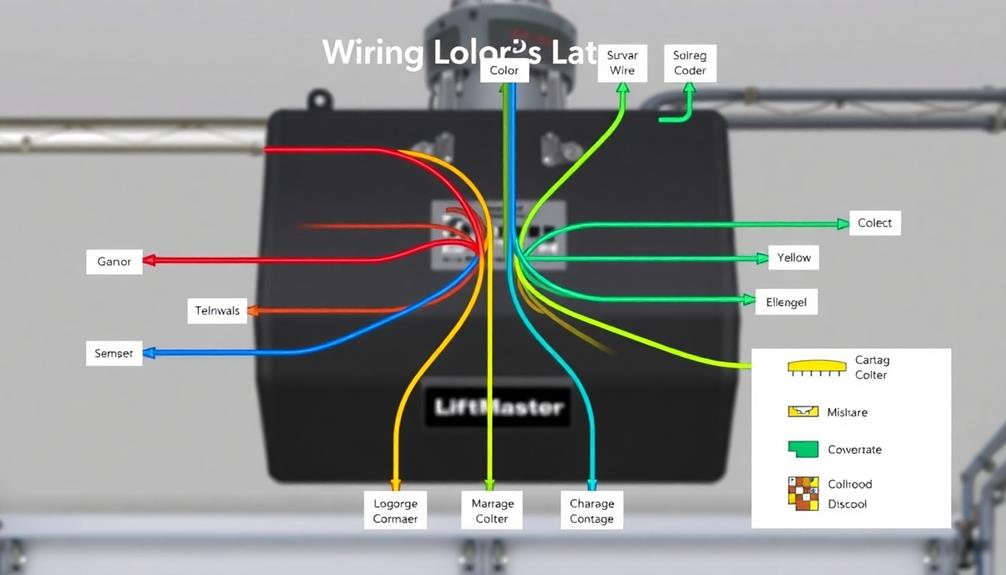
Understanding Wiring Diagrams

When it comes to installing your LiftMaster garage door opener, understanding wiring diagrams is key to guaranteeing a successful setup.
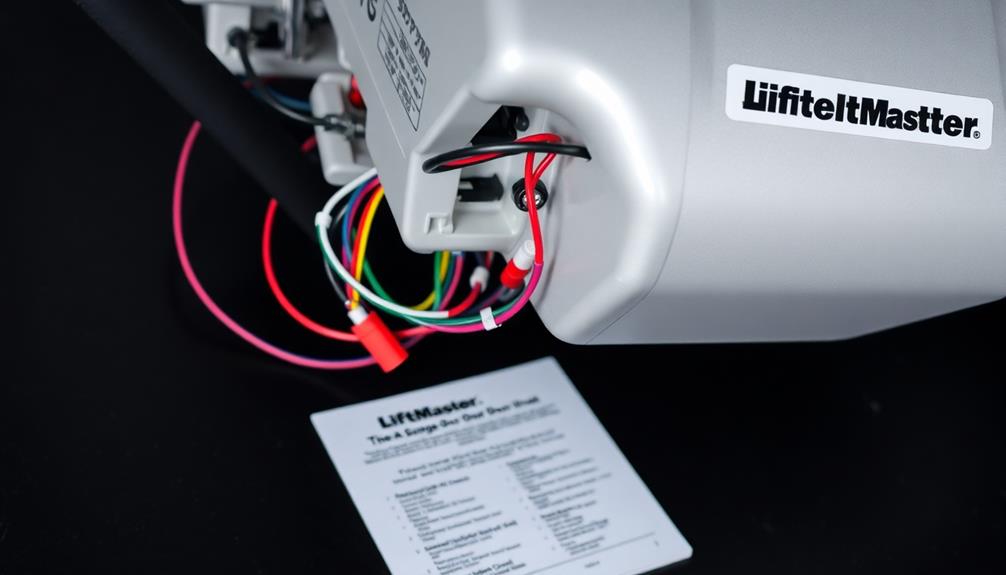
These diagrams illustrate how to connect various components, making it easier for you to visualize the installation process. You'll notice color-coded wires that signify specific functions: red for power supply, white for the motor, and green for safety sensors.
Most setups require at least two wires, but more complex installations may need additional connections for keypads or sensors. Identifying the correct terminals for these wires is vital to avoid mistakes.
Common Wiring Color Codes
Understanding common wiring color codes is critical for anyone working with LiftMaster garage door openers. These color codes help you connect components accurately.
Typically, you'll find red wires indicating the power supply, while white wires are used for the motor. Black wires serve as the ground, and green wires are designated for safety sensors. If you see blue wires, they're for the wall control panel.
Most installations require a minimum of two wires, but more complex setups might need additional connections for sensors or keypads. Always refer to the specific wiring diagram for your model to verify everything's hooked up correctly.
Installation Tips and Tools
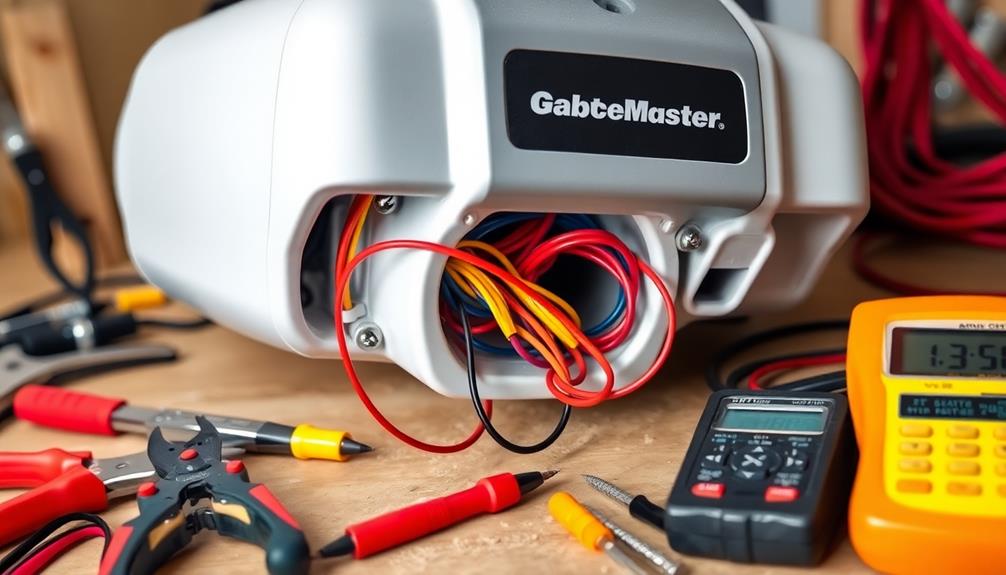
To guarantee a smooth installation of your LiftMaster garage door opener, gather the right tools and follow a few essential tips. Start by confirming you have everything ready before you begin. Use the following table to help you prepare:
| Tools | Purpose |
|---|---|
| Screwdrivers | For securing the opener in place |
| Wire strippers | To prepare wires for connections |
| Pliers | For gripping and twisting wires |
| Level | To confirm the opener is installed straight |
| Tape measure | For measuring distances accurately |
Always read the user manual thoroughly and double-check all connections against the wiring diagram. Taking your time will help you avoid mistakes and guarantee a successful installation.
Compatibility Issues With Models

Even with the right tools and installation tips, compatibility issues can arise with certain LiftMaster models.
For instance, models like Chamberlain HD220 and 45DCBR5 come with specific wiring configurations that mightn't work well with aftermarket accessories.
Similarly, LiftMaster 41D767 and 8075 models can present challenges when you're trying to integrate additional devices.
It's important to verify model compatibility before you start installation to avoid frustration down the line.
Always consult detailed wiring diagrams specific to your model, as these will guide you through the correct connections.
By being proactive about compatibility, you can facilitate a smoother installation process and peak functionality for your garage door opener system.
Don't overlook this step; it's vital for success.
Troubleshooting Wiring Problems

When dealing with wiring problems in your LiftMaster garage door opener, it's crucial to pinpoint the issue quickly. Start by checking the power supply; verify it's plugged in and the outlet is functioning.
Next, inspect all connections for any loose or damaged wires, particularly the red (power), white (motor), and green (safety sensors) wires.
If your remote isn't working, reprogram it and check the battery.
Diagnostic LED indicators on the opener can help identify issues; refer to your user manual for guidance.
If the door won't close, it might be a safety sensor misalignment.
Keep these steps in mind to troubleshoot effectively, verifying your LiftMaster operates smoothly and efficiently.
Future of Garage Wiring Systems

Identifying and fixing wiring problems in your LiftMaster garage door opener is just the beginning; the future of garage wiring systems looks promising with advancements in technology. New innovations, such as smart home integration and wireless controls, are transforming the way we manage these systems, making them more reliable and user-friendly. For example, the latest **Buick garage door opener setup** allows seamless connectivity between your vehicle and garage, enabling you to open and close the door with just the push of a button inside your car. As these technologies evolve, maintaining and upgrading your garage wiring will become an essential aspect of ensuring a smooth and efficient operation. Additionally, these advancements promise to reduce the need for frequent manual troubleshooting, as systems like the **Buick garage door opener setup** can now alert users of potential issues via mobile notifications or in-vehicle displays. This integration of smart diagnostics makes it easier for homeowners to address wiring problems before they become major concerns. As technologies like the **Buick garage door opener setup** continue to evolve, the future of garage management will become more streamlined and convenient, offering enhanced safety and efficiency.
You're likely to see a shift toward smart home integration, allowing seamless control of your garage door from your smartphone. As consumer demand for DIY installations rises, manufacturers will focus on user-friendly wiring solutions that simplify setup.
Enhanced security features will emerge to address safety concerns, using encrypted communication to prevent hacking. Additionally, energy-efficient designs will become standard, helping you save on power costs.
Frequently Asked Questions
What Safety Precautions Should I Take During Installation?
During installation, you should always unplug the opener to avoid electric shock, wear safety goggles, guarantee your workspace is clear, and follow the manufacturer's instructions closely for safe and effective setup. Safety first!
Can I Use a Rechargeable Battery With My Liftmaster Opener?
You can't use a rechargeable battery with your LiftMaster opener unless it's specifically designed for that model. Check your user manual for compatible power sources, ensuring you maintain peak performance and safety during operation.
How Do I Reset My Liftmaster Opener After a Power Outage?
After a power outage, you're not just resetting your LiftMaster opener; you're reviving a sleeping giant! Simply press and hold the "Learn" button until the light blinks, then reprogram your remotes. You're back in action!
Are There Any Specific Maintenance Tips for Wiring Connections?
To maintain wiring connections, regularly check for frayed wires and secure connections. Keep terminals clean and free from corrosion. Inspect the power supply and connections, ensuring everything's tight to prevent future issues with your LiftMaster opener.
Can I Extend the Wiring for My Liftmaster Garage Door Opener?
You might think extending the wiring's simple, but it's not. You'll need to match wire gauge and guarantee solid connections. If you're unsure, consider consulting a pro to avoid potential mishaps with your LiftMaster opener.
Conclusion
In wrapping up your LiftMaster installation journey, remember that "an ounce of prevention is worth a pound of cure." By understanding wiring diagrams, color codes, and potential compatibility issues, you're setting yourself up for success. Whether you're a DIYer or hiring a pro, thorough preparation guarantees your garage door opener runs smoothly. With the right knowledge, you'll enjoy the convenience and security your LiftMaster offers, making every entry and exit a breeze. Happy wiring!