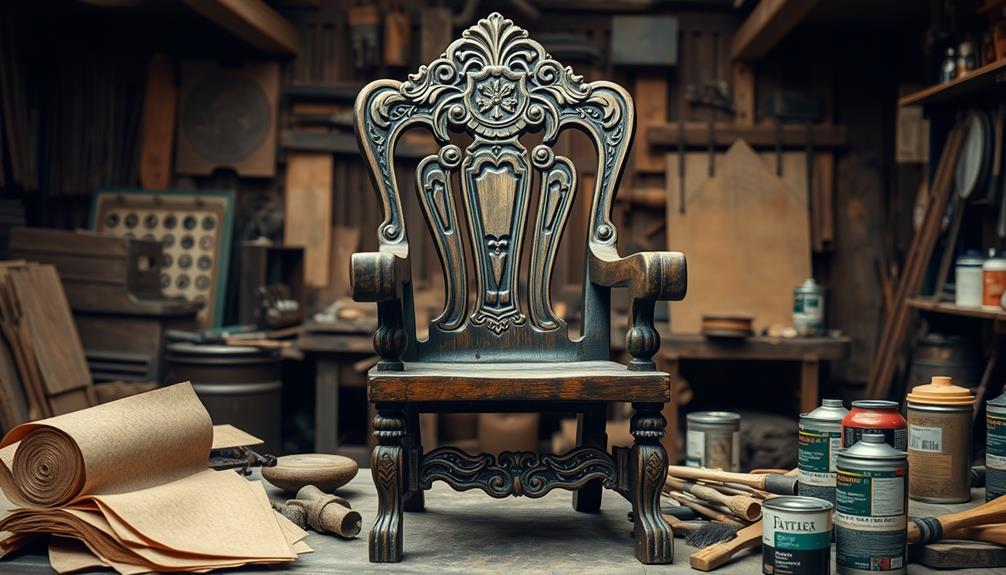
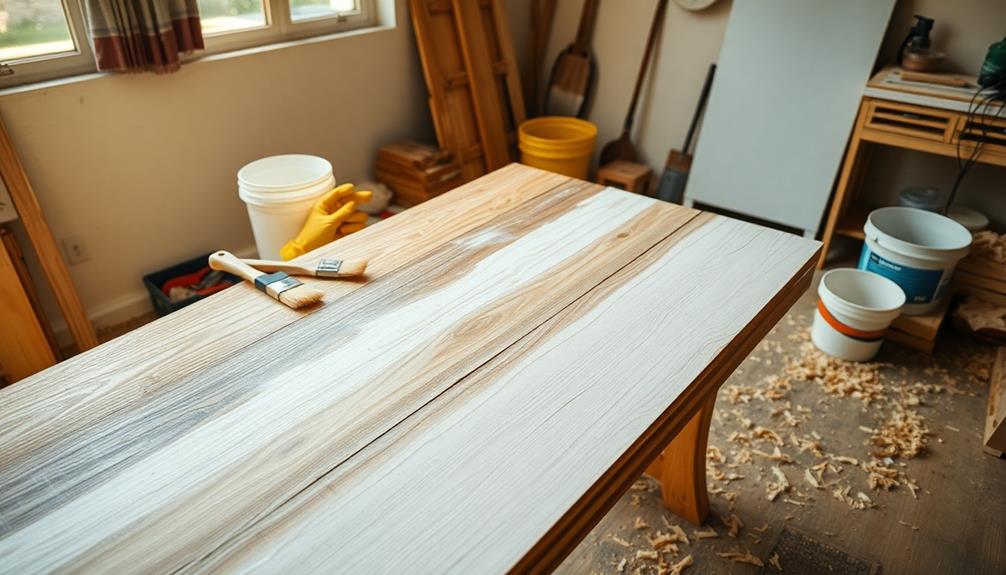
To refinish antique furniture, begin by taking off all hardware and cleaning the surfaces. Utilize a liquid sander for improved paint adhesion, and then apply a uniform coat of primer. Start by sanding the piece with 80-grit paper, then switch to 150-grit for a sleek finish. To achieve the antique look, use a rag to apply stain, wiping off any excess until you reach your desired effect. Protect your work with at least two coats of polyurethane, and think about adding clear wax for an added shine. By following these steps closely, you will discover additional techniques to enhance your furniture makeover. For extra tips on restaining wood furniture, think about using a wood conditioner before applying the stain to help prevent blotchiness. Experiment with different stain colors to achieve the perfect antique appearance for your furniture. Lastly, do not hesitate to distress the wood with sandpaper or other tools to create a more authentic aged look. By incorporating these extra tips, your antique furniture restoration project is sure to be a success.
Key Takeaways
- Begin by sanding the furniture to remove the old finish, using 80-grit sandpaper followed by 150-grit for a smooth texture.
- Apply a liquid sander or deglosser to enhance paint or stain adhesion, skipping this step if staining directly.
- Choose a stain color that mimics natural aging, applying it with a rag for an even coat and wiping off excess.
- Distress the painted finish in natural wear areas using manual sanding techniques to create an authentic antique look.
- Finish with at least two coats of polyurethane for protection, buffing with wax for added depth and sheen once dry.
Preparation Steps
To achieve the best results in your furniture antiquing project, your preparation steps are vital. Start by removing all hardware from the furniture. This not only protects the hardware but also guarantees clean surfaces for better adhesion of paint or stain.
Once you've removed the hardware, use a liquid sander or deglosser on the furniture surfaces, which is imperative for maintaining the rustic aesthetics that define modern farmhouse decor trends. Apply it with a dry rag, following the manufacturer's instructions for effective results.
Next, if you plan to stain the top of the furniture, you can skip the deglossing process in that area. After deglossing, it's time to apply primer. Use a spray primer to coat all surfaces evenly.
To prevent overspray, place cardboard under drawer edges, making sure your workspace stays clean.
Sanding Techniques
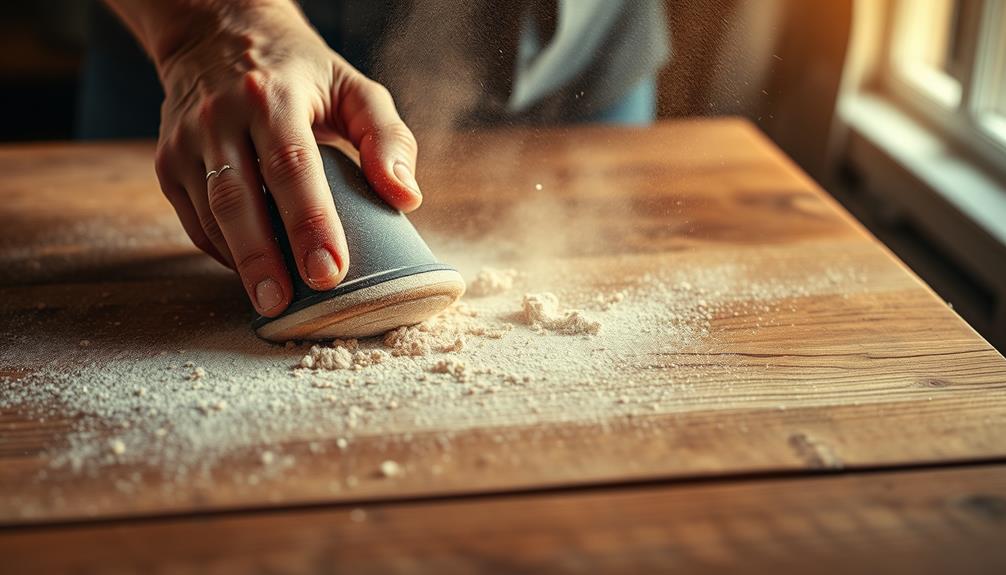
Sanding is an essential step in the antiquing process that can dramatically affect the final look of your furniture. Start by using an electric sander with 80-grit sandpaper to effectively strip the old finish from the surface.
Once you've removed the bulk of the finish, switch to 150-grit sandpaper to smooth everything out, ensuring a consistent finish across the piece. Utilizing effective painting techniques can enhance your overall project, giving it that polished vintage look.
For those hard-to-reach detailed areas, manually sand with standard sandpaper or use sandpaper blocks for better control. This will help you achieve a precise sanding without damaging adjacent surfaces.
As you work, focus on distressing the painted finish. Selectively remove paint in natural wear areas like corners and raised details to create an authentic vintage look.
However, be cautious while sanding. Avoid excessive removal that could expose the particle board beneath the veneer, which can compromise the integrity of your furniture.
Staining Process
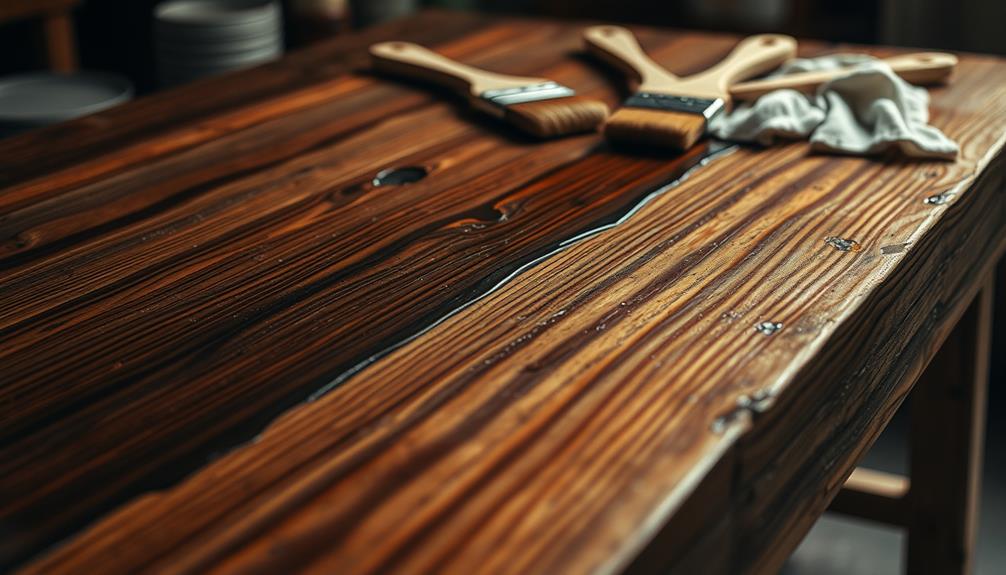
Once you've finished sanding your furniture, it's time to plunge into the staining process. This step is vital for achieving that beautiful antiqued look you desire, similar to how professional cleaning methods guarantee a polished finish.
- Use a rag for even application.
- Keep a separate rag for initial stain removal.
- Don't forget to buff for a nice sheen.
Start by applying the stain evenly to the top of your furniture using a rag, following the manufacturer's directions closely.
For drawer faces, grab a paintbrush to apply the stain, then wipe off any excess with a clean rag for a uniform finish.
Make certain to use two rags: one for initial stain removal and another for buffing, which enhances the surface sheen.
As you apply the stain, let it settle into the cracks and crevices while making sure the raised areas maintain a slight tint for that authentic, aged appearance.
Repeat the staining and wiping process until the entire piece achieves your desired look.
Consistency is key, so focus on even application throughout, and you'll be well on your way to transforming your furniture beautifully.
Finishing Touches
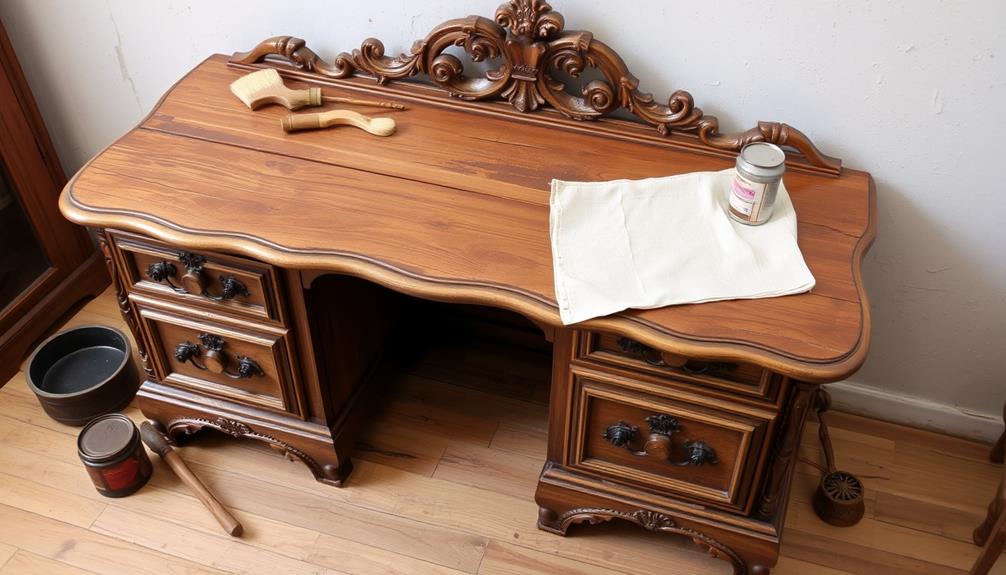
After you've achieved that beautiful antiqued look with the stain, it's important to focus on the finishing touches that will protect your hard work and enhance the overall appearance of your furniture.
Start by applying at least two coats of polyurethane to the top surface. This will protect the finish and add durability. Be sure to follow the manufacturer's instructions for drying times and recoating guidelines to guarantee ideal adhesion and finish quality.
Once the polyurethane has cured, consider applying a clear wax. This step adds an extra layer of sheen and depth to your antiqued finish without compromising the rustic charm and character you've worked hard to achieve. Use a soft cloth to gently buff the wax into the surface, enhancing its look.
When reassembling your furniture, make sure all layers of finish are completely dry. This will help avoid smudging or damaging your beautiful antiqued appearance during the final assembly.
Alternative Methods
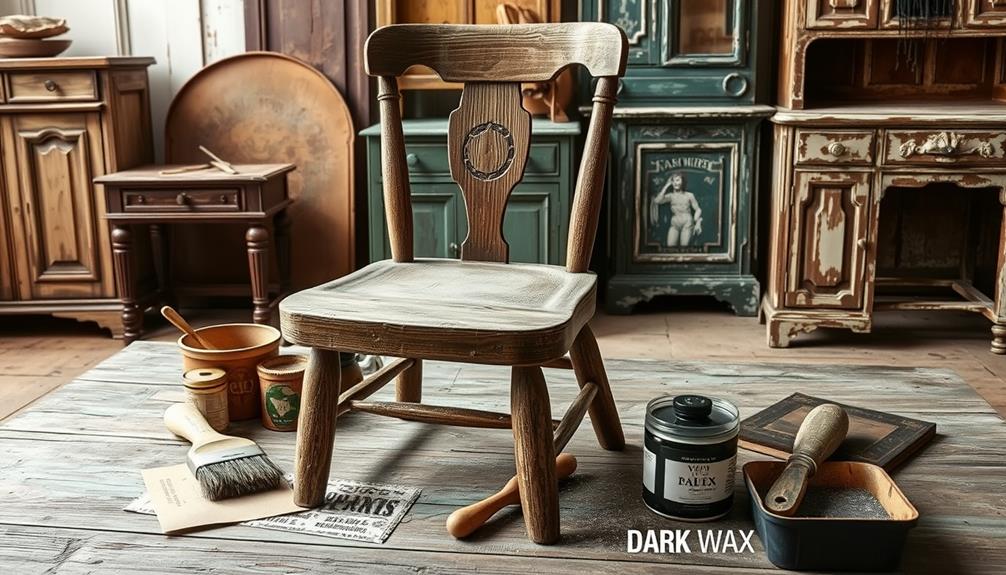
Exploring alternative methods for antiquing furniture can open up new creative avenues for your project. You can achieve a stunning antique appearance by enhancing your painted furniture with the right techniques and materials. Here are some ideas to ponder:
- Use a coat of primer to guarantee a smooth base.
- Select high-quality paint that offers complementary hues.
- Apply at least two coats of non-yellowing polyurethane for protection.
When you opt for a painted finish instead of staining, remember that the quality of your paint greatly influences the final results. Choose hues that harmonize with your desired antique effect, guaranteeing color consistency between the top and base of the piece.
Adjust your application techniques based on your chosen finish. For painted furniture, brushing can create a texture that enhances the antique look.
When applying polyurethane, make sure it's non-yellowing to preserve your color over time.
Frequently Asked Questions
How Do I Make My Furniture Look Antique?
To make your furniture look antique, apply a flat base coat, distress edges, and use dark wax for depth. Experiment with glazing and dry brushing techniques to create unique, aged finishes that showcase character and charm.
How Do You Antique Old Furniture?
To antique old furniture, you'll want to start by sanding the surface, applying a flat paint, and using dark wax for depth. Experiment with distressing techniques to create authentic wear and enhance its vintage charm.
How to Paint Wood to Make It Look Antique?
You'd think painting wood to look antique is simple, right? Start by cleaning and sanding, then apply your chosen paint. Distress the edges, add stain, and finish with polyurethane for that perfect faux-aged charm.
What Not to Do to Antique Furniture?
When antiquing furniture, don't use glossy finishes, skip deglossing, or over-sand the surface. Avoid applying too much glaze at once, and always allow proper drying times between coats to prevent peeling and uneven results.
Conclusion
In the world of antique furniture, many believe that aging techniques can't truly replicate the charm of genuine antiques. But as you've just learned, with the right preparation, sanding, staining, and finishing touches, you can create stunning pieces that evoke that timeless feel. So, why not give it a try? You might discover that your creations not only hold their own against the originals, but also tell a unique story that's entirely yours.
