
In order to bleach wood furniture, begin by gathering the necessary supplies such as household bleach and protective gear. Start by cleaning the surface with Tri-Sodium Phosphate to get rid of dirt and oils. Create a mixture of equal parts bleach and hot water, then apply it using a sponge or brush in small sections. Allow the bleach to sit for approximately 15 minutes in sunlight for optimal results. Rinse the wood thoroughly with water afterwards. Keep an eye on any color changes and repeat the process if necessary for stubborn spots. Finally, lightly sand the wood and apply a non-yellowing topcoat for protection. Explore more tips for achieving the best outcomes. To bleach wood furniture safely, always make sure to work in a well-ventilated area and wear gloves and eye protection to prevent any potential harm from fumes or skin contact. After applying the bleach solution, exercise patience and monitor the wood until you reach the desired lightness, but avoid excessive processing as it can weaken the wood fibers. By taking proper protective measures and paying close attention, you can bleach wood furniture safely and achieve even, beautiful results.
Key Takeaways
- Prepare the wood by cleaning it with Tri-Sodium Phosphate to remove dirt and oils before bleaching.
- Mix household bleach with hot water at a 1:1 ratio and apply it evenly using a sponge or brush.
- Always test a small, inconspicuous area first to gauge the wood's reaction to the bleach solution.
- Allow the bleach to sit for about 15 minutes in sunlight for enhanced effectiveness, then rinse with water.
- After bleaching, lightly sand the wood, rinse it again, and apply a protective topcoat for durability.
Methods of Wood Bleaching
When it comes to bleaching wood furniture, you have several effective methods to choose from. One popular option is household bleach, which contains sodium hypochlorite. It's inexpensive and works well for lightening wood, especially lighter woods with cooler undertones, particularly when combined with sunlight exposure.
However, keep in mind that effectiveness varies by wood type. For those looking to incorporate natural alternatives, essential oils such as eucalyptus oil can support overall wood maintenance and may enhance the aesthetic appeal of your furniture.
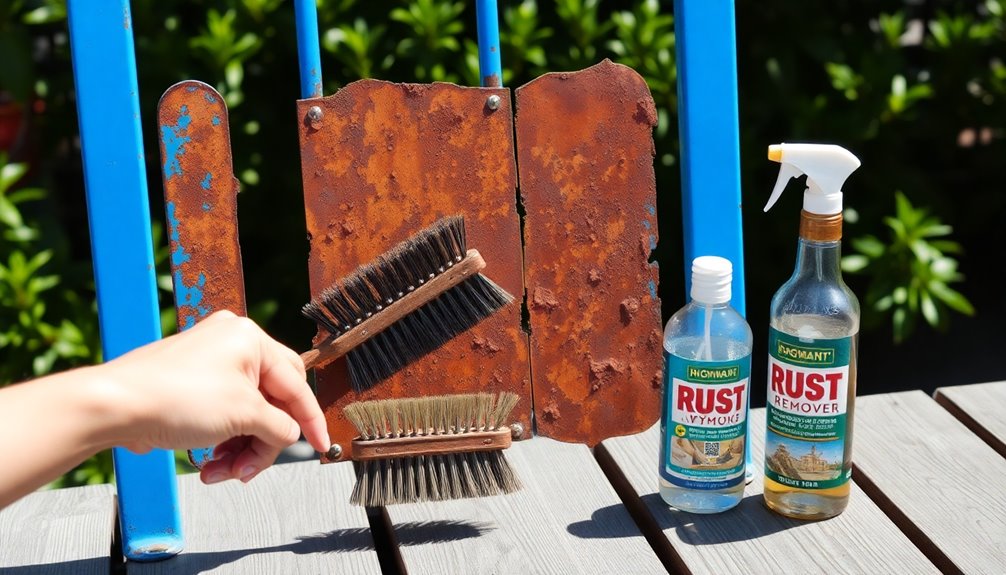
Another powerful option is oxalic acid, which comes in crystallized form. You'll need to dilute it with hot water. This method is excellent for removing rust stains while restoring the natural wood appearance without altering its color.
For more significant color changes, consider using a two-part A/B wood bleach that combines sodium hydroxide and hydrogen peroxide. This method allows you to keep the wood grain intact while achieving the desired results, although it usually requires multiple applications.
Regardless of the method, always follow safety precautions. Wear gloves and safety glasses, and remember to neutralize any residual bleach with a vinegar and water solution after the bleaching process to prevent unwanted reactions.
Essential Materials Needed
Before you start bleaching your wood furniture, you'll need some essential materials for safety and effectiveness.
It's important to have a well-ventilated area to work in, as bleach fumes can be harmful. Make certain you've got protective gear like gloves and safety glasses, along with the right tools to prep and apply the bleach.
Additionally, consider using a vacuum with a high filtration system for dust removal during the process, as best vacuums for dust removal in 2024 can help keep your workspace clean.
Having these items ready guarantees a smoother process and better results.
Protective Gear Importance
Bleaching wood furniture can be a rewarding project, but it's crucial to prioritize your safety while doing so. To effectively protect yourself, you'll need to wear proper protective gear throughout the process.
Here's a quick guide on the essential gear you'll need:
| Protective Gear | Purpose | Notes |
|---|---|---|
| Rubber Gloves | Protects skin from irritation and burns | Always wear during bleaching |
| Safety Glasses | Shields eyes from splashes and fumes | Essential for eye safety |
| Face Mask | Prevents inhalation of harmful vapors | Important in poorly ventilated areas |
| Long Sleeves/Pants | Provides additional skin protection | Helps avoid accidental contact |
| Well-Ventilated Area | Minimizes exposure to fumes | Open windows or use fans |
Required Tools Overview
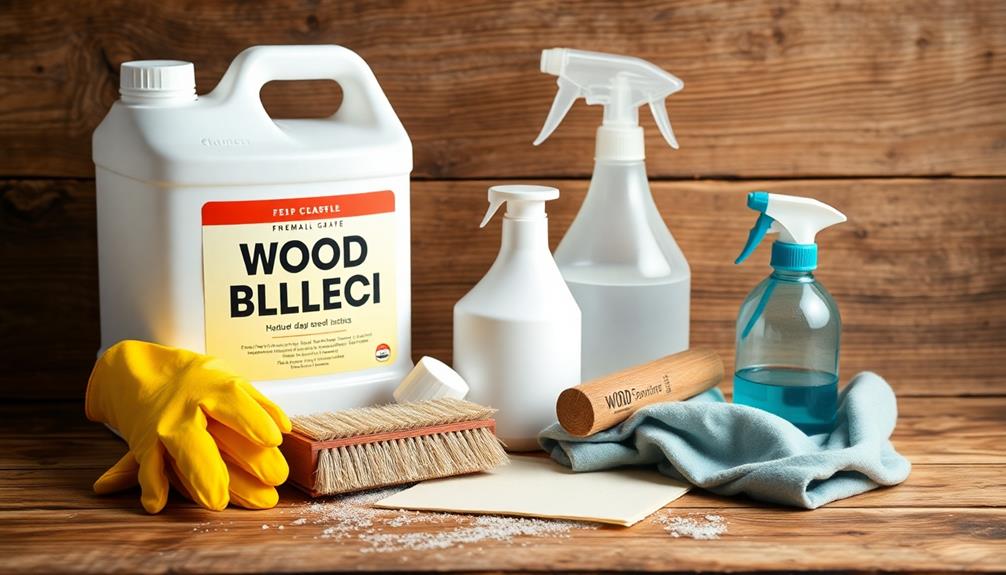
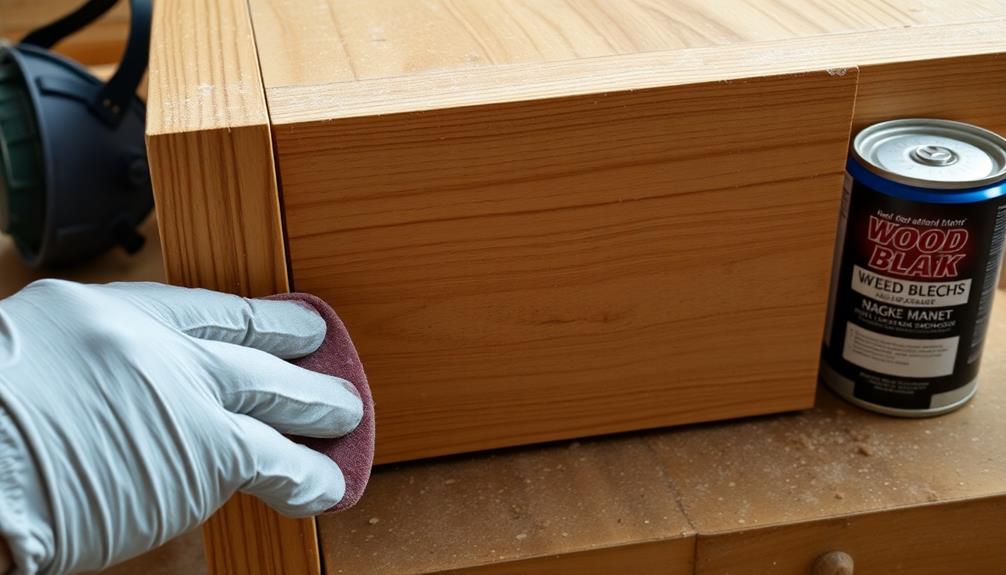
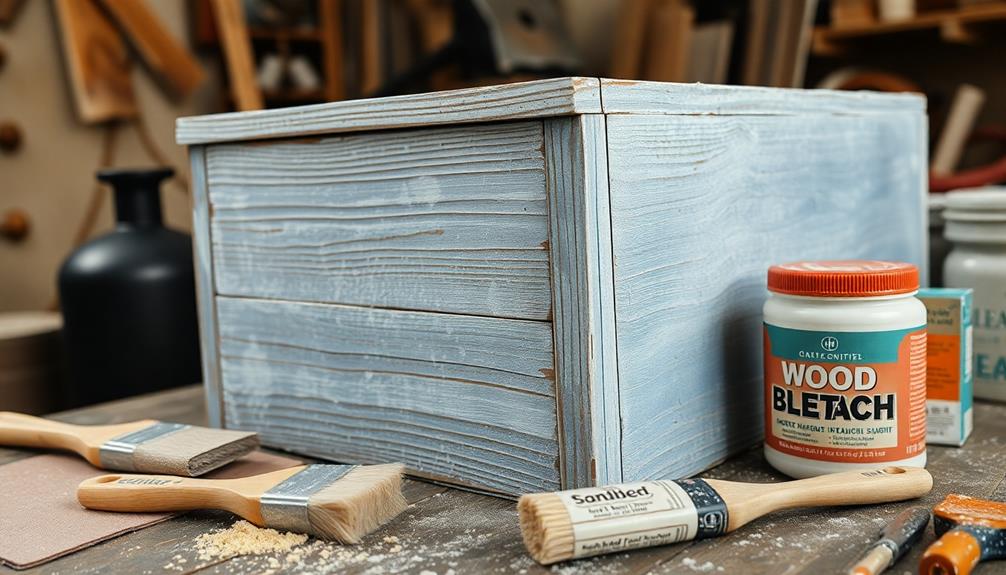
Once you're geared up and ready to start, gathering the right tools is the next step in your wood bleaching project. First and foremost, you'll need household bleach, like Clorox, to achieve that desired lightened effect on your wood furniture.
Before applying the bleach, it's crucial to remove any existing paint or finish with a paint stripper, such as Jasco or Citristip. Additionally, ensuring that the air quality in your workspace is ideal can enhance your overall experience, especially when dealing with strong chemicals; consider using an air purifier for better breathing.
To help with this process, a putty knife is invaluable for scraping off residue after using the paint stripper, ensuring the surface is clean and ready for bleaching. Don't forget to protect your hands with rubber gloves while working, as well as wearing safety goggles to shield your eyes from any splashes of bleach or paint stripper.
Additionally, using drop cloths to cover your work area will catch spills or drips, preventing any mess on your floors. Finally, for applying the bleach evenly, a sponge or brush is critical.
With these vital tools in hand, you're set to begin your wood bleaching project with confidence!
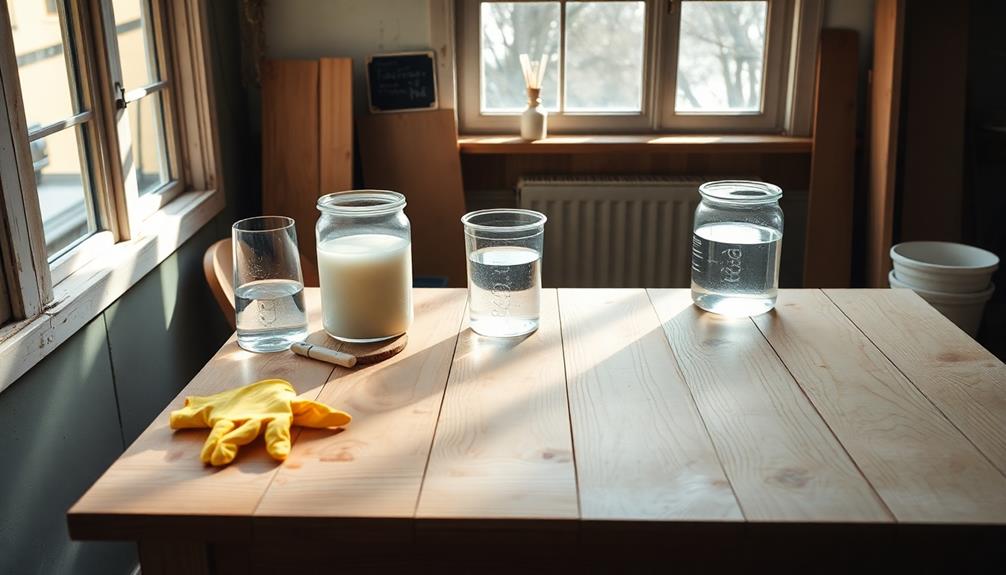
Cleaning Supplies Needed
Cleaning your wood furniture properly is vital for successful bleaching results. You'll need to gather a few important supplies to guarantee the process goes smoothly and safely. Here's a quick list of what you should have on hand:
- Rubber gloves
- Safety glasses
- Paint stripper (like Jasco or Citristrip)
- Tri-Sodium Phosphate (TSP) wood cleaner
- Spray bottle
Start by wearing your rubber gloves and safety glasses to protect yourself from harsh chemicals. Use a good paint stripper to remove any existing finish, making sure your wood is clean and ready for bleaching. A putty knife will help you scrape off any stubborn paint residue, while stripping pads can make the process easier.
Before bleaching, pre-clean your furniture with a TSP wood cleaner to eliminate dirt and oils.
Once everything's prepped, mix your splashless household bleach with hot water in a spray bottle at a 1:1 ratio. This mixture will help you achieve an even application during the bleaching process.
Preparing the Furniture
Preparing your wood furniture for bleaching is vital to achieving the best results. First, make certain your furniture piece is solid wood, as engineered or laminated woods may not react well to the bleach.
Next, remove all hardware, such as knobs and hinges, to prevent any damage during the process and guarantee an even application of the bleach on all surfaces.
Once you've taken off the hardware, thoroughly clean the furniture using a wood cleaner like Tri-Sodium Phosphate. This step is essential to eliminate dirt, oils, and any existing finishes that could interfere with the bleaching effect.
After cleaning, it's wise to test the bleach on a small, inconspicuous area to see how the wood reacts and to determine the right dilution ratio for your desired results.
Step-by-Step Bleaching Process
Now that you've prepared your furniture, it's time to gather the required materials and tools for the bleaching process.
You'll want to focus on the application techniques and tips to guarantee an even and effective result.
Following these steps closely will help you achieve the desired color change while protecting the wood's integrity.
Required Materials and Tools
To successfully bleach wood furniture, you'll need a few essential materials and tools to guarantee the process goes smoothly. Here's a quick list to help you gather everything you need:
- Rubber gloves: Protect your hands from bleach and other chemicals.
- Bleach: Use either household bleach or a two-part wood bleach for effective results.
- Protective gear: Safety glasses and face masks will shield you from fumes and splashes.
- Cleaning solution: Tri-Sodium Phosphate (TSP) helps clean the furniture before you start.
- Tools: Putty knives and stripping pads assist in removing old finishes.
Before applying the bleach, make sure to clean the furniture thoroughly to eliminate dirt and oils.
Prepare your bleach solution by mixing splashless household bleach with hot water in a spray bottle at a 1:1 ratio. It's essential to test this bleach solution on a small, inconspicuous area of the wood first.
This way, you can gauge how the wood reacts before committing to the entire piece.
With these materials and tools on hand, you're ready to plunge into the bleaching process!
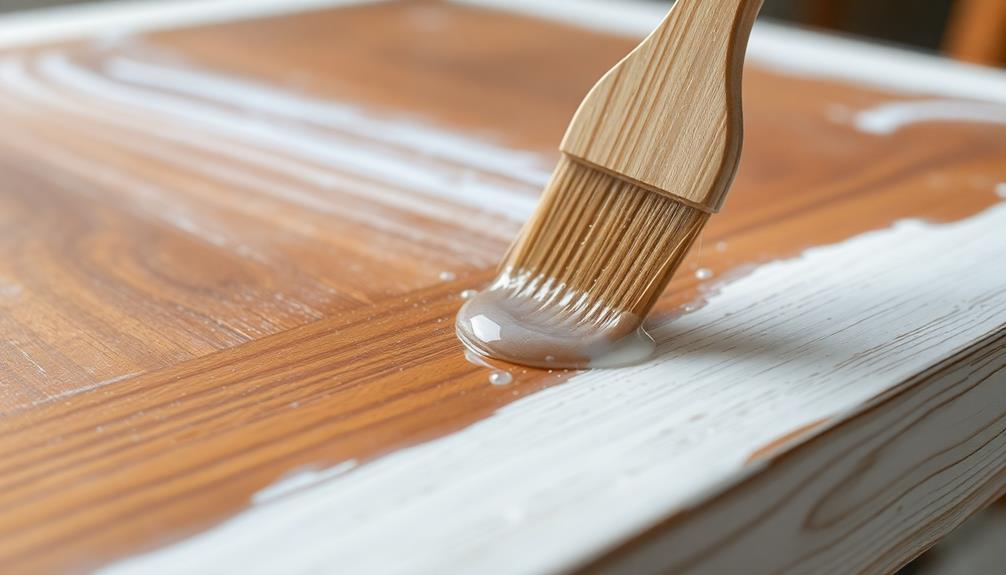
Application Techniques and Tips
With all the necessary materials and tools gathered, you're ready to start the bleaching process.
Begin by thoroughly cleaning the wood furniture with a Tri-Sodium Phosphate solution to remove any dirt and oils. This step is essential for best results when you apply bleach.
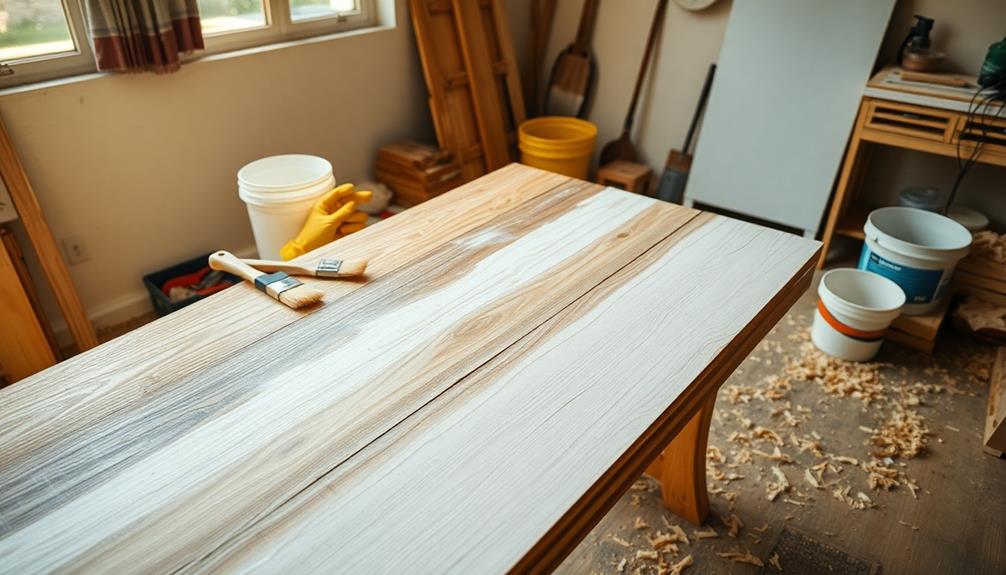
Next, use a sponge or brush to apply bleach evenly, working in small sections to prevent pooling and guarantee consistent coverage. Let the bleach sit for about 15 minutes under sunlight to enhance the lightening effect.
Afterward, rinse the surface with water to neutralize the bleach.
You may need to apply bleach multiple times, allowing it to dry between applications, especially on wood with stubborn stains or colors.
Once you reach your desired level of lightness, it's time to lightly sand the surface to smooth any raised grain.
Observing Color Changes
Observing color changes in wood furniture during the bleaching process can be both fascinating and crucial for achieving your desired look. As you bleach wood furniture, you'll notice immediate lightening, but it often takes several hours for the full effect to manifest.
Different wood types react uniquely; for instance, yellow pine may stubbornly retain yellow or orange tones that need extra applications for better lightening.
Here are some key points to keep in mind:
- Monitor the wood closely for unexpected hues, like red or pink undertones.
- Allow the bleach to sit for an extended period, especially in sunlight, to enhance its effectiveness.
- Rinse the wood with water afterward to neutralize bleach and avoid chemical reactions.
- Each wood type will respond differently, so patience is essential.
- Document the changes as they happen to track progress.
Post-Bleaching Care
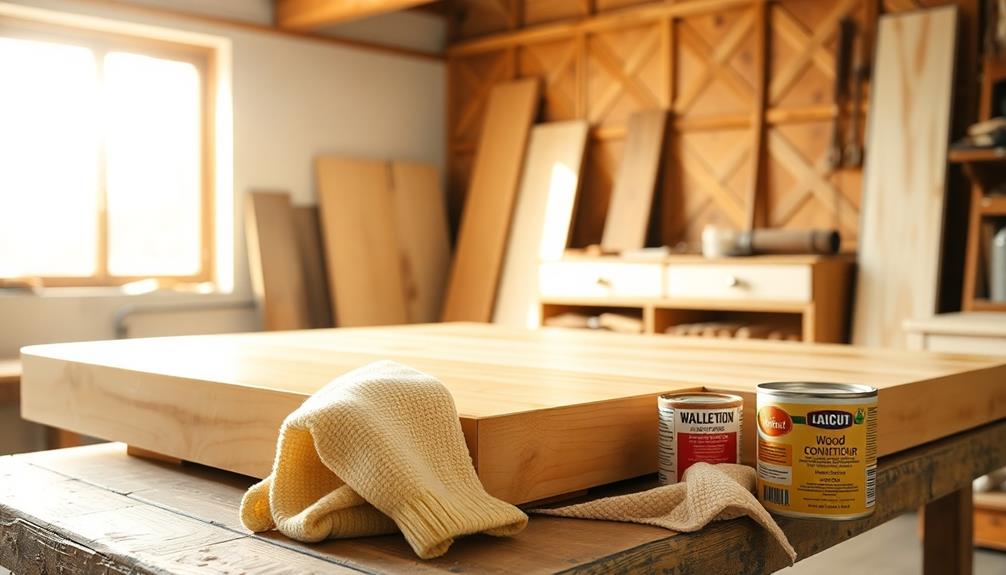
After bleaching your wood furniture, proper post-bleaching care is important to secure a beautiful and lasting finish.
Begin by lightly sanding the bleached wood using 120-grit sandpaper. This helps reduce any raised grain and gives you a smooth texture.
Next, it's essential to rinse the bleached wood with clean water. This step neutralizes the bleach and guarantees all chemical residues are removed before moving to the finishing stage.
Once rinsed, allow the bleached wood to dry completely. This drying process can take several hours to overnight, but it's critical for ideal adhesion of the protective topcoat.
When the wood is thoroughly dry, apply a protective topcoat or sealer, such as a non-yellowing polyurethane or natural wood wax. This not only enhances the durability of your furniture but also maintains its aesthetic appeal. Make sure to choose a product designed for the specific wood type and its intended use, as indoor and outdoor applications may require different finishes. For waterproofing outdoor wood furniture, it’s crucial to apply a sealer that provides strong protection against moisture, UV rays, and temperature fluctuations. Regular maintenance, such as reapplying the sealer or wax, will further extend the longevity and beauty of your furniture.
For ongoing maintenance, regularly dust your bleached wood furniture and avoid harsh chemicals that could damage the finish.
Safety Precautions

Properly caring for your bleached wood furniture is only part of the process; safety precautions are just as essential. Following the right safety instructions can help you avoid health risks while achieving beautiful results.
- Always wear rubber gloves, safety goggles, and a mask.
- Work in a well-ventilated area—preferably outdoors or near open windows.
- Test bleach on a small, inconspicuous area of the wood first.
- Protect your skin from caustic chemicals in bleach and other wood treatments.
- Dispose of leftover bleach and contaminated materials according to local regulations.
Remember, when using two-part wood bleaches, handle each solution with care. Sodium hydroxide and hydrogen peroxide can cause chemical burns if they contact your skin.
By taking these precautions, you'll minimize the risk of injury and guarantee a safer bleaching experience.
Don't rush the process; verify that you've set up your workspace correctly before you begin.
Prioritizing your safety not only protects you but also helps you achieve the best results for your furniture. Always keep safety top of mind, and you'll enjoy your newly bleached wood for years to come!
Common Challenges and Solutions
Bleaching wood furniture can come with its fair share of challenges, but knowing how to tackle them makes the process smoother.
One common issue is uneven bleaching, which can happen due to the varying types of wood. To combat this, apply the bleach evenly in sections and allow it to sit for the recommended time for consistent results.
If your furniture has old finishes, you'll need to use a paint stripper to remove them thoroughly, as shiny surfaces resist bleaching.
Stubborn stains may require multiple applications of bleach, so be patient and monitor the color change after each application. Avoid pooling or dripping bleach, as this can lead to discoloration; use a brush or sponge to apply it evenly and sparingly.
After bleaching, you'll likely notice the wood grain has raised due to the caustic nature of bleach. To fix this, perform light sanding to smooth the texture while preserving the desired color.
Frequently Asked Questions
Can I Bleach Wood Furniture?
Yes, you can bleach wood furniture to lighten its color or remove stains. Just make sure the wood is clean and solid, test a small area first, and always follow safety precautions during the process.
How Long Does It Take Bleach to Lighten Wood?
Bleach dances on wood like sunlight through leaves, transforming it gradually. It may take 15 minutes to several hours to see results, and sometimes you'll need multiple applications for that perfect, airy glow you desire.
Can You Bleach Wood Without Sanding?
Yes, you can bleach wood without sanding. Just use a stripper to remove existing finishes, then apply bleach directly. Monitor the process closely to avoid uneven results, and rinse afterward to neutralize the bleach.
Can You Bleach Wood to Make It Look Like Driftwood?
Yes, you can bleach wood to achieve a driftwood look. Apply a two-part bleach in sunlight, sand lightly for texture, and remember to neutralize with vinegar and water afterward for the best results.
Conclusion
Bleaching wood furniture can transform its appearance and breathe new life into your space. By following the right methods, using essential materials, and preparing carefully, you'll achieve stunning results. Embrace the process, observe the color changes, and guarantee proper post-bleaching care. Stay safe and tackle any challenges with confidence. With patience and practice, you'll enjoy beautifully bleached furniture that enhances your home's charm, showcases your style, and invites admiration from all who see it.