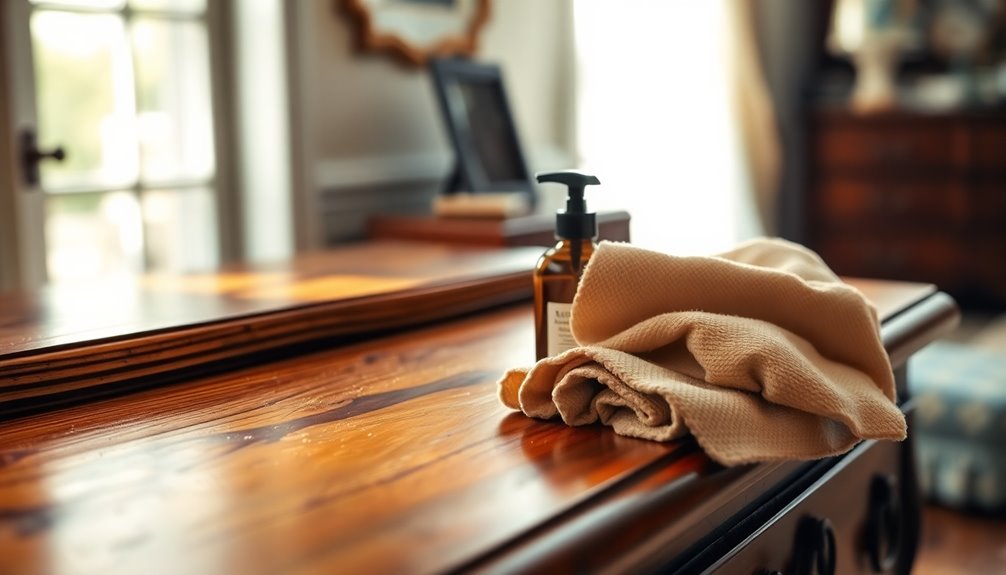
To clean antique furniture without stripping, start by identifying the wood finish with a small test on an inconspicuous area. Dust surfaces using a soft cloth and a brush to capture dirt. Mix a gentle cleaning solution, like oil soap with water, and dampen a cloth—make sure to wring it out well to avoid excess moisture. Wipe along the wood grain in circular motions. Let the furniture dry naturally, avoiding direct sunlight. Regular maintenance includes dusting and using protective wax. There's plenty more useful information to ensure your antique stays beautiful and well-preserved.
Key Takeaways
- Begin by dusting with a soft, lint-free cloth, working in the direction of the wood grain to avoid scratches.
- Use a gentle cleaning solution, such as diluted oil soap or mild dish soap, and always test on an inconspicuous area first.
- Wipe surfaces with a damp cloth, ensuring it is thoroughly wrung out to prevent excess moisture damage.
- Allow furniture to dry naturally in a controlled environment, avoiding direct sunlight and heat sources.
- Regularly maintain with gentle dusting and occasional conditioning to preserve the finish without stripping.
Determining the Wood Finish
When it comes to cleaning antique furniture, the first step is determining the wood finish. You can do this with a few simple tests using common household items. Start by applying acetone with a cotton swab to an inconspicuous area. If the finish beads, it's likely polyurethane. If the finish becomes tacky, you're dealing with varnish. For shellac, use denatured alcohol; if it dissolves quickly, you've identified it. Lacquer will dissolve completely when you apply acetone.
Next, check for an oil finish by applying linseed oil. If it absorbs, you've got an oil finish; if it beads up, it's not. For painted antique pieces, an ammonia test can reveal milk paint, as it dissolves with ammonia. Understanding the importance of wood finishes is essential, as it helps guide your cleaning choices and maintain the integrity of the furniture.
Always test in hidden spots, like the inside of a leg or drawer, to avoid visible damage. Knowing the finish helps you choose the right cleaning solution and method, ensuring you don't accidentally mix finishes or cause harm. With this knowledge, you're well on your way to preserving your antique furniture beautifully!
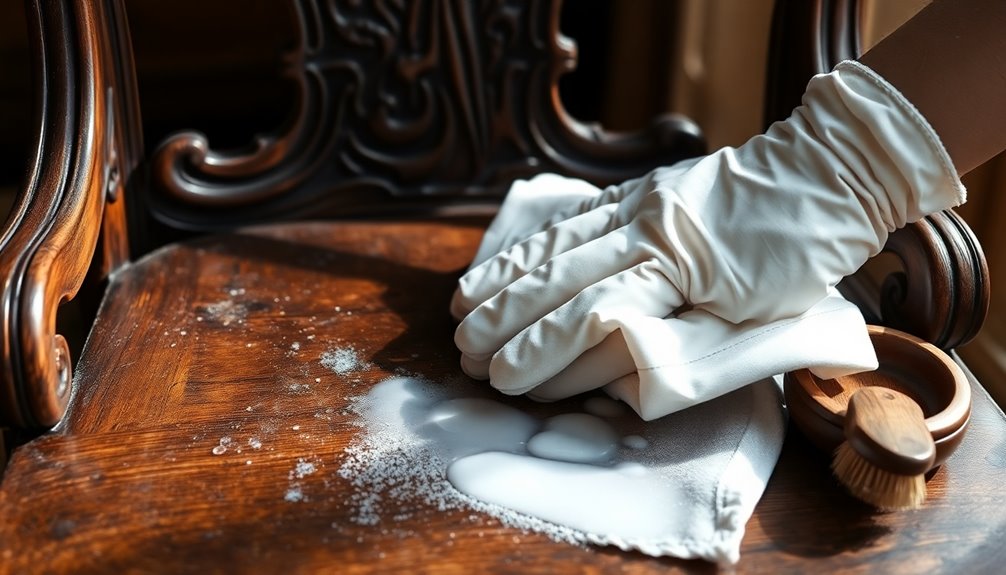
Dusting the Furniture

To keep your antique furniture looking its best, regular dusting is essential. Start by gathering the right tools: a soft, lint-free cloth, a soft-bristled brush for intricate details, and a vacuum with a brush attachment set to low suction. Avoid feather dusters, as they can scatter dust instead of capturing it.
When dusting, always move in the direction of the wood grain to prevent scratches. Gently rub the surfaces with your cloth, and use a cotton swab to reach into crevices and carvings. Focus on all surfaces, including the tops, sides, bottoms, and especially any carved or detailed areas. Make sure to remove dust from joints and corners, as these spots often accumulate debris.
After dusting, inspect your furniture for any missed spots. If necessary, give it a quick wipe down with a dry cloth. Remember, avoid damp cloths unless absolutely needed, as moisture can damage the wood. Regular maintenance not only enhances the appearance of your antique pieces but also reduces the need for more extensive cleaning down the line. Additionally, proper cleaning techniques can help preserve the integrity and historical value of your furniture. Buff the furniture occasionally to maintain its shine and integrity.
Preparing the Cleaning Solution
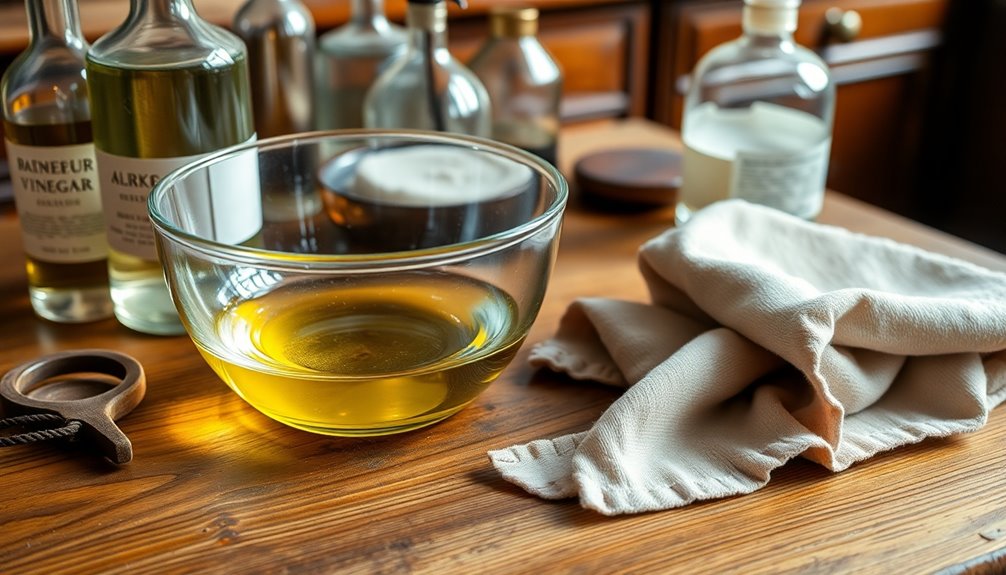
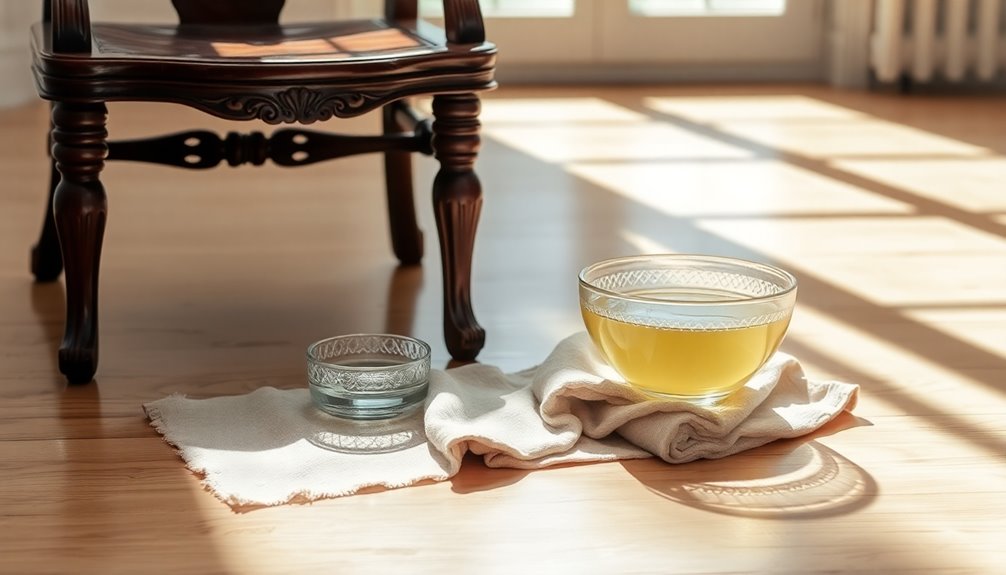
Preparing the right cleaning solution is crucial for maintaining your antique furniture's beauty and integrity. Start by choosing a gentle cleaner. You can mix one ounce of oil soap with six ounces of water for a classic solution, or dilute mild dish soap in water for a softer touch. If you're dealing with stubborn stains or odors, equal parts of white vinegar and water can work wonders. For a natural option, dissolve Castile soap flakes in water according to the instructions.
When mixing your solution, use a measuring cup and small mixing bowl for accuracy. A fork or whisk can help blend the oil soap solution thoroughly. For vinegar mixtures, a spray bottle is handy for easy application. Remember to wear gloves to protect your hands. Regular use of gentle soaps will help preserve the integrity of the wood over time.
Always avoid harsh chemicals that can damage the wood finish. Work in a well-ventilated area, especially if you're tackling mildew. Before applying your solution, test it on a small, inconspicuous area to ensure it won't harm the finish. Taking these steps will help you prepare a safe and effective cleaning solution for your cherished antique furniture.
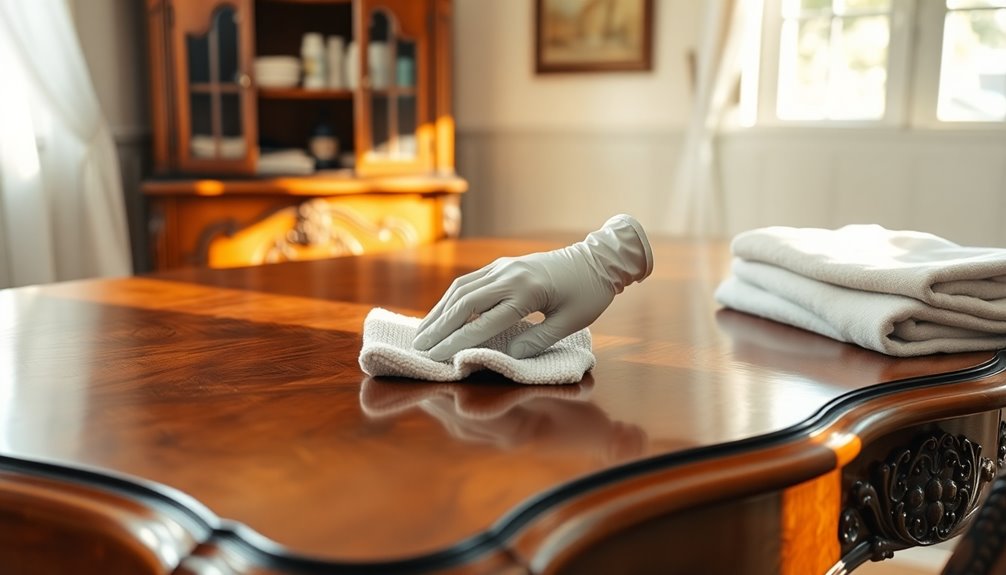
Cleaning the Furniture
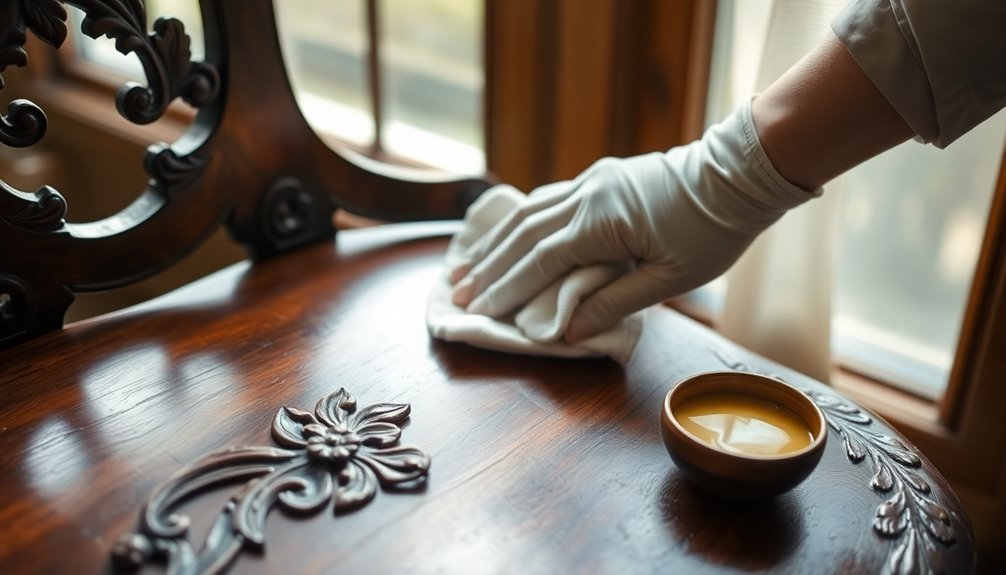
Cleaning antique furniture requires a careful touch to preserve its unique character and craftsmanship. Begin by dusting the surface with a soft, lint-free cloth to remove any superficial dust. For carved or intricate details, use a soft-bristled brush or a vacuum with a brush attachment set to low suction. Always dust in the direction of the wood grain to avoid scratches. If possible, remove drawers or shelves to clean them separately.
Next, mix a small amount of gentle dish soap or oil soap with water. Dampen a soft cloth in this mixture and wring it out thoroughly to avoid saturating the wood. Gently wipe the surfaces, working from top to bottom along the wood grain and using circular motions to lift grime and dirt. Change the cloth as needed to maintain effectiveness. Regular cleaning and maintenance can significantly enhance the longevity of your antique furniture.
If you encounter mildew, apply a one-to-one solution of oil and vinegar with a damp cloth in circular motions, focusing on affected areas without oversaturating the wood. For stains, gently rub the surface with your cleaning solution, ensuring you don't leave moisture behind. Always remember to test any cleaner on a small, inconspicuous area before applying it broadly.
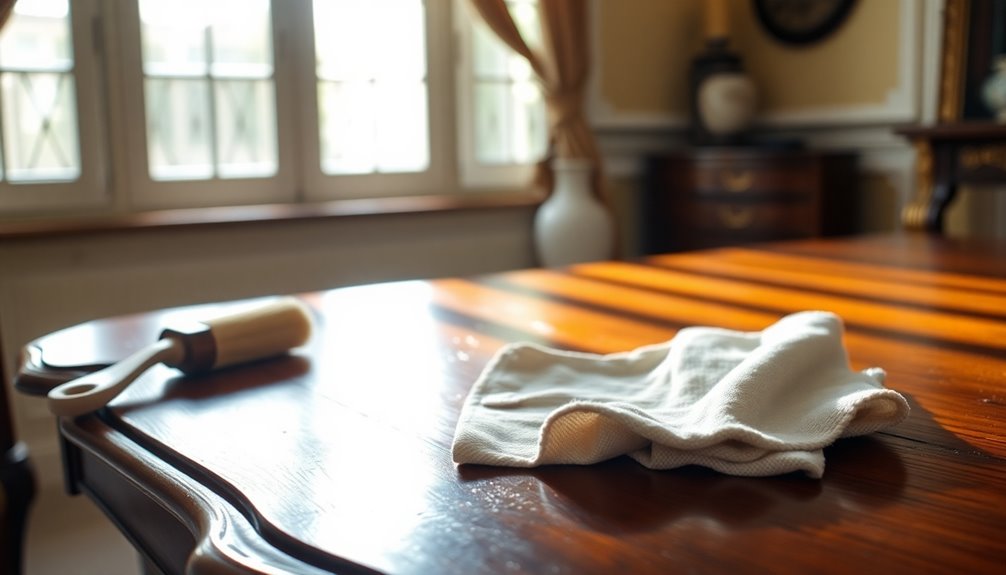
Drying the Furniture
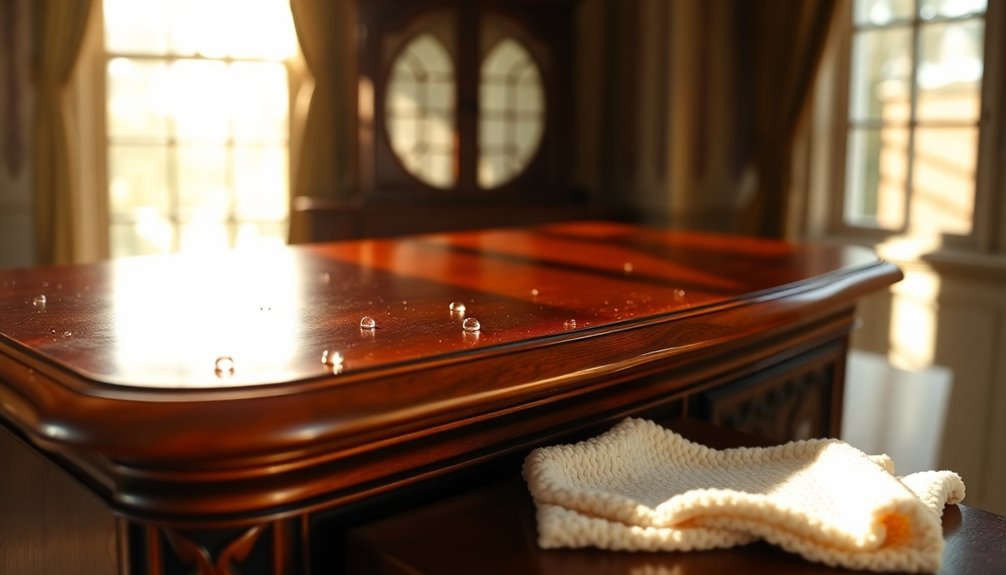
After thoroughly cleaning your antique furniture, the next step is drying it properly to maintain its integrity. Use the slow drying method to prevent the wood from shrinking or deforming. Avoid fans or special dryers, as these can speed up the drying process and cause irreversible damage. Instead, let your furniture dry naturally in a controlled environment. If you need to draw out moisture more quickly, you can cautiously use the heat from an iron or blow dryer on low, but always use a soft cloth to avoid re-depositing moisture.
It's crucial to ensure your furniture is completely dry to prevent mildew and further damage. Wipe away any remaining moisture with dry cloths. Direct sunlight and high temperatures can cause rapid moisture loss, leading to splits or cracks in the wood, so keep your furniture in a stable environment. Remember, slow drying not only preserves the structural integrity of your antiques but also helps maintain their value. Additionally, knowing about antique preservation techniques can enhance your overall care for these valuable pieces. Finally, after the drying process, consider applying wax or other protective treatments to safeguard the wood for the future. Regular maintenance will keep your antique furniture looking beautiful for years to come.
Handling Special Cases
When it comes to antique furniture, not all pieces are created equal, and special care is often needed for different finishes. Start by identifying the finish. For wax finishes, use a cotton swab with denatured alcohol; if it smudges, it's likely wax. Gently clean with odorless mineral spirits on a soft cloth, focusing on scratches or discolorations. Avoid alcohol or water, as these can damage the wax. Always use a clean, dry cloth to remove any moisture. Regular inspection to identify common wood types in your furniture can also aid in choosing the right cleaning method.
If you suspect a shellac finish, conduct the same alcohol test. If the finish dissolves, it's shellac. Avoid alcohol for cleaning; instead, use odorless mineral spirits, wiping gently along the grain. Clean small sections at a time, and remove moisture promptly with a dry cloth.
For both finishes, regularly dust with a soft brush or lint-free cloth, steering clear of wax-based cleaners. Lastly, always test cleaning products on an inconspicuous area before full application, and be cautious not to oversaturate the wood. Following these steps will help you maintain the beauty of your antique furniture while preserving its unique finish.
Tips for Maintenance

Maintaining the beauty and integrity of antique furniture requires consistent care and attention. Start by regularly dusting your pieces with a soft, lint-free cloth. For intricate carvings, use a soft-bristled brush or a vacuum with a brush attachment set to low suction. Always dust in the direction of the grain to prevent scratches. Avoid feather dusters, as they can be abrasive and ineffective.
For a deeper clean, mix a mild soapy solution with gentle dish soap and water. Dampen a soft cloth in the mixture, wring it out thoroughly, and carefully wipe the surfaces without letting water pool. Follow up with a clean damp cloth to remove soap residue, and immediately dry the area with a soft, dry cloth. Regular inspections help identify any necessary repairs or maintenance.
Protecting the finish is crucial—steer clear of wet cleaning on unfinished or delicate finishes. Never use harsh chemicals or silicone-based cleaners, as they can damage the wood. Waxing with solid waxes like beeswax helps preserve the antique. Lastly, keep your furniture away from bright sunlight and maintain a consistent temperature and humidity level to prevent damage.
Tools and Supplies Needed
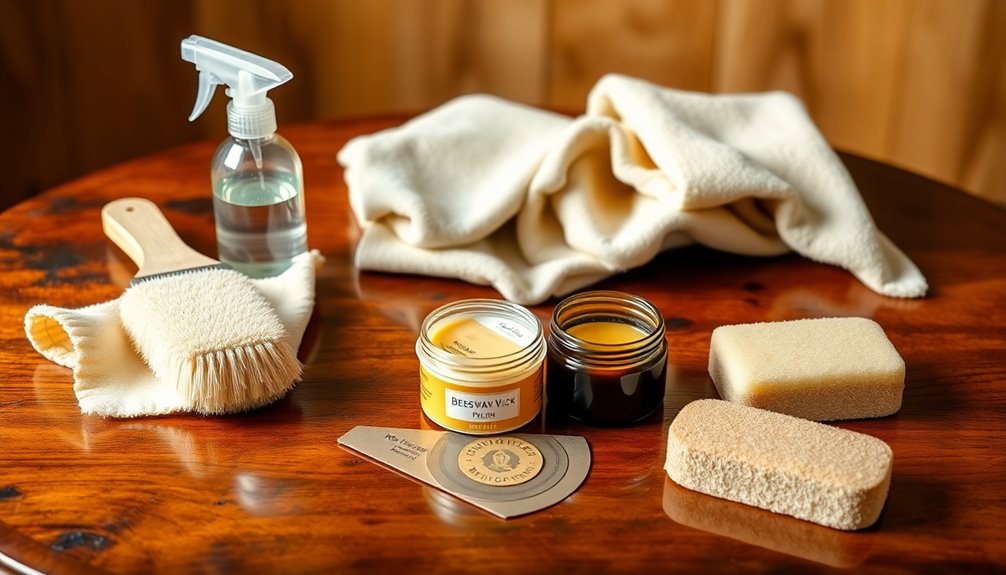
Cleaning antique furniture requires the right tools and supplies to ensure effective care without causing damage. Start by gathering essential cleaning solutions like oil soap, which moisturizes the wood finish, and distilled white vinegar for its germ-killing properties. Mild dish soap is also a safe option for gentle cleaning. For sticky spots, odorless mineral spirits work wonders. Additionally, having soft, lint-free cloths and a vacuum with an upholstery attachment can help maintain the furniture’s appearance without scratching the surface. If you’re also interested in learning how to clean velvet furniture, it’s essential to use a specialized fabric cleaner or a gentle soap solution. Always test any cleaning agent on an inconspicuous area first to prevent any potential damage to the upholstery.
You'll need various cleaning cloths, such as cotton cloths for applying solutions and soft lint-free cloths for dusting. A wire brush and steel wool help tackle rust on metal parts, while sponges and rags are great for wiping surfaces. Additionally, consider using Miss Mustard Seeds Hemp Oil as an all-purpose product to hydrate wood and restore its shine. Regular use of carrier oils can enhance the longevity of the wood finish by preventing it from drying out.
Don't forget protective gear! Rubber gloves shield your hands from chemicals and dust, while an air mask protects against inhaling particles. Use a measuring cup and a small mixing bowl to mix your solutions accurately.
For specialized needs, consider Goddard's Silver Foam for polishing silver or Goo-Gone for removing sticky residue. Mineral oil is perfect for hydrating baskets and polishing metal. With these tools and supplies, you're ready to clean your antique furniture safely and effectively.
Common Mistakes to Avoid
Using the right tools and supplies sets the stage for a successful cleaning job, but avoiding common mistakes is just as important. First, steer clear of harsh chemicals and abrasive cleaners. Products like linseed oil or Liquid Gold can soften the original finish and even turn it black over time. Instead, opt for gentle cleaners like Simple Green or dish soap. Additionally, consider using essential oils for cleaning as a natural alternative to enhance the scent while cleaning.
When cleaning, never damage the existing finish. Always test any cleaning product on a small, inconspicuous area first to ensure it's safe. Use a soft, lint-free cloth and clean in the direction of the wood grain to avoid scratches. Additionally, remember that maintaining the integrity of the wood is crucial for a successful restoration, so always choose products that are gentle and compatible with the original finish to preserve its integrity.
Improper techniques can also lead to problems. For upholstery, don't rub stains; blot them instead. Over-soaking can cause mold or weaken fibers, so use a damp cloth with vinegar or olive oil for stubborn grime.
Lastly, don't skip the pre-cleaning assessment. Check for scratches, loose joints, or broken parts, and remove any knobs that might obstruct cleaning. Always ensure the furniture is completely dry post-cleaning to prevent moisture damage. Avoiding these mistakes will help you maintain the beauty of your antique furniture.
Storing Antique Furniture Properly
Proper storage is crucial for preserving the elegance and longevity of your antique furniture. First, choose a dry location away from direct sunlight, which can cause cracking and fading. Ideally, select a space with controlled temperature and humidity to prevent warping and mold growth that can damage finishes. Keep food and crumbs out to deter pests, and regularly check for mold or mildew.
Next, cover your furniture with sheets or blankets to protect it from dust. Use acid-free tissue or packing paper on vulnerable areas to prevent scratches, and disassemble pieces when possible to save space and minimize damage. Always clean hard surfaces with soft cloths and mild cleaners before storing, and ensure upholstered items are professionally cleaned and thoroughly dry.
Utilize proper supports by placing wooden blocks or foam under the legs to prevent sagging, and keep furniture at least six inches off the ground to allow airflow. Avoid stacking furniture to prevent damage, and elevate legs on chairs and tables for stability.
Lastly, monitor your furniture for cracks and weak points, condition materials as needed, and inspect the storage area frequently for any pests or damage.
Frequently Asked Questions
How Often Should I Clean My Antique Furniture?
You should clean your antique furniture at least every six months, but it really depends on how often you use it and your environment. If it's in a high-traffic area or exposed to sunlight, consider cleaning more frequently. Regular inspections help you spot any dirt buildup or issues. Dusting is essential, especially for wood furniture. Remember, quick wipe-downs with a dry cloth can keep things looking nice between those deeper cleans.
Can I Use Furniture Polish on Antique Pieces?
Yes, you can use furniture polish on antique pieces, but you need to be careful. First, clean the furniture thoroughly to remove dirt and grime, which helps the polish adhere better. Choose a natural or homemade polish, avoiding harsh chemicals. When applying, use a soft cloth and work in circular motions along the grain. Don't overapply—excess polish can leave a residue. Always test the polish in an inconspicuous area first.
What Should I Do if the Finish Is Peeling?
If you notice the finish is peeling, start by sealing the damaged areas with a light-colored shellac. Apply several thin coats, letting each dry overnight. Use stearated sandpaper to smooth the peeling spots before wiping the piece with Naphtha. Allow it to dry overnight again. Finally, finish off by applying a good quality furniture wax, buffing it to achieve a smooth, even surface that protects your antique.
Is It Safe to Use Water on Antique Furniture?
Using water on antique furniture isn't always safe. You should test the finish first to see if it's affected by moisture. Excessive water can seep into the wood, causing damage like swelling or buckling. Instead, opt for lightly dampened cloths, and avoid soaking the furniture. Always check the type of finish, as some, like shellac and wax, can be particularly sensitive to water. Regular dusting can help maintain its beauty without risking damage.
How Can I Prevent Future Damage to My Furniture?
To prevent future damage to your furniture, maintain a stable environment. Keep temperatures between 68 and 75 degrees Fahrenheit and humidity levels between 35 and 65 percent. Avoid direct sunlight exposure by using curtains or placing furniture away from windows. Clean regularly with a soft cloth, and use mild detergents when necessary. Lastly, apply solid wax annually to protect the surface and maintain its beauty, ensuring it stays in great condition for years.
Conclusion
By following these simple steps, you can effectively clean your antique furniture without stripping away its charm. Always remember to determine the wood finish and use gentle cleaning solutions to preserve the integrity of the piece. Regular dusting and proper storage will keep your antiques looking their best for years to come. With a little care, you can enjoy the beauty and history of your furniture while ensuring it remains in great condition.