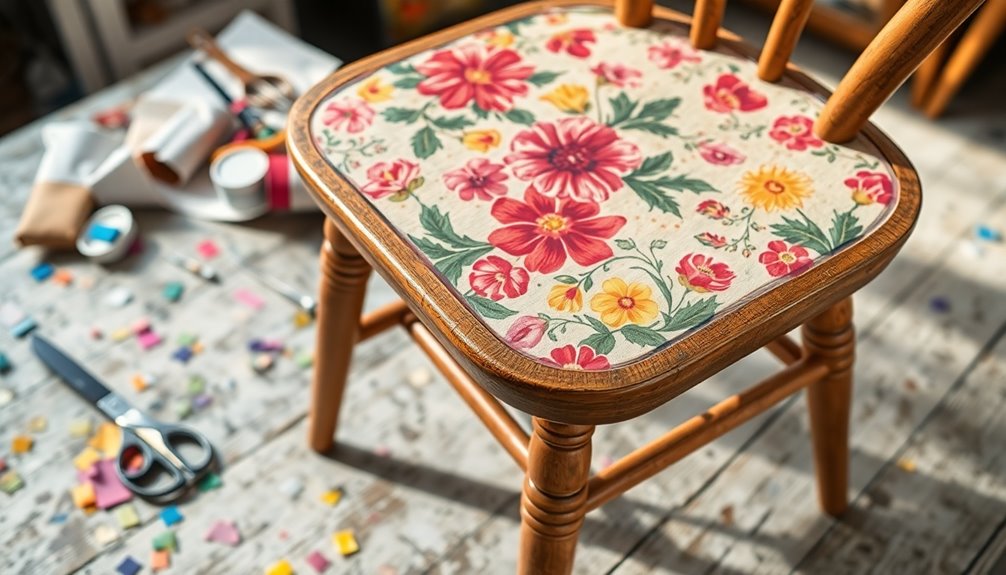
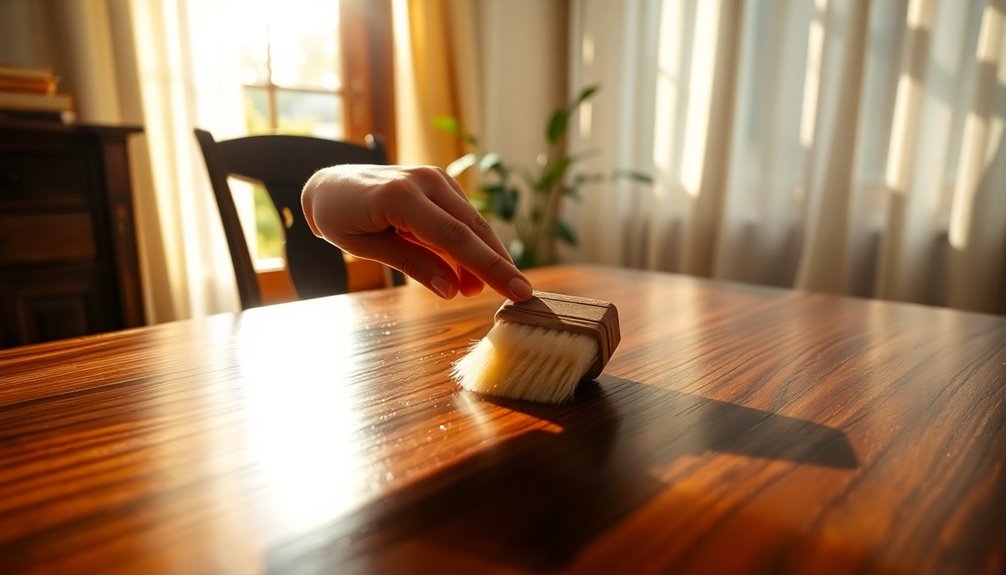
To decoupage furniture, start by preparing the surface; clean, sand, and fill any holes. Apply a base coat of acrylic or chalk paint and let it dry. Choose your decoupage materials like tissue paper or gift wrap, and cut out your designs. Using a decoupage medium like Mod Podge, apply the paper smoothly onto the painted surface, working from the center out to avoid wrinkles. Once everything's laid out, seal it with a water-based sealer for durability. Finally, trim any excess paper and smooth the edges for a polished look. There's plenty more to explore about this fun craft!
Key Takeaways
- Prepare the surface by cleaning, sanding, and filling any holes before applying paint or decoupage materials.
- Use acrylic or chalk paint for better adhesion, allowing a base coat to dry fully before decoupage.
- Choose and cut decoupage materials carefully, ensuring they are smooth and have a seam allowance to prevent fraying.
- Apply decoupage medium evenly, smoothing the paper from the center outward to eliminate air bubbles and wrinkles.
- Seal the finished project with a water-based sealer to maintain vibrancy and protect against wear over time.
Preparation of the Surface
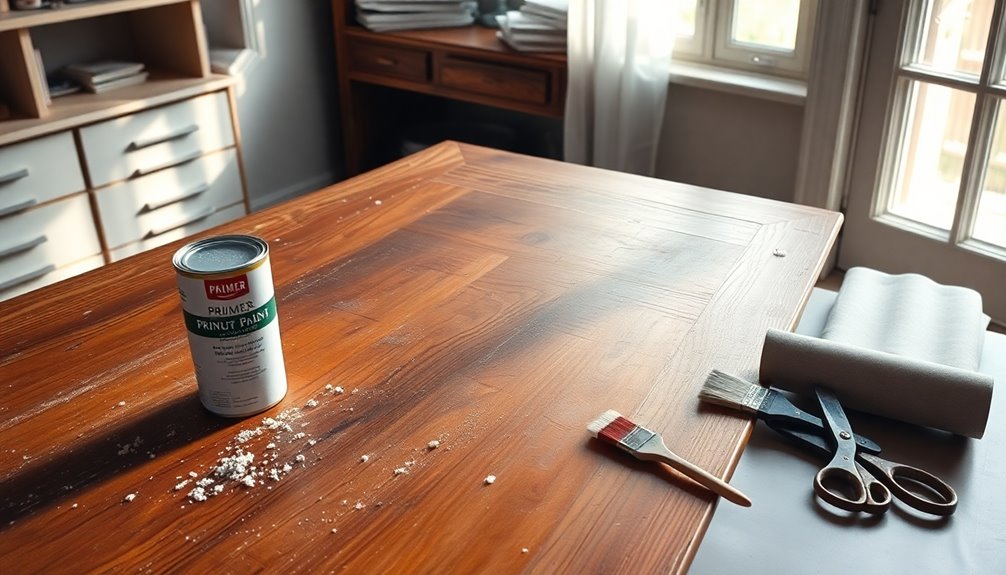
To achieve the best results when decoupaging furniture, proper surface preparation is essential. Start by removing any hardware from the piece to avoid damage. Use 100 grit sandpaper to sand the surface thoroughly, knocking down any sheen from existing finishes. If you find holes or damage, fill them with wood filler and sand again. Next, clean the surface with a tack cloth to ensure it’s free from dust and debris. Once the surfaces are prepared, it’s important to ensure they are completely clean before applying any decoupage materials. If there are any stickers or adhesive residue present, it’s crucial to know how to remove stickers effectively to avoid any unwanted marks on your project. After addressing these details, you can apply a primer or a base coat to create an optimal surface for your decoupage medium.
If you're working with raw wood, make sure it's clean and smooth. Sand down any rough edges, and if needed, apply a sealant to block odors and stains. You might also consider using beeswax resist for a specific finish.
For painted surfaces, an orbital sander can help achieve a smoother result. After sanding, use TSP cleaner and a microfiber cloth to ensure the surface is clean. Dampen the surface with a spray bottle if you need better adhesion. Proper preparation ensures better adhesion of materials during the decoupage process.
Finally, measure and mark where you'll apply the decoupage paper. Lay it out to check the fit, smoothing out any air bubbles or creases. This careful preparation sets the stage for a successful decoupage project.
Painting the Furniture
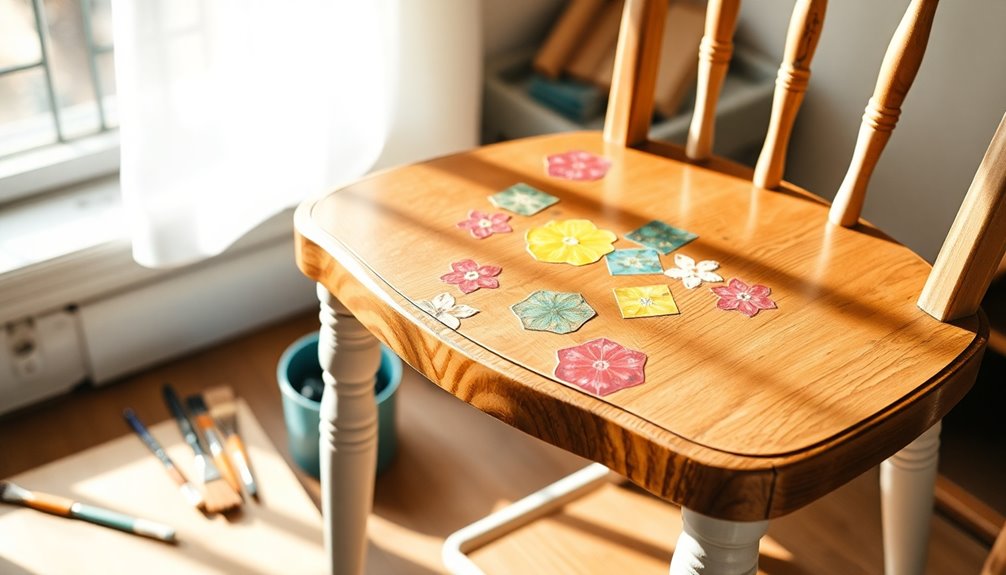
After preparing your furniture's surface, it's time to enhance its appearance with paint before applying the decoupage. Use acrylic or chalk paint for better adhesion, and steer clear of latex paint, as it might not bond well with the decoupage medium. Chalk mineral paint provides a smooth base coat, and a paint-and-primer-in-one formula can improve adhesion further.
Start by applying a base coat and let it dry completely, allowing at least 12 hours if you're using a base coat. If needed, apply a second coat, ensuring it dries thoroughly before moving on. Light colors work best, as they prevent dark wood grains from showing through thin decoupage papers, and they help the decoupage paper stand out. A well-painted surface can also enhance the overall aesthetic appeal of your furniture, making it a focal point in your space.
Choose a color that complements your decoupage design to enhance the overall look. If you're going for a vintage aesthetic, consider shades like "Sawmill Gravy." Remember to paint only the areas that will be visible in your design. Lastly, make sure the paint is fully dry and free from dust or imperfections before you proceed to the next step. Ensure surface is clean and dry before application for optimal adhesion of the decoupage materials.
Cutting Decoupage Paper
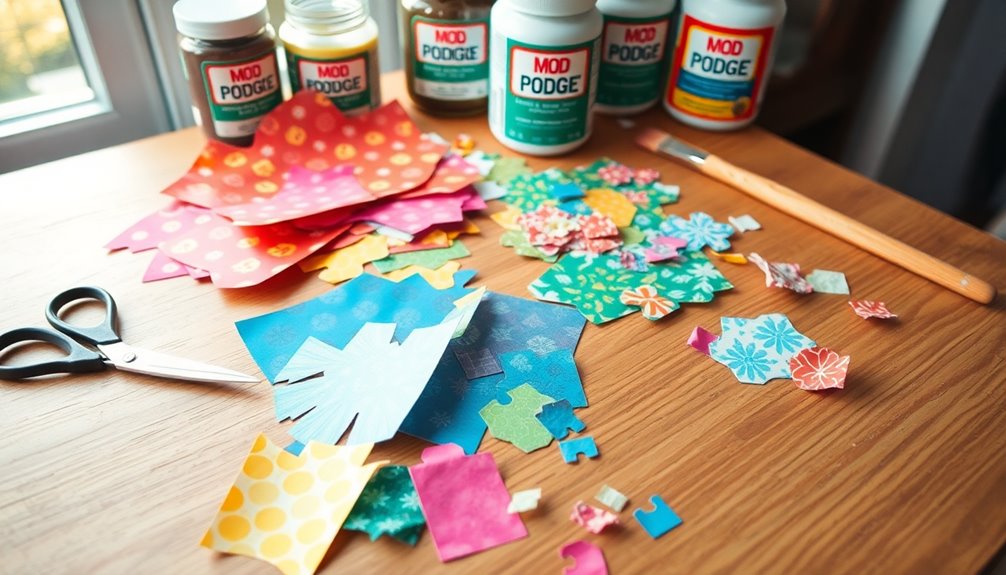
When you're ready to cut your decoupage paper, start by selecting the right material that suits your design. You can use various types, such as tissue paper, paper napkins, wallpaper, or heavyweight gift wrap. Each has its unique qualities; for example, tissue paper is thin and often used in small pieces for patchworking, while napkins are easier to cut out motifs from.
Gather your cutting tools: sharp scissors for clean edges, a craft knife for intricate cuts, and small scissors for detailed work. Always use a cutting mat to protect your surfaces, and a pencil can help you trace shapes for accuracy.
Begin by cutting out pictures roughly with scissors, then refine the edges with a craft knife. For thicker papers, sharp shears will make the job easier. As you cut, consider the layout; arrange your cut-outs on a flat surface to ensure they fit and tell a story. Finally, color the white edges of your cut-outs with a crayon or pen to blend them into the background. Engaging in découpage enhances creativity and improves fine motor skills, ensuring a smooth application later on. Handle everything carefully to avoid tears or misfits.
Applying the Decoupage Paper
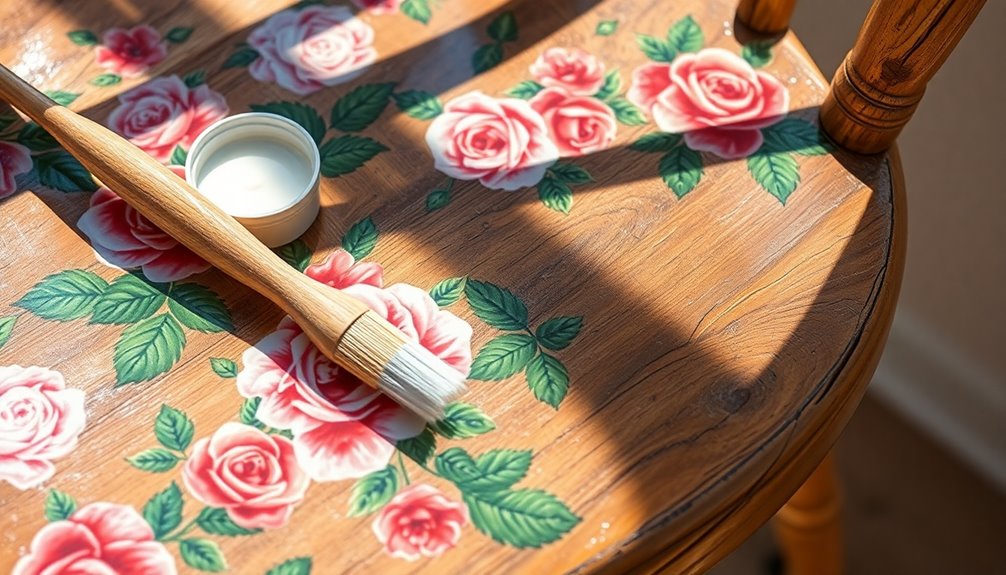
Applying decoupage paper involves a series of careful steps to ensure a beautiful finish. First, make sure your furniture surface is clean and free of dust. If it's already painted, knock down the sheen with fine-grit sandpaper. For unfinished surfaces, apply a basecoat of acrylic or chalk paint, letting it dry completely. If the surface is slick or glossy, consider a gripping primer.
Next, use a decoupage medium like Mod Podge, which acts as both glue and sealer. For thin coats, use the brush-on formula, or opt for the spray version for larger pieces. Ensure you apply the medium evenly to both the back of the paper and the furniture surface. Thicker papers provide better adhesion and longevity, making them preferable for furniture projects.
Now, lay the decoupage paper on the furniture, smoothing it from the center towards the edges. Use a plastic spatula or a flat item to eliminate wrinkles and air bubbles. Check for any imperfections every 10 minutes, and if needed, use a brayer or rolling pin to flatten the paper snugly around any molding or crevices. This careful application sets the stage for a stunning decoupage project.
Smoothing the Paper
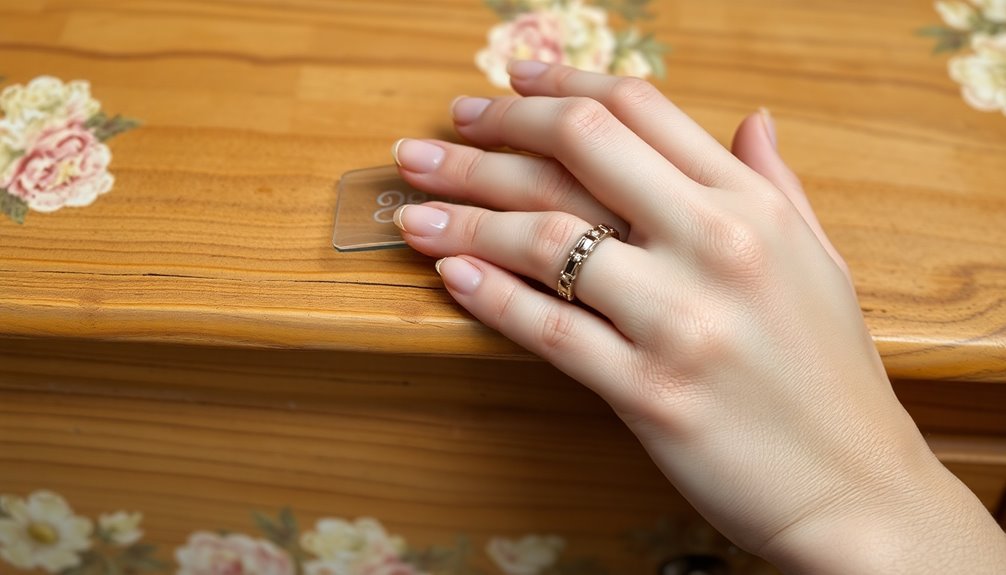
Once the decoupage paper is in place, smoothing it out is vital for achieving a flawless finish. Start by using your fingers or a smoothing tool, but be cautious—fingers can pull and tear the paper. Instead, opt for a plastic spatula or a scrunched-up piece of cling wrap, which will slide over the surface without causing damage. Work from the center of the paper outward, pushing wrinkles and air bubbles toward the edges.
If you notice any air pockets, apply a small amount of topcoat to your fingertip and gently press it over the area. For persistent bubbles, you can carefully prick them with a pin or needle, then smooth them out again. Remember to check the paper every 10 minutes to catch any new wrinkles that may appear. To prevent future issues, ensure the surface is clean before you start, and apply thin, even coats of decoupage medium. Consider using thicker paper, which tends to be more manageable. Additionally, using a smooth application technique can greatly enhance the overall appearance of your project. After smoothing, always reapply the topcoat to seal the paper in place, providing both protection and a polished look.
Trimming Excess Paper
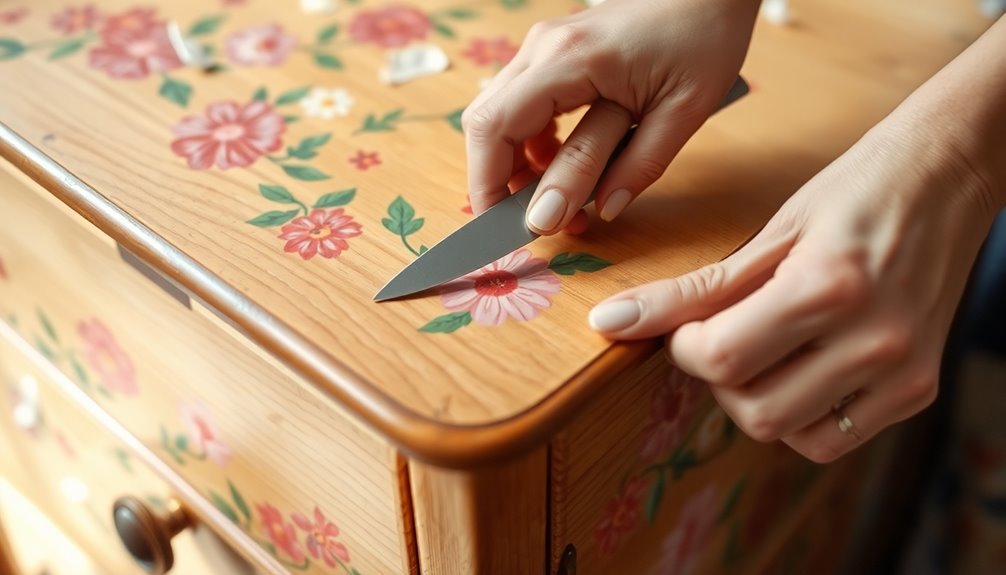
After smoothing the decoupage paper, it's time to trim away any excess for a clean, polished look. Use a sharp pair of small scissors or a craft knife to carefully cut around the edges. Remember, you should trim while the top coat is still wet, as this helps prevent tearing. Avoid using your fingers to trim, as they can inadvertently pull at the paper.
Start by cutting the paper slightly larger than the area you're covering. Once applied, use small snips to manage curved surfaces and brush away from the edges to achieve a smooth finish. If you're working around non-removable hardware, apply the keyhole method: make crisscross cuts to help the paper lay flat around knobs. Additionally, proper surface preparation is essential to ensure that the decoupage adheres well and looks seamless.
After trimming, smooth any rough edges with a 220-320 grit sanding block. This step ensures a seamless look and prepares the surface for a second coat of topcoat. Clean the area gently with a tack cloth or microfiber cloth, checking for any additional trimming needs once the topcoat has dried. This careful process will help your decoupage project look professional and polished.
Sealing the Decoupage
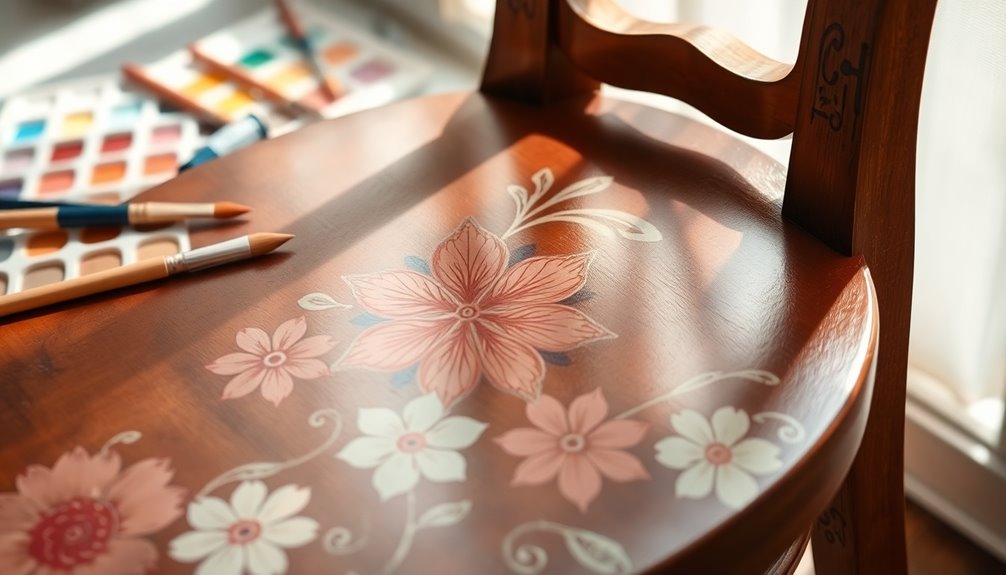
With the edges trimmed and smoothed, sealing the decoupage protects your hard work and enhances the finish. To get started, choose a water-based sealer to prevent yellowing over time. You can opt for Mod Podge in either brush-on or spray formulas, or try a clear polyurethane sealer for robust protection. For a glossy look, consider using Beacon Adhesives Decoupage Gloss and Sealer. This product is ideal for both beginners and experienced crafters due to its non-toxic formulation.
When applying the sealer, use a brush or sponge brush to apply thin coats, which helps avoid unsightly brush strokes. If you prefer spray sealants, like Mod Podge Spray, maintain a distance of about 8 inches for even coverage. Remember to layer several thin coats, allowing each one to dry completely before adding the next.
Drying times vary—spray sealers can take anywhere from 10 minutes to 1-3 hours to dry. Also, ensure you let your project cure fully; some sealers, like Beacon's, may require up to 24 hours. Always work in a well-ventilated area, and avoid oil-based sealers to keep your decoupage looking fresh and vibrant.
Tips for Successful Decoupage
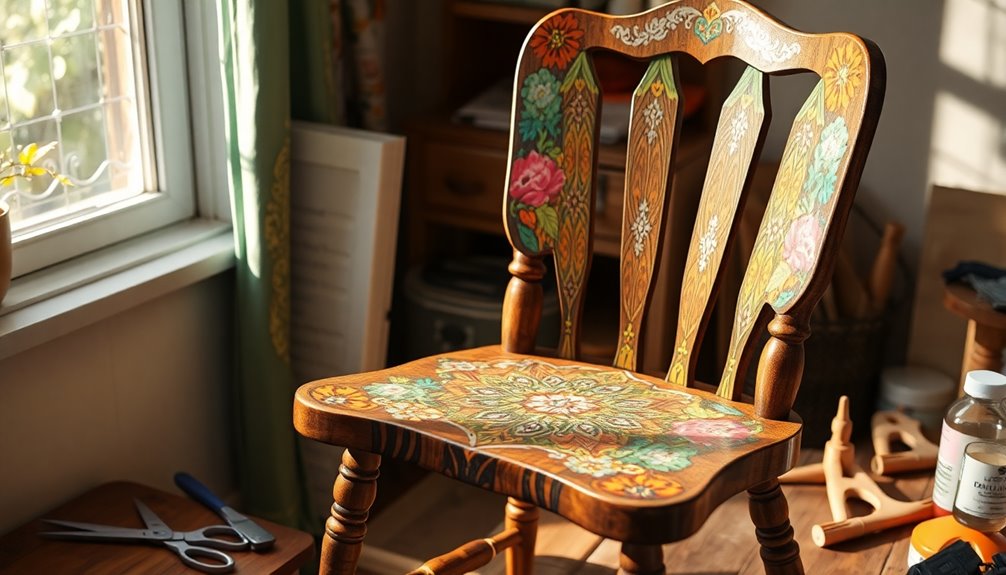
How can you ensure your decoupage project turns out beautifully? Start by preparing your surface. Clean it thoroughly with a damp cloth and let it dry completely. If you're working with wood, sand it lightly for a smooth finish, and fill any holes with wood filler. Don't forget to remove hardware for a flat surface.
Next, choose your decoupage material wisely. Whether it's tissue paper, paper napkins, or fabric, ensure it's flat and smooth. Cut out your designs precisely, and if you're using fabric, leave a little seam allowance to prevent fraying. For fabric, make sure to wash, dry, and iron it thoroughly to achieve a smooth finish.
When applying your decoupage, consider a base coat of paint to hide any imperfections. Use a decoupage medium like Mod Podge, and start placing your material from the center outwards to avoid wrinkles. Smooth it out with a spatula or roller brush.
Finally, position your designs carefully. Allow the glue to become tacky before placing the material, and work in one direction to prevent stretching. Following these tips will help you achieve a stunning and professional-looking decoupage finish!
Frequently Asked Questions
Can I Decoupage Over Existing Paint or Finishes?
Yes, you can decoupage over existing paint or finishes, but you need to prepare the surface properly first. Make sure it's clean and dry, and lightly sand it to create a better bond. Apply a topcoat or decoupage medium before adding your paper. This helps the decoupage adhere better. Just ensure the topcoat you choose is compatible with the existing finish to avoid any issues. Once done, your project will look great!
What Types of Paper Are Best for Decoupage?
When you're choosing the best paper for decoupage, consider napkins, rice papers, and tissue papers. Napkins are delicate but great for intricate designs. Rice papers offer durability and vibrant prints, making them versatile. Tissue papers, with their fabric-like feel, are strong and perfect for heavy-duty projects. You might also explore specialized decoupage papers for unique designs or fabric for a smooth finish. Each type brings its unique charm to your creations.
How Long Does Decoupage Take to Dry Completely?
When you're working with Mod Podge, it typically dries to the touch within 15-20 minutes. However, you should let it dry for at least 24 hours before moving your project. Keep in mind that humidity and temperature can affect this drying time. For the best results, use a hair dryer to speed things up, but remember that full curing can take 3-4 weeks, so patience is key!
Can I Use Decoupage on Outdoor Furniture?
Yes, you can use decoupage on outdoor furniture! Just make sure you choose weather-resistant materials and a suitable adhesive like Mod Podge Outdoor. Prepare the surface by sanding and cleaning it thoroughly to ensure a smooth finish. Apply your chosen decoupage material carefully, sealing it with multiple layers of a water-based clear sealer. This'll help protect your project from the elements and keep it looking great for a long time.
What Should I Do if the Paper Wrinkles?
If you notice paper wrinkles during your project, don't worry! You can smooth them out using a silicone spreader or cling wrap, being careful not to tear the paper. Applying your decoupage medium thinly helps too. For stubborn wrinkles, try using a heat source like a small iron or hair dryer to fuse the paper. Lastly, consider weighing down the area with a heavy book while it dries to prevent further wrinkles.
Conclusion
Now that you've learned how to decoupage furniture, it's time to unleash your creativity! Remember to prep your surface well, choose beautiful papers, and seal your work for lasting results. Don't hesitate to experiment with different designs and techniques to make each piece uniquely yours. With a little practice, you'll transform ordinary furniture into stunning works of art. So gather your supplies and start your decoupage adventure today! Happy crafting!
