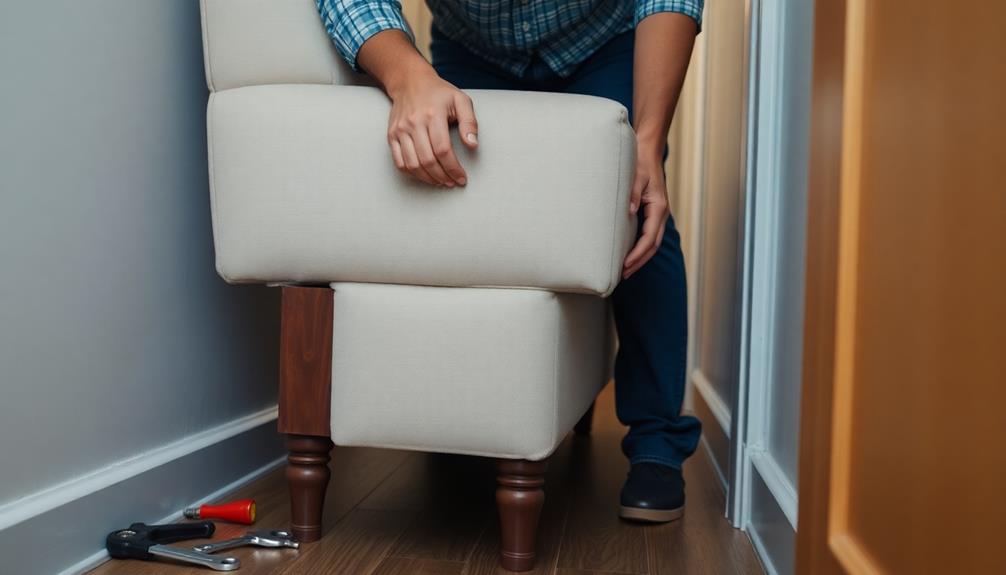
To disassemble your sofa and fit it through a door, begin by measuring its dimensions and identifying where it is too wide. Take off detachable parts such as cushions and legs, using screwdrivers and a staple remover. Take care when removing upholstery staples to prevent any damage. If necessary, trim the frame for a more snug fit, focusing on areas between the springs and utilizing a circular saw for precise cuts. Once you have successfully fit it through, reconstruct the sofa according to the notes you made during disassembly. Remember to inspect for any loose components. Stay tuned for helpful tips on overcoming difficult obstacles throughout your project!
Key Takeaways
- Measure the sofa's dimensions and weight to ensure it can fit through doorways before disassembly.
- Remove detachable components like cushions and legs to reduce bulk and height for easier maneuvering.
- Use the appropriate tools, such as screwdrivers and staple removers, to take apart the sofa carefully.
- Document the disassembly process with photos and organize removed parts for efficient reassembly.
- If faced with difficulties, consider seeking professional help for large or complex sofa designs.
Assessing the Sofa for Disassembly
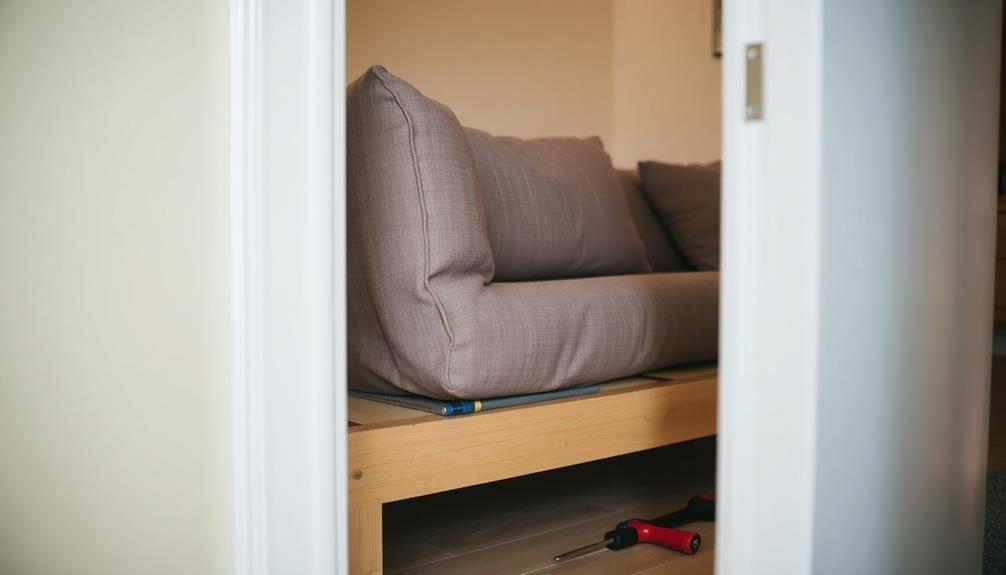
Before you plunge into dismantling your sofa, it's crucial to assess it properly. Start by measuring the sofa's dimensions—height, width, and depth—to verify it can fit through doorways and openings. You don't want to find out later that it's too big to pass through!
If you have pets or allergies, it's also a good idea to think about cleaning your sofa with a best vacuum for dust removal before disassembly to minimize allergens in your space.
Next, reflect on the weight of the sofa. Smaller couches typically weigh around 100 lbs, while larger models can reach up to 350 lbs. Make sure you have enough manpower for the job, or you might struggle to maneuver it.
Look for detachable components like legs and cushions. Removing these parts can notably reduce the sofa's size, making it easier to handle.
Then, check for any staples, screws, or bolts securing the sofa's arms and back. You'll need to remove these fasteners to disassemble the piece successfully.
Lastly, plan the disassembly process by creating a diagram or taking photos of how the parts fit together. This will make reassembly much easier later on.
Essential Tools and Materials
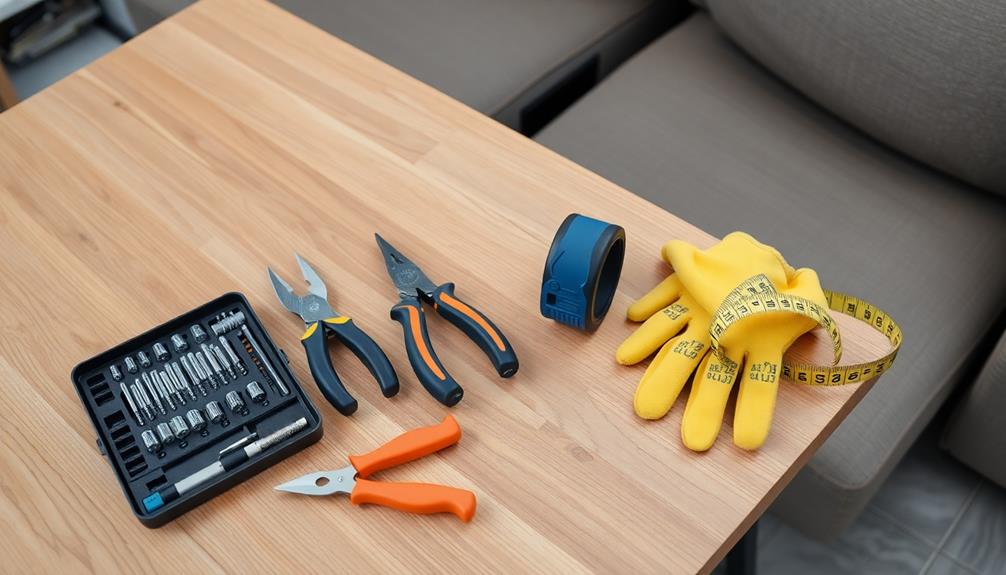
To successfully dismantle a sofa, you'll need a few essential tools and materials at your disposal. Start with a staple puller and a staple remover to tackle the fabric securely attached with numerous staples. These tools will help you remove approximately 200 staples, making the process much smoother. Next, grab a screwdriver, preferably with interchangeable heads, to remove any screws holding the frame together. A pair of pliers will come in handy for pulling out nails or loosening tight joints. By following these steps, you will be able to approach dismantling a sofa step by step, ensuring that no part is overlooked during the process.
Additionally, it's vital to create a budget for your project, as budgeting for home projects can help manage costs effectively. You'll also need both flathead and Phillips screwdrivers to unscrew any components holding the sofa together.
If the sofa has stubborn parts, a rubber mallet can help dislodge them without causing damage. Depending on the sofa's construction, a circular saw might be necessary for cutting through the frame, so keep that handy if needed.
Don't forget about pliers; they'll be helpful for gripping and pulling when you encounter nails or other fasteners.
When you're ready for reassembly, have wood screws, metal connector plates, and liquid nails on hand to reinforce your work.
Step-by-Step Disassembly Process
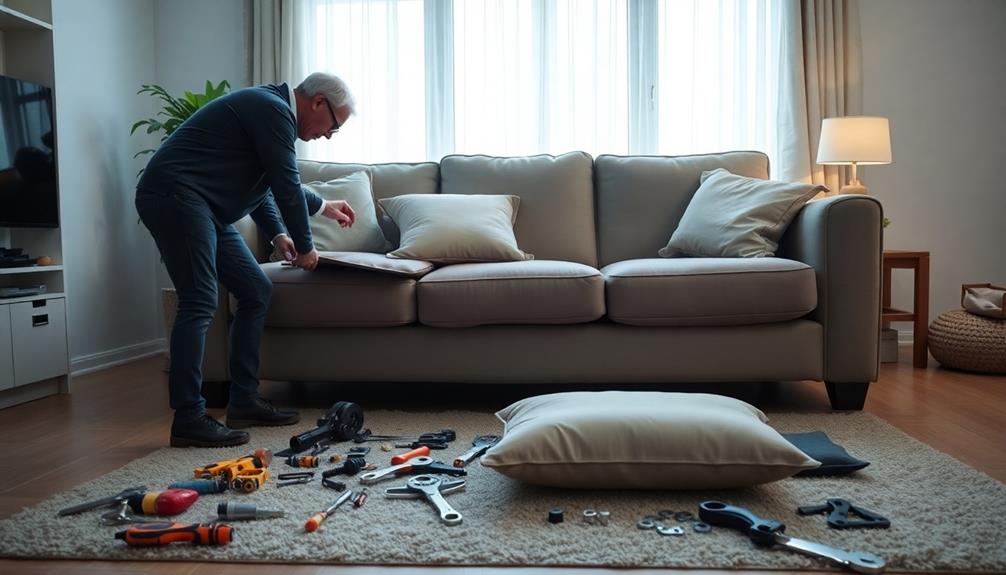
Before you start dismantling your sofa, make sure you've got all the essential tools on hand.
It's also wise to take into account the space you're working in, as some areas may require energy-efficient appliances for ideal lighting.
Using safe cutting techniques is vital, especially if you need to trim any parts for easier handling.
Let's walk through the step-by-step process to get your sofa ready for its new home.
Essential Tools Required
When dismantling a sofa, having the right tools can make all the difference. Using the proper equipment not only speeds up the process but also guarantees you don't damage your furniture or surroundings. Here's a quick rundown of essential tools you'll need:
| Tool | Purpose | Importance |
|---|---|---|
| Pliers | Remove stubborn staples and connectors | Essential for accessing parts |
| Staple Remover | Efficiently pull out staples | Helps in gaining access quickly |
| Screwdriver | Unscrew legs and arms | Necessary for disassembly |
| Rubber Mallet | Gently separate parts | Prevents damage to upholstery |
| Power Drill | Quickly remove screws | Saves time on disassembly |
| Hammer | Assist in loosening tight joints | Helps with stubborn components |
| Tarp or Drop Cloth | Contain debris and protect the area | Keeps the workspace clean |
Gathering these tools beforehand will streamline your disassembly process. Remember to wear safety gear and work in a well-lit area for the best results. Happy dismantling!
Safe Cutting Techniques
Dismantling a sofa requires careful attention to detail and safety, especially during cutting. Begin by evaluating the sofa's structure to determine the best cutting lines, typically between the 3rd and 4th springs. This guarantees you relieve tension while maintaining stability.
It's important to verify that your workspace is clear and organized to prevent any accidents while working with tools. Before starting, consider checking for any hidden components or wires that may need special handling, as you'd with a pet's habitat during maintenance, such as ensuring a safe environment for your hamster care.
Once you've marked your cutting lines, put on protective gear like goggles and gloves to safeguard against debris. Use a circular saw for clean cuts, and take your time when peeling back the fabric. Carefully remove any staples to avoid damaging the material.
Next, cut the tie wire connecting the springs with bolt cutters. This will facilitate easier movement and disassembly without harming the components.
After cutting, secure the sofa with braces or clamps to maintain stability until reassembly. Smooth out all cut edges to prevent injuries later. Always double-check your work to confirm everything is secure and safe.
Removing Cushions and Legs
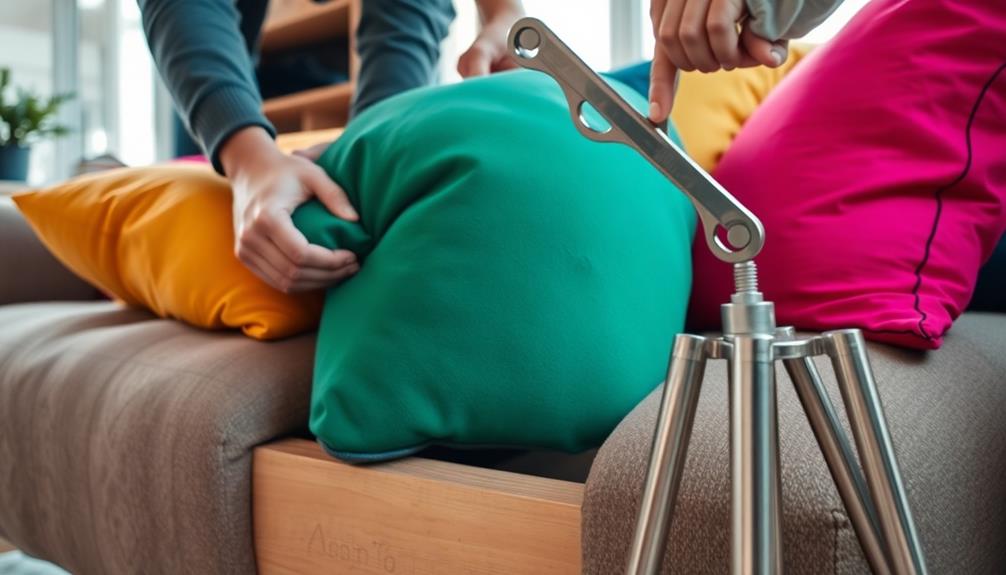
Starting with the cushions makes the process of dismantling your sofa much easier.
Begin by removing all detachable cushions, as this reduces bulk and weight, making it simpler to maneuver through doorways. Additionally, understanding the importance of financial considerations for elderly care can help you assess the costs associated with moving or replacing furniture if needed.
Pack the cushions and any small pillows in labeled plastic bags to keep everything organized for reassembly later.
Next, focus on the legs. Most legs can be easily removed to decrease the overall height and width of your sofa, helping it fit your sofa through tight spaces.
Use an appropriate tool to remove the screws that secure the legs. Keep these screws in a safe place, like a labeled bag, so you won't lose them during the moving process.
After you've removed the legs, measure your sofa's new dimensions to confirm it will fit through the doorways or other entry points.
This step is essential—double-checking the measurements can save you from unforeseen complications later on.
Dealing With Staples and Upholstery
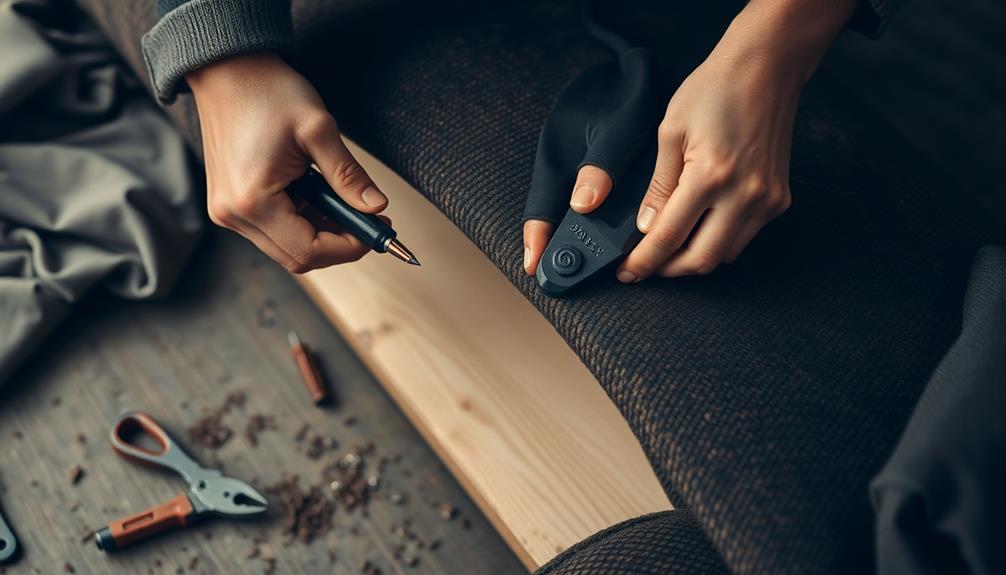
When you start removing the upholstery, you'll find yourself facing a lot of staples that need to come out.
For a smoother process, consider utilizing tips for effective natural ingredients for grout cleaning to help maintain a clean area around your furniture.
Use a staple remover carefully to protect the fabric and avoid any tears during disassembly.
Keeping the upholstery intact as much as possible will save you time and effort later on.
Removing Upholstery Staples
As you tackle the task of removing upholstery staples, it's important to proceed with care to avoid damaging the fabric or the sofa's wooden structure. Start by gathering your tools—a staple remover or flathead screwdriver works well for this job.
Additionally, consider the significance of maintaining a clean environment during this process, as it can help prevent unnecessary mess and complications. Many vacuum models, such as those from BISSELL offer effective cleaning options that can assist in removing any debris.
Carefully pry out the staples holding the upholstery in place, ensuring you don't snag the fabric underneath. Count and document each staple you remove; some sofas can have as many as 200, and keeping track will help during reassembly.
If you encounter stubborn staples, use a pair of pliers to grip and pull them out more effectively. While you're at it, be cautious when removing the dust cover from the bottom of the sofa, as sharp edges from staples and metal strips may be exposed.
After removing the staples, it's advisable to keep them organized in a container to prevent loss. This way, you'll have everything you need for reassembly later on.
Protecting Fabric During Disassembly
Protecting your upholstery during disassembly is vital to preserving its integrity. Start by using a staple puller to carefully remove staples without damaging the fabric. Some sofas can have upwards of 200 staples securing the covering, so take your time.
When peeling back the fabric, begin at the bottom and work your way up. This technique minimizes the risk of tearing or fraying the upholstery. Additionally, guaranteeing high-quality content about your process can enhance your understanding and execution, as holistic SEO integrates technical, on-page, and off-page strategies.
To shield the fabric from potential cuts or scratches, lay down a towel or drop cloth as a barrier while you work with tools like pliers and staple removers. This simple step can save you from costly repairs later.
It's also important to document the disassembly process. Take photos of the fabric positioning and staple placements to aid in reassembly and prevent damage during removal.
After you've removed the staples, store the fabric pieces in labeled bags. This organization will help avoid loss and keep everything in order for when you're ready to put it back together.
Cutting and Preparing the Frame
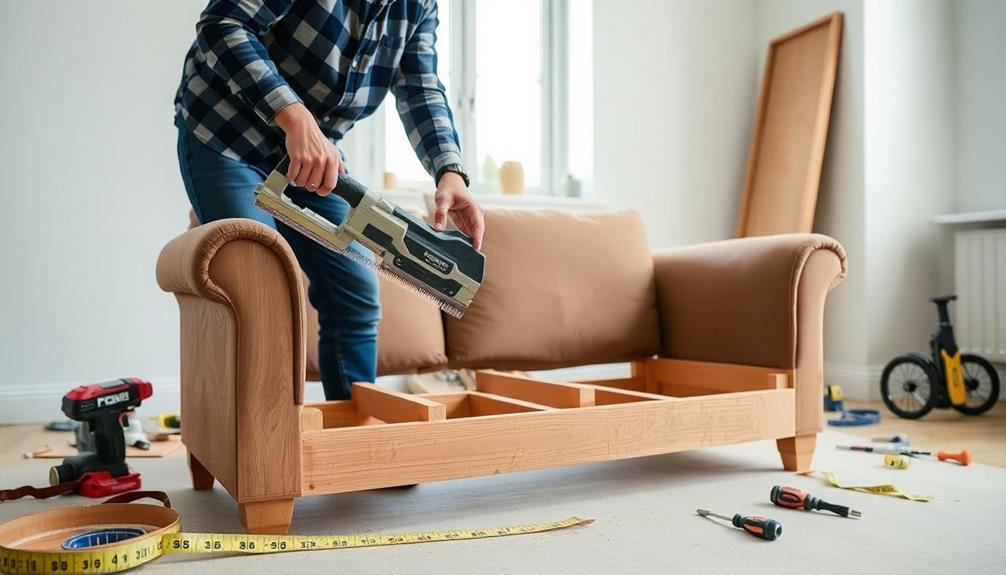
Dismantling a sofa requires careful cutting and preparation of the frame to guarantee a smooth process. Start by selecting a cut line between the 3rd and 4th springs. This placement helps release the tension in the springs, making the cutting easier and safer.
Before you begin cutting, use bolt cutters to remove the tie wire connecting the springs. This step will allow for smoother movement of the sofa halves during the dismantling. Additionally, it's wise to verify that your workspace is clear of any distractions, similar to how essential oils for relaxation can create a calming environment when working on projects.
Once you've cleared the springs, grab a circular saw for precise cuts along the marked line. Be sure to take protective measures to shield the fabric from damage. Always wear protective gear, such as gloves and safety goggles, to protect yourself from sharp edges and flying debris while cutting the frame.
After cutting, stabilize the two halves of the sofa with scrap wood braces. This will keep them secure until you're ready to reassemble.
Reassembling the Sofa Correctly
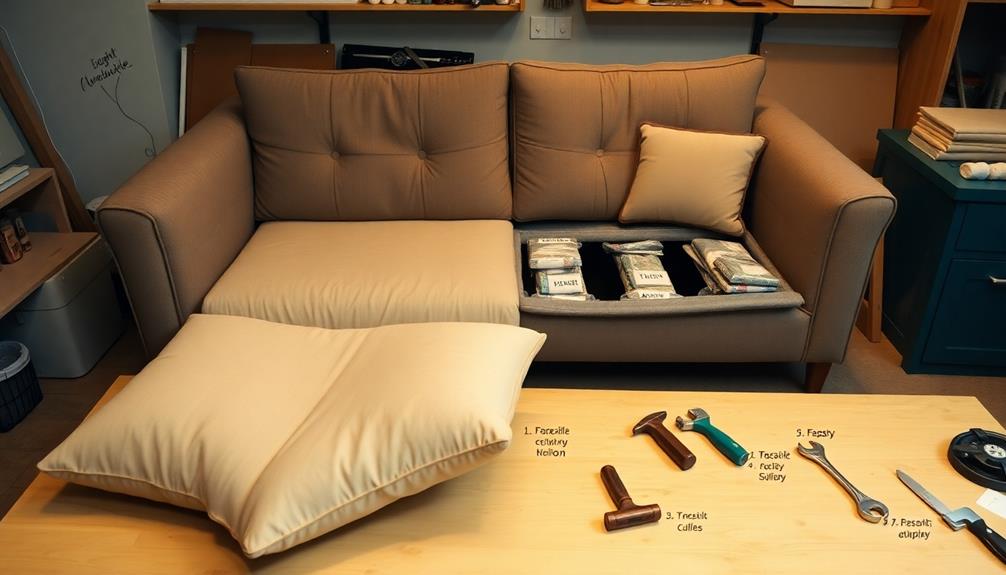
When you start reassembling the sofa, focus on proper alignment techniques to make certain everything fits together smoothly.
Consider using natural materials during the assembly, as seen in modern farmhouse decor trends, to enhance the aesthetic appeal of your living space.
Secure all structural components using the right tools and materials for a sturdy finish.
Proper Alignment Techniques
To guarantee a seamless reassembly of your sofa, start by referencing the diagram you created during disassembly. This visual guide will help you verify that all components are aligned correctly.
Follow these proper alignment techniques to reassemble your sofa effectively:
- Align the Frame: Begin by positioning the main frame on a flat surface. Make sure all parts fit snugly together according to your diagram of the sofa.
- Secure the Upholstery: Tuck back and side flaps under the frame before re-stapling the upholstery. This prevents sagging and keeps the fabric taut.
- Replace the Springs: If you'd to cut any tie wire connecting springs, replace them with 14-gauge copper wire. This maintains proper tension for comfortable seating support.
After completing these steps, do a final check.
Verify all screws and staples are tightened, and the sofa is stable. This attention to detail will guarantee your sofa isn't only visually appealing but also sturdy and ready for use.
Securing Structural Components
Securing the structural components of your sofa is vital for guaranteeing its longevity and comfort. When reassembling, replace any cut tie wire with 14-gauge copper wire to keep the springs tensioned. Since your sofa has removable parts, it's important to keep everything organized. Label and store screws and bolts for easy reattachment, minimizing misplacement risks.
Use the table below to guide your reassembly process:
| Component | Method of Securing | Tips |
|---|---|---|
| Springs | Replace with copper wire | Verify tension is maintained |
| Lower Cushions | Tuck and staple | Be careful not to damage fabric |
| Disassembled Pieces | Metal plates & liquid nails | Create a strong bond |
| Screws & Bolts | Organize and label | Prevent missing components |
| Final Inspection | Check for stability | Verify safe and functional setup |
After securing the components, reattach the lower cushions by tucking the flaps under the frame and using a staple gun. Finally, perform a thorough inspection to catch any loose parts, guaranteeing your sofa is ready for use.
Final Touches and Adjustments
As you wrap up the reassembly process, start by aligning and attaching the lower cushions back onto the sofa frame. Make certain all flaps are tucked in and secured with staples or tacks to keep everything in place.
Next, it's time to focus on the structure. Here are some final touches to guarantee everything's secure:
- Replace any cut tie wire: Use 14-gauge copper wire to reconnect the springs, maintaining the sofa's structural integrity.
- Reattach the legs: Verify they're securely fastened to provide stability and support to the sofa.
- Check the upholstery: Smooth out any wrinkles and re-staple any fabric that may have loosened during disassembly.
After completing these steps, inspect the sofa for any misalignments or loose parts.
Don't hesitate to make adjustments as necessary, ensuring a solid and aesthetically pleasing final product. Taking the time for these final touches won't only enhance the sofa's appearance but also assure its longevity.
You've put in the effort, so make certain to enjoy your newly reassembled sofa!
Common Challenges and Solutions

Moving a sofa can be a challenging task, especially when faced with common obstacles like tight doorways and heavy weight. To overcome these challenges, planning ahead is essential. Measure your sofa against door and passageway sizes to determine if you need to dismantle any components for a better fit.
| Challenge | Solution |
|---|---|
| Tight doorways | Assess dimensions; tilt or pivot the sofa for clearance. |
| Heavy weight | Use lifting straps and enlist extra help to move safely. |
| Bulky components | Remove detachable parts like legs, cushions, and backs. |
When you find that your sofa needs to be moved, disassembly can greatly ease the process. Take off legs and cushions first, as they reduce bulk. If needed, you can even remove arms or backs to make it easier to navigate tight spaces. Additionally, maneuvering the sofa at a 45-degree angle can create more room in those tricky spots. By tackling these common challenges with the right solutions, you'll make your sofa moving experience smoother and safer.
Emotional Journey of DIY Projects

Tackling DIY projects, especially something as significant as disassembling a sofa, can stir up a whirlwind of emotions. You might feel anxiety and fear creeping in at first, but overcoming these feelings can lead to a sense of bravery and accomplishment. Embrace the full range of your emotional journey, as it can be truly transformative.
Here are three key emotions you might experience during this process:
- Stress and Frustration: When you encounter challenges, it's natural to feel overwhelmed. Remember, these feelings are temporary.
- Joy and Pride: Once you start making progress, the satisfaction of seeing your hard work pay off can fill you with happiness.
- Feelings of Gratitude: If you've got a supportive partner or friends helping you, take a moment to appreciate their encouragement.
Completing a DIY project like sofa disassembly brings a profound sense of relief. It not only transforms a formidable task into a rewarding experience but also deepens your connections with those who supported you.
When to Seek Professional Help
Knowing when to call in professionals can save you time, effort, and potential headaches during the sofa disassembly process. If your sofa is particularly large or heavy, it's wise to contemplate professional help. They can guarantee safe disassembly and transport, minimizing the risk of injury or damage to your furniture.
Professionals, like NY Couch Doctor, have years of experience and specialized skills to handle complex sofas, including sofa beds and sectionals, which may require additional techniques. Hiring experts can save you significant time and alleviate stress, as they typically complete disassembly and reassembly faster than a DIY approach.
The estimated cost for professional disassembly services usually ranges from $250 to $400 per piece, plus travel fees, but this investment can be worthwhile for valuable or delicate furniture. Moreover, professionals guarantee that all components are carefully handled and correctly reassembled, preserving the integrity and aesthetics of your sofa post-move.
Frequently Asked Questions
Can You Dismantle a Sofa to Fit Through a Door?
Yes, you can dismantle a sofa to fit through a door. Remove cushions, legs, and arms to make it smaller. Always measure both the sofa and doorway first to guarantee a proper fit before disassembling.
How to Make a Couch Fit Through a Door?
When life gives you a tight squeeze, measure your couch and door first. Remove cushions and legs, tilt it at an angle, and pivot carefully. Sometimes, a little creativity makes all the difference in moving!
What if My Sofa Doesn't Fit Through the Door?
If your sofa doesn't fit through the door, measure both the sofa and doorway. Consider removing legs or cushions, using the pivot method, or separating sections to simplify maneuvering through tight spaces.
How to Work Out if a Sofa Will Fit Through a Door?
Imagine you've bought a stunning sectional. To check if it fits through your door, measure both the sofa and door dimensions. If the sofa's width is less than 36 inches, you're likely in luck!
Conclusion
Now that you've tackled the sofa disassembly, you can finally breathe easy as it glides through your doorway like a knight in shining armor. Remember, each piece you've removed is a step closer to your goal. If you hit any snags, don't hesitate to reach out for help. Sometimes, even the best DIY warriors need a trusty squire. With patience and practice, you'll have that sofa back together in no time, ready for its new spot!
