You can turn your outdated bathroom into a stylish oasis by carefully planning your DIY renovation. Begin by assessing your current layout and establishing a budget. Make sure you have the necessary tools such as a cordless drill and wet-dry shop-vac, then shut off your water supply before starting any demolition work. Prioritize plumbing and electrical tasks before considering flooring options such as tile or laminate. Remember to include final touches like moisture-resistant paint and updated lighting to bring everything together. For tips on choosing materials and achieving a cohesive design, there is plenty more to discover.
Key Takeaways
- Assess your current bathroom layout and create a detailed budget between $5,000 and $20,000 for the remodel.
- Ensure to obtain necessary building permits and comply with local codes before starting any work.
- Carefully remove existing fixtures and repair any drywall damage during the demolition phase.
- Focus on plumbing and electrical work early in the process for safety and efficiency.
- Choose high-quality materials and finalize with moisture-resistant paint and stylish decor for a polished look.
Planning Your Bathroom Remodel
When planning your bathroom remodel, you should frequently assess your current layout to identify the changes you want to make. Consider relocating fixtures to enhance functionality or maximizing storage space to keep your bathroom organized.
It's also wise to think about adding elements that promote relaxation, such as a designated spa area or creating inviting outdoor areas for a more expansive feel. Start by creating a detailed budget that covers materials, labor, and potential unexpected costs, as typical bathroom renovations can range from $5,000 to $20,000.
Next, research and choose fixtures, finishes, and a color scheme that resonate with your vision. Don't forget to think about durability and maintenance for long-term satisfaction.
Before diving into the project, obtain any necessary building permits and guarantee compliance with local building codes. This step is vital to avoid future headaches.
Once you have your plan in place, develop a timeline that outlines the phases of your remodel—demolition, installation, and finishing touches. Building in flexibility for potential delays is essential, as unexpected issues can arise.
Essential Tools and Equipment
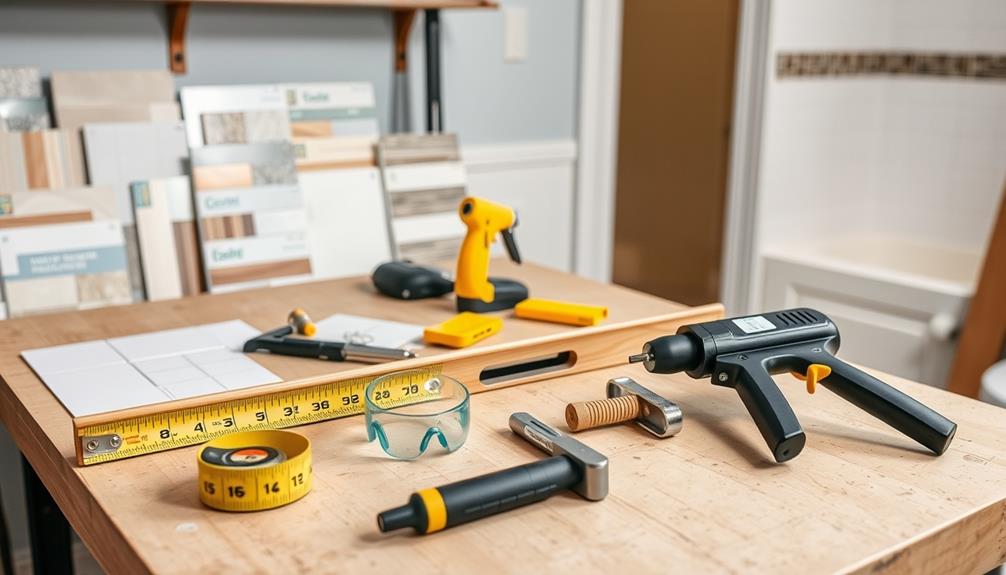
When you're gearing up for your bathroom remodel, having the right tools is key to your success.
You'll want to contemplate must-have items like a cordless drill and a wet-dry Shop-Vac, which is also great for best vacuums for dust removal in 2024, while also weighing the benefits of renting versus borrowing tools you mightn't use again.
With the right equipment on hand, you can tackle your project with confidence and efficiency.
Must-Have Tools
For a successful DIY bathroom remodel, having the right tools at your disposal is essential. You'll need a mix of equipment for demolition, installation, and cleaning up. Here's a quick rundown of must-have tools:
| Tool | Purpose |
|---|---|
| Wet-Dry Shop-Vac | Cleaning up water spills and debris |
| Cordless Drill | Installing fixtures with mobility |
| Reciprocating Saw | Cutting through drywall and plumbing |
| Safety Gear | Protecting against dust and hazards |
A wet-dry Shop-Vac is vital for keeping your workspace safe during fixture removal. A cordless drill allows you to work efficiently without being tethered to an outlet. For demolition, a reciprocating saw is invaluable, enabling you to cut through various materials quickly. Don't forget your safety gear—gloves, goggles, and masks are a must to protect yourself from dust and debris.
If you're looking to save some money, consider renting tools like tile saws or floor nailers for one-time projects. This way, you can access high-quality equipment without the commitment of a purchase, making your remodel smoother and more cost-effective.
Renting vs. Borrowing
Deciding whether to rent or borrow tools can greatly impact your bathroom remodel budget. Renting is often a cost-effective solution for your DIY project, and you can guarantee you choose the right tools by understanding your common financial terms.
Rental rates for essential equipment like saws and drills typically range from $10 to $50 per day, depending on the tool and your location. This allows you to access high-quality tools without the commitment of ownership and often includes instructional support at home improvement stores.
On the other hand, borrowing tools from friends or family can considerably cut down on expenses, especially for items you won't use frequently, like tile cutters or wet-dry Shop-Vacs.
Just make sure the tools are in good working condition, and familiarize yourself with their operation to guarantee safety and efficiency.
Ultimately, whether you choose renting or borrowing, both options can help you stay within your project costs while providing the essential tools needed for a successful bathroom remodel.
Demolition and Preparation Steps
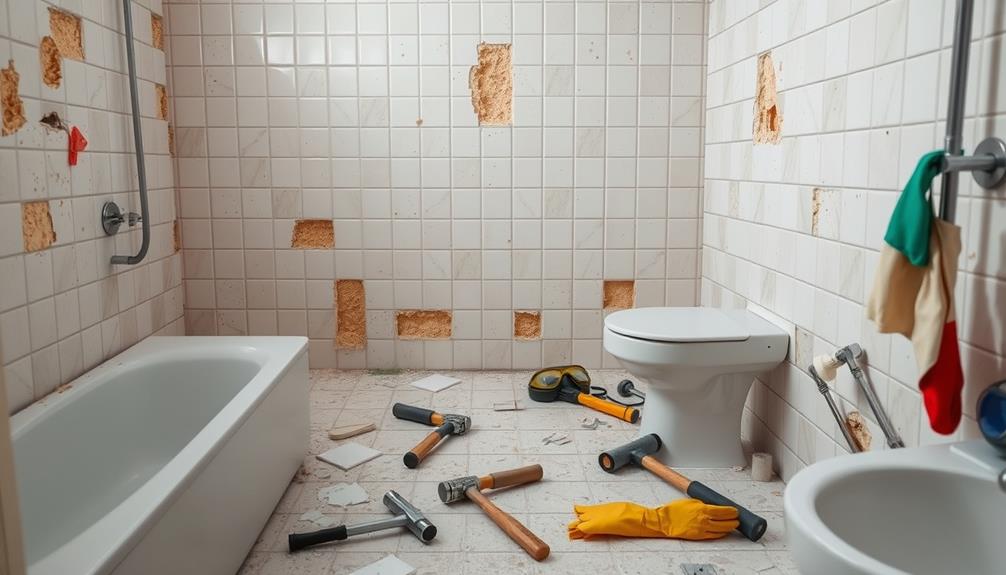
Starting your bathroom remodel with a solid demolition plan sets the stage for a successful transformation. You'll want to follow these key steps to guarantee a smooth process:
- Turn off the water supply to the sink and toilet.
- Carefully remove all unwanted fixtures, including the sink, toilet, and shelves.
- Use the right tools, like a Rotary Hammer drill for tiles and a hammer and crowbar for shower walls.
- Patch any holes in the drywall and repair damaged plaster afterward.
It's also wise to evaluate the impact of clean fuel injectors on your vehicle as you plan for any necessary trips to the hardware store during your remodel; fuel injection cleaning services can enhance your car's efficiency, making those trips more economical.
Begin by disconnecting the supply lines to prevent leaks during removal.
Once you've removed all fixtures, focus on preparing the space for new installations. This means addressing any damage to the drywall and guaranteeing the walls are smooth.
If you're planning to enhance energy efficiency, think about adding insulation by opening a new window and filling gaps with expanding foam. This won't only improve comfort but also lower energy costs in the long run.
Plumbing and Electrical Work
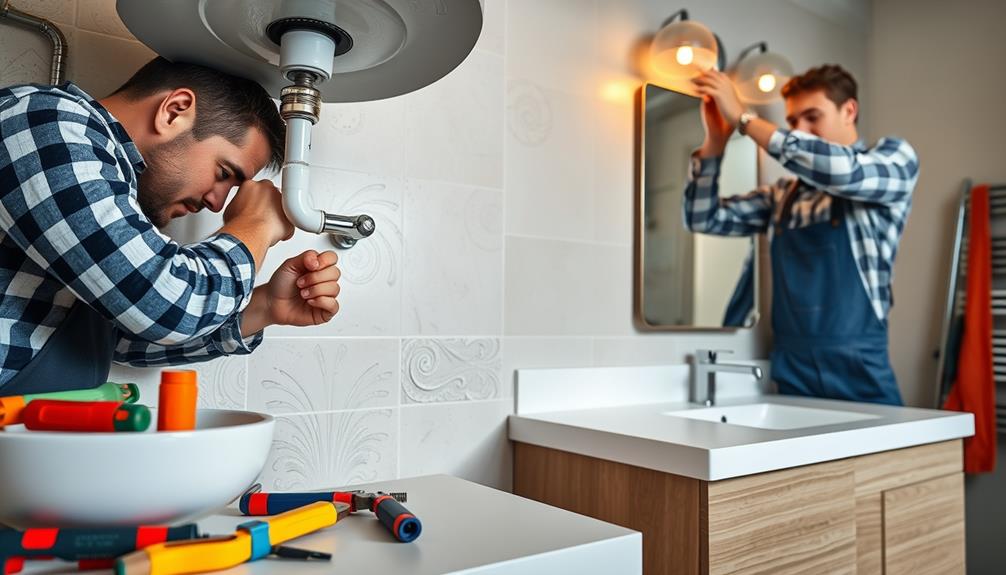
After you've completed the demolition and prepared the space, it's time to focus on plumbing and electrical work.
Start with the plumbing rough-in phase by installing the new shower pan or tub. This guarantees proper alignment with your existing plumbing and drainage systems. Make sure to double-check all plumbing connections and seal joints with appropriate materials to prevent leaks.
Installing a modern toilet with a dual-flush toilet system can enhance water efficiency and contribute to lower utility bills.
Next, shift your attention to electrical work. Replace outdated 15-amp wiring with 20-amp circuits to support modern appliances and prevent electrical overloads, especially near water sources.
Don't forget to install GFCI (Ground Fault Circuit Interrupter) outlets near sinks and showers; these enhance safety by preventing electrical shock in wet areas.
As you continue, consider relocating light switches to more accessible spots. Verify that any new lighting fixtures you choose are compatible with the existing wiring and circuit capacity.
This will make your bathroom both functional and safe. By taking these steps in plumbing and electrical work, you'll set a solid foundation for your remodel, making it a space you can enjoy for years to come.
Flooring Installation Techniques
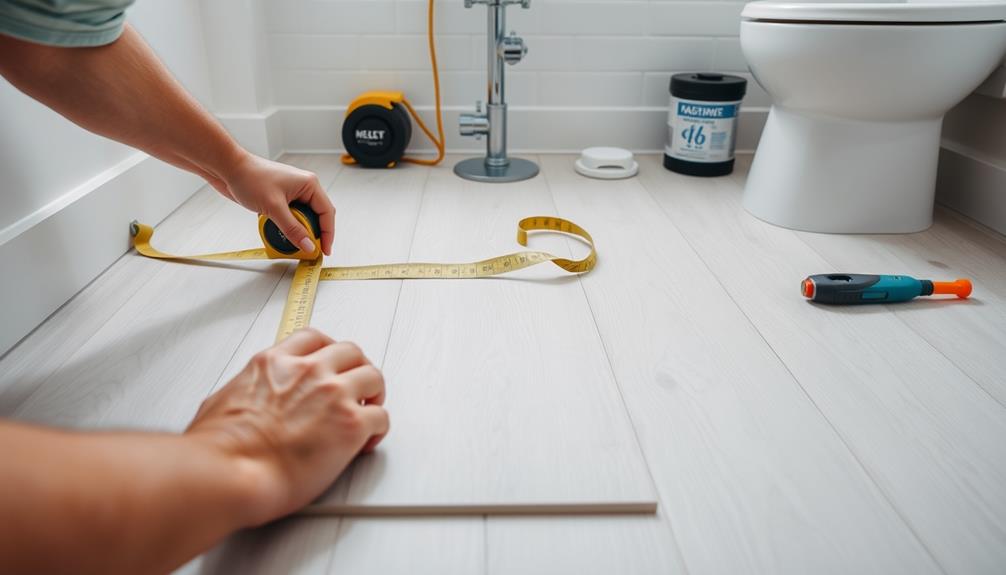
When it comes to your bathroom remodel, choosing the right flooring material is key to both style and durability.
Consider options that offer energy-efficient appliances for added comfort and practicality.
You'll want to familiarize yourself with various installation techniques to guarantee a professional finish.
Let's explore some effective methods for getting your new floor in place.
Choosing Flooring Material
Choosing the right flooring material for your bathroom remodel is essential, especially since the space is prone to moisture. You'll want to opt for waterproof options that can withstand the humidity. Additionally, consider using a best airless paint sprayer for painting projects in the bathroom, as they provide a smooth finish and reduce the time required for application.
Here are some popular choices:
- Vinyl flooring: Affordable and easy to install, it's water-resistant and available in various designs.
- Tile: Durable and stylish, tile installation requires careful planning and an underlayment for moisture protection.
- Laminate flooring: Offers a wood-like appearance but needs a proper seal to prevent water damage.
- Cork flooring: Naturally resistant to mold, it's eco-friendly and provides cushioning underfoot.
When you decide on your flooring material, keep in mind the installation process. For tile installation, start by applying a suitable underlayment, like Schluter Ditra, to guarantee moisture protection.
Use chalk lines to create a grid on the subfloor, which will help you maintain consistent spacing. If you choose vinyl or laminate flooring, remember to leave an expansion gap around the edges to accommodate natural expansion and contraction.
After laying tiles, let them cure for at least 24 hours before grouting to prevent shifting or cracking.
Installation Techniques Overview
Successful flooring installation hinges on careful preparation and precise execution. Start your bathroom renovation by preparing the subfloor with a suitable underlayment, like Schluter Ditra, to create a waterproofing membrane that prevents cracks. A well-prepared subfloor also helps in enhancing the durability of the flooring, similar to how well-draining soil is vital for preventing root rot in plants.
Once the underlayment is in place, use a chalk line to mark guidelines for tile placement. This guarantees your tiles are aligned and have straight edges throughout the installation.
When working with smaller tiles, particularly in shower areas, mix a thin-set mortar consistently and apply it quickly to prevent it from drying before you've placed the tiles. After laying down the tiles, allow them to cure for at least 24 hours. This step is essential for guaranteeing proper adhesion and preventing shifting.
Once the tiles are cured, it's time for grouting. Apply grout between the tiles, filling all gaps thoroughly. After the grouting process, don't forget to seal the grout lines. This protects against moisture and staining, enhancing the longevity of your new flooring.
Final Touches and Decor
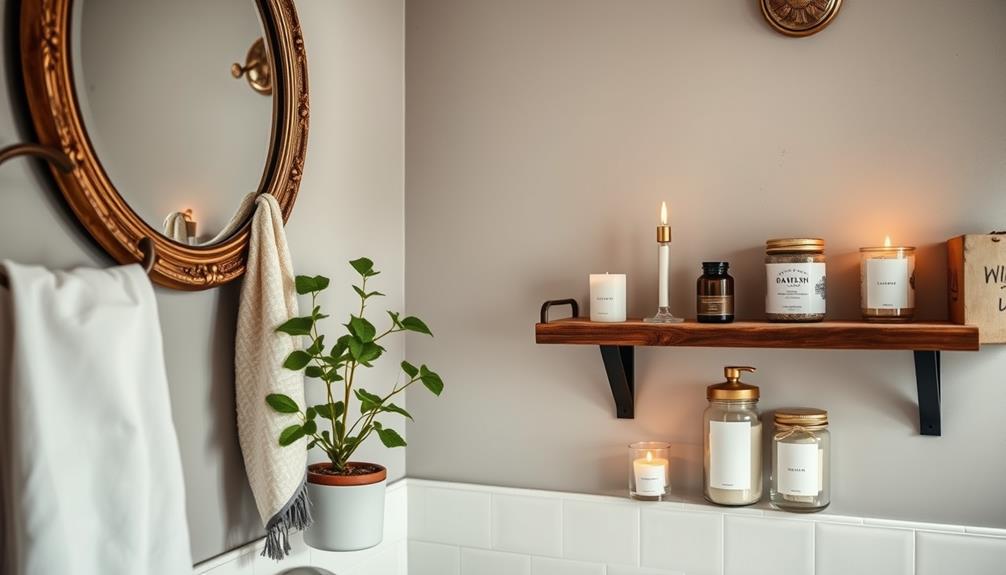
The final touches and decor in your bathroom remodel can transform practicality into personal expression. By focusing on these elements, you'll create a space that's not only functional but also reflects your style. Here are some key areas to take into account:
- Use moisture-resistant paint for lasting finishes, as this guarantees your design not only looks good but withstands the test of time. Incorporating mood boards essential for visualizing design concepts can help you choose the perfect colors and textures.
- Update lighting fixtures for both functionality and aesthetic appeal.
- Choose mirrors that enhance your color scheme.
- Incorporate personal touches with decorative elements.
Start by painting your walls with moisture-resistant paint, assuring durability in a humid environment.
Next, select lighting fixtures that combine functionality with decorative elements to brighten your space. Smart devices like motion-sensor lights can enhance energy efficiency as well.
Choose decor items that complement your color scheme, from mirrors to towel racks, paying attention to size and finish.
Finally, add personal touches through decorative elements such as floating shelves or artwork that resonates with your style.
These final touches won't only enhance the visual appeal of your bathroom but also create an inviting atmosphere for you and your guests.
Tips for a Successful Remodel
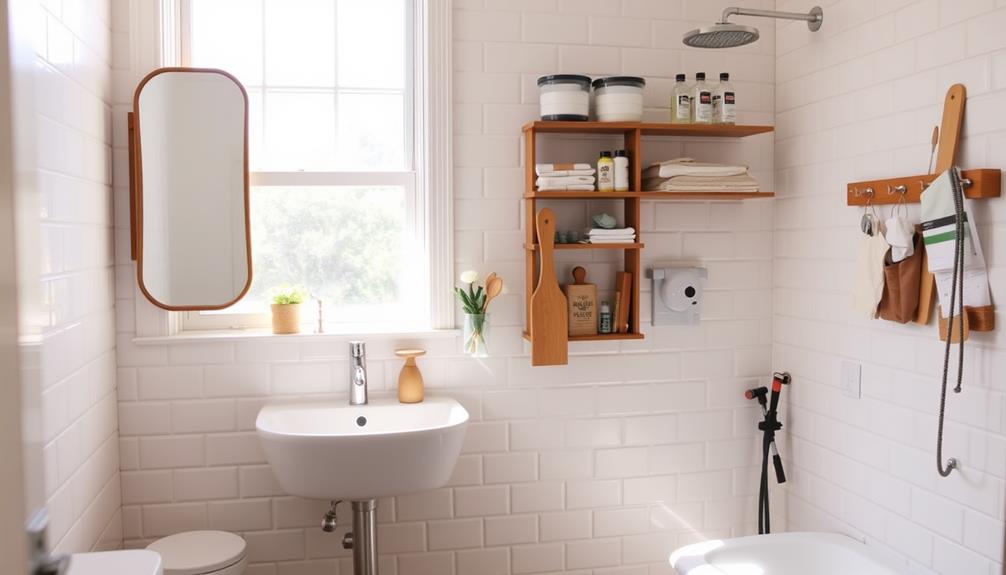
Starting on a bathroom remodel requires careful planning and execution to guarantee everything goes smoothly.
Begin with a detailed budget that outlines all expenses, including high-quality materials and labor, to avoid unexpected costs. A cohesive color scheme is essential, so gather design inspiration photos to align your vision with the overall aesthetic of the space. Incorporating elements like farmhouse sinks can enhance both functionality and style in your bathroom.
Before installing new fixtures, make sure that all plumbing and electrical work is completed. This step is critical for safety and compliance with local building codes, preventing costly rework later on.
Using high-quality materials and fixtures not only enhances the durability of your renovation but also offers a better return on investment.
Throughout the project, keep a punch list to track completed tasks and remaining work. This practice helps maintain focus and organization, making certain you don't overlook any details.
Regularly update your punch list as you progress, and celebrate small milestones to keep your motivation high.
Frequently Asked Questions
Can You Renovate a Bathroom by Yourself?
Yes, you can renovate a bathroom by yourself. Just make sure you plan thoroughly, understand local codes, and have the right tools. For complex tasks, don't hesitate to get professional help when needed.
In What Order Should You Renovate a Bathroom?
You wouldn't want to tackle a bathroom remodel haphazardly! Start by clearing everything out, then shut off water and electricity, demolish old fixtures, and finally install new plumbing, flooring, and fixtures for a stunning transformation. Once the construction is complete, don’t forget about the finishing touches such as painting and accessories to tie the whole room together. It’s important to consider all the details and plan accordingly to ensure a successful and smooth bathroom remodel. If you need help covering the costs, be sure to explore financing options for bathroom remodel projects to make your dream bathroom a reality.
Is It Cheaper to Remodel a Bathroom Yourself?
Yes, remodeling a bathroom yourself is often cheaper. You can save significant labor costs and control your material choices. Just be cautious—mistakes in plumbing or electrical work can lead to expensive repairs down the line.
How Do I Redo My Bathroom DIY?
To redo your bathroom DIY, start with a solid plan and budget. Remove old fixtures carefully, install waterproofing, choose quality materials, and finish with caulk and personal touches. Enjoy transforming your space into something special!
Conclusion
Remodeling your bathroom can boost your home's value by up to 70%, making it a smart investment. As you wrap up your project, remember that creating a space you love is just as important as the numbers. With a little creativity and effort, you can transform your bathroom into a relaxing oasis. So, grab those tools, trust your instincts, and enjoy the process—your dream bathroom is just a few steps away!


