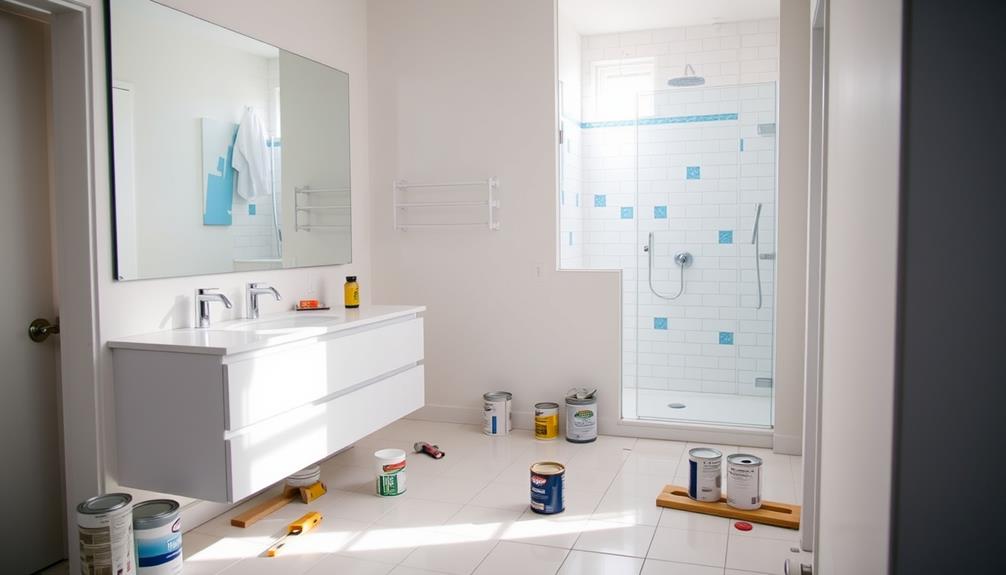
You can successfully renovate your bathroom on your own by first assessing your current layout and creating a design sketch. Find inspiration and establish a cohesive color scheme. Budget for materials, tools, and labor, considering any unexpected expenses. Begin with demolition after ensuring safety measures such as turning off utilities and wearing protective gear. Plan plumbing and electrical work carefully, then proceed with flooring and wall material installation. Complete the project by adding fixtures, testing connections, and adding finishing touches. Staying organized throughout the process is essential. By following the correct steps, you will achieve a gorgeous new space that suits your style and requirements.
Key Takeaways
- Start by evaluating your current layout and sketching an ideal design to identify necessary changes and improvements.
- Create a detailed budget that includes all materials, tools, labor, and a contingency fund for unexpected expenses.
- Gather necessary tools for demolition and installation, and prioritize safety by wearing appropriate gear during the process.
- Carefully handle plumbing and electrical connections, ensuring to map existing lines and consult professionals for major alterations.
- Focus on aesthetic finishing touches like painting, caulking, and selecting cohesive color schemes to enhance the remodeled bathroom's appeal.
Planning Your Bathroom Remodel
When planning your bathroom remodel, it’s essential to start by evaluating your current layout and identifying the changes you want to make. Consider factors such as the available space, plumbing, and electrical connections, as these can impact the design choices for your new bathroom. You may also want to explore different bathroom remodel layout tips to optimize the functionality and flow of the space. Whether it’s rearranging the fixtures, adding storage, or incorporating new design elements, careful planning of the layout can make a significant difference in the final outcome of your bathroom remodel.
Consider how different elements can harmonize, much like the careful selection of brewing methods that can enhance your coffee experience. Take a moment to sketch your ideal design and consult with a contractor to guarantee your vision is feasible. This initial step lays the groundwork for a successful bathroom renovation.
Next, create a detailed budget that includes all materials, tools, and potential labor costs. It's wise to allow for a 10-20% contingency fund for those unexpected expenses that often arise during DIY bathroom projects.
Gather inspiration photos to help shape your design and decide on a cohesive color scheme that aligns with your overall vision. When selecting fixtures and finishes, prioritize quality while staying within your budget.
Research local suppliers for competitive pricing on materials and consider renting tools instead of buying them outright. This can save you money while assuring you have the essential equipment needed for your project.
Design Choices and Inspirations
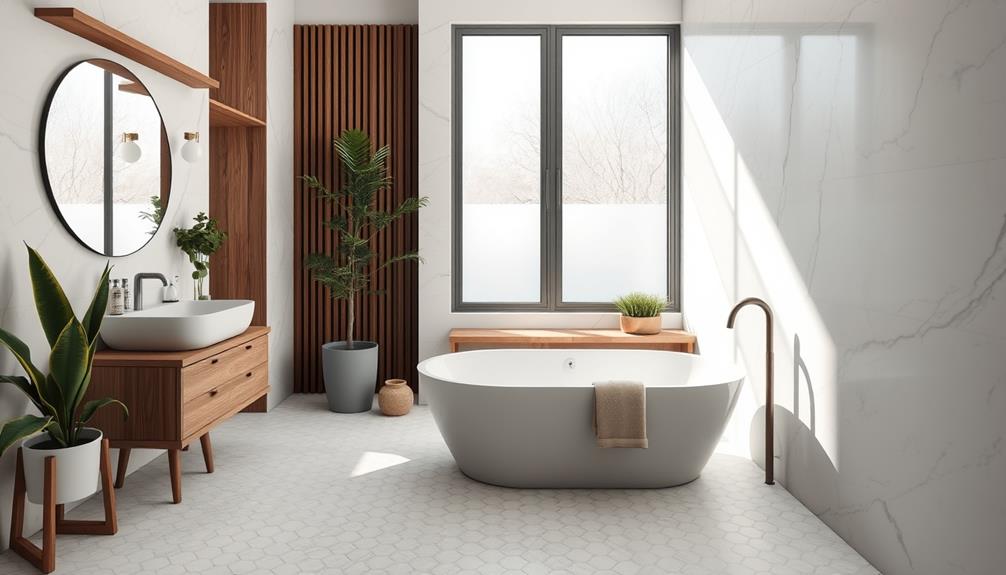
Design choices and inspirations play an indispensable role in transforming your bathroom into a personal sanctuary. Start by selecting a cohesive color scheme that suits your aesthetic; lighter colors can make the space feel larger, while darker hues add warmth and richness.
Consider incorporating natural materials like wood or stone to align with modern farmhouse decor trends and gather inspiration from design magazines, websites, and social media platforms to visualize different styles that resonate with your vision.
When it comes to fixtures, consider their placement carefully. Relocating plumbing can greatly hike costs, so aim to keep existing plumbing to stay within budget.
Invest in quality materials for cabinetry and storage options, as they enhance both the design and functionality of your bathroom.
For your shower walls, think about materials that complement your color scheme and style—whether it's sleek tiles or a more rustic look.
Effective lighting solutions are also crucial; combine decorative elements with functional fixtures to create an inviting atmosphere that works for daily use.
Essential Tools and Equipment
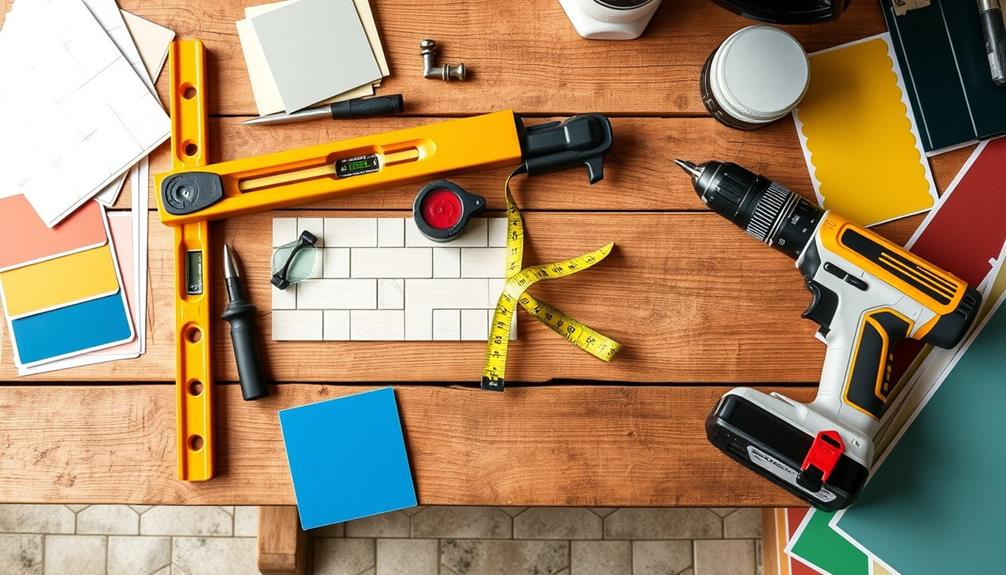
Having the right tools and equipment is essential for a successful bathroom remodel. Start with a wet-dry Shop-Vac; it's invaluable for managing water spills during fixture removal and keeping your work area clean.
A cordless drill is also a must-have, enhancing your mobility and efficiency when installing screws or drilling holes in various materials. Additionally, consider investing in energy-efficient appliances for your bathroom renovation, as they can contribute to overall energy savings and energy-efficient appliances can help lower your utility bills.
When it comes to demolition, a reciprocating saw will be vital for cutting through drywall, wood, and plumbing fixtures. For plumbing and electrical work, make sure you have the appropriate tools, such as pipe wrenches and wire strippers, to handle any tasks that arise.
Safety gear is non-negotiable. Equip yourself with goggles, gloves, and masks to protect against debris and hazardous materials during the renovation process.
If you're on a budget, consider renting tools from local suppliers. This can considerably reduce costs, especially for specialized equipment that you might only need for a short time.
Demolition and Cleanup Process
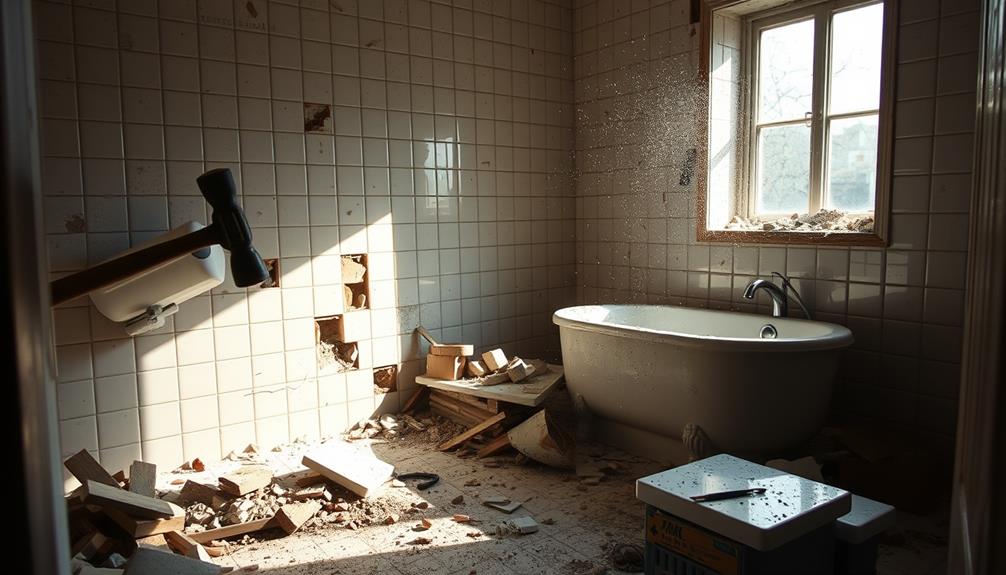
Before you start tearing things down, make sure you prioritize safety by turning off the electricity and water supply.
Additionally, it's wise to take into account how the demolition will affect any plumbing or electrical lines, especially if you're planning on making significant changes to the layout.
You'll need the right tools for both demolition and cleanup, so gather everything from a rotary hammer drill to trash bags.
Efficient waste disposal is essential, so think about renting a dumpster to keep your work area tidy.
For guidance on keeping your workspace organized, check out best practices for kitchen cleaning.
Safety Precautions During Demolition
Demolition can be a chaotic process, but prioritizing safety is vital to protect yourself and your home. Always wear safety gear, including masks, gloves, and goggles, to shield yourself from dust and debris.
Before you start, make certain to turn off the electricity at the main breaker box and shut off the water supply. This prevents accidents and leaks while you're removing fixtures and appliances. Additionally, guarantee proper airflow in the area to mitigate dust buildup, similar to maintaining an air purifier for peak performance air purifier maintenance.
When you're ready to begin, use a reciprocating saw instead of hammers. This not only helps avoid damaging insulation but also allows for more precise cuts during the removal of walls and fixtures. Be cautious when identifying walls; steer clear of load-bearing walls, as improper demolition can compromise your home's structural integrity.
Once you've completed the demolition, it's essential to dispose of debris responsibly. Rent a dumpster or follow local waste disposal regulations to maintain a safe and clean work environment.
Efficient Waste Disposal Methods
Once you've finished the demolition, managing the debris efficiently becomes a top priority. One of the best efficient waste disposal methods is renting a dumpster. You can choose sizes ranging from 10 to 40 yards, depending on your project's needs and the volume of debris.
Be certain to schedule timely delivery and pick-up to avoid any additional rental costs. Additionally, having a well-defined budget plan for your remodel can help you allocate funds for waste disposal and avoid unexpected expenses.
Before you start your renovations, assess your disposal requirements. Different materials, like tiles and fixtures, often have specific disposal guidelines. It's crucial to properly segregate waste into categories such as recyclable materials, hazardous waste, and general debris.
This not only helps you comply with local waste disposal regulations but also minimizes your project's impact on the landfill. While you're at it, guarantee all waste is safely contained to avoid environmental hazards.
Using protective gear during demolition will also help prevent injuries from debris. By following these steps, you'll streamline your cleanup process and make your bathroom remodel much more manageable.
Efficient waste disposal is an integral part of your project, so don't overlook this critical aspect!
Tools Required for Cleanup
As you tackle the cleanup process, having the right tools on hand can make all the difference in efficiency and safety. For instance, if you're replacing your toilet, consider learning about toilet maintenance and repairs to guarantee your new installation lasts longer.
Here's a quick list of the essential tools required for cleanup:
- Wet-Dry Shop-Vac: This is vital for efficiently cleaning up water spills and debris during the demolition process. It helps guarantee a safe work environment by sucking up messes quickly.
- Safety Gear: Don't forget your gloves, goggles, and masks. These protect you from dust, sharp objects, and hazardous materials while you work.
- Demolition Tools: Rent or borrow hammers, crowbars, and pry bars for dismantling existing structures. A reciprocating saw is also handy for removing old fixtures and tiles with power and precision.
Lastly, consider renting a dumpster for debris disposal. Sizes vary from 10 to 40 yards, allowing you to choose one that accommodates your project's scale.
With these tools required for cleanup, you'll be well-prepared to tackle the messy aftermath of your bathroom remodel efficiently and safely.
Plumbing and Electrical Considerations
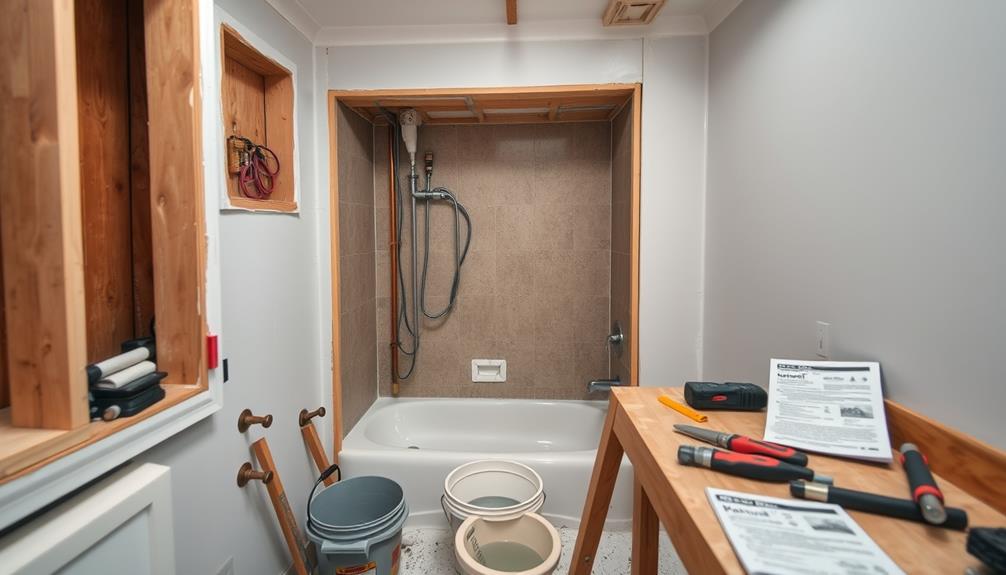
Planning your bathroom remodel involves careful attention to plumbing and electrical considerations, ensuring a smooth process and a successful outcome.
First, identify and map out your existing plumbing and electrical lines. This step is essential to avoid accidental damage during demolition and installation. When adding new fixtures like sinks or toilets, make sure your plumbing is compatible with the existing water supply and drainage systems to prevent leaks and blockages.
Additionally, considering the value of home security systems can enhance your overall safety during renovations, providing peace of mind while work is underway.
For your electrical wiring, consider upgrading to 20-amp circuits if you're installing high-powered appliances. Always install GFCI outlets near water sources to enhance safety.
Throughout the remodel, check that all plumbing connections are secure and inspect for leaks before closing up walls or adding fixtures. This diligence can save you costly repairs later.
If you plan to relocate plumbing fixtures, be prepared to hire a licensed plumber. Major plumbing changes typically require professional expertise and may also necessitate obtaining building permits.
Installing Flooring and Walls
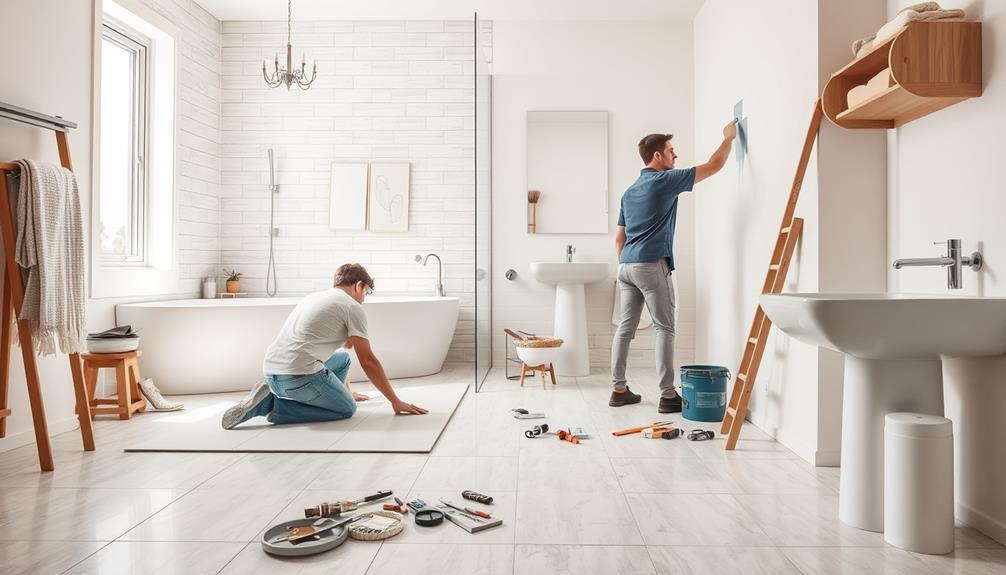
Installing flooring and walls in your bathroom remodel is essential for both aesthetics and functionality. Start by preparing the subfloor: remove any old flooring and verify the surface is clean, dry, and level. This prevents cracks or damage during your project.
Additionally, consider keeping your bathroom free of allergens by regularly using a vacuum designed for dust removal, such as the best vacuums for dust removal to maintain a healthier environment.
Next, follow these steps for a successful installation:
- Waterproofing: Apply a waterproofing membrane, like Schluter Kerdi, in wet areas such as the shower or tub surround. This protects against moisture damage and mold growth.
- Floor Tiles: When laying floor tiles, opt for smaller tiles in shower areas to facilitate drainage and reduce slipping. Use spacers to verify even grout lines.
- Walls: Use cement board instead of drywall in moisture-prone areas. Remember to apply a waterproofing membrane before tiling to guarantee durability.
After installing the tiles, let them cure for at least 24 hours before applying grout.
Mix and apply the grout consistently to fill gaps and finish the look. By following these steps, you'll create a beautiful and long-lasting bathroom that stands up to everyday use.
Fixture Installation and Connections
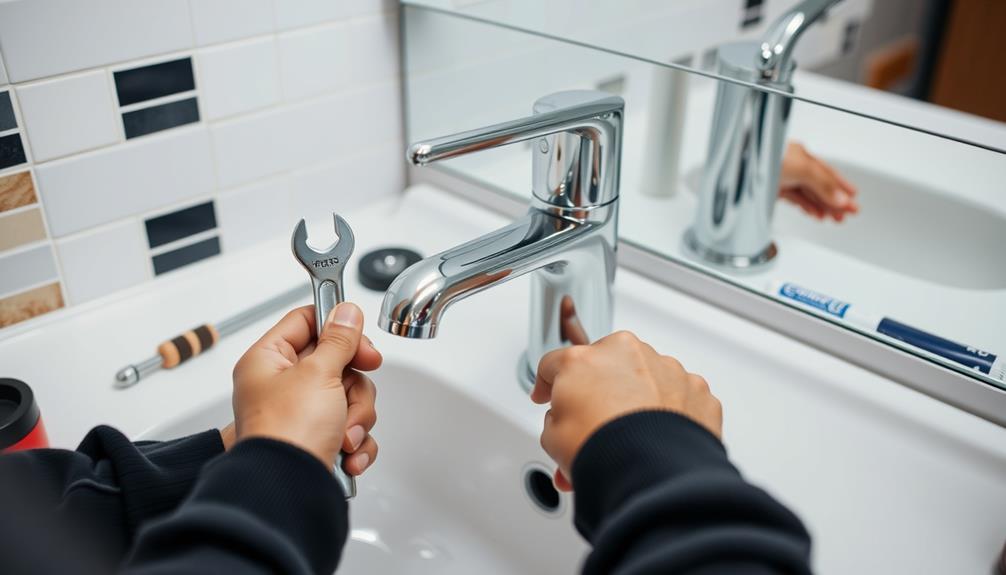
Now that you've tackled the flooring and walls, it's time to focus on fixture installation and connections. This phase is essential for guaranteeing that your bathroom not only looks great but functions efficiently.
You'll need to handle plumbing connections and piping, install electrical fixtures, and conduct a final check to verify everything's working properly.
For a smooth finish, consider using an airless paint sprayer for painting the fixtures and surrounding areas.
Let's break down each step to make certain your new bathroom functions flawlessly.
Plumbing Connections and Piping
When you're ready to tackle plumbing connections and piping for your bathroom remodel, it's essential to confirm each fixture is properly installed to avoid future leaks. Start with these important steps:
- Seal Connections: Use plumber's tape on all plumbing connections to guarantee a tight fit and prevent leaks. This simple step can save you from costly repairs later.
- Securely Tighten: Use a pipe wrench to tighten the connections, but be careful not to over-tighten. This can damage the fittings and lead to more leaks down the line.
- Connect Water Supply: For new sink installations, make sure your faucet is securely mounted. Connect the water supply lines to both the hot and cold water supplies, typically identified by red and blue markings.
After you've completed the connections, gradually turn on the water supply.
Take the time to check for leaks at each connection point. Addressing any issues now can prevent headaches in the future.
Electrical Fixture Installations
Before diving into electrical fixture installations, turning off the power at the main breaker box is essential to guarantee your safety. This step is critical in preventing shocks or accidents while you work.
In your bathroom remodel, using GFCI (Ground Fault Circuit Interrupter) outlets near water sources is significant. These outlets cut off power when a ground fault is detected, enhancing overall safety.
When installing lighting fixtures, measure and mark the ceiling or wall for proper placement. This guarantees even light distribution throughout the bathroom.
After positioning the fixtures, it's time to connect the wiring. Strip the ends of the wires, twist them together, and secure them with wire nuts. Make sure to follow color coding: black to black, white to white, and ground to ground.
Once you've completed the electrical fixture installations, double-check all connections for security.
It's wise to test the fixtures to confirm they function properly before covering them with trim or fixtures. This careful approach not only enhances the aesthetic appeal of your bathroom but also guarantees safety and reliability in your electrical work.
Final Check and Testing
After completing the installation of your electrical fixtures, it's time to shift your focus to the final checks and testing of all your connections. This essential step guarantees everything runs smoothly and safely. Here's what you need to do:
- Secure Connections: Make sure all plumbing connections, like supply lines and drain pipes, are tightened. This prevents leaks once you run water through your fixtures.
- Test Fixtures: Turn on the water supply and check each fixture individually. Look for proper flow rate and temperature control.
- Check Alignment: Use a level to confirm that sinks, vanities, and toilets are installed evenly. This affects drainage and usability considerably.
After testing, apply a bead of caulk around the base of sinks, tubs, and toilets to create a watertight seal.
Also, double-check that all electrical connections for your lighting fixtures and outlets are properly wired and functional. If needed, use a circuit tester to verify safety.
With these final check and testing tasks completed, you'll enjoy a fully functional remodeled bathroom!
Final Touches and Aesthetics
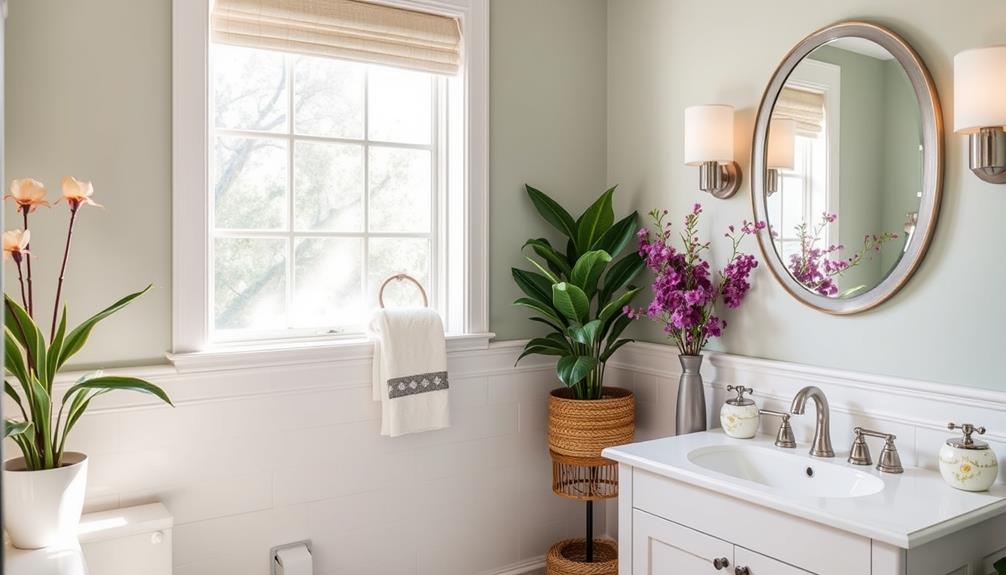
As you wrap up your bathroom remodel, focusing on final touches and aesthetics can transform the space into a personal retreat.
Start by painting the walls after all major installations are complete. This minimizes the need for touch-ups and guarantees a clean finish.
Next, consider incorporating smart devices, like motion-sensor lighting or smart mirrors, to enhance functionality and modernize the area.
Choose decorative elements such as mirrors, rugs, and wall art that complement your color scheme and overall design aesthetic. This will create a cohesive look that ties everything together.
Don't forget to use caulk to seal joints between fixtures and surfaces; this not only prevents leaks but also enhances the overall finish of your installation.
Budgeting for Your Remodel
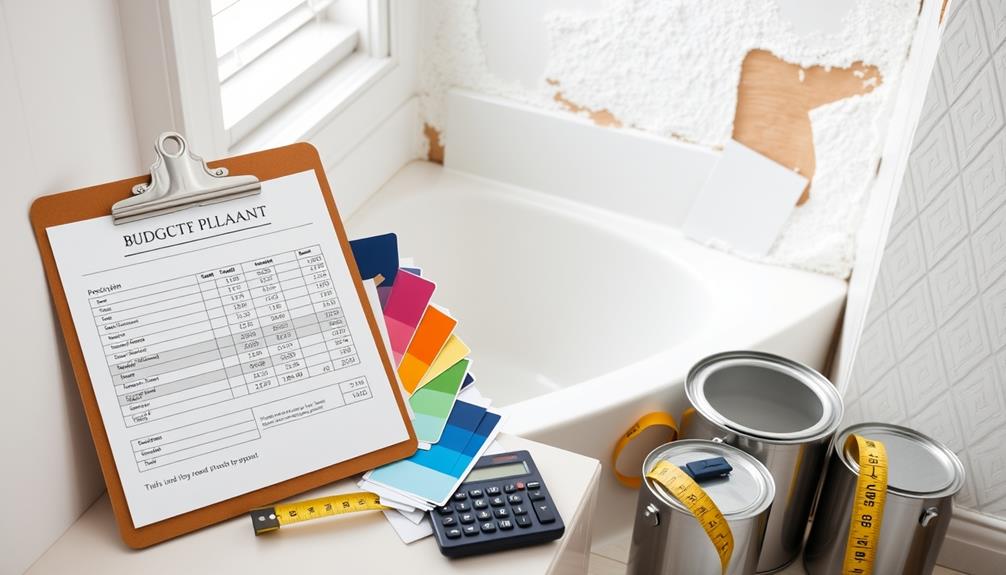
Budgeting for your bathroom remodel can feel overwhelming, but it doesn't have to be. Start by establishing a detailed budget that outlines all necessary materials, fixtures, and labor costs. On average, a DIY bathroom remodel can cost around $5,720, saving you approximately $13,410 compared to hiring professionals.
To keep your finances in check, consider these three essential steps:
- List Expenses: Break down costs for items like tiles, faucets, and vanities, and research local suppliers for the best deals.
- Set a Contingency Fund: Allocate at least 10-20% of your total budget for unexpected expenses, such as plumbing or electrical repairs. This guarantees you're prepared for any surprises.
- Create a Timeline: Factor in potential delays and costs for temporary accommodations if your bathroom is out of service for an extended period.
Resources for DIY Enthusiasts
When you're ready to tackle your bathroom remodel, having the right resources can make all the difference.
Online guides and video tutorials can provide clear instructions, while local supply stores often offer valuable workshops.
These tools not only enhance your skills but also help you stay organized and informed throughout the process.
Recommended Online Guides
Numerous online resources can enhance your DIY bathroom remodeling experience and help you tackle various tasks with confidence. Here are some recommended guides to get you started:
- YouTube Channels: Look for extensive DIY bathroom remodeling guides that offer step-by-step videos on tasks like tiling and plumbing. Watching experts in action can clarify techniques and inspire your creativity.
- Home Improvement Websites: Regularly visit these sites to access free downloadable resources and eBooks covering budgeting, material selection, and design inspiration tailored for bathroom remodels.
- Online Forums: Join DIY communities where you can share experiences and gain insights from others who've undertaken similar bathroom renovations. These forums foster a collaborative learning environment, making your project less intimidating.
Additionally, consider following blogs dedicated to home improvement for the latest trends, tips, and techniques.
Subscribing to DIY newsletters can also keep you informed and provide exclusive promotions for tools and materials, helping you save money on your renovation project.
With these resources, you'll be well-equipped to begin your bathroom remodel journey!
Local Supply Resources
Finding the right local supply resources can make a significant difference in your DIY bathroom remodeling project. Start by researching home improvement stores like Home Depot or Lowe's, where you'll find a variety of materials, tools, and bathroom fixtures at competitive prices.
These large chains often have everything you need to kick off your remodel.
Don't overlook specialty suppliers in your area that focus specifically on bathroom fixtures, tiles, and plumbing supplies. These places often carry unique options that can elevate your project beyond standard offerings.
Consider utilizing online platforms like Craigslist or Facebook Marketplace to discover discounted or gently used materials and tools from local sellers. This can be a budget-friendly way to gather supplies.
You might also check out local building supply cooperatives or salvage yards for reclaimed materials. Not only can this save you money, but it can also add character to your bathroom.
Lastly, join local DIY groups or community forums to share experiences and gather recommendations for reliable suppliers and contractors who can assist you throughout your renovation.
With these local supply resources at your disposal, your bathroom remodel will be a rewarding endeavor.
Frequently Asked Questions
Can I Remodel My Bathroom Myself?
Yes, you can remodel your bathroom yourself! With careful planning, budgeting, and the right tools, you'll save money and create a space that reflects your style. Just know when to call in a professional for complex tasks.
Is It Cheaper to Remodel a Bathroom Yourself?
Yes, it's cheaper to remodel a bathroom yourself. You'll save on labor costs and can shop for materials directly. Just remember, major plumbing and electrical work should be done by professionals to avoid costly mistakes.
In What Order Should You Renovate a Bathroom?
So, you think you can just toss some paint around and call it a bathroom renovation? First, remove fixtures, tackle plumbing, lay flooring, then drywall. Finally, install new fixtures. It's more than just slapping on color!
Can I Renovate My Bathroom for ?
Yes, you can renovate your bathroom for $5,000! Focus on cosmetic upgrades like painting, new fixtures, and affordable flooring. Prioritize your renovations and shop smart to make the most of your budget.
Conclusion
You've conquered the chaos of your bathroom remodel like a fearless warrior! With your newfound skills, you've transformed a mundane room into a personal spa oasis that rivals five-star hotels. You didn't just remodel; you created a masterpiece, a sanctuary of relaxation and style. As you bask in your glorious achievement, remember that your DIY journey didn't just change your bathroom; it's set you on the path to becoming the next home improvement legend!
