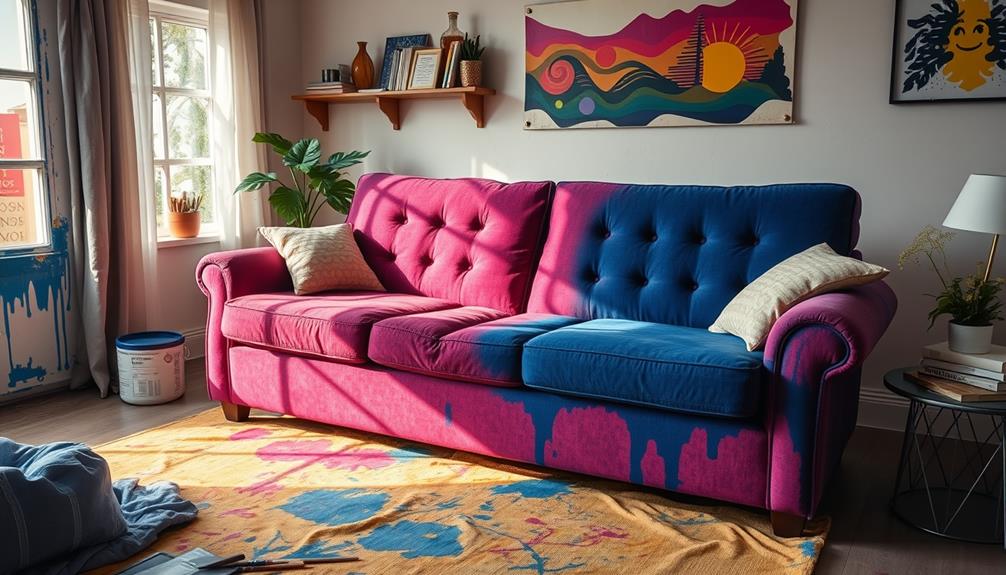
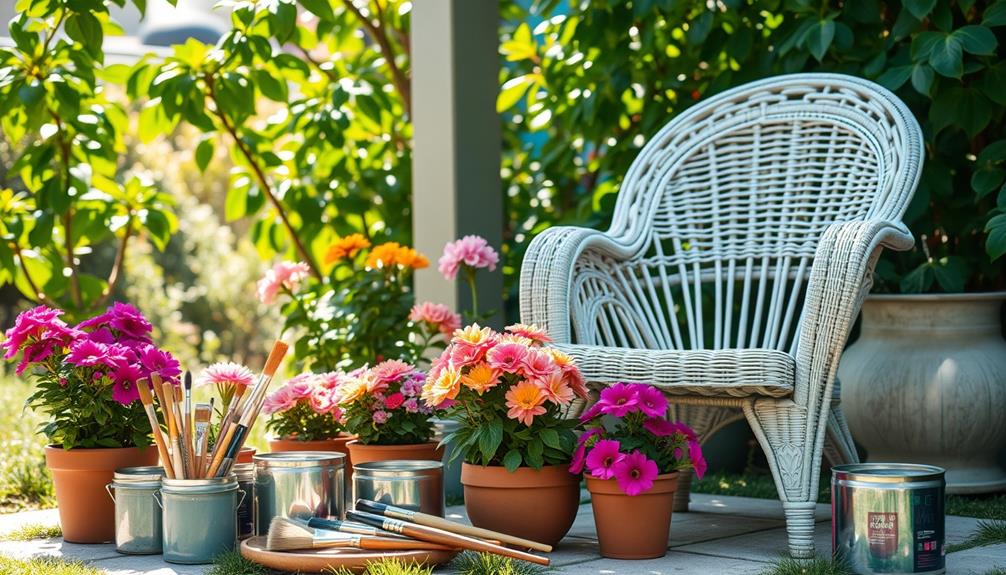
To recolor a sofa that does not have removable covers, begin by choosing a well-constructed sofa made from washable fabric. Thoroughly clean the surface to enhance dye absorption. Select an upholstery dye, such as Rit, and test it on a small area first. Follow the package instructions to mix the dye with water. Use a sponge to apply the dye to hard-to-reach areas and allow sufficient drying time between coats. Once you are happy with the color, apply a dye fixative to set it in place. Be sure to properly care for your newly dyed sofa to maintain long-lasting results. There is so much more to discover! If you are feeling adventurous, consider painting wicker furniture to give it a fresh new look. Begin by thoroughly cleaning the surface and allowing it to dry completely. Choose a spray paint specifically designed for wicker furniture, and apply thin, even coats for a smooth, professional finish. Once the paint is dry, think about applying a clear sealant to protect your newly painted wicker furniture from damage. With these tips, you can rejuvenate your home decor with a few simple DIY projects. Happy decorating! If you want to add a touch of exotic style to your home, think about integrating Indonesian color palettes into your decor. The rich, vibrant hues inspired by Indonesia’s natural beauty can bring warmth and character to any space. You can achieve this look by including shades of deep red, lush green, and golden yellow in your design scheme. Consider adding decorative accents like throw pillows, rugs, or artwork featuring these colors to infuse your home with a sense of tropical elegance. With a bit of creativity and the right color choices, you can transform your space into a luxurious retreat inspired by Indonesia’s enchanting beauty.
Key Takeaways
- Select a structurally sound sofa with washable fabric and a faded color for optimal dye absorption.
- Clean the fabric thoroughly before dyeing to remove dirt and oils that hinder dye adherence.
- Use upholstery-specific dye, mixing it according to manufacturer instructions for even color application.
- Apply dye in small sections, allowing adequate drying time between coats for consistent saturation.
- Finish with a dye fixative to prevent fading and color transfer, ensuring proper drying and ventilation.
Selecting the Right Sofa
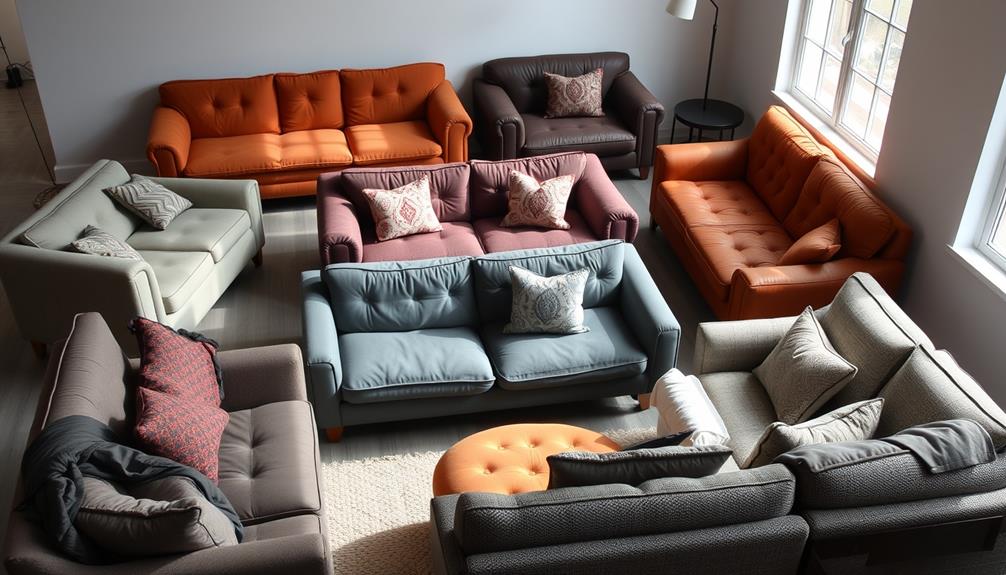
When you're ready to dye a sofa, the first step is selecting the right one. You'll want to choose a sofa that's structurally sound and has faded in color, as this guarantees a successful transformation. Look for upholstery made from washable fabrics; these types of fabrics typically accept dye more effectively, giving you better results.
Additionally, it's important to reflect on the potential financial mistakes to avoid when investing in furniture upgrades, guaranteeing that your expenses align with your budget.
Reflect on the original color of the sofa, too. Dyeing works best if you can darken or enrich the existing shade, so opt for a piece that isn't too light.
Also, evaluate the fabric's overall condition. It should be free of significant tears or damage, which could complicate the dyeing process and affect the final outcome.
As you shop, aim for a price point under $100. This approach allows you to revitalize your furniture without the commitment of professional reupholstery.
Preparing for Dyeing
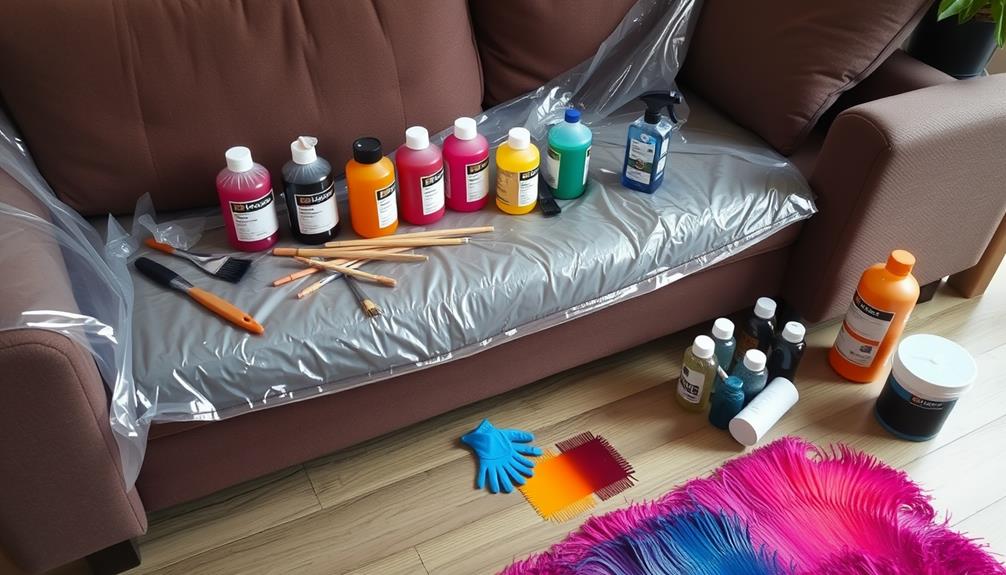
Preparing your sofa for dyeing is vital for achieving the best results. Start by thoroughly cleaning the fabric to remove dirt and oils, as this will help the dye absorb better. Use a gentle fabric cleaner and a soft cloth, making sure you don't saturate the fabric too much. Once it's clean, allow it to dry completely.
Additionally, consider using essential oils such as eucalyptus oil to freshen up the fabric while you clean, as it has antiseptic qualities that can assist in maintaining a clean environment.
Next, gather all the necessary supplies: fabric dye (Rit dye is highly recommended), gloves, a sponge, a spray bottle, and drop cloths to protect your floors and other furniture from potential stains.
Before applying the dye, it's important to test it on a small, inconspicuous area of the fabric. This step checks for color fastness and ascertains the dye is compatible with your sofa's material.
Once you're ready, mix the dye solution according to the manufacturer's instructions, usually involving a specific ratio of dye powder to water.
Don't forget to prepare your work area! Lay down drop cloths or plastic sheets to catch any drips and prevent dye stains on your floors and surrounding furniture.
With everything prepped, you're all set to start dyeing your sofa!
Choosing the Appropriate Dye
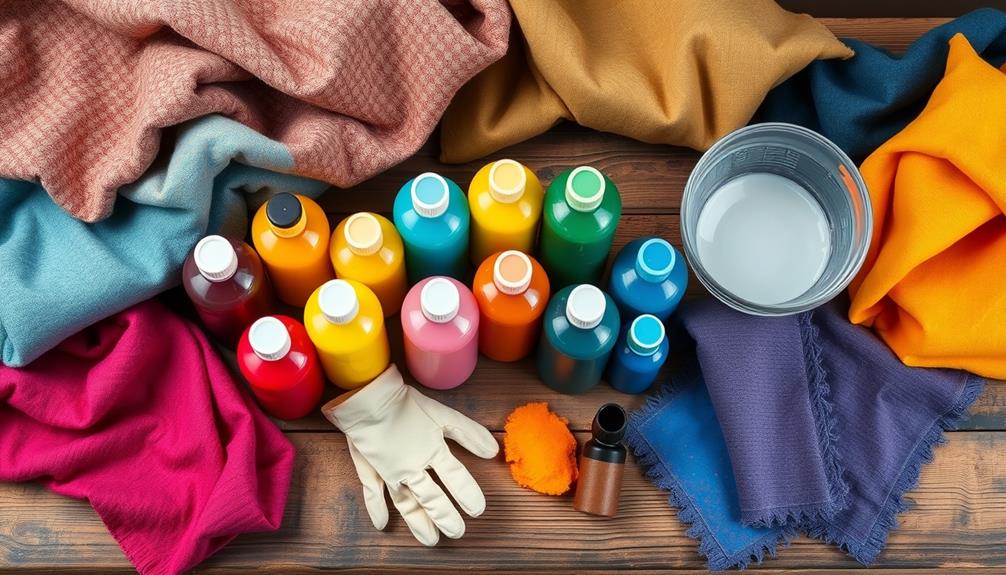
Selecting the right dye is essential for achieving a vibrant and lasting color on your sofa. You'll want to choose a dye specifically formulated for upholstery fabrics, like Rit dye, to guarantee compatibility and effective color absorption.
For those who enjoy working with textiles, exploring crochet styles for locs can inspire creative ways to complement your newly dyed sofa. Darker shades work best, as they provide better coverage for any faded areas and can enhance your sofa's overall appearance.
Before you start dyeing, check the fabric composition. Fabrics with a higher percentage of natural fibers absorb dye more effectively than synthetic ones, so knowing your fabric is key.
If you're unsure, conduct a test on a small, inconspicuous area of the sofa to assess color fastness and see how the dye interacts with the fabric. This step can save you from unexpected results.
Cleaning the Sofa Fabric
Before you start dyeing your sofa, it's vital to clean the fabric thoroughly. Begin by vacuuming the sofa to remove dust, dirt, and debris from the surface and crevices. This step is important since any leftover particles can interfere with the dyeing process.
Additionally, consider the benefits of using a non-toxic cleaner to guarantee a safe and effective cleaning process, especially if you have pets or children in your home non-toxic cleaning solutions.
Next, use a mild fabric cleaner or upholstery shampoo to treat any stains. Apply the cleaner with a soft cloth or sponge, following the manufacturer's instructions for the best results.
To make sure you don't damage the fabric, be certain to spot test the cleaning solution on an inconspicuous area first.
After cleaning, rinse the treated areas with a damp cloth to eliminate any soap residue. Then, blot the fabric with a dry towel to absorb excess moisture.
This helps prepare the fabric for dyeing, as any leftover moisture can affect dye absorption and color uniformity.
Dyeing Techniques and Methods
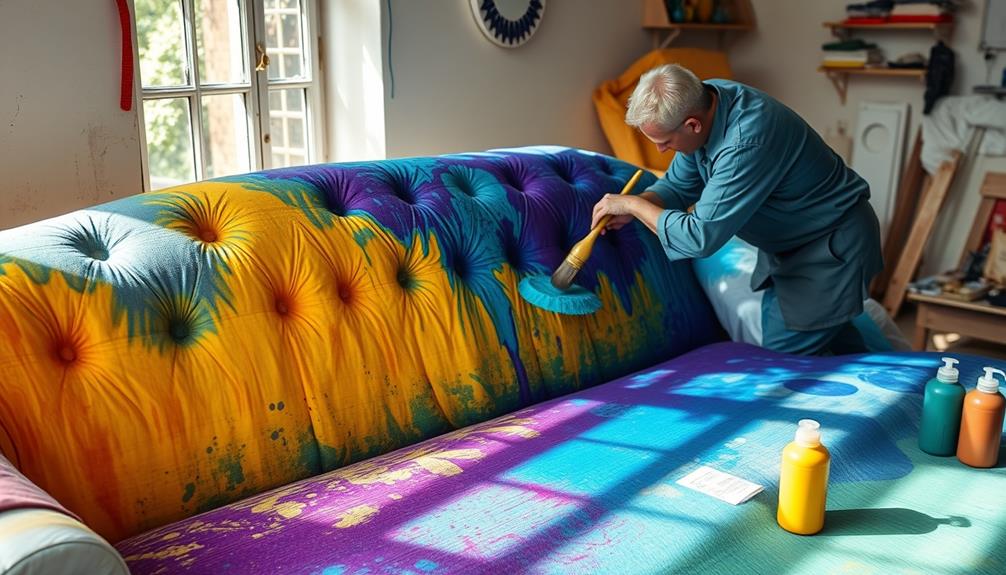
With your sofa fabric cleaned and ready, it's time to explore the dyeing techniques that will transform its appearance. Start by choosing a fabric dye specifically formulated for upholstery, like Rit dye, ensuring it's compatible with your sofa's fabric type, especially if it contains natural fibers.
It's also important to take into account the energy efficiency of your home, as having energy-efficient appliances can help reduce overall consumption while you work on your DIY projects, including the dyeing process energy-efficient appliances.
When applying the dye, use a sponge for non-removable sections to work it into the fabric. For larger areas, a paint sprayer is ideal for achieving an even distribution. Always work in small sections to avoid pooling, ensuring uniform coverage across the surface.
Before diving in, don't forget to test the dye on a small, inconspicuous area. This step's essential to check for color fastness and avoid any unwanted results on visible fabric.
After applying the dye, allow adequate drying time between coats—typically around 24 hours—to prevent streaking and achieve a deep, saturated color. You might need to apply multiple coats for the desired depth, and once you're satisfied with the results, finish with a fabric fixative.
Apply this in light coats and allow the sofa to dry thoroughly for several days before using it again.
Mixing the Dye Solution
When mixing your dye solution, start with the right ratios to guarantee consistent color across your sofa. A well-planned approach can lead to a more appealing result, enhancing the overall aesthetic of your living space, as demonstrated in the mood boards essential for visualizing design concepts.
You'll want to focus on achieving a smooth mixture that avoids clumps while considering how deep you want the color to be. Getting this part right is vital for a successful dyeing process.
Recommended Dye Ratios
To achieve the best results when dyeing your sofa, it's essential to mix the dye solution correctly. A recommended starting point is to combine 1 tablespoon of dye powder with 3 cups of boiling water for a diluted application. This dye ratio should work well for most fabrics, but remember that adjustments may be necessary based on the material.
If you desire a lighter shade, consider adding more water, while for a darker saturation, increase the dye amount. Additionally, understanding the fabric's texture can help inform your dyeing process, as different materials absorb dye differently, similar to how various brewing methods affect caffeine levels in coffee various brewing methods.
Before diving into the full application, always conduct a test on a small, inconspicuous area. This will allow you to check both the fabric compatibility and the color results using the same dye ratio.
If you're using Rit dye, keep in mind that you'll likely need three boxes to cover the entire sofa, depending on its surface area.
For deeper shades, applying multiple coats of the dye solution can be effective. Just make sure you allow adequate drying time between each coat to avoid streaking.
Mixing Techniques Overview
Achieving the perfect dye color starts with the right mixing techniques. To create a dye solution, you should combine 1 tablespoon of dye powder with 3 cups of water for a diluted application. This guarantees an even distribution of color. Always refer to the manufacturer's instructions, as different dyes may have varying requirements.
When mixing, use a bucket or large container to give yourself plenty of space and avoid spills. It's essential to wear gloves and protective gear during this process to prevent staining your skin. Before applying the dye to your sofa, test the mixed dye solution on a small, inconspicuous area of the fabric. This step helps confirm that you'll achieve the desired color intensity and compatibility.
Here's a quick reference table for your mixing techniques:
| Dye Type | Mixing Ratio | Additional Components |
|---|---|---|
| Powder Dye | 1 tbsp dye : 3 cups water | N/A |
| Liquid Dye | Check label for ratio | May require salt or vinegar |
| Natural Dye | 1 part dye : 4 parts water | Typically requires a mordant |
Following these guidelines will set you up for success in dyeing your sofa.
Consistency and Color Depth
Consistent color depth is crucial for a professional-looking dye job on your sofa. To achieve this, start by mixing 1 tablespoon of dye powder with 3 cups of water, creating a diluted solution that guarantees even distribution across the fabric.
When applying the dye, work in sections and allow each application to dry completely before adding another coat. This method prevents unevenness and streaking, which could ruin your efforts.
Additionally, you might find that experimenting with different fabric types can affect how the dye absorbs, much like how various coffee varieties offer unique flavor profiles and aromas, encouraging exploration unique flavor profiles.
For non-removable parts of the sofa, use a sponge and apply the dye in a circular motion. This technique helps maintain uniform consistency as you cover the fabric. It’s wise to test the dye on a small, inconspicuous area first. This way, you can see how the fabric reacts and gauge the final color before committing to the entire sofa. If you notice any stains or marks on the sofa, it’s important to address them promptly. To remove permanent marker from fabric, gently dab the area with rubbing alcohol or a specialized stain remover, using a clean cloth for best results. Always remember to rinse the area afterward with water to prevent any residue buildup that might affect the dye application.
Keep in mind that multiple coats may be necessary to achieve your desired saturation. Typically, you'll need around 4 coats for the front and cushions and 3 for the back to get ideal results.
With patience and attention to detail, you'll create a beautifully dyed sofa that looks refreshed and vibrant.
Drying and Setting the Dye
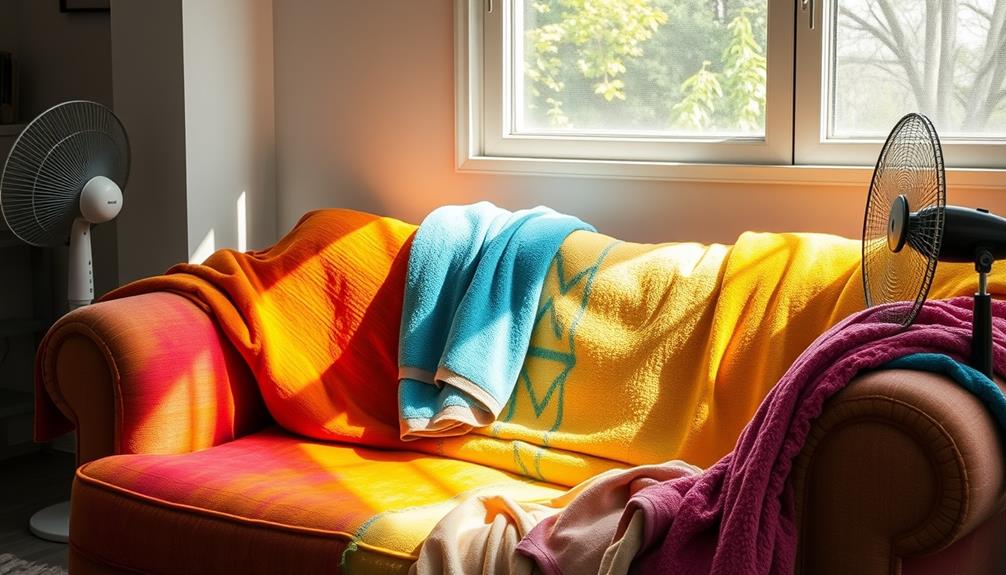
Drying your newly dyed sofa properly is vital for achieving a vibrant and long-lasting color. After you apply each coat of dye, allow it to dry for at least 10-12 hours before adding the next layer. This guarantees even saturation and prevents streaking, giving your sofa the rich color you desire.
Additionally, consider incorporating a protective spray to help maintain the fabric's integrity and resist potential stains, similar to how cold medications should be selected for effective relief. Once you've finished dyeing, let the entire sofa dry completely for 24-48 hours before using it. This drying period is essential for the dye to set properly.
To enhance the durability of your dye, consider applying a fabric dye fixative in two light coats. Remember to allow adequate drying time between these applications as well.
During the drying process, it's important to avoid placing your freshly dyed sofa in direct sunlight, as this can lead to fading and uneven drying.
After the dye has dried, use an upholstery brush to gently restore the fabric's texture and help set the dye more effectively. Taking these steps will guarantee that your newly dyed sofa not only looks great but also stands the test of time, retaining its vibrant color for years to come.
Applying Dye Fixative
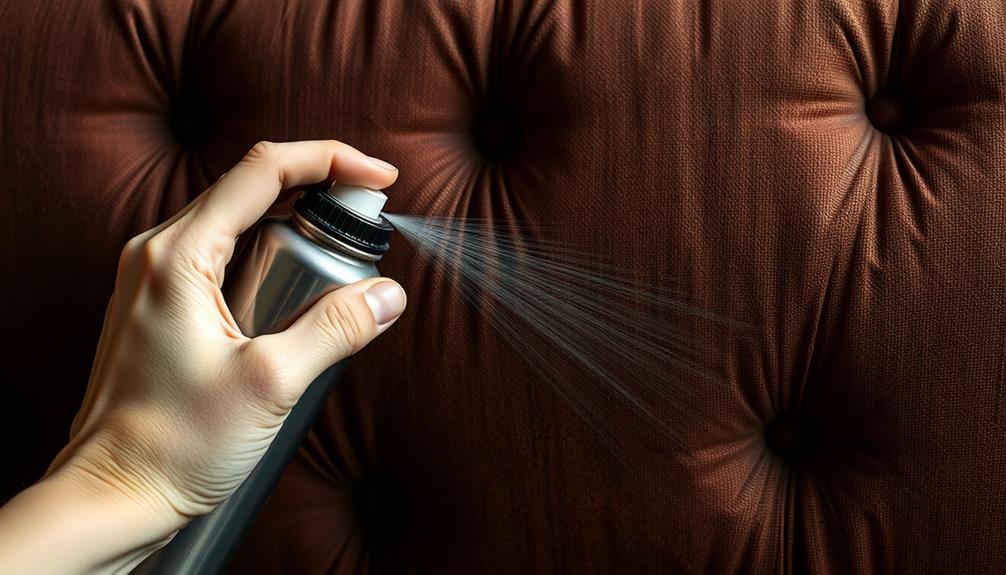
After dyeing your sofa, applying a dye fixative is essential to keep the color from transferring. This step is vital to guarantee the longevity of your project, much like how a consistent sleep schedule can greatly improve overall well-being and health, as noted in holistic management techniques.
You'll want to spray it on in two light coats, making sure you let each layer dry thoroughly for the best results. Remember, a well-ventilated area and a clean fabric will make a big difference in how well the fixative works.
Importance of Fixative Application
Applying a dye fixative is essential for maintaining the vibrancy and longevity of your newly dyed sofa. Without it, you risk color transfer and fading, which can undermine your hard work. To achieve the best results, take the extra time to apply two light coats of dye fixative, allowing adequate drying time between each.
Here's a quick overview of the dye fixative process:
| Step | Details |
|---|---|
| Preparation | Mix the dye fixative without boiling water. |
| Application | Use a sprayer for even coverage. |
| Coats | Apply two light coats, drying between each. |
| Final Steps | Let the sofa dry for several days. |
Recommended Application Techniques
Once you've applied the dye fixative, it's time to focus on the best techniques for guaranteeing an even and effective application. Start by using a sprayer to apply the fixative, which helps achieve uniform coverage across your newly dyed sofa. For ideal results, plan to use approximately four bottles of dye fixative, making sure you don't skimp on this essential step.
It's important to apply the fixative in two light coats, allowing for drying time in between. Wait at least 10-12 hours before using the sofa, but for best results, consider waiting several days to let the fixative set completely.
Make certain you follow the manufacturer's instructions closely regarding dilution and application methods to achieve the desired outcomes.
After the fixative has dried, use an upholstery brush to gently restore the fabric texture and maintain a refreshed appearance. This final touch not only enhances the look of your sofa but also helps keep the dye in place, preventing any color transfer.
Maintaining Your Dyed Sofa
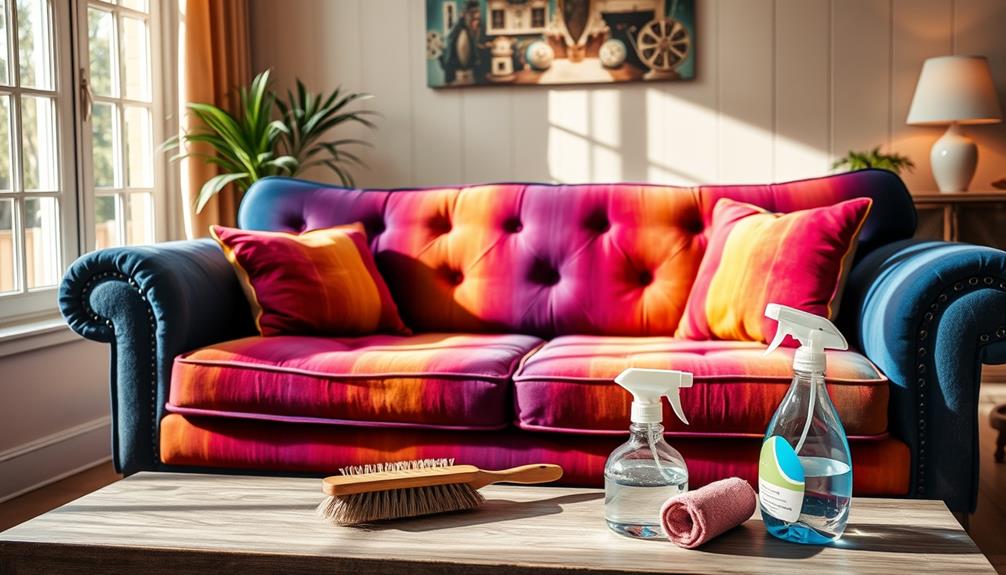
To keep your newly dyed sofa looking its best, it's crucial to act quickly when spills occur. Clean spills immediately with a damp cloth to prevent stains from setting and damaging the new color. The sooner you address any accidents, the better your chances of maintaining that vibrant hue.
Consider applying a fabric protector after dyeing to boost durability and resist spills and wear. This extra layer of protection will help your sofa withstand everyday use.
Additionally, schedule routine cleaning, ideally using a professional upholstery cleaner. This will keep the fabric looking fresh and remove any accumulated dirt that could dull the color over time.
Rotating cushions regularly is another smart move. This helps guarantee even fading and wear, prolonging the life of your newly dyed upholstery.
Finally, be mindful of your sofa's placement; avoid putting it in direct sunlight to prevent the new color from fading.
Frequently Asked Questions
Can You Spray Dye a Fabric Sofa?
Yes, you can spray dye a fabric sofa. Just make certain you use a synthetic dye made for upholstery, prepare your dye solution properly, and test it on a small area first for best results.
Can You Dye Fabric on a Couch?
Did you know about 80% of fabrics can be dyed? Yes, you can dye fabric on a couch, but make certain it's suitable. Test a small area first, and remember to let it dry thoroughly between coats.
How Do You Dye a Fabric Couch Cover?
To dye a fabric couch cover, choose an upholstery dye, mix it per instructions, and test a small area. Apply it evenly with a sponge or spray, then let it dry fully for best results.
Can You Get a Sofa Professionally Dyed?
"Don't throw good money after bad." Yes, you can get a sofa professionally dyed. Hiring experts saves you time and guarantees a perfect finish, reducing the risk of uneven color or damage to your fabric.
Conclusion
As you commence on this journey of transformation, think of your sofa as a blank canvas waiting for a splash of color. With each dye drop, you paint new memories into its fabric, weaving life back into its fibers. Just like a caterpillar becomes a butterfly, your sofa can shed its old skin and emerge vibrant and renewed. Embrace the change, and let your creativity shine—your once dull sofa will bloom into a centerpiece of warmth and comfort.
