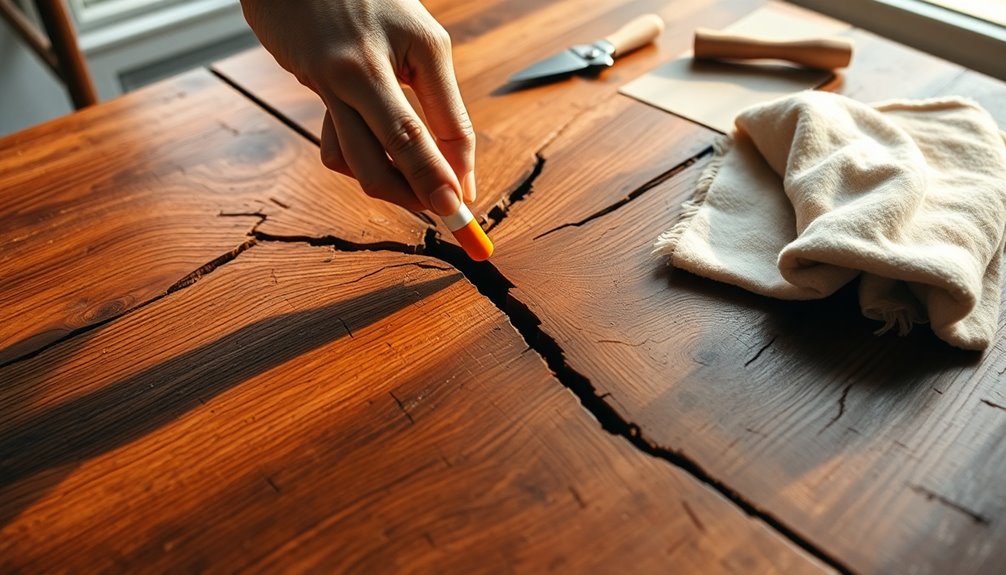
To fix cracked wood furniture, start by cleaning the area with a soft cloth. Sand the cracked surface using 120 to 240 grit sandpaper for a smooth finish. Apply waterproof wood glue into the crack and clamp it securely. For larger cracks, mix sawdust with glue to create a filler. Pack this mixture into the crack and let it dry overnight. Once dry, sand the area for a polished look. Finally, you might want to stain and wax the patch to match the surrounding wood. If you want detailed tips for each step, there's more to explore next.
Key Takeaways
- Clean the damaged area thoroughly, removing dust and debris before starting repairs.
- Use waterproof wood glue for small cracks and clamp securely for a strong bond.
- For larger cracks, apply epoxy after cleaning the area and tape the underside to prevent leakage.
- Mix fine sawdust with glue as a filler, ensuring to pack it well and allow it to dry overnight.
- Finish by sanding the repaired area, staining if necessary, and applying wax for protection and polish.
Cleaning and Preparing the Surface
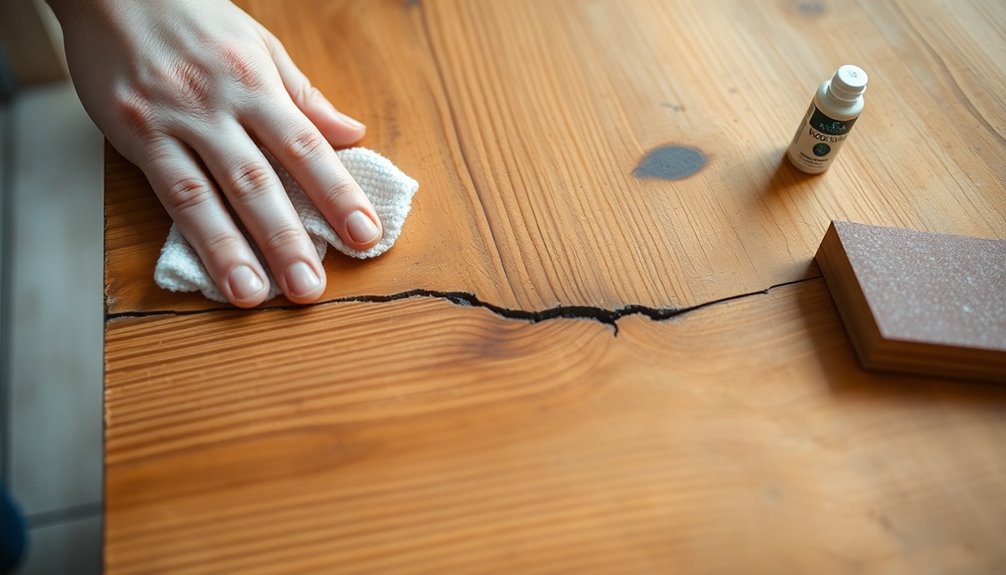
Before you dive into repairing cracked wood furniture, it's essential to clean and prepare the surface properly. Start by using a soft cloth to wipe away any dust and debris from the damaged area. If you notice any loose dirt or sawdust, blow it away after sanding. You might need a screwdriver to dig out stubborn dirt from the cracks, ensuring a clean workspace. For chipped sections, remove all debris to help the repair materials bond effectively.
Next, if your wood has an existing finish, stripping it may be necessary. Use sandpaper to eliminate the old finish, starting with a grit of 120 and moving up to 240 for a smooth surface. For final touches, grade 00 steel wool works wonders. After sanding, use a stiff bristle brush to clear away all residue and filings.
Finally, dampen a rag with denatured alcohol to wipe the surface clean, especially for woods like oak, to prevent stains. This is important because using the right solvent ensures proper reamalgamation process. Make sure the area is completely dry and free of debris before you proceed with applying any repair materials or finishes. This preparation sets the stage for a successful fix!
Applying Wood Glue
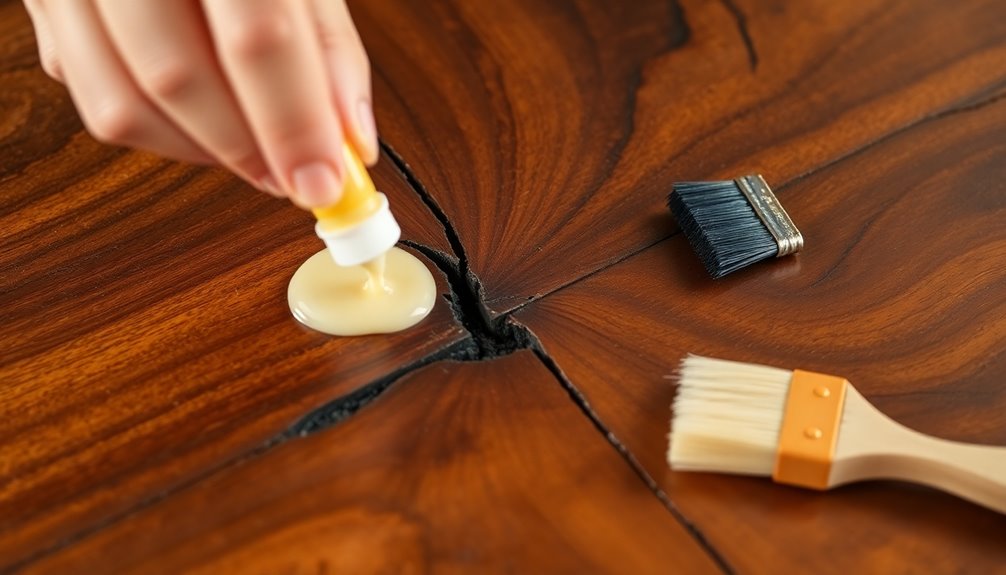
When it comes to applying wood glue, ensuring the surfaces are clean, dry, and free from dust is crucial for a strong bond. Start by removing any loose splinters, fibers, and dirt using an air hose or a soft brush. Before you apply glue, test fit the pieces to make sure they align perfectly. To prevent glue from sticking to your fingers, apply wax around the split and wear gloves while handling the adhesive.
Choose a high-quality waterproof wood glue for a durable bond. Use a thin, even layer of glue on the surfaces; too much can cause squeeze-out. For hard-to-reach spots, a putty knife wrapped in masking tape can help distribute the glue. Make sure to cover the entire surface without overapplying. Additionally, ensure that the adhesive cures completely for a strong bond.
Clamp the pieces together securely to apply even pressure. Consider using clamping blocks to distribute pressure evenly. For round or uneven pieces, a nylon strap clamp works well, while long bar clamps fit regular shapes. Clamp the joints for at least 30 minutes to an hour, or 24 hours for stressed joints. While the glue is wet, wipe off any excess with a damp cloth for a clean finish.
Using Sawdust and Glue
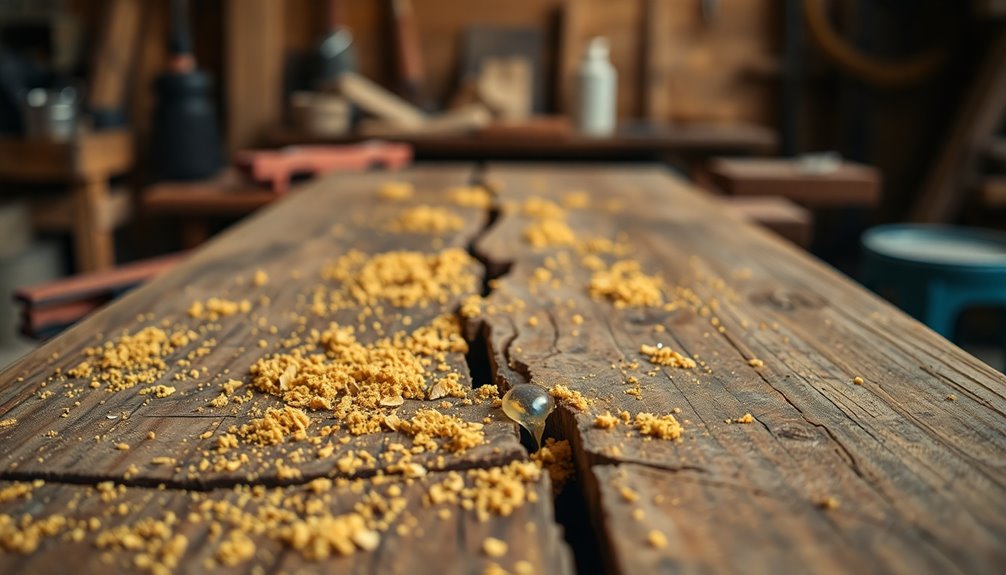
After applying wood glue, you might find that some cracks in your furniture still need a little extra attention. This is where using sawdust and glue comes in handy. Start by gathering fine sawdust, preferably from sanding, and mix it with wood glue, hide glue, or epoxy glue. Create a small pile and combine them until you achieve a workable consistency—not too runny and not too dry. There's no specific ratio, so adjust as needed using a mixing stick for thorough blending. Avoid wood shavings, as they don't mix well. Wood filler can be created using sawdust and glue, making it a practical solution for cosmetic fixes.
Before applying the filler, spread a thin layer of glue on the damaged area for better bonding. Use a putty knife to pack the sawdust mixture into the crack, smoothing it out as much as possible. Remember to leave a little excess filler to account for shrinkage during the drying process, and ensure the sawdust matches the wood's color for consistency.
Let the filler dry overnight or according to the glue's instructions. Once dry, use a file to remove any rough spots, then smooth the area with fine-grit sandpaper for a polished finish. If needed, touch up the filler to blend seamlessly with the surrounding wood.
Repairing Large Cracks
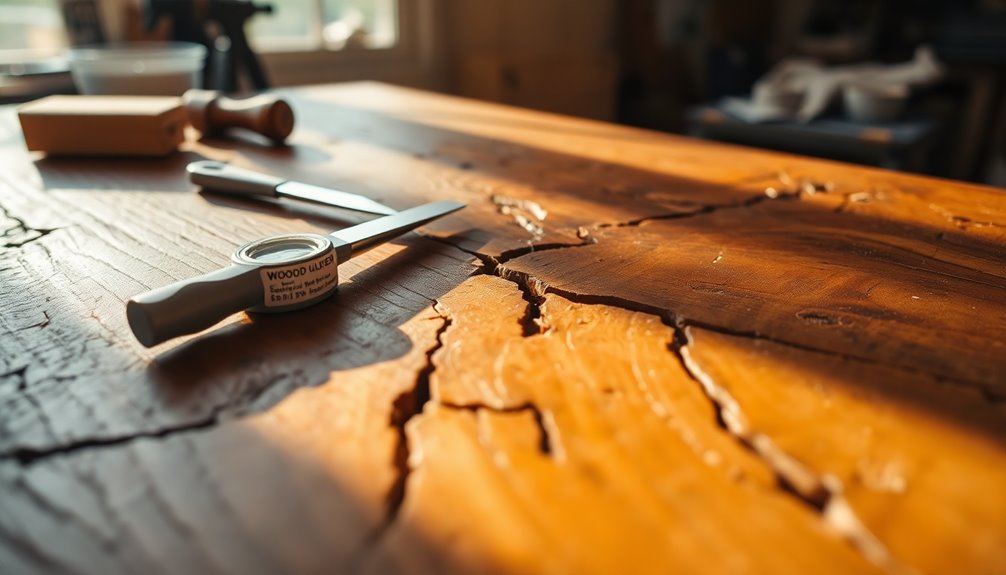
Repairing large cracks in wood furniture requires careful attention to ensure a lasting fix. Start by cleaning the crack with a craft knife to remove any loose or jagged wood, and then clear away any debris or dust. If the crack is particularly large, tape the underside with wood, plastic, or frog tape to prevent filler or epoxy from leaking through. Make sure you’re working in a well-ventilated area, especially when using epoxy. Once the crack is prepared and secured, apply a high-quality wood filler or epoxy into the opening, ensuring it fills the gap fully. Smooth the surface with a putty knife, and allow it to cure according to the manufacturer’s instructions. Following this method is essential when tackling other projects, such as fixing water damaged furniture, as it ensures that the repair is solid and the furniture is restored to its original strength and appearance.
For very large cracks, epoxy works best. Mix the components according to the instructions, and apply it generously into the crack until it's fully filled. Always use a respirator mask to avoid inhaling fumes. Allow the epoxy to dry for the recommended time, usually several hours. Using a respirator mask is crucial when working with these materials to ensure safety.
If you prefer, wood filler or water putty can also be effective. Mix and test the filler on a small, inconspicuous area first. Apply the filler using a craft knife, mounding it slightly above the surface, and let it dry for at least two days. Once dry, sand it down with fine-grit sandpaper to create a smooth finish.
Finishing and Shaping the Area
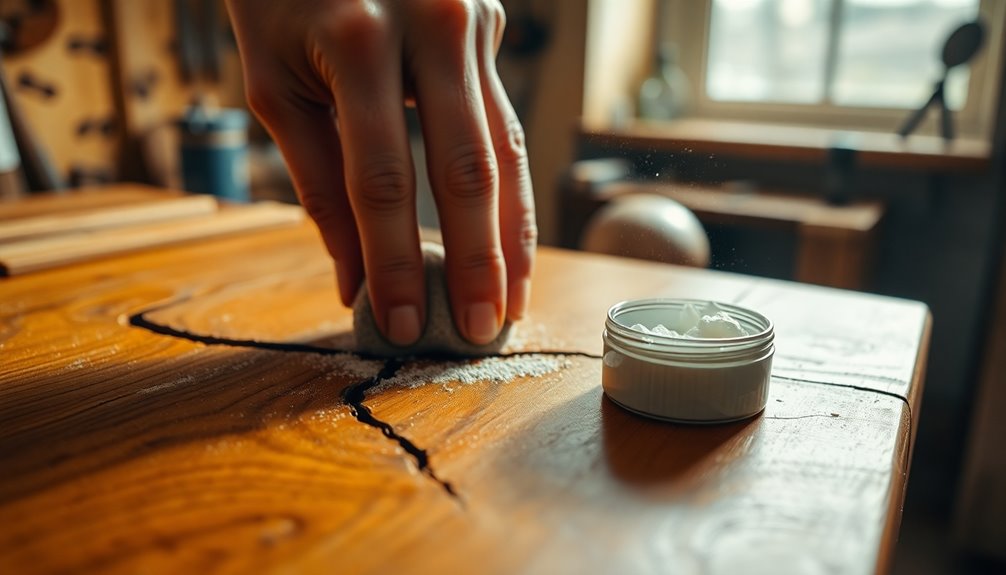
Finishing and shaping the repaired area is crucial for achieving a seamless look on your wood furniture. Start by feathering the edges of the patch to ensure it blends well with the surrounding wood. If the color doesn't match perfectly, don't hesitate to stain the patch to achieve a closer match. Use a small artist's brush to carefully apply a finish that matches the rest of the surface. Additionally, remember that wood-tone putty sticks can be effective for small holes, making it easier to achieve a consistent appearance.
Once you've stained and finished the area, use fine-grit sandpaper to smooth out the filled section. After sanding, buff the area gently with No. 0000 steel wool to create a polished, smooth surface. If you prefer a satin-gloss finish, consider applying a touch of linseed oil before buffing again.
Finally, to complete the repair, apply wax and polish to the entire surface. This not only enhances the look of your furniture but also helps protect the wood from future damage. With these steps, you'll restore your wood furniture to its original beauty, making it hard to tell where the repair was made.
Frequently Asked Questions
How Can I Prevent Future Cracks in Wood Furniture?
To prevent future cracks in your wood furniture, maintain a stable environment. Keep the room temperature between 20-22 degrees Celsius and humidity levels around 50-55%. Avoid placing furniture in direct sunlight or near heat sources. Regularly dust and clean with mild solutions, applying wood wax or oil every few months. Use coasters and protective pads to shield surfaces from damage, and inspect for wear to address issues before they worsen.
What Tools Do I Need for These Repair Methods?
To repair wood effectively, you'll need a variety of tools. Start with a craft knife or plastic applicator for putty, fine-grit sandpaper, and steel wool for smoothing and polishing. For larger repairs, grab wood filler, a chisel, and a sander. If you're tackling big cracks, have a band saw and epoxy on hand. Don't forget measuring tools, screwdrivers, and a hammer for general tasks. Each tool plays a crucial role in achieving a seamless fix.
Can I Use Regular Glue Instead of Wood Glue?
You can't use regular glue instead of wood glue for bonding wood. Regular white glue lacks the strength and cohesion needed to create a reliable bond. It's designed for other materials and won't hold up under pressure. Instead, opt for wood glue, like PVA, which is specifically formulated for wood. Make sure to apply it evenly and use clamping pressure for the best results. Trust me, your project will benefit from the right adhesive.
How Do I Choose the Right Color for Repairs?
When you're choosing the right color for repairs, start by considering whether you need a wood match or a color match. For darker tones, opt for heartwood, and for lighter shades, go with sapwood. Use water dyes to build layers and start with a light yellow for flexibility. Apply color with long, thin strokes, blending carefully to mimic the wood grain. Always test your color on paper first to ensure it's just right.
Is It Safe to Use These Methods on Antique Furniture?
Using these methods on antique furniture can be safe if you're cautious. You should avoid excessive power tools and opt for traditional materials like wood glue and filler sticks instead. Always test colors on scrap wood to ensure a good match and prevent further damage. Remember, maintaining the integrity of your piece is crucial, so take your time and choose the right techniques to preserve its original charm.
Conclusion
By following these steps, you can effectively fix cracked wood furniture and restore its beauty. Remember, cleaning and preparing the surface is crucial before applying glue or sawdust. For larger cracks, don't hesitate to use additional methods to ensure a solid repair. Once you've finished, take the time to shape and finish the area for a seamless look. With patience and care, your furniture will look as good as new, ready to be enjoyed for years to come.
