
To fix water-damaged, swollen wood furniture, start by assessing the damage. Dry the furniture in sunlight for a few hours, using fans and a dehumidifier for better circulation. Eliminate any water bubbles with a low-heat iron or hair dryer. Sand swollen areas with medium-grit sandpaper, then smooth with finer grit. Clean any mold with a mild solution and keep your space well-ventilated during this process. Finally, apply a sealant to prevent future damage. Each step is crucial for restoring your furniture's beauty and integrity, and there's more you can learn to enhance your restoration skills.
Key Takeaways
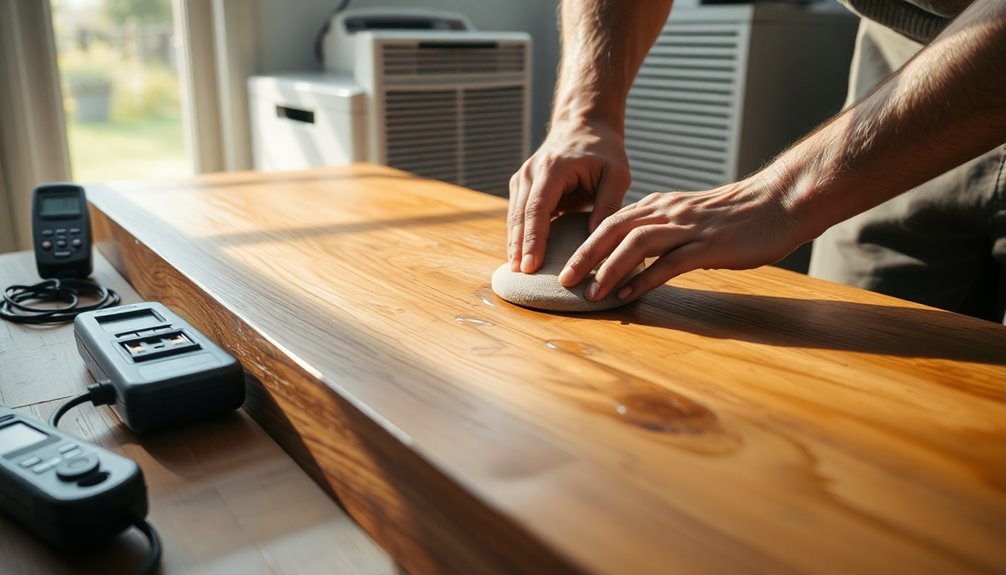
- Assess the damage by checking for discoloration, warping, and moisture content using a moisture meter to determine severity.
- Dry the furniture in a well-ventilated area, utilizing electric fans and dehumidifiers, and limit direct sunlight exposure to three hours.
- Eliminate water bubbles using a low-heat iron or hair dryer, ensuring to maintain a safe distance to avoid further damage.
- Sand swollen areas with medium-grit sandpaper, then finish with finer grit, ensuring to fill any cracks or gouges with wood filler.
- Apply waterproof sealants and maintain humidity levels between 30-50% to prevent future moisture-related issues.

The Face Shop Rice Water Bright Travel Kit, Korean Skin Care Set with Ceramide, Gift Set - Gentle Face Wash & Vegan Skin Care (Serum, Cream, Eye Cream), Hydrating for Dry Skin, Daily Face Moisturizer
[TRAVEL FRIENDLY SKINCARE SET] Full routine of Rice Water Bright favorites in TSA-approved sizes are ready to go...
As an affiliate, we earn on qualifying purchases.
Assessing Water Damage
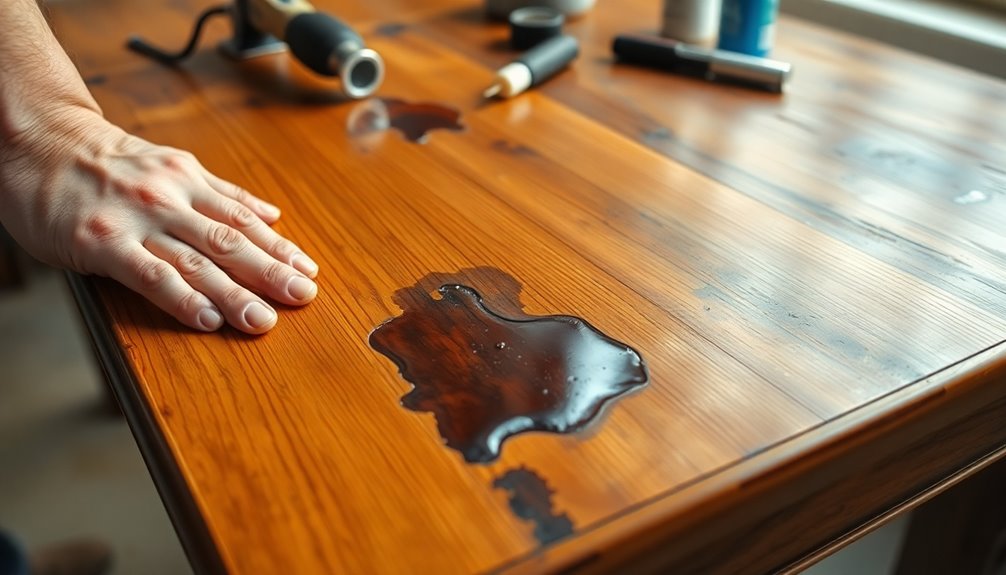
When you notice signs of water damage on your wood furniture, it's crucial to assess the situation promptly. Start by identifying visible signs like discoloration, which can appear as cloudy or darker spots on the surface. Look for warping or swelling, as wood absorbs moisture, leading to uneven surfaces that may affect functionality. Inspect for bubbling or peeling paint, which often signals prolonged exposure to water.
Next, determine the severity of the damage. Minor issues might only involve slight swelling or small bubbles, while severe damage could include large discolored areas and extensive warping. Check joints and connections for any signs of separation due to water-induced expansion. Using a moisture meter can help quantify the moisture content in the wood, giving you a clearer picture of the damage.
Additionally, be aware that different types of wood react variably to water exposure, which can affect the restoration process. Don't forget to evaluate the wood type and finish, as these factors will influence your restoration approach. Finally, feel for soft spots, which indicate moisture saturation, and inspect for structural integrity by looking for splits, cupping, or gaps. This thorough assessment will guide you in deciding the best steps to take next.

The Ordinary Age Support Set - 3-Step Anti-Aging Skin Regimen with Multi-Peptide + HA, Multi-Peptide Eye Serum, and Natural Moisturizing Factors + PhytoCeramides | Skincare Set
COMPLETE ANTI-AGING 3-STEP REGIMEN: Target signs of aging across your face and eyes with our peptide-rich serum, eye...
As an affiliate, we earn on qualifying purchases.
Drying the Furniture
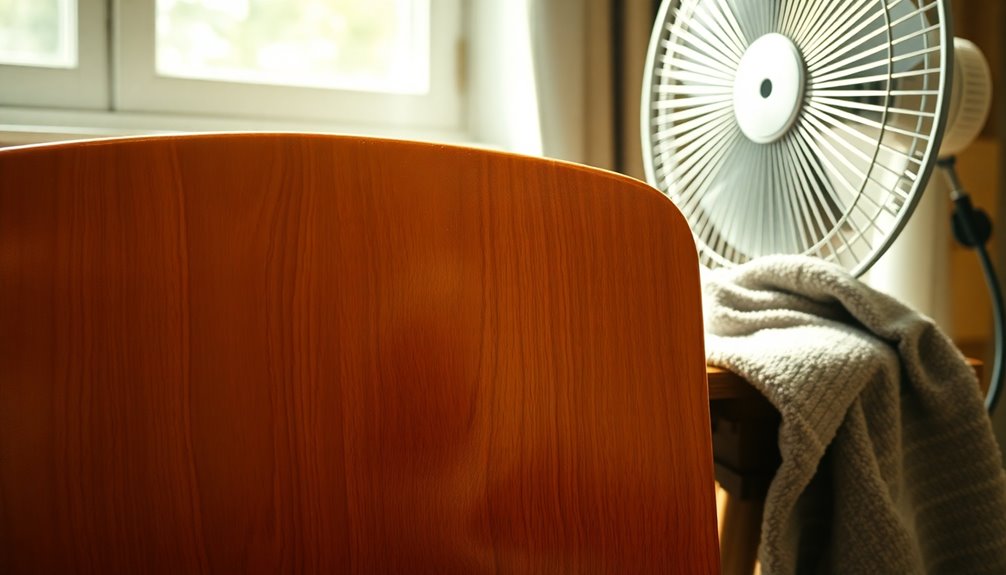
Drying water-damaged wood furniture is essential to restore its integrity and appearance. Start by placing the furniture in direct sunlight for a quick drying process. Rotate the pieces periodically to ensure even drying and prevent warping, but limit exposure to no more than three hours at a time to avoid cracking. Be mindful of the weather; avoid extreme cold or heat.
If sunlight isn't an option, position the furniture in a well-ventilated area. Use electric fans to enhance air circulation, blowing air directly onto the furniture for at least 24 hours while keeping the fans at a moderate distance. Open windows to promote airflow. Additionally, employing a dehumidifier can significantly aid in reducing moisture levels in the air, further supporting the drying process.
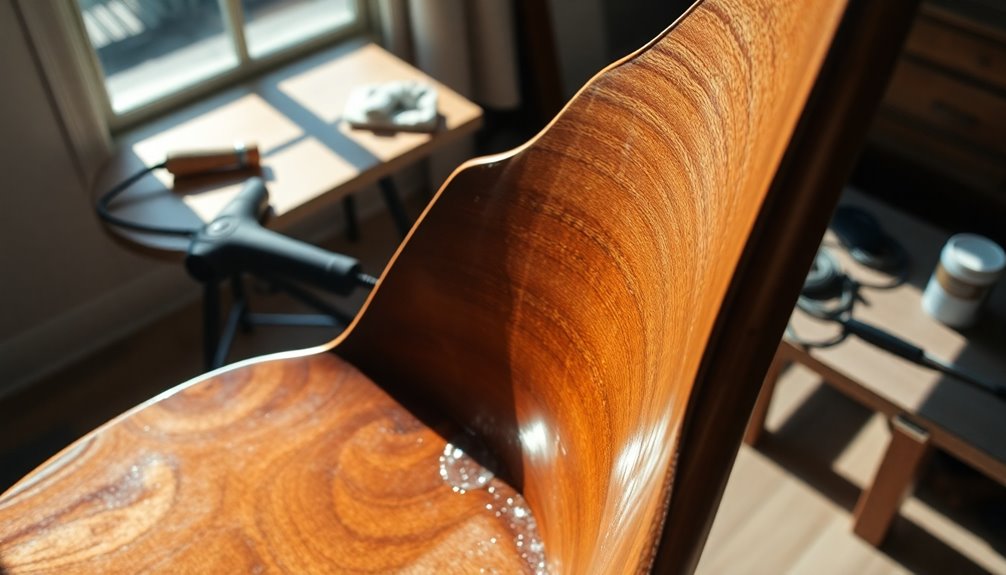
For an alternative approach, you can employ heating appliances. Use an iron on the lowest heat setting, covering the wood with a clean cloth. Alternatively, use a hair dryer, moving it constantly to prevent overheating. Apply heat gradually, repeating the process until the wood is fully dry.
Lastly, consider using a dehumidifier to lower humidity levels in the room and place the furniture in a warm, dry environment. This helps prevent further swelling and promotes effective drying.

Glo Skin Beauty Bio-Renew EGF Discovery Set ($196 Value) – Travel Size Anti-Aging Skincare Kit for Hydration, Smoothing & Skin Renewal
COMPLETE SKIN LONGEVITY ROUTINE IN TRAVEL SIZE: 4-piece skincare set featuring serum, moisturizer, eye cream, and neck cream—designed...
As an affiliate, we earn on qualifying purchases.
Removing Water Bubbles
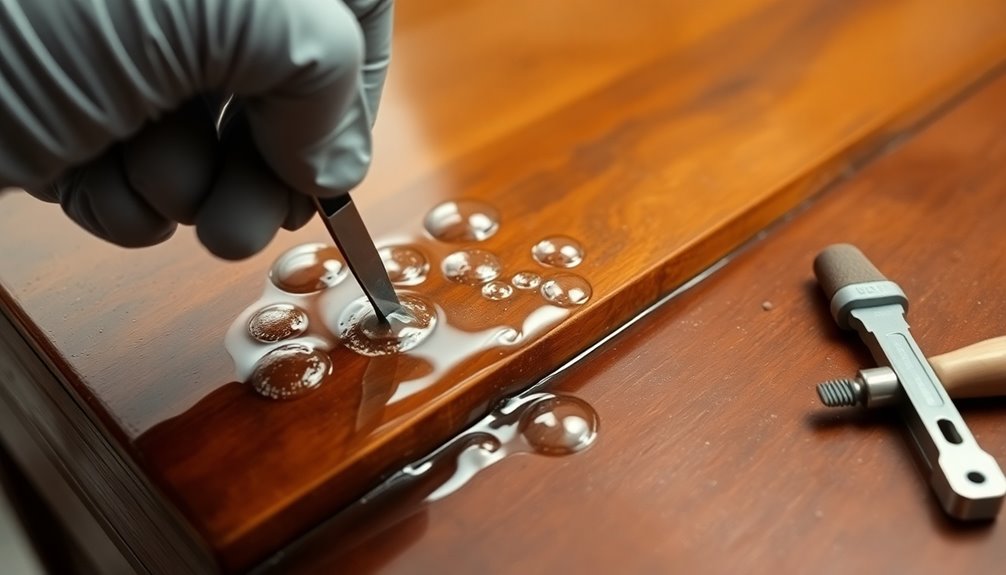
After ensuring your water-damaged wood furniture is thoroughly dried, the next step involves tackling any unsightly water bubbles that may have formed. One effective method is using an iron. Set it to the lowest heat setting, then cover the swollen area with a wet rag to protect the wood. Hold the iron on the rag for a few seconds, lift, and repeat until the bubbles disappear. Remember to keep the iron moving to prevent scorching.
Alternatively, you can use a needle or a printer. Poke it through the water bubble to let the air and water escape, a quick and heat-free solution that won't damage the wood. Repeat until all bubbles are gone.
Another option is a hair dryer. Set it to the lowest heat and hold it about six inches away, moving it constantly. This method also helps evaporate the trapped water. Keep in mind that humidity in the air can contribute to the formation of new bubbles if the furniture is not kept in a controlled environment.
Regardless of your chosen method, allow the furniture to air dry for a few hours afterward. Ensure the wood is completely dry before proceeding to any other steps. Keep your workspace well-ventilated to help speed up the drying process.

Sunday Riley Wake Up With Me Complete Brightening Morning Skincare Set
A complete morning routine including all the must-haves for glowing, radiant skin
As an affiliate, we earn on qualifying purchases.
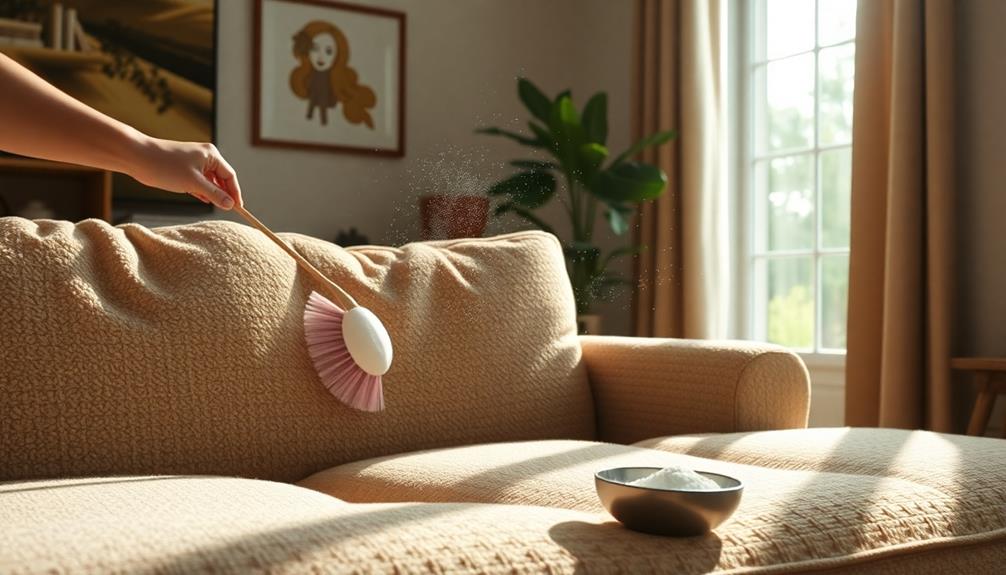
Cleaning the Furniture
Cleaning your water-damaged wood furniture is essential to restore its appearance and prevent further issues. Start by identifying any areas with mold, mildew, or black spots, as these often appear after water exposure. When you find them, wear protective gear like gloves, eyewear, and a face mask. Use a diluted bleach solution, cleaning vinegar, or dish soap to gently scrub the affected areas with a soft-bristled brush. Rinse thoroughly with clean water, then let the furniture dry completely.
Next, wipe off any residue or debris from the wood's surface using a clean microfiber cloth. A vacuum can help remove standing water and debris from the furniture and surrounding area. Make sure the furniture is in a well-ventilated space to prevent further moisture buildup; electric fans can aid in the drying process, but avoid using heat to prevent cracking or warping. Additionally, it's important to remove excess water to prevent further absorption, which can lead to swelling and long-term structural issues.
Finally, keep the area well-ventilated after cleaning. Wipe down the furniture surface to eliminate excess moisture. With these steps, you'll set the stage for effective restoration and protect your wood furniture from future damage.
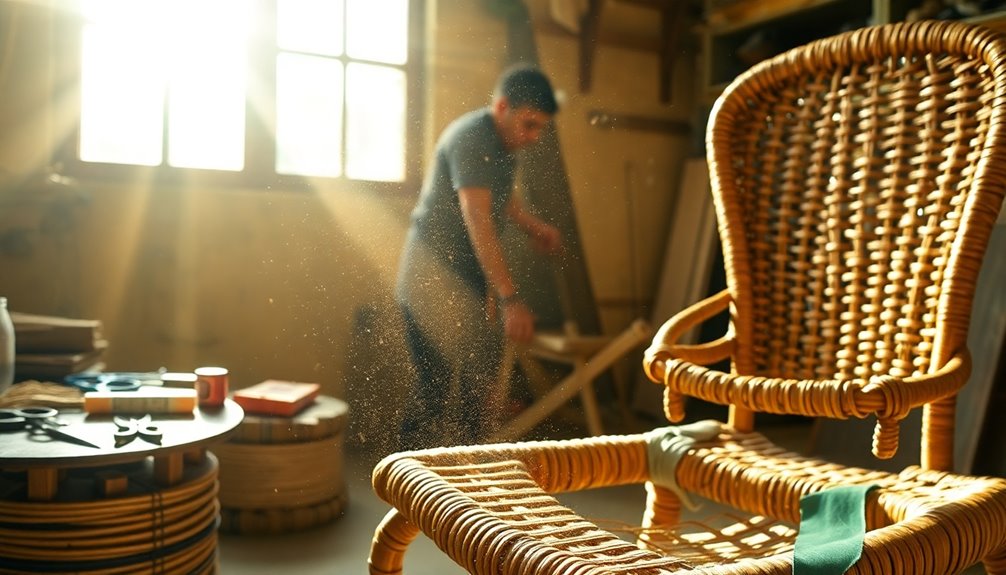
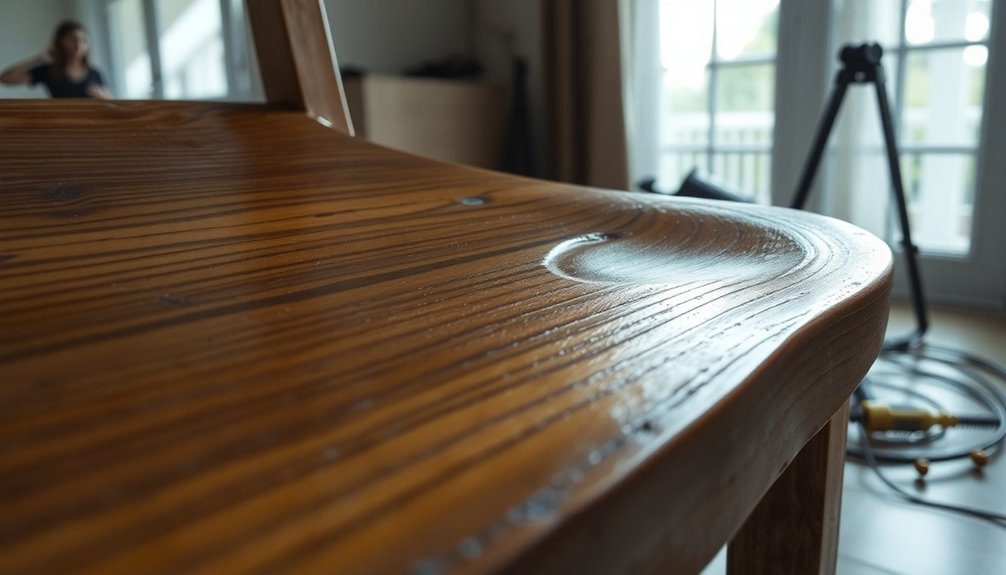
Sanding the Wood
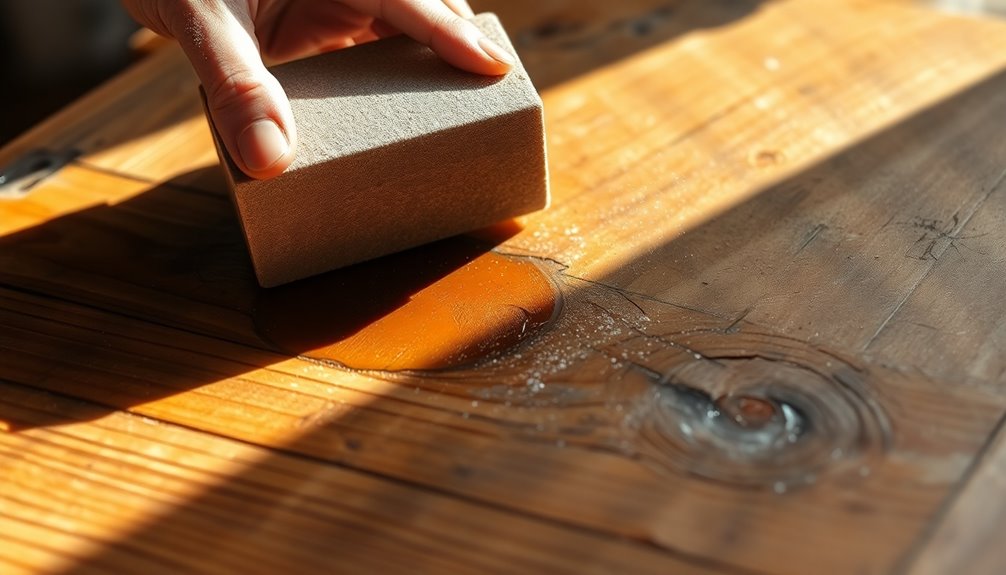
Once you've cleaned your water-damaged wood furniture, it's time to address any swelling or rough spots through sanding. Start with medium to coarse-grit sandpaper, around 80-120 grit, to tackle the swollen areas. Sand in the direction of the wood grain to avoid scratches, using a hand-sanding tool or sanding by hand for even results. Apply gentle to moderate pressure depending on how much swelling there is.
Once the surface is more level, switch to finer-grit sandpaper (180-220 grit) to smooth out any filled areas. Finish with a final sanding using fine-grit sandpaper (220-320 grit) for a smooth finish. Remember, using very fine grit initially can clog your sandpaper, so progress from coarser to finer grits.
Before you start, don safety glasses, rubber gloves, and a dust mask, and make sure your workspace is well-ventilated to avoid inhaling dust. After the initial sanding, inspect for cracks or gouges. If you find any, apply wood filler, let it dry, and lightly sand those areas to blend them into the surrounding wood. It's essential to recognize early signs of water damage to prevent further issues. Check for any imperfections, ensuring everything is smooth and even.
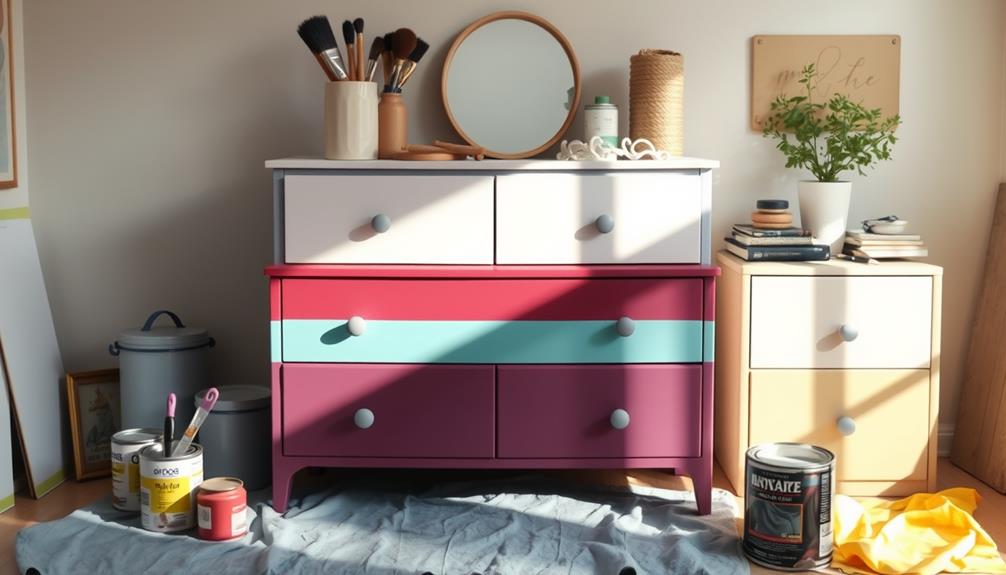
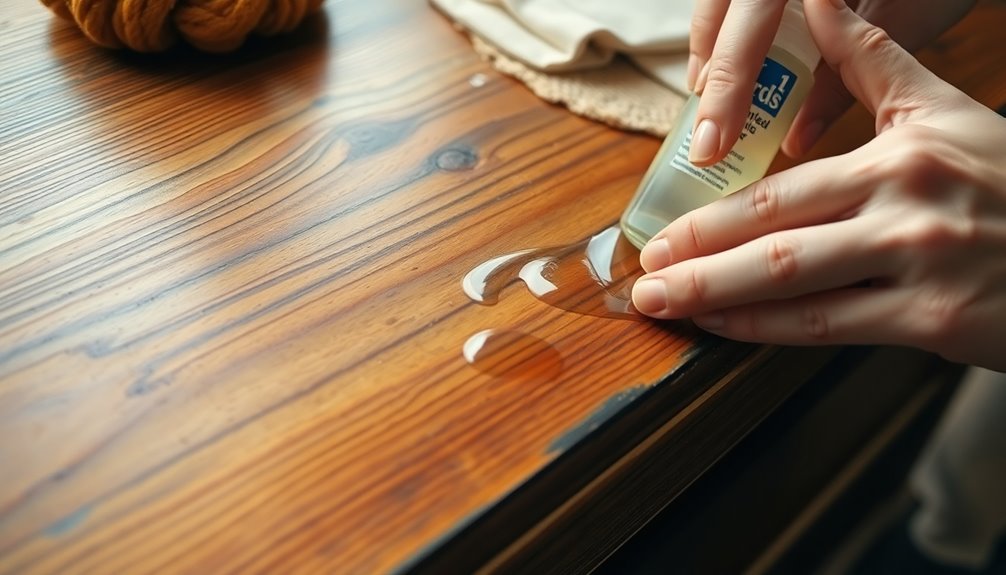
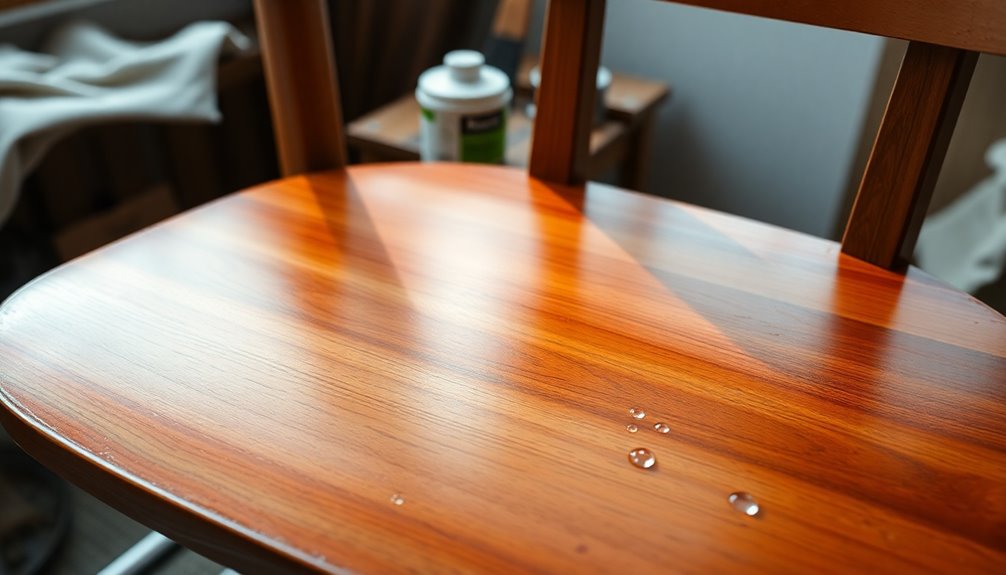
Applying Finishes
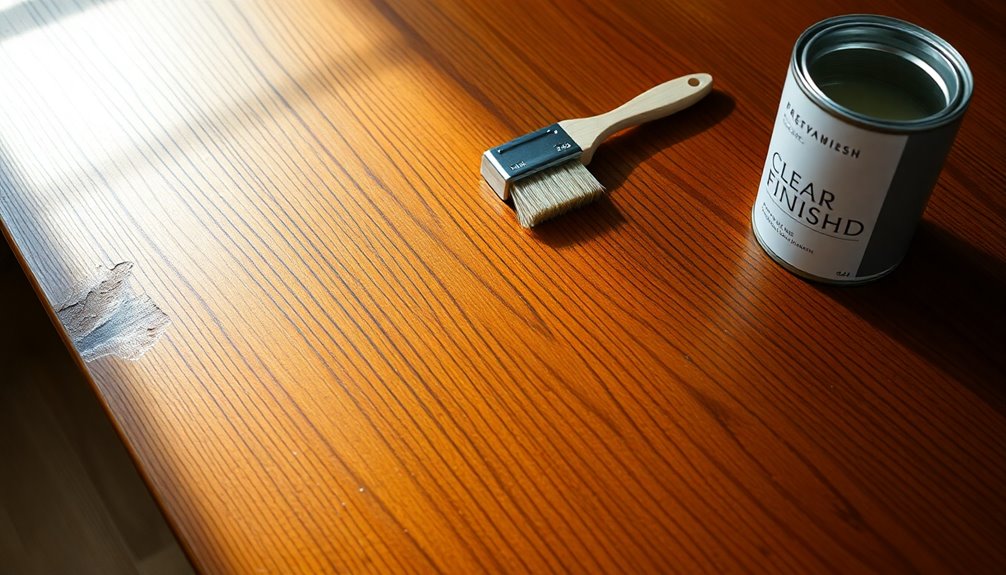
Applying a new finish to your water-damaged wood furniture is essential for restoring its beauty and protecting it from future damage. Start by selecting a finish that matches the original type used on your furniture. Consider the wood type and its initial finish; compatibility is crucial for a successful application. If you're using a high-performance finish like catalyzed varnish, ensure you follow any special care requirements. Remember that smart home device integration can also enhance your home environment, making it easier to monitor conditions that could affect your furniture.
Before applying the finish, prepare the surface. Clean it thoroughly to remove dust, residue, or old finish. Use fine sandpaper (#320 grit or finer) to scuff the surface for better bonding, and remove any loose finish. If needed, wipe it with mineral spirits and ensure it's completely dry. Remember that applying waterproof sealants can enhance the durability of your finish against future moisture damage.
When applying the finish, do so in thin, even coats to prevent blistering. If you're using lacquer, a spray gun is best; consider a retarder to avoid blushing. For shellac, lightly wipe the surface with a cloth dampened in denatured alcohol. Allow each coat to dry fully before applying more. Once done, inspect the finish regularly to maintain its protective qualities and extend the life of your furniture.
Preventing Future Damage
To keep your wood furniture looking its best and prevent future damage, maintaining a controlled environment is crucial. Aim for humidity levels between 30 and 50 percent to stop the wood from swelling or drying out excessively. If you live in a dry climate, consider using a humidifier to stabilize those levels. Avoid placing your furniture in high-moisture areas like basements or near bathrooms, and ensure the room temperature remains steady and moderate. Additionally, regularly applying sealants can provide an added layer of protection against moisture. Using an air purifier can also help maintain optimal indoor air quality, further protecting your furniture.
Daily care is equally important. Always use coasters under drinks to prevent spills from penetrating the wood. Wipe up any spills immediately to avoid absorption. For plants, place mats or rugs underneath to catch drips. Regularly dust your furniture to prevent buildup, and clean surfaces with a damp microfiber cloth and white distilled vinegar if needed.
Protect your furniture from direct elements by keeping it out of strong sunlight and away from heating vents or air conditioning units. Use curtains or blinds to filter sunlight, and ensure your furniture stays dry by avoiding exposure to rain or snow. Regularly inspect your pieces for damage, and apply wood moisturizer or sealants as recommended to maintain their integrity.
Tools and Materials Needed
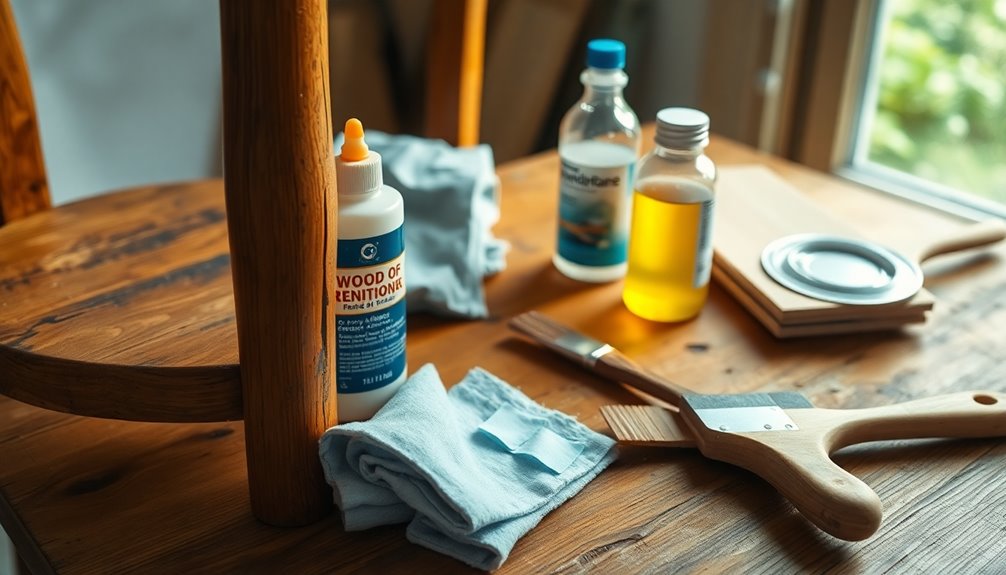
When tackling water-damaged wood furniture, having the right tools and materials on hand is essential for effective restoration. First, ensure your safety by wearing goggles, gloves, and a dust mask. You'll need buckets and towels to collect any excess water and moisture. For drying, gather fans and a dehumidifier, and consider a moisture meter to check the wood's dryness. It's important to remember that early detection of water damage can significantly reduce the extent of repairs needed. Additionally, maintaining a clean and safe environment around your workspace will help prevent accidents while restoring furniture.
You'll also want cleaning tools like a lint-free rag, a scrubbing brush, detergent, and bleach to tackle any mold or mildew. Make sure all electrical sources are unplugged before you start. When it comes to smoothing the wood, have sandpaper of various grits ready, along with a power sander and hand-sanding tool.
For filling gaps, get wood putty or filler, and have paintbrushes and sealant on hand for refinishing. Furniture oil, wood stain, and clamps or weights will help you achieve a protective finish. Finally, a wet rag and iron can assist with swollen areas, while a soft brush helps clear away dust. With these tools and materials, you'll be prepared to restore your furniture effectively.
Tips for Effective Restoration
Restoring water-damaged wood furniture requires a careful approach to ensure the best results. Start by drying the furniture. Place it in the sun, rotating it regularly to prevent uneven drying and cracking. Use electric fans and a dehumidifier to speed up the process while avoiding high heat, which can warp the wood. Wipe down surfaces with a clean microfiber cloth to remove excess moisture.
Next, tackle any water bubbles. Use an iron set to its lowest heat with a cloth to absorb bubbles, or apply a hairdryer on low, moving it constantly to prevent overheating. Clean any mold or black spots to avoid further damage.
Once the surface is dry, sand down swollen areas using medium to coarse-grit sandpaper, working with the grain. After sanding, brush off the dust and follow up with fine-grit sandpaper for a smooth finish.
Finally, protect the wood by applying furniture oil to the sanded areas. Fill any cracks or holes with wood filler, sand it once dry, and finish with a coat of oil or varnish to enhance and protect the wood's appearance.
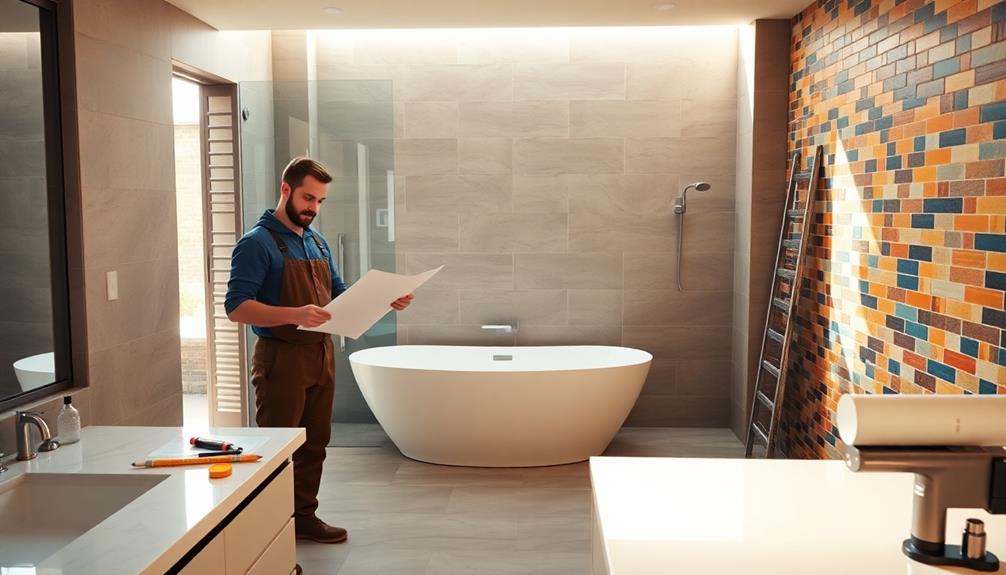
When to Seek Professional Help
Recognizing the limits of your DIY skills can be crucial in restoring water-damaged wood furniture. If you notice severe swelling, warping, or large discolored areas, it's time to call in a professional. When multiple components, like drawers and doors, are affected and hard to open, expert intervention is recommended. Complex restoration tasks, such as sanding and refinishing, often require specialized tools and techniques that you might not have.
If you're facing risks of further damage while attempting to fix the furniture, it's safer to seek help. Professional help has the experience to handle advanced techniques properly, including drying methods that could otherwise damage the wood. Additionally, if mold or mildew is present, professionals can remove it safely.
Consider the value of your piece; if it has significant sentimental or monetary worth, a professional restoration can justify the cost. Restoration can also be time-consuming, so if you lack the patience or space to manage the process, let someone else handle it. Finally, if insurance covers the damage, professionals can help navigate the claims process effectively, ensuring your furniture is restored and protected.
Frequently Asked Questions
How Can I Tell if Wood Is Still Wet Inside?
To tell if wood is still wet inside, check for signs like a soft, soggy texture or visible cracks and gaps. Use a moisture meter for precise readings. If the wood feels cooler when you touch it or reacts to heat, that's a clue it might still be wet. Also, pay attention to any musty odors or prolonged drying times. These indicators can help you assess the wood's moisture content effectively.
What Are the Best Types of Wood Fillers for Water Damage?
When dealing with water damage, you'll want wood fillers that can handle moisture effectively. For this, consider using Elmer's ProBond Wood Filler for its strong bond and durability. Gork's Goodfilla Wood & Grain Filler is another great option due to its resistance to shrinking and cracking. If you're looking for versatility, Gorilla High Performance Wood Filler works well outdoors and can withstand the elements, ensuring a long-lasting repair.
Can I Use Vinegar Instead of Turpentine for Cleaning?
Yes, you can use vinegar instead of turpentine for cleaning. It's less toxic and gentler on wood surfaces. Mix equal parts of vinegar and water, then apply it with a soft cloth, wiping in the direction of the grain. This solution effectively removes water spots and helps restore wood color. Just remember to test a small area first to ensure there's no damage, and avoid using it on sensitive or old finishes.
How Long Should I Wait Before Applying Finishes?
You should wait until the wood is completely dry before applying finishes. This can take several days to weeks, depending on the environment and how wet the wood was. Check for any moisture by touching the surface; it should feel dry to the touch. If you've used wood fillers, ensure they're fully cured as well. Rushing this step can lead to trapping moisture, which can damage your finish and the wood itself.
Is It Safe to Use Heat Tools on Antique Furniture?
Using heat tools on antique furniture isn't safe. Heat can soften finishes and damage the underlying glue, especially in older pieces. You risk burning the wood or causing uneven fading and cracking. Instead of heat, consider letting the furniture dry naturally or using safer methods like sanding and applying furniture oil. Always keep your antique pieces away from direct heat sources to preserve their value and integrity.
Conclusion
By following these steps, you can effectively restore your water-damaged, swollen wood furniture and bring it back to life. Remember, patience is key during the drying and sanding processes. Always keep an eye out for signs of future damage and take preventive measures. If the damage is too extensive or you’re unsure about tackling it yourself, don’t hesitate to reach out to a professional. Your furniture deserves the best care, so give it the attention it needs! Additionally, it’s important to note that while solid wood furniture can be restored effectively, repairing particle board furniture presents its own unique challenges. If your furniture is made from particle board, be cautious with water as it can easily swell and lose integrity. In such cases, consider using specialized adhesives and sealants to prevent further damage and help maintain its structure. Always prioritize proper maintenance to ensure longevity and beauty in your furniture pieces.