
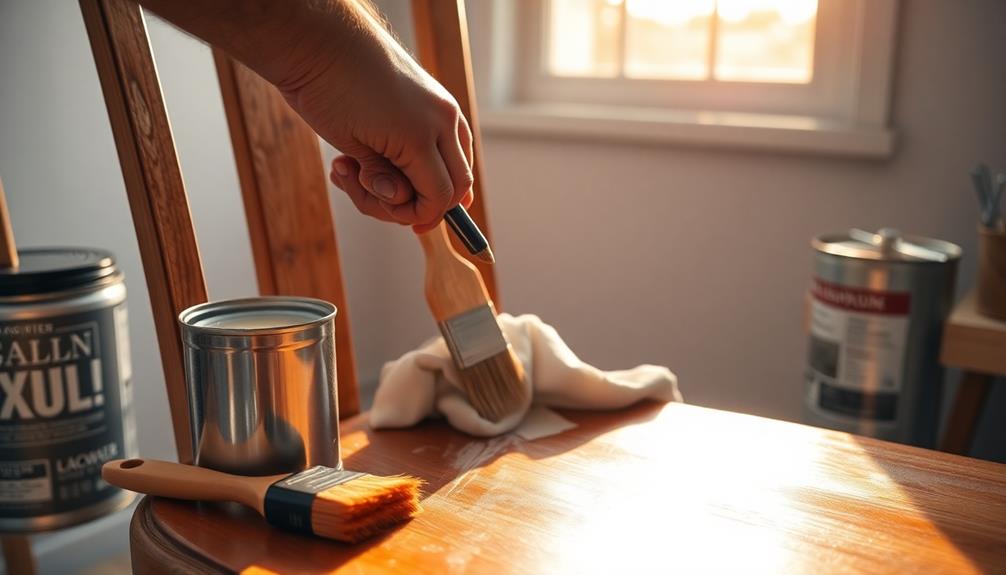
Lacquering furniture can completely transform and protect your pieces. To get started, gather supplies including top-notch lacquer, sandpaper, and a spray gun. Before applying the lacquer, make sure to clean the surface thoroughly and lightly sand it. Set up your workspace in a well-ventilated area and mask off any areas you don’t want to coat. Apply several thin coats, maintaining a distance of 4-6 inches for even coverage, and allow each layer to dry for 35-45 minutes. Be sure to inspect for imperfections and sand between coats to achieve a smooth finish. There are many possibilities to explore with this exciting project! Once you’ve applied the final coat, let the furniture cure in a well-ventilated space for an extended period to ensure its durability. If you want to speed up the offgassing process to reduce the release of harmful VOCs, consider placing the piece in a warmer environment or using fans to increase airflow. Patience is key during this step for a long-lasting, professional finish. After the furniture has fully cured, you’ll be able to enjoy its enhanced beauty and durability. To expedite the offgassing process and minimize exposure to VOCs, consider keeping windows open or using air purifiers to help clear the air. With time and attention, your lacquered furniture will become a stunning focal point in any room.
Key Takeaways
- Prepare the surface by cleaning, sanding, and masking areas that should remain paint-free for a smooth application.
- Use high-quality lacquer, such as nitrocellulose, and apply in thin coats with a spray technique for an even finish.
- Maintain proper ventilation and wear safety gear, including a respirator mask, goggles, and gloves, during the lacquering process.
- Allow 35-45 minutes drying time between coats, lightly sanding with 320 or 400 grit sandpaper for better adhesion.
- Inspect the finished piece for imperfections, sand if necessary, and allow it to cure fully before use.
Top picks for "lacquer furniture"
As an affiliate, we earn on qualifying purchases.
Overview of Lacquering
Lacquering is a transformative process that can breathe new life into your furniture. By applying a high-gloss lacquer finish, you can enhance thrifted items, turning them into vibrant modern decor pieces.
The beauty of lacquer lies in its ability to provide a luxurious, deep finish that revitalizes the aesthetic appeal of various surfaces, including wood, metal, and glass. To achieve a unique charm in your finished piece, consider how your personal influences can shape the final look, blending both beauty and practicality, as discussed in effective preparation maximizes consultation outcomes.
To get started with your DIY project, you'll need to prepare the surface of your furniture properly. This involves cleaning, sanding, and guaranteeing it's free of any dust or debris.
Once the surface is ready, you can apply the lacquer using a spray technique. This method guarantees an even and smooth coat, vital for achieving that professional look.
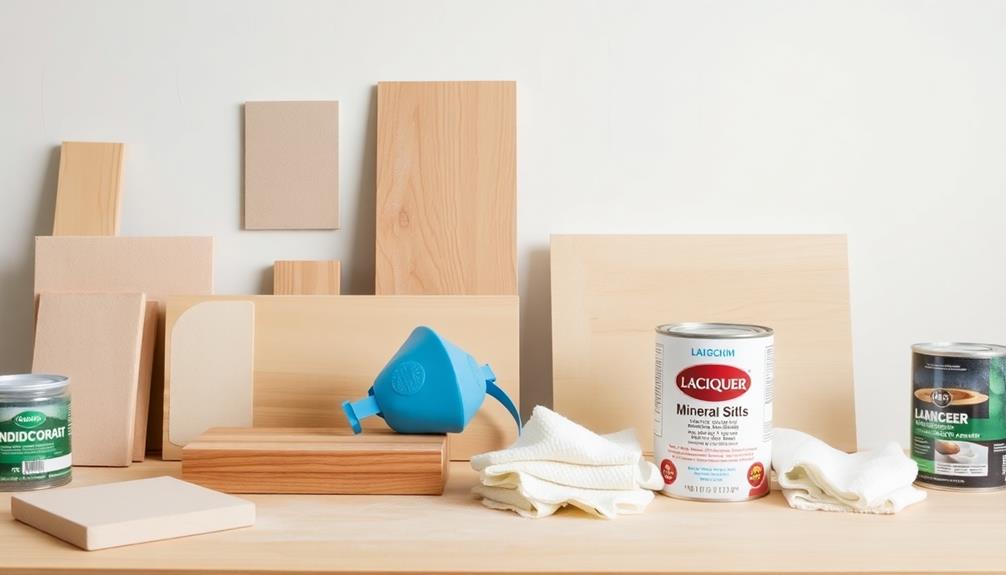
Necessary Supplies
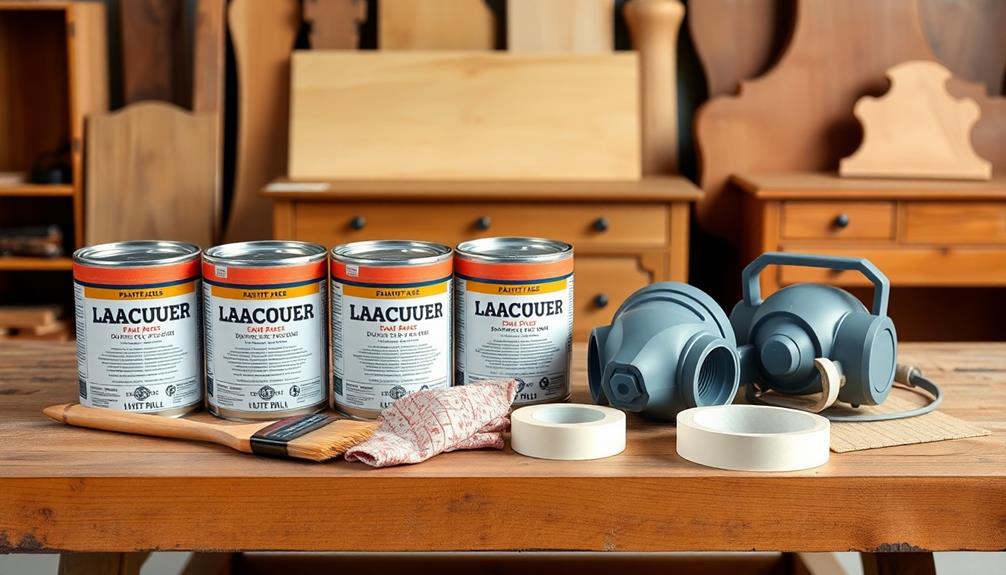
To successfully lacquer furniture, you'll need some essential supplies. Start with high-quality lacquer and a cleaner for surface prep, and don't forget your application tools like lint-free rags and sandpaper.
Additionally, ensuring a clean environment can greatly enhance your results, so consider using an air purifier maintenance guide to keep dust at bay.
Safety equipment is vital too, so grab a respirator mask and protective eyewear before you begin.
Essential Lacquering Supplies
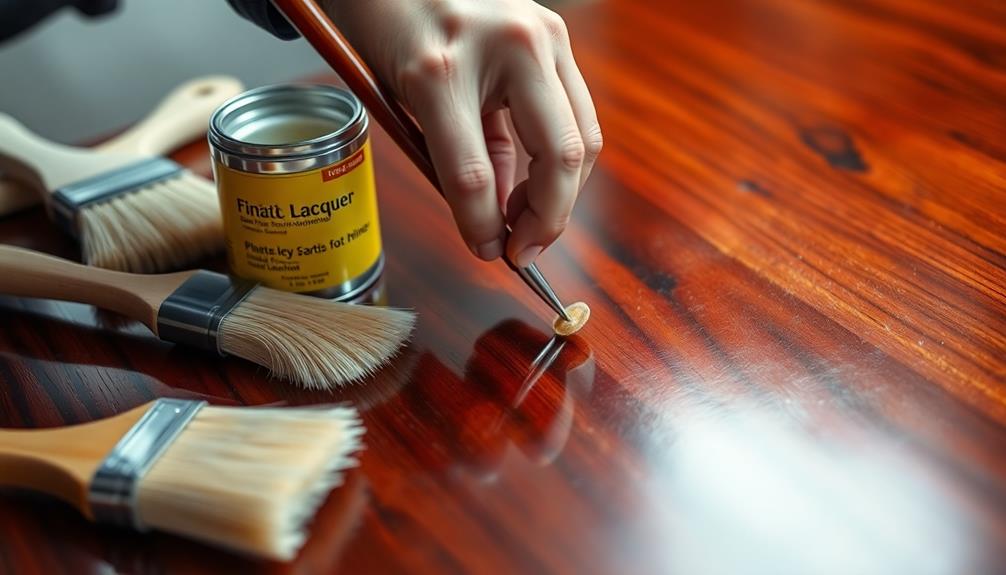
When you're ready to lacquer furniture, having the right supplies is crucial for achieving a professional finish. Start with high-quality options for your furniture lacquer, such as nitrocellulose lacquer, which offers an excellent glossy finish and durability on various surfaces, including wood and metal.
Next, you'll need a surface preparation cleaner like Clean Slate to guarantee your furniture is free from residues. For the best results, keep 320 or 400 grit sandpaper on hand; this will help you smooth the surface before application and lightly sand between coats.
For application, use appropriate tools; a lint-free rag for cleaning and a spray gun or aerosol can will provide an even finish. Remember to maintain a distance of 4-6 inches from the surface while spraying.
Here's a quick summary of essential supplies:
| Supply Type | Description |
|---|---|
| Furniture Lacquer | High-quality options like nitrocellulose |
| Surface Cleaner | Clean Slate for ideal adhesion |
| Grit Sandpaper | 320 or 400 grit for smoothing |
| Application Tools | Lint-free rag, spray gun or aerosol can |
Don't forget to work in a well-ventilated area!
Safety Equipment Considerations
Proper safety equipment is essential for a successful lacquering project. First and foremost, wear a disposable respirator mask designed to filter paint fumes and solvents. This will protect your lungs from harmful chemicals.
Additionally, it's important to understand the potential costs involved in your project, including the budgeting for materials to avoid overspending.
Next, put on safety goggles to shield your eyes from overspray and potential splashes. Long-sleeved clothing is also a must; it protects your skin from irritants and chemical exposure.
Pair this with disposable gloves to guarantee your hands remain safe and clean during the application process.
Don't overlook the importance of adequate ventilation in your workspace. Open windows or use fans to disperse fumes and maintain good air quality while you work.
This step is critical to keeping your environment safe and healthy.
Preparation Steps
Preparing your furniture for lacquer application is vital for achieving a smooth, professional finish. Start by evaluating the furniture surface for evenness. If the wood grain is prominent, applying a primer will help guarantee a smooth application.
Next, clean the surface thoroughly using a cleaner like Clean Slate to remove any dirt, oils, or residues. Make certain it's completely dry before moving on.
Once the surface is clean, it's time to lightly sand it with 320 or 400 grit sandpaper. This creates a smooth base that promotes better adhesion of the lacquer.
After sanding, set up a well-ventilated workspace. You can use cardboard or a lacquer tent to prevent overspray and protect surrounding areas from dust and debris.
Before you start spraying, tape off areas that should remain paint-free. This step is fundamental for achieving clean lines.
If you're unsure about your technique, consider practicing on a small area or a scrap piece of wood. These preparation steps will guarantee your lacquer application goes smoothly and results in a beautiful finish!
Application Techniques

Achieving a flawless lacquer finish relies heavily on the right application techniques. Start by shaking your lacquer spray can for 2-3 minutes to guarantee an even mixture. Maintain a distance of 4-6 inches from the surface while applying the lacquer. Use thin coats to avoid runs; allow 35-45 minutes of drying time between layers. This waiting period is essential for a smooth finish.
To enhance adhesion and polish, lightly sand the surface with 320 or 400 grit sandpaper between coats. Remember to maintain a wet edge when spraying—release the nozzle at the end of each pass to prevent unevenness.
Here's a quick reference table to guide you through the application process:
| Step | Details |
|---|---|
| Shake Lacquer Spray | 2-3 minutes for even mixture |
| Apply Thin Coats | Use 4-6 inches distance; wait 35-45 mins |
| Final Top Coat | Apply Bright Idea Top Coat; no sanding needed |
Tips for Success
To guarantee a successful lacquering project, prioritize good ventilation and safety measures.
Take your time, applying multiple thin coats for the best results, and don't rush the drying process.
Patience will pay off with a beautiful, long-lasting finish.
Ventilation and Safety Measures
When working with lacquer, prioritizing ventilation and safety measures is vital for a successful project. Start by making sure you're in a well-ventilated area; open windows and use fans to enhance air circulation. Lacquer fumes can be harmful, so it's important to breathe clean air while you work.
Wearing a disposable respirator mask specifically designed for spray paint fumes is a must. This will protect your lungs from harmful inhalation. To safeguard your skin and eyes, dress in long sleeves, gloves, and safety goggles, as lacquer and solvents can cause irritation.
To minimize overspray, set up a barrier using cardboard or a lacquer tent. This not only keeps your workspace clean but also reduces the environmental impact of your project.
Patience and Multiple Coats
A successful lacquer finish requires patience and the application of multiple thin coats. Instead of slapping on a thick layer, apply several thin coats, allowing each one to dry for about 35-45 minutes. This drying time is vital; it prevents drips or runs and guarantees an even finish.
For the best results, aim for at least 2-3 coats. This not only enhances durability but also contributes to a richer, deeper high-gloss appearance.
To achieve a smooth surface, lightly sand between each layer using 320 or 400 grit sandpaper. This step improves adhesion for the subsequent coats and helps to eliminate imperfections.
After each application, take a moment to inspect your work. If you notice any flaws, this is the perfect time to correct them before adding the next layer.
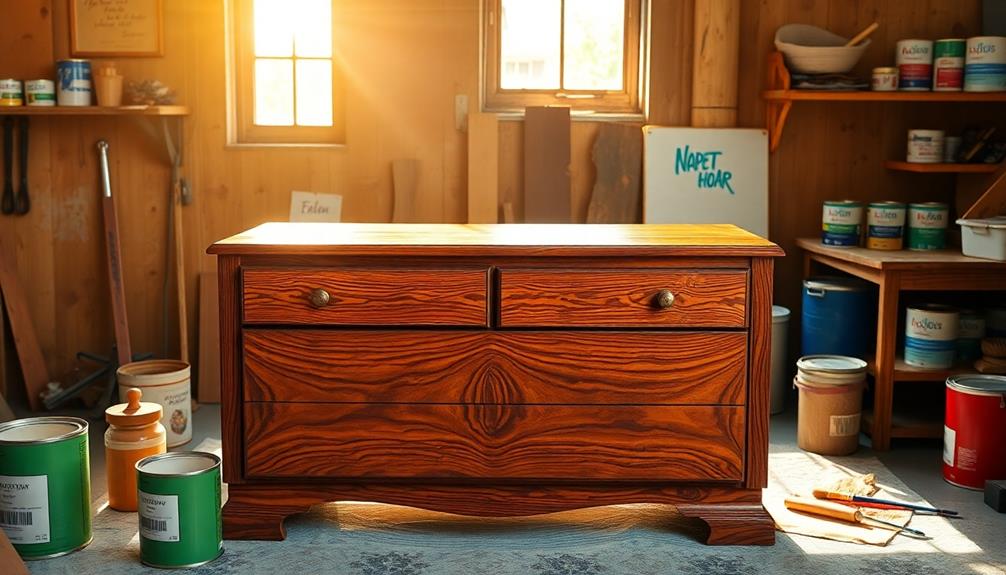
Final Touches
After you apply the final coat of lacquer, take a moment to inspect the surface for any imperfections. If you spot any, lightly sand the area to achieve a smooth finish. This step is vital for guaranteeing that your furniture looks professional and polished.
Once you're satisfied with the surface, allow the lacquered piece to cure fully. This process can take several days, but it's essential for durability and achieving a high-quality finish.
To maintain the appearance of your lacquered furniture, regularly dust the surface with a soft cloth, preventing the buildup of debris that can dull the glossy finish. If you notice signs of wear over time, consider reapplying a lacquer topcoat every few years. This simple maintenance task can refresh the finish and extend the life of your lacquer.
Additionally, use coasters and placemats on lacquered surfaces to protect against scratches and heat damage. By taking these final touches into account, you can guarantee your lacquered furniture remains beautiful and functional for years to come.
Community Engagement

Engaging with a vibrant community can elevate your lacquer furniture projects to new heights. By joining online groups, like those on social media or DIY forums, you can share your projects, gain valuable feedback, and connect with fellow enthusiasts.
Following accounts such as @AmyHowardHome gives you access to a wealth of inspiration, tips, and product recommendations tailored for lacquer projects.
Participating in community challenges or themed events allows you to showcase your work while fostering camaraderie among DIY enthusiasts. These challenges not only motivate you to push your creative boundaries but also help build lasting connections within the community.
When you provide constructive feedback on others' projects, you contribute to a supportive environment where everyone can grow and improve their skills.
Additionally, joining specialized groups focused on furniture restoration and DIY projects can offer invaluable resources. You'll find tutorials, product reviews, and advice on overcoming common challenges in the lacquering process.
Engaging with your community not only enhances your skills but also enriches your experience, making your lacquer furniture journey even more rewarding.
Creative Expression

Harnessing the insights and inspiration gained from community interactions can spark your creative expression when it comes to lacquer furniture. You can transform ordinary pieces into stunning decor with vibrant color choices and creative patterns that reflect your unique style.
Think about projects like a cheetah print chair; such bold designs showcase how lacquered furniture can make a statement in any space.
As a DIY project, lacquering gives you the freedom to experiment with high-gloss lacquer finishes that not only enhance visual appeal but also provide durability. You might consider layering colors or using stencils to achieve intricate designs that truly echo your artistic expression.
Don't hesitate to immerse yourself in online tutorials and community-sharing platforms. They foster a collaborative environment where you can showcase your work and inspire others.
By engaging with fellow enthusiasts, you'll discover new techniques and ideas that can elevate your projects. Whether it's a simple side table or a complex cabinet, your creativity can shine through every stroke of lacquer.
Embrace the process, and let your imagination lead the way to stunning, personalized furniture.
Frequently Asked Questions
Can You Lacquer Furniture Yourself?
Yes, you can definitely lacquer furniture yourself! With the right materials and techniques, you'll achieve a professional-looking finish. Just prepare the surface properly, apply thin coats, and let each layer dry before adding more.
How Do I Get a Smooth Finish With Lacquer?
Picture a glassy lake; that's the finish you want. Start with a smooth surface, apply thin coats while keeping distance, and sand lightly between layers. Patience guarantees each layer shines brighter than the last.
What Is the Best Way to Apply Lacquer?
To apply lacquer effectively, shake the can well, maintain a 4-6 inch distance, and use multiple thin coats. Allow drying time and sand lightly between each coat for a smooth, professional finish.
How to Get Furniture Lacquered?
To get your furniture lacquered, start by cleaning and sanding the surface. Apply a primer, then spray multiple thin coats of lacquer, allowing each to dry. Finish with a clear top coat for protection.
Conclusion
As you step back to admire your beautifully lacquered furniture, remember that this isn't just about aesthetics—it's about breathing new life into something cherished. With patience and care, you've transformed not just wood, but memories and stories wrapped in each stroke. So, embrace the journey of creativity; after all, each piece tells a tale waiting to be shared. Your efforts reflect not just skill, but the passion you've poured into your craft. Enjoy your masterpiece!