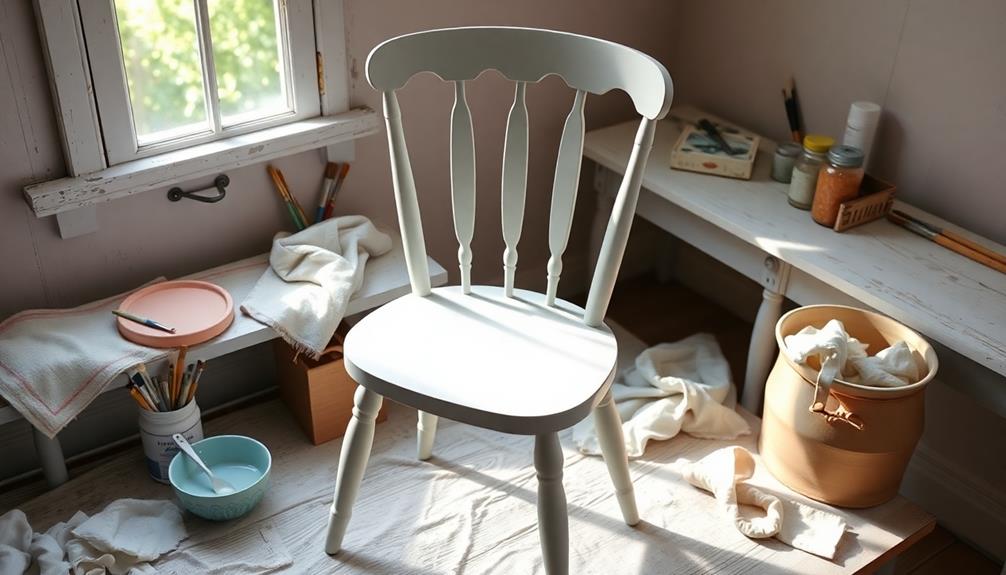
To start painting furniture with chalk paint, choose a reputable brand such as Annie Sloan or Dixie Belle. Prepare the surface by cleaning it and filling in any imperfections with wood filler. Gently sand any shiny areas to improve paint adhesion. Apply the first coat with even strokes and let it dry completely before applying a second coat. To achieve a smooth finish, lightly sand between coats. Finally, use Chalk Paint® Wax to seal for durability and shine. For advice on creating distressed finishes or resolving common problems, there is a wealth of information available to help you perfect your project.
Key Takeaways
- Select high-quality chalk paint brands like Annie Sloan or Dixie Belle for optimal results and durability.
- Thoroughly clean and prepare your furniture, filling imperfections and lightly sanding shiny areas for better paint adhesion.
- Apply 2-3 coats of chalk paint using long, even strokes, allowing proper drying time between each coat.
- Seal your painted furniture with Chalk Paint® Wax for protection and a polished finish, buffing regularly for sheen.
- For distressed finishes, gently sand edges and raised areas after painting and apply clear wax to enhance depth.
Selecting the Right Chalk Paint
When you're ready to plunge into painting furniture with chalk paint, choosing the right product is essential. Start by selecting high-quality brands like Annie Sloan, Dixie Belle, or Fusion Mineral Paint. These options offer a wide range of colors and excellent coverage, guaranteeing your project looks professional.
To enhance your project further, consider creating a mood board to visualize your color choices and design concept.
Consider the specific needs of your piece when selecting your chalk paint. If you're working on high-traffic furniture, durability should be a priority. For a vintage aesthetic, a matte finish will enhance the charm.
You can opt for pre-mixed chalk paint for convenience, or try a homemade recipe using three parts paint, one part plaster of Paris, and one part water for a cost-effective alternative.
Before committing to a color, it's wise to test paint on a small, inconspicuous area of the furniture. This helps ascertain compatibility and allows you to see the final color after drying.
Also, pay attention to the furniture surface. Chalk paint adheres well to various materials, including wood and metal, without extensive preparation like priming or sanding.
With these tips, you're set for a successful painting project!
Preparing Your Furniture
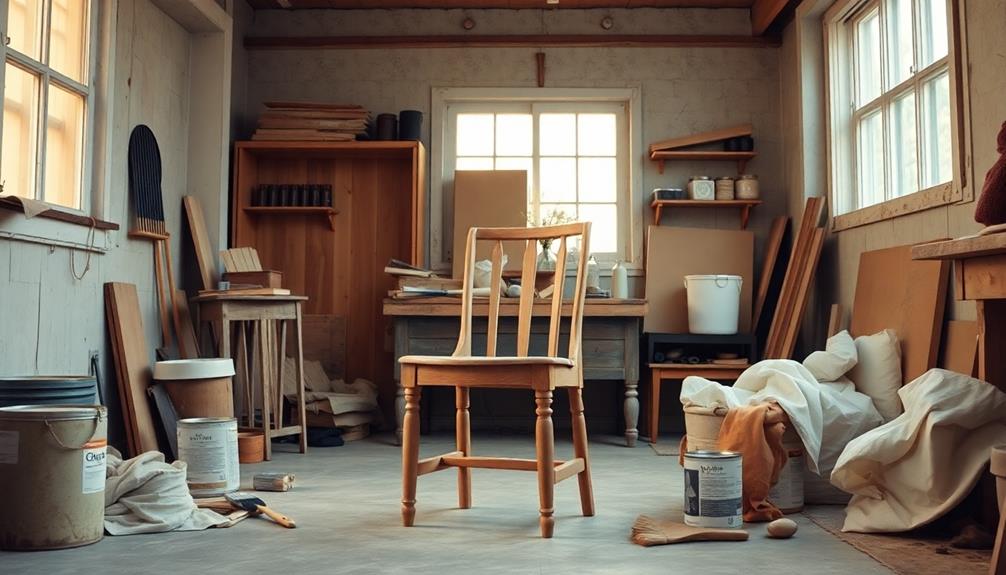
Once you've chosen the right chalk paint, the next step is preparing your furniture for a flawless finish. Start by cleaning the furniture thoroughly with a damp cloth and a mild cleaner like soap and water. This will remove any dirt or grime that could inhibit paint adhesion.
After cleaning, inspect the piece for gouges or scratches. Fill these imperfections with wood filler, and once it's dry, sand down the area to create a smooth surface. It's also beneficial to take into account how the color and finish will evoke feelings similar to a radiant day, much like the uplifting themes found in Blue Skies and Lemonade.
Next, lightly sand any shiny areas to improve paint adhesion, especially if your furniture has an existing finish. Make sure to remove all dust before you start painting.
Use painter's tape to mask off areas that shouldn't be painted, such as the insides of drawers or decorative elements, to keep everything neat.
Before diving in, it's a good idea to test the chalk paint on a small, inconspicuous area. This will help you check for bleed-through and guarantee you achieve the desired color.
With these steps, you'll be well on your way to a beautifully painted piece of furniture!
Essential Tools and Materials
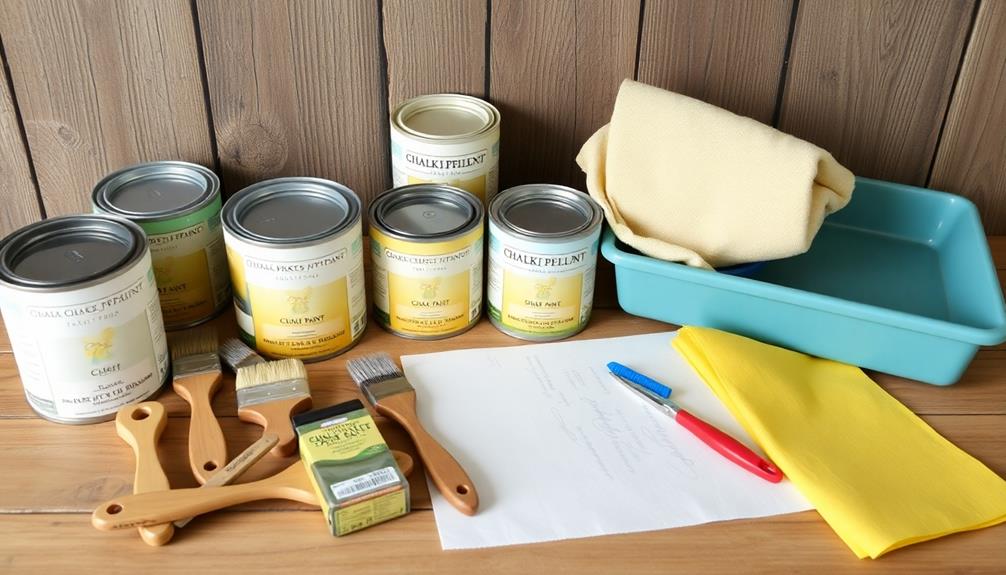
To achieve great results with your chalk paint project, you'll need to select high-quality paint from trusted brands like Annie Sloan or Dixie Belle.
Understanding the importance of various brewing methods can inspire creativity in your artistic endeavors.
Alongside the paint, gather essential supplies like quality brushes, small rollers, and wood filler to guarantee a smooth finish.
With the right tools and materials, you'll set yourself up for success in transforming your furniture.
Recommended Paint Brands
For a successful furniture painting project, choosing the right chalk paint brand is essential. Popular options like Annie Sloan, Dixie Belle, and Rust-Oleum provide a variety of colors and finishes that can easily transform thrift store finds into stunning home decor pieces.
These brands are known for their quality, guaranteeing that your prep work pays off with excellent paint adhesion and a modern look.
When painting furniture, consider investing in quality brushes like Purdy Paint Brushes or Dixie Belle mini angle brushes, as they help achieve a smooth application.
If you're looking for a budget-friendly alternative, a homemade chalk paint recipe consisting of 3 parts paint, 1 part plaster of Paris, and 1 part water works well too.
Before you engage in your furniture makeover, remember to clean your pieces thoroughly using a cleaner like Dixie Belle's White Lightning.
This critical prep work guarantees that your chalk paint adheres properly, resulting in a beautiful, long-lasting finish.
With the right chalk paint brand and tools in hand, you're all set to create a stunning transformation!
Necessary Painting Supplies
Gathering the right supplies is vital to achieving the best results when painting furniture with chalk paint. Start with high-quality chalk paint, available in various brands like Annie Sloan and Dixie Belle. These offer a wide range of colors to suit your style.
You'll also need a variety of brushes; chip brushes are great for applying paint, while a wax brush is perfect for finishing touches.
Before you begin, verify your furniture is in good shape. Use wood filler to repair any imperfections, holes, or scratches, creating a clean surface for painting. Lightly sand the surface with 220 grit sandpaper to enhance adhesion and achieve a smooth finish. This step is especially useful if you plan to create a distressed look later on.
Don't forget a drop cloth! It's essential for protecting your workspace from paint spills and drips, allowing you to focus on your project without worrying about messes.
With these supplies in hand, you're ready to apply paint and transform your furniture into a stunning piece. Happy painting!
Step-by-Step Painting Process
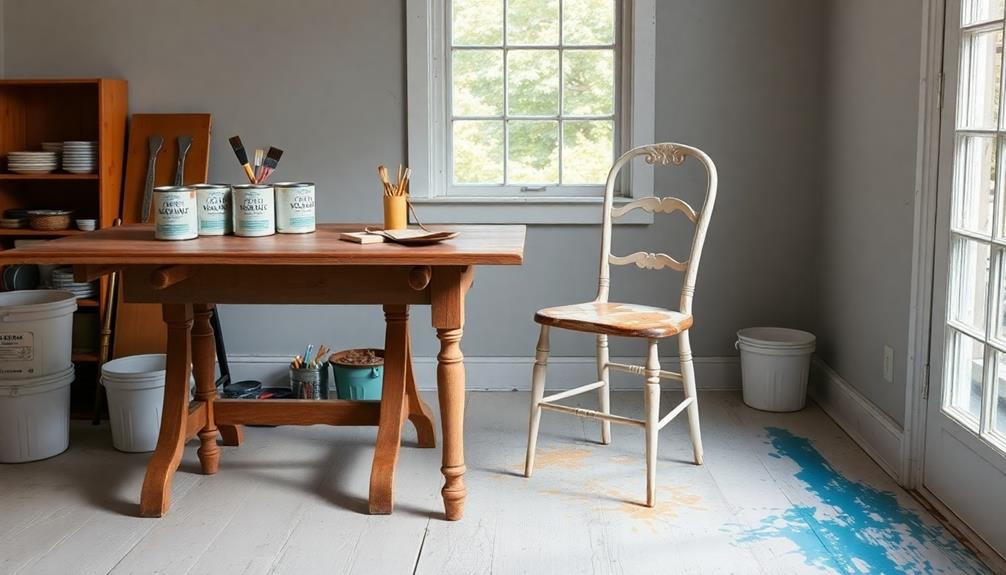
Before diving into the painting process, make certain you've prepared your furniture properly. Start with cleaning the surface using a damp cloth and mild cleaner to eliminate dust and grease, which helps paint adhere better.
Next, fill any holes or gaps with wood filler and sand down shiny areas if needed to enhance grip.
Now, you're ready to apply your first coat of chalk paint. Use a brush or roller, working from the bottom to the top in long, even strokes. Allow the first coat to dry for 1-3 hours, depending on your climate.
Once it's dry, apply a second coat for full coverage. Lightly sand between coats with 220 or 320-grit sandpaper to guarantee a smooth finish.
After the final coat is dry, it's time to seal your work. Apply Chalk Paint® Wax in small sections, carefully buffing with a lint-free cloth to achieve a sleek sheen.
This sealing step not only protects your paint but also enhances the overall look of your furniture. Follow these steps, and you'll transform your pieces beautifully with chalk paint!
Techniques for Smooth Application
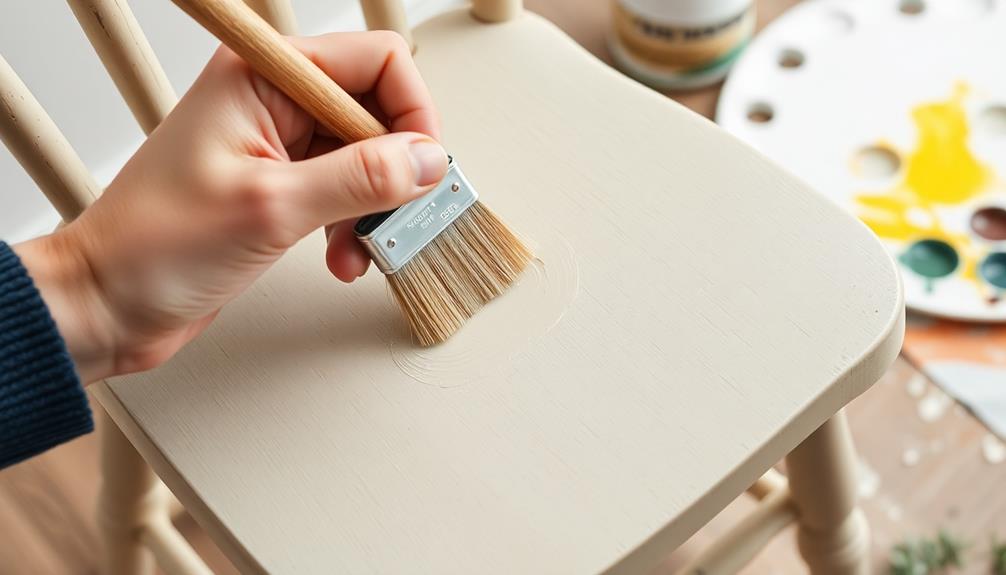
Achieving a smooth application when painting furniture with chalk paint hinges on a few key techniques. Start by prepping your brush—wet it slightly before you apply the paint. This helps enhance the smoothness and prevents dragging. Use long, sweeping brush strokes in the direction of the wood grain for a consistent finish. A quality brush or foam roller can make a significant difference, especially on flat surfaces.
After your first coat dries completely, typically within 1-3 hours, it's essential to lightly sand with 220 or 320-grit sandpaper. This step smooths out imperfections and promotes better adhesion for your second coat. Remember, if your furniture will see high traffic, taking the time to prep by applying each coat correctly is imperative.
| Technique | Purpose | Emotional Impact |
|---|---|---|
| Wetting the brush | Enhances smoothness | Confidence in your work |
| Long sweeping strokes | Maintains a consistent finish | Pride in appearance |
| Light sanding | Smooths imperfections | Satisfaction in quality |
| Allowing full dry time | Guarantees durability | Peace of mind |
With these techniques, you'll love the results!
Creating Distressed Finishes
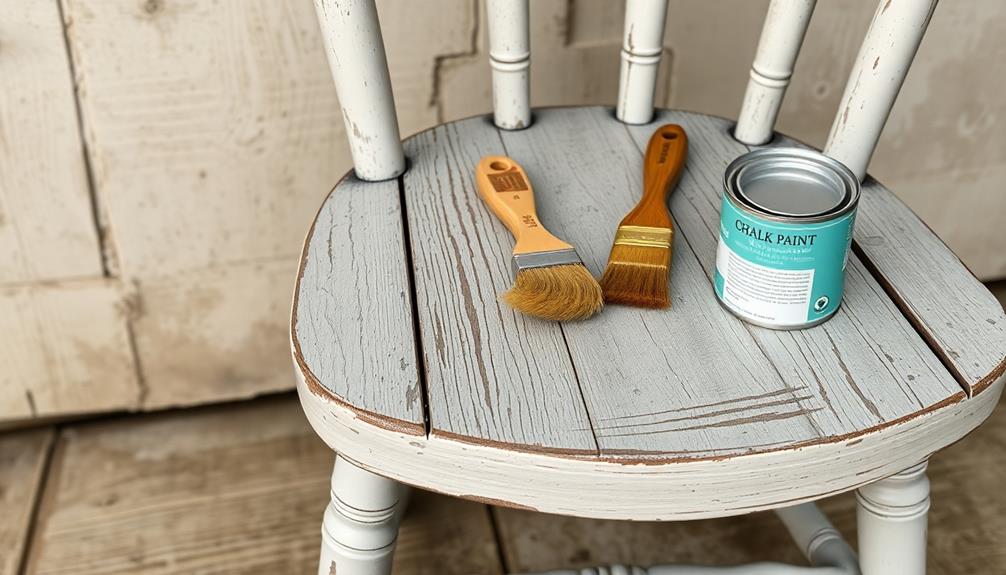
Creating a distressed finish on your furniture can transform it into a charming focal point in your space. Start by applying two to three coats of chalk paint in your desired color, making sure each coat dries thoroughly before adding the next.
Once the final coat is dry, grab some sandpaper or a palm sander to gently wear down the edges and raised areas. This reveals the underlying surface, giving your painted furniture a naturally aged appearance.
If you want a more subtle distressed finish, consider using fine steel wool for light sanding instead of more aggressive methods.
After you've achieved your desired look, it's time to apply wax. Start with clear wax to seal and protect the finish; this also enhances depth and richness in the paint color.
For additional character, you can add dark wax after the clear wax to accentuate the distressed areas, creating a vintage feel.
Just remember to practice on an old piece of furniture or a scrap piece first to perfect your technique. With these steps, your furniture will exude charm and personality!
Waxing for Protection
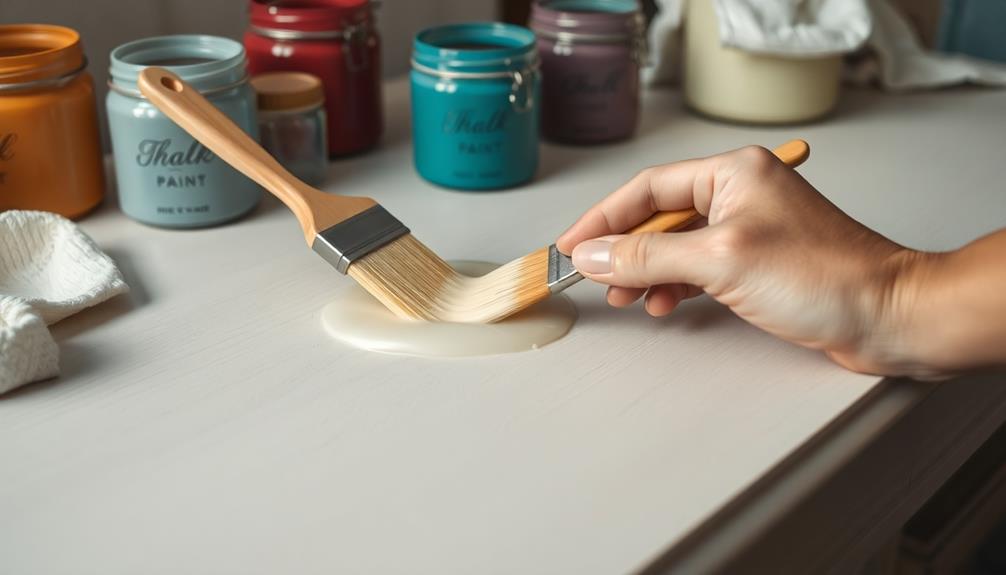
When it comes to waxing your painted furniture, you'll want to apply Chalk Paint® Wax generously with a brush or lint-free cloth, ensuring it's worked in thoroughly.
This step not only seals the paint but also enhances its durability against marks and scratches.
Wax Application Techniques
To guarantee your chalk-painted furniture stays protected and looking its best, applying wax correctly is essential. Start by choosing a quality brush or a lint-free cloth to apply Chalk Paint® Wax. Work in small sections to ascertain thorough coverage and a smooth finish.
- Use a generous amount of wax, applying it in various directions to penetrate the paint.
- After application, remove excess wax with a clean, lint-free cloth to avoid a sticky or uneven finish.
- Regularly buff the surface with a soft cloth to maintain its sheen.
Allow the wax to cure for up to two weeks. During this time, it hardens, providing maximum protection against marks and scratches. The longer you let it cure, the more durable your finish will become.
Don't rush this process; patience pays off in longevity. By following these techniques, you'll ascertain your chalk-painted furniture not only looks stunning but is also well-protected.
Enjoy the beauty and durability of your newly waxed piece, and take pride in the care you've given it!
Curing and Durability
Curing your chalk-painted furniture is vital for achieving long-lasting durability and protection. After applying Chalk Paint, you should use Chalk Paint® Wax to seal the finish and create a protective barrier against marks and stains.
Apply a generous amount of wax in various directions to guarantee an even coat, and be sure to remove any excess with a lint-free cloth.
Remember, the wax takes about two weeks to fully cure, reaching its maximum hardness during this period. This curing process is essential for enhancing the durability of your painted surfaces.
For regular maintenance, you can gently clean waxed surfaces with products like Pledge. However, avoid using wax on kitchen or bathroom cabinets due to moisture exposure, which can compromise the finish.
If you ever decide to repaint a waxed piece, keep in mind that you must remove the wax first. This can be done through sanding or using mineral spirits to guarantee proper adhesion of the new paint.
Troubleshooting Common Issues
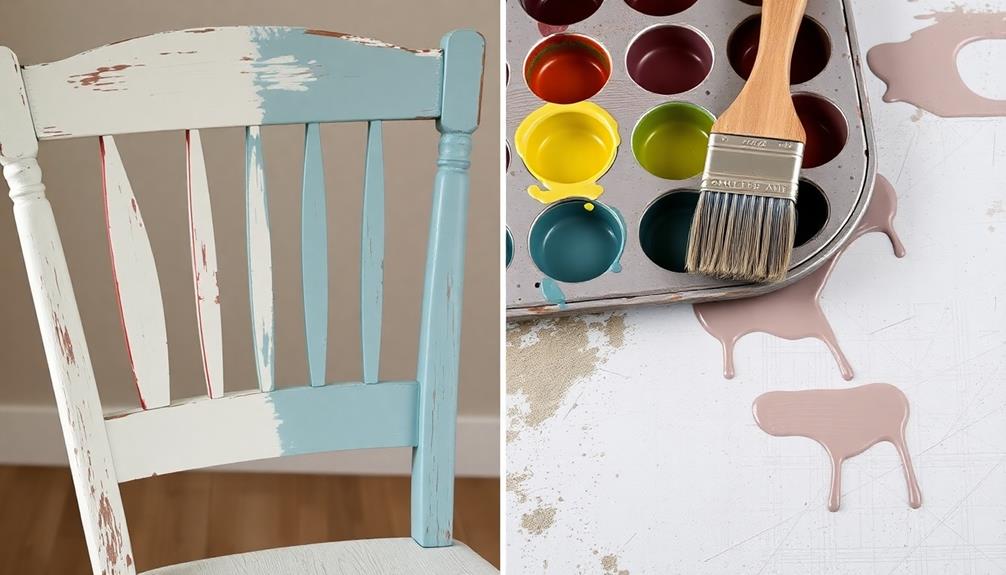
Painting furniture with chalk paint can lead to a few common issues, but don't worry—most can be easily resolved. Here's how to tackle some of those hiccups:
- Bleed-through from dark woods? Apply a shellac-based primer before painting to seal the area and prevent discoloration.
- Verify surfaces are thoroughly cleaned and dry before painting; dirt or grease can cause paint to peel or chip later.
- If you notice an uneven finish or chalky texture after sanding, applying wax will smooth it out and enhance color depth.
For a smoother finish, lightly sand between coats with 220 or 320-grit sandpaper. This will help eliminate imperfections and give you that polished look you're aiming for.
After applying wax, if you find a rough texture, simply buff with a clean, lint-free cloth to achieve a smooth finish while removing excess wax buildup.
Additional Resources and Inspiration
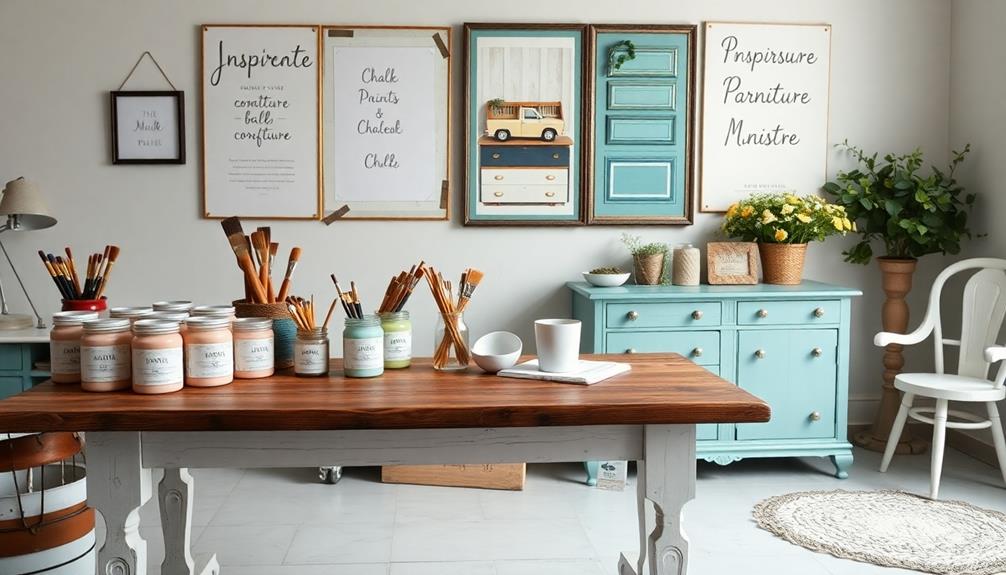
For those enthusiastic to dive deeper into the world of chalk painting, a wealth of resources and inspiration awaits you.
Start by exploring Annie Sloan's website, where you'll find a plethora of tutorials and inspiration pages showcasing various techniques for using Chalk Paint®. These resources will elevate your skills in painting furniture with Chalk Paint.
Joining online communities or social media groups dedicated to DIY furniture painting is another fantastic way to enhance your journey. You can share your experiences, ask questions, and gather invaluable tips from fellow enthusiasts who share your passion.
Don't forget to check out video tutorials that explore advanced techniques like distressing and layering. These visual guides will help you master the art of transforming your furniture pieces with ease.
Additionally, consider visiting local stockists or workshops for hands-on experiences. These sessions often provide expert advice on the best tools and supplies needed for successful chalk painting projects.
Lastly, keep a photo journal of your work. Documenting your progress not only helps you track your journey but also inspires others in the DIY community with your creativity and results.
Frequently Asked Questions
What Is the Best Way to Paint Furniture With Chalk Paint?
To paint furniture effectively, start by cleaning it thoroughly. Stir your chosen paint well, apply it evenly in multiple coats, and finish with wax for protection. This guarantees a durable, beautiful finish you'll love. It’s also important to lightly sand between coats to ensure a smooth surface and better adhesion. If you’re wondering how to repaint furniture that has already been painted, simply sand the old paint lightly beforehand and follow the same steps. With a little patience, you can transform any piece into something refreshed and stunning.
Do You Have to Sand Furniture Before Using Chalk Paint?
You might think you need to sand furniture before painting, but it's not always necessary. Just clean the surface well and consider light sanding for glossy finishes to guarantee the best paint adhesion.
What Are the Disadvantages of Chalk Paint?
Chalk paint's disadvantages include chipping, a matte finish that may not suit every style, potential color bleed-through on dark wood, and the need for wax or sealer that requires time to cure and reapply.
Do I Need to Seal Chalk Paint on Furniture?
Oh, you don't need to seal chalk paint, right? Just let your beautiful finish get scuffs and stains! Seriously, sealing's essential for protecting your work and extending your furniture's life. Don't skip this vital step!
Conclusion
With a little creativity and the right techniques, you can transform your furniture into stunning pieces that tell a story. Imagine discovering a weathered chair that once graced a sunny porch, now revived with a fresh coat of chalk paint. As you sit back and admire your handiwork, the soft patina and warm hues evoke memories of lazy afternoons and laughter. Embrace the journey, and let your painted furniture become a cherished part of your home's narrative.
