
You can easily refinish furniture without sanding by following a few simple steps. Start by cleaning your piece with a degreaser, and then apply a liquid deglosser to prepare the surface. Next, choose a high-quality bonding primer to ensure the paint adheres well. For the paint, consider options like chalk or mineral paint, which do not require sanding. Use a brush for detailed areas and a foam roller for larger surfaces to achieve a smooth finish. Finally, add a protective top coat for durability. Stay tuned to learn even more tips and tricks for your furniture makeover!
Key Takeaways
- Clean and degloss the furniture with TSP, then apply a liquid sander to prepare surfaces for painting without sanding.
- Use a high-quality bonding primer to ensure proper paint adhesion and durability on deglossed surfaces.
- Choose paint types like chalk, milk, or mineral that do not require sanding and offer excellent finishes.
- Apply paint in thin layers, allowing each coat to cure overnight and lightly sanding between coats for a smooth finish.
- Maintain painted furniture by cleaning regularly, touching up imperfections, and applying a protective top coat for longevity.
Benefits of Painting Furniture
Painting furniture offers numerous benefits that can greatly enhance your living space. By giving old pieces a fresh look, you not only revitalize them but also extend their lifespan, which is especially valuable for family heirlooms. Instead of splurging on new furniture, this easy method allows you to customize your items to fit current decor trends at a fraction of the cost.
Additionally, incorporating high-quality content into your DIY projects can boost your confidence and inspire creativity. Using durable paint types like chalk or mineral paint means you won't have to spend hours on preparation. Many of these paints require little to no sanding, making the process accessible to DIY enthusiasts of all skill levels. This simplicity leads to a quicker turnaround, so you can enjoy your transformed furniture sooner.
Moreover, painting furniture can dramatically enhance the aesthetic appeal of any room. You can add a personal touch that mass-produced items simply can't match. Each piece takes on a unique character, reflecting your style and creativity. With just a bit of paint, you can turn the ordinary into something extraordinary, making your living space feel more inviting and personalized.
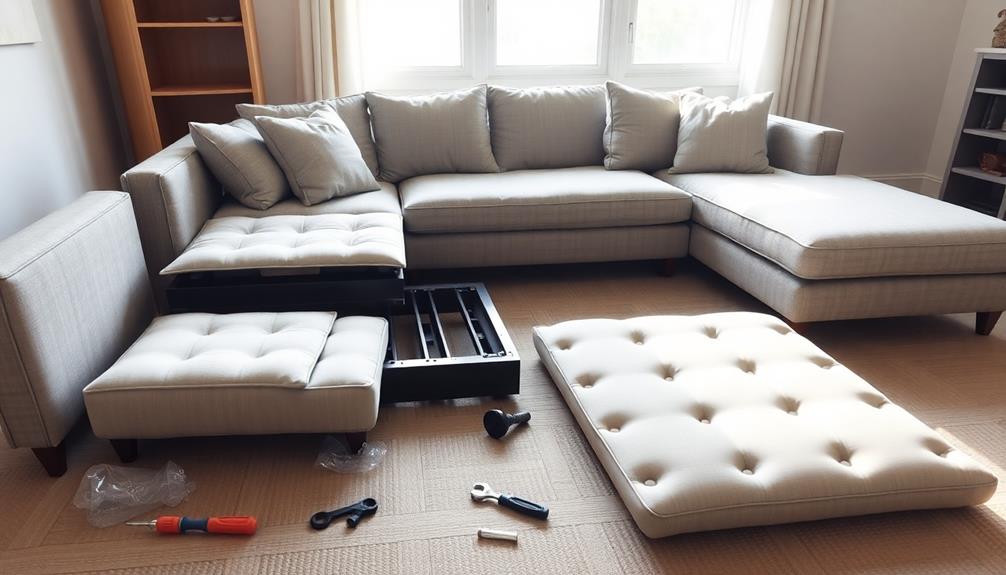
Preparation Steps
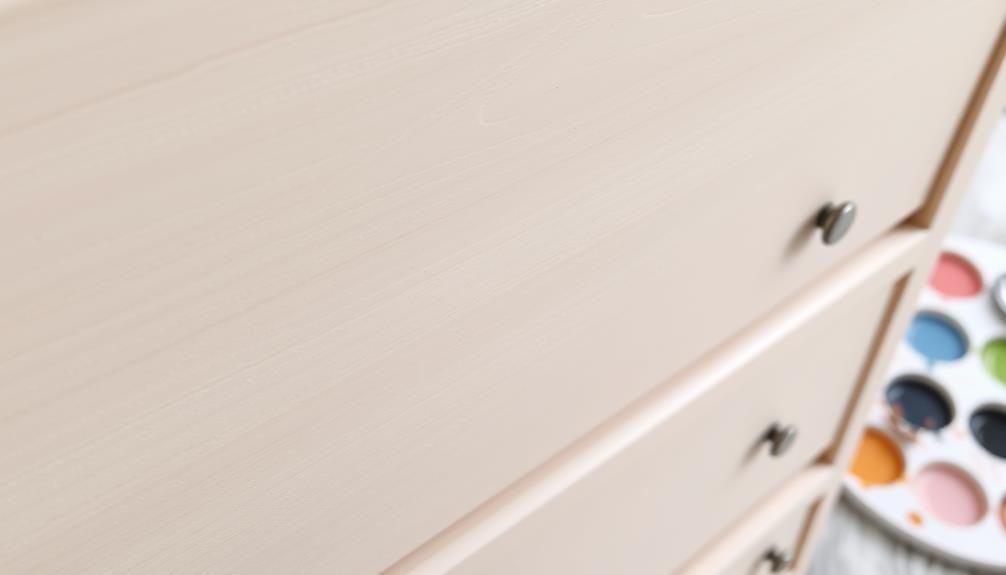
Before diving into your furniture painting project, it's crucial to prepare properly to achieve the best results. Start by removing any existing hardware, like knobs and pulls, to guarantee a clean and unobstructed surface for painting.
Additionally, consider incorporating some essential oils for relaxation to create a calming atmosphere while you work. Next, clean the furniture thoroughly using TSP or an alternative cleaner to eliminate dust, grease, and grime, which enhances paint adhesion.
Take a moment to assess the condition of the piece for any necessary repairs, and don't forget to snap some before photos to document the transformation process.
If the surface feels too slick, you might want to lightly scuff it with fine grit sandpaper. Remember, extensive sanding is the worst and isn't required for this project. A light scuff can greatly improve primer and paint adherence.
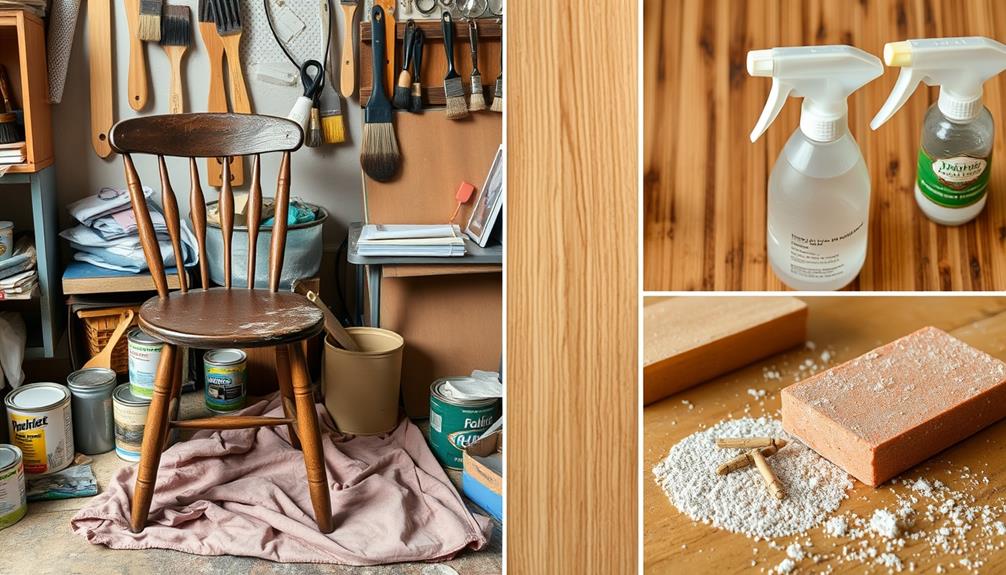
Cleaning and Deglossing
Cleaning and deglossing are fundamental steps that set the foundation for a successful furniture painting project. Start by removing all hardware and doors to guarantee every surface is accessible for cleaning.
Use TSP (trisodium phosphate) for thorough cleaning, which effectively removes grime and prepares the surface for paint adhesion. After scrubbing the furniture, rinse it with clean water to eliminate any TSP residue. For ideal results, consider using non-toxic cleaning solutions that are safe for your home environment.
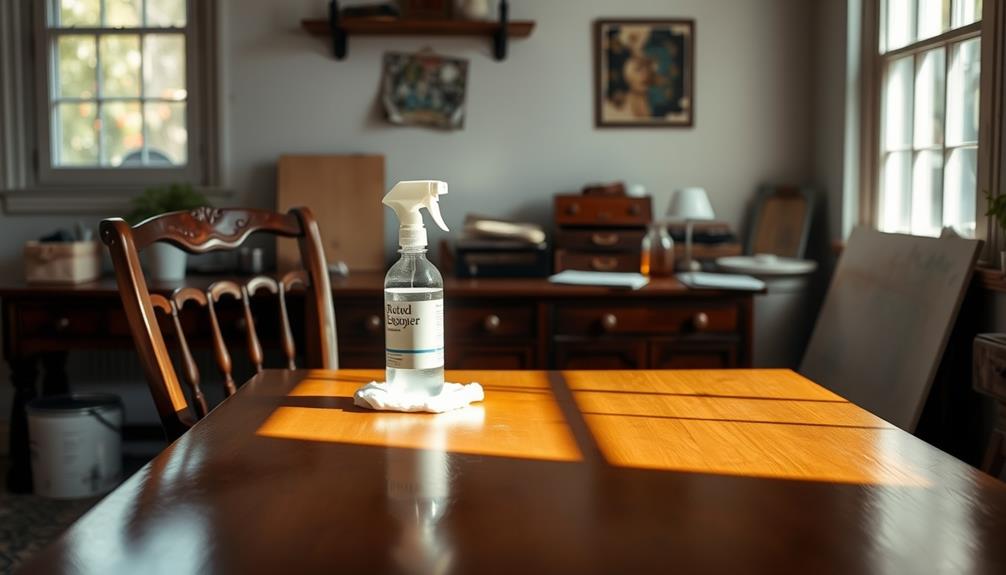
Next, apply a liquid sander or deglosser using a rag or steel wool. Follow the manufacturer's instructions and let it sit for the recommended time, then wipe off the residue. This step enhances your surface preparation, making it easier for the paint to adhere.
If your furniture is in good condition, you mightn't need to sand, but lightly scuffing the surface with fine grit sandpaper can help improve the finish.
Once you've completed the cleaning and deglossing, allow the furniture to dry completely. A clean, deglossed surface is essential for achieving a durable finish when painting furniture, so don't skip this critical step!
Priming the Surface
Priming the surface is essential for ensuring your paint adheres properly, especially if you're working with previously finished furniture.
You'll want to choose a high-quality bonding primer, like Kilz or Zinsser, for glossy surfaces to enhance durability.
Importance of Primer
A quality primer is essential for achieving a successful paint job on furniture, especially when dealing with glossy or previously finished surfaces. It guarantees proper paint adhesion, preventing issues like peeling and flaking down the line.
Using a good quality primer, such as Kilz bonding primer or Zinsser oil-based primer, can greatly enhance the durability and longevity of your paint finish.
When applying primer, one coat is typically sufficient for proper coverage. However, if you're moving from dark to light colors, you might want to apply two coats for the best results. This extra layer not only improves coverage but also helps block stains and discoloration from bleeding through, giving you a cleaner appearance in your final paint job.
Make certain to choose a primer that's compatible with surfaces cleaned using TSP, as this guarantees that your primer adheres well and creates a strong bond for the paint.
Recommended Primer Types
Choosing the right primer can make all the difference in your furniture painting project. Priming is essential for guaranteeing paint adhesion, especially on glossy surfaces. High-quality primers like Kilz bonding primer and Zinsser oil-based primer are excellent choices that can help you achieve a durable and smooth finish.
Here's a quick comparison of recommended primer types:
| Primer Type | Best For |
|---|---|
| Kilz Bonding Primer | Adhesion on various surfaces |
| Zinsser Oil-Based Primer | Glossy surfaces |
| Latex Primer | Quick-drying applications |
| Shellac Primer | Stain blocking |
Typically, one coat of primer is sufficient, but applying a second coat can enhance both durability and adhesion. When you use a primer specifically designed for glossy surfaces, you'll greatly reduce the need for sanding, leading to an easier and cleaner paint job. Remember to let the primer dry completely before applying your paint for the best results. By investing in a high-quality primer, you'll guarantee that your final paint job not only looks great but lasts for years to come.
Choosing the Right Paint
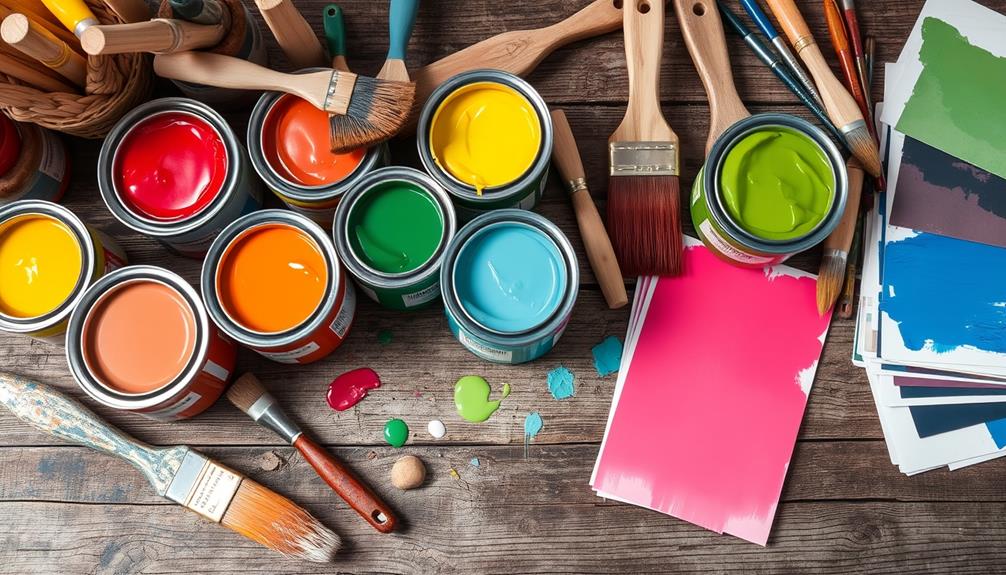
When it comes to selecting the right paint for your furniture project, understanding your options is key to achieving the desired look and durability.
Chalk paint is a popular choice that requires no sanding and gives you a lovely matte finish. However, it's wise to add a top coat for added durability.
If you're after a unique, vintage look, consider milk paint, which can also be used without sanding when a bonding agent is added.
For outdoor furniture, mineral paint is an excellent option due to its durability and no-sanding requirement.
Latex paint is another affordable choice that offers a smooth finish with low VOCs, making it perfect for indoor projects without extensive prep work.
If you want the best of both worlds, specialty furniture paints are designed specifically for furniture. They often eliminate the need for sanding, providing excellent adhesion and a variety of finish options.
Painting Techniques
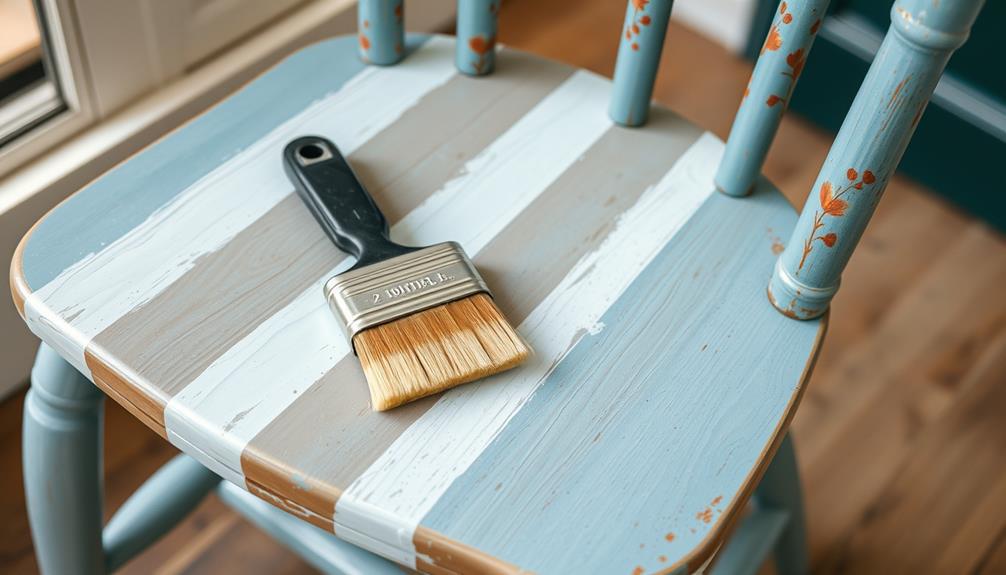
When it comes to painting techniques, you'll want to evaluate the best tools for the job.
Using a brush works great for detailed areas, while a foam roller can help you achieve a smooth finish on flat surfaces.
Let's explore how these methods can enhance your painting project and guarantee great results.
Brush vs. Roller Techniques
The painter's choice between a brush and a roller can greatly influence the outcome of your furniture project. If you're working on detailed areas or grooves, start with a brush for better control. Once you've tackled those intricate spots, switch to a foam roller on flat surfaces. This approach minimizes visible brush strokes and guarantees an even coat of paint across larger areas.
When using a foam roller, you'll find it's particularly effective for achieving a smooth painted surface without the brush marks that sometimes come with traditional brushes. Remember, it's essential to apply the paint quickly to maintain a wet edge, which helps prevent lap marks between coats.
For a polished finish, consider light sanding between coats; it enhances adhesion and gives your furniture a more professional look. This technique is especially beneficial when using a brush, as it can smooth out imperfections.
While a brush and foam roller are excellent options, don't overlook a paint sprayer for detailed furniture, as it offers an even coat and faster application. Ultimately, choose the method that best suits your project, balancing precision and efficiency for stunning results.
Optimal Paint Application Methods
Achieving a professional-looking finish on your furniture hinges on using the right painting techniques. Start by applying paint with a brush in detailed areas to guarantee precision, then switch to a foam roller for the flat surfaces. This method reduces brush strokes and promotes an even finish.
Here are some tips to enhance your results:
- Allow each coat of latex paint to cure overnight for durability.
- Use light sanding with fine-grit sandpaper between coats to improve paint adherence and create a smoother finish.
- Aim for two to three coats of paint, applying each quickly to maintain a wet edge. This helps with ideal blending and prevents streaks.
- For intricate pieces, consider using a sprayer for faster, even coverage.
Achieving a Smooth Finish
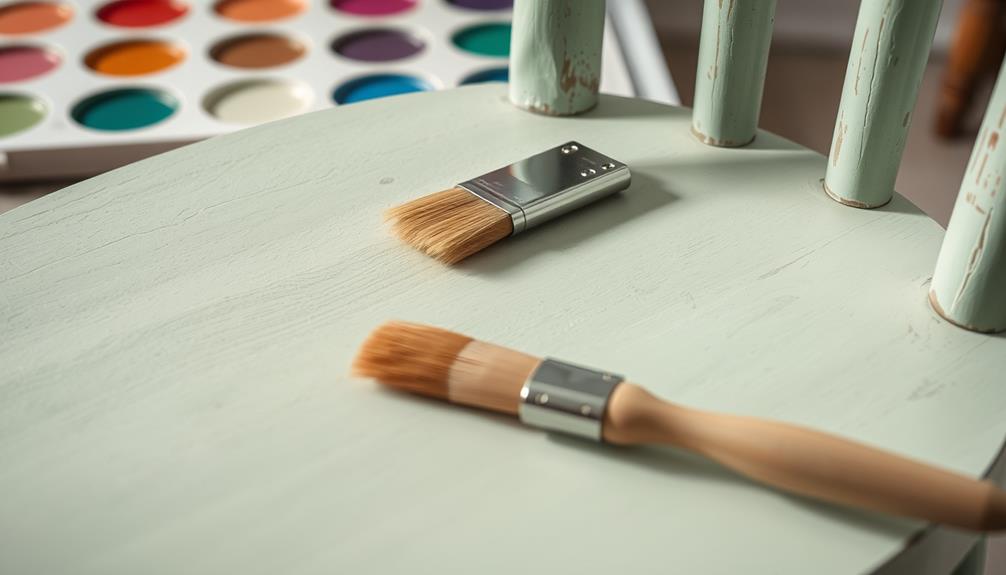
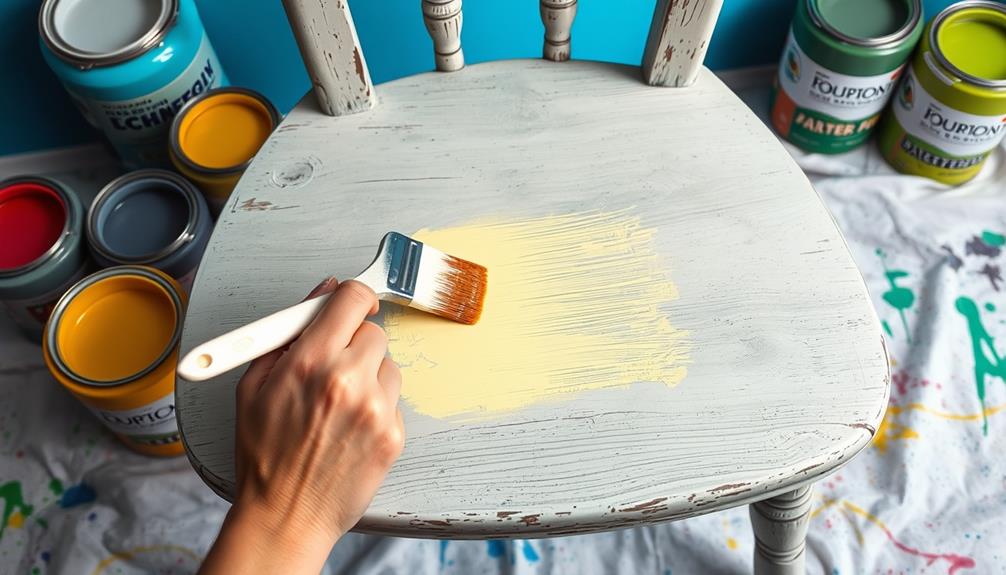
A smooth finish on painted furniture relies on a few key techniques that can elevate your project. Start by selecting a high-quality paintbrush for detailed areas and a foam roller for flat surfaces. This combination minimizes brush strokes and guarantees an even application.
When you apply paint, remember to use thin layers of paint rather than thick coats. This approach reduces drips and helps promote a more uniform finish.
After each coat, allow it to cure overnight. This step is essential, as it prevents imperfections and enhances adhesion for subsequent layers.
To achieve an even smoother surface, consider lightly sanding between coats using fine-grit sandpaper (220 grit). This simple technique removes any bumps and prepares the surface for the next layer.
Before diving into your project, test different paint finishes on a small, inconspicuous area. This practice helps you gauge the final appearance and guarantees you're satisfied with the texture and color.
Final Touches and Maintenance
Finishing your painted furniture with the right protective top coat is essential for ensuring its longevity and appearance. A durable option like Polycrylic or polyurethane not only enhances the finish but also provides moisture resistance.
Once you've applied your top coat, keep up with the final touches and maintenance to keep your furniture looking great.
Here are some key steps:
- Regularly clean painted surfaces with mild soap and water to maintain the finish. Steer clear of abrasive cleaners that could damage the paint.
- Touch up scratches or chips promptly to preserve the appearance and prevent further damage.
- Keep furniture out of direct sunlight to prevent fading and discoloration over time.
- Conduct regular inspections to catch any wear early and address issues, ensuring you prolong the lifespan of your painted pieces.
Inspiration for Furniture Projects
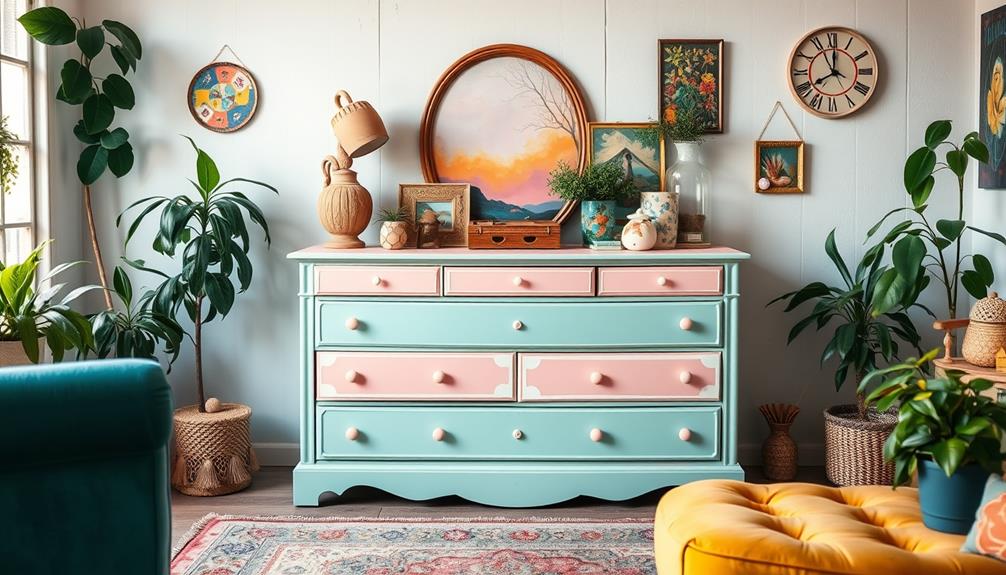
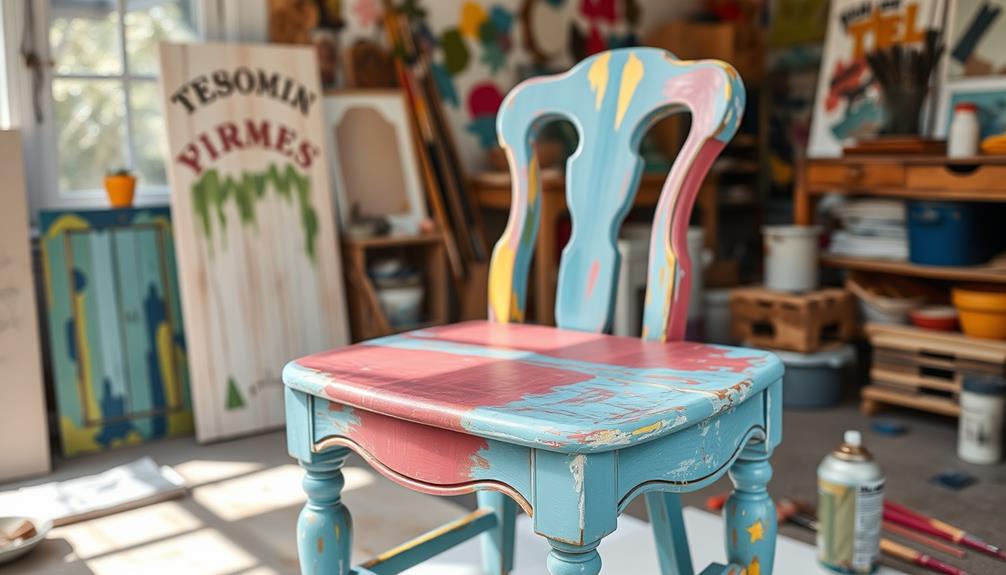
Revitalizing old furniture offers a fantastic opportunity to express your personal style and creativity. Thrift store finds can be transformed into stunning pieces that reflect your taste.
Consider painting those neglected items—whether it's a worn-out coffee table or an outdated buffet. You can easily paint furniture without the hassle of sanding, making the process more enjoyable. Plus, you can experiment with bold colors or unique finishes to give the piece a fresh, custom look that enhances your space. To speed up furniture offgassing after painting, ensure proper ventilation by leaving windows open or placing the item in a well-aired area. This will help reduce any lingering odors and allow you to enjoy your revamped furniture sooner.
Experimenting with chalk paint or mineral paint can yield beautiful finishes with minimal prep work. For your DIY coffee table restoration, think about how a fresh coat of paint can turn a dated piece into a stylish focal point in your living room.
You'll not only enhance its functionality but also create a conversation starter.
Buffet makeovers are another great way to repurpose old furniture. With a little creativity, you can add character and charm to your dining space.
Don't hesitate to draw inspiration from community projects; they can spark fresh ideas and motivate you to tackle your own furniture painting challenges.
Frequently Asked Questions
Can Furniture Be Painted Without Sanding?
Yes, you can paint furniture without sanding. Just clean it thoroughly and use a liquid sander or deglosser to prepare the surface. Choose the right primer and paint for ideal adhesion and durability.
What Can I Use Instead of Sanding Before Painting?
Instead of sanding, you can use a liquid sander to prepare surfaces effectively. Cleaning with TSP also helps, and applying a compatible primer enhances adhesion, ensuring your paint sticks beautifully without the hassle of sanding.
What Is the Easiest Way to Paint Old Furniture?
To easily paint old furniture, start with a thorough cleaning, then apply a liquid sander. Use a bonding primer, choose a suitable paint, and apply multiple thin coats for a smooth, durable finish. After the final coat has dried, finish with a protective sealer to enhance durability and prevent chipping over time. If you want to paint metal furniture step by step, follow a similar process by cleaning the surface, sanding it lightly, and applying a metal primer before painting. Ensure to choose a rust-resistant paint designed specifically for metal surfaces to achieve long-lasting results.
Can I Paint Over Varnished Wood?
Yes, you can paint over varnished wood. Clean the surface thoroughly, use a liquid sander for prep, apply a suitable primer, then choose your paint. This method guarantees a smooth finish without the hassle of sanding.
Conclusion
Now that you're armed with the secrets of painting furniture without sanding, it's time to release your creativity! Picture your space transformed, each piece telling its own colorful story. With a little preparation and the right techniques, you can breathe new life into tired furniture, making it shine like a star in a night sky. So grab your paintbrush and let your imagination run wild—your dream decor is just a stroke away!