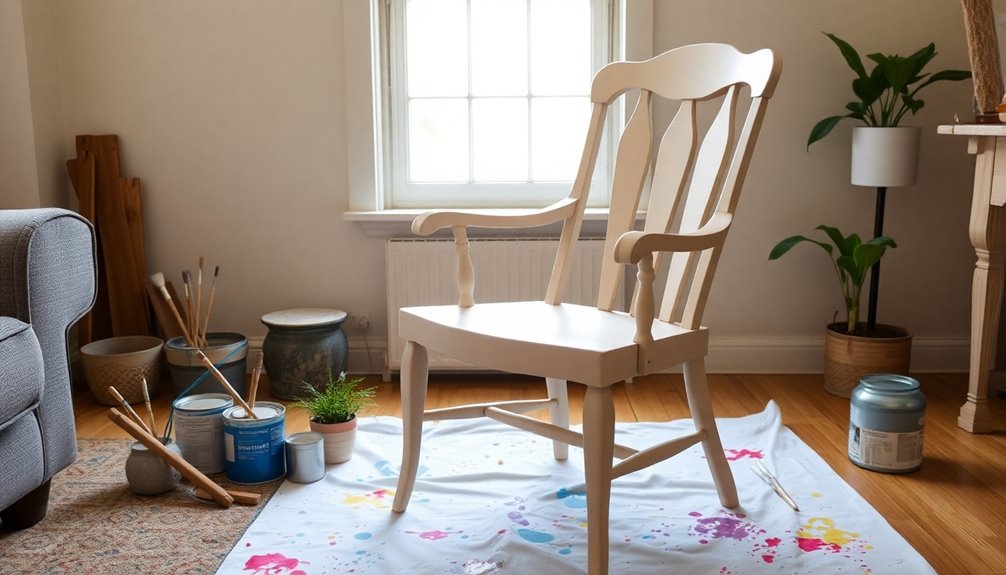

You can easily paint furniture without sanding or priming by using a deglosser to prepare the surface. Just apply it with a clean cloth, and let it sit for a few minutes before wiping it off. Then, try mixing Oil Bond with your latex paint to improve adhesion. Choose specialized paints like chalk paint or self-leveling acrylic for a smooth finish. Ensure you clean the surface with a gentle cleaner first and check for any lead-based paint when working with older furniture. With these steps, you'll have beautiful results that last, and there's more to explore on this topic!
Key Takeaways
- Clean the furniture thoroughly with a mild cleaner and deglossing agent to prepare the surface without sanding or priming.
- Use Oil Bond mixed with latex paint to enhance adhesion on previously painted surfaces.
- Choose chalk paint for a matte finish that requires no prep work; seal with protective wax afterward.
- Apply thin coats of paint with a foam roller or brush for a smooth finish, avoiding thick applications.
- Finish with a protective top coat, like Minwax Polycrylic, to increase durability without additional sanding or priming.
Preparing Your Furniture
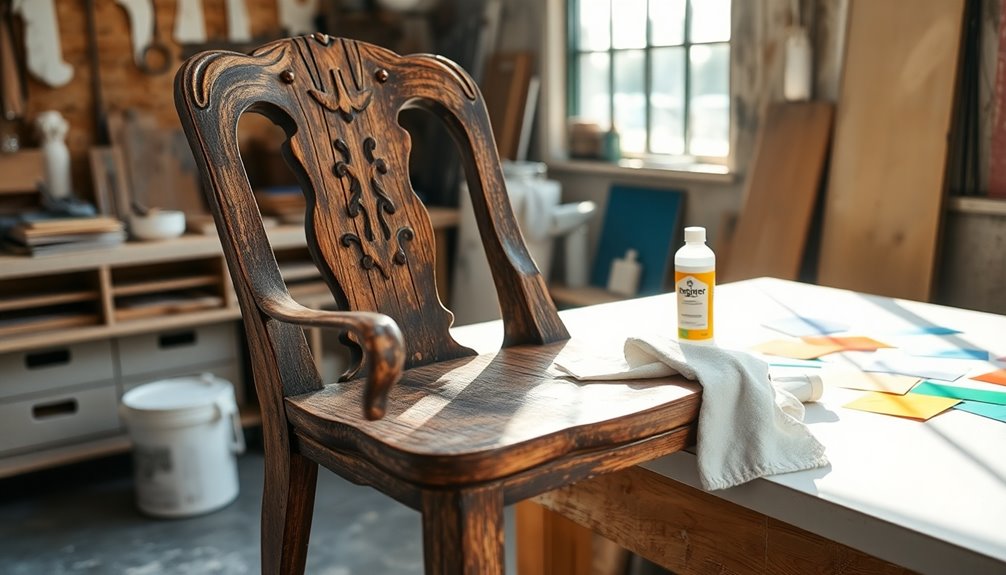
Before you start painting, it's crucial to prepare your furniture properly. Begin by cleaning the surface to remove dust and dirt. Use a mild cleaner like Murphy's Oil Soap; make sure to remove any hardware first to avoid obstacles during cleaning. If you encounter grimy surfaces, mix TSP with water for effective cleaning. Afterward, wipe down the furniture with a clean, damp rag to eliminate any residue. Regular cleaning helps maintain a healthier lifestyle, ensuring your workspace is conducive to focus and creativity.
Next, assess the surface. Determine whether the existing paint is oil-based or water-based, as this will impact your painting process. Check for lead-based paint and take necessary precautions. Ensure the surface is dry and free of moisture to prevent paint adhesion issues. Inspect for any damage, such as cracks or chips, especially on laminate or veneer surfaces.
Once you've cleaned and assessed, ensure the furniture is structurally sound and functional. If you're working with laminate or veneer, handle them carefully to avoid damage. For veneer, limit water use to prevent curling. Lastly, lightly sand any necessary touch-ups, ensuring all surfaces are even and smooth before applying paint. This preparation sets the stage for a successful painting project. Additionally, using a liquid sander can help prepare surfaces effectively, especially when dealing with varnished wood, ensuring better paint adherence.
Using Deglosser Effectively
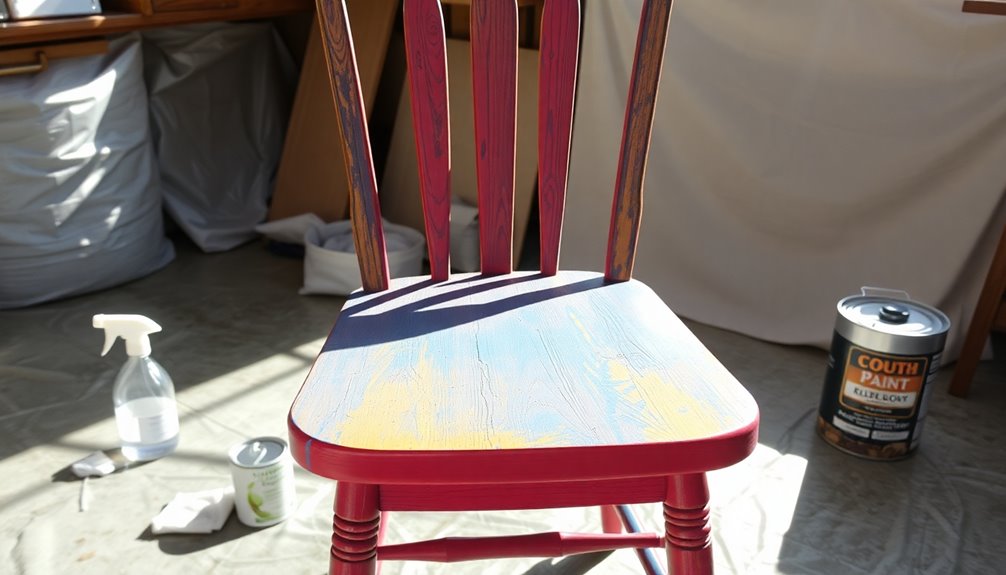
Deglossers are a game-changer when it comes to preparing furniture for painting. These chemical solutions, often referred to as "liquid sandpaper," effectively remove glossy finishes without the hassle of sanding. When you apply a deglosser, it breaks down the top layer of finish, creating a dull, roughened texture that enhances paint adhesion.
To use a deglosser effectively, start by applying it with a clean cloth or brush. Allow it to work for a few minutes before wiping it off. This process not only preps the surface but also cleans it by removing dirt and grease. Make sure you work in a well-ventilated area due to the strong fumes. Additionally, using a deglosser can lead to improved paint adhesion, ensuring that your new finish lasts longer and withstands wear over time.
One of the best advantages of using a deglosser is its efficiency. You can tackle intricate details and crevices easily, perfect for antique furniture or laminate surfaces where sanding is impractical. Plus, the surface is ready for painting within minutes after the deglosser evaporates. Just remember to follow the product instructions and ensure the surface is completely dry before applying paint. With these tips, you'll achieve a durable and long-lasting finish in no time!
Applying Oil Bond
Applying Oil Bond to your furniture is a straightforward process that eliminates the need for cleaning or sanding. Start by using a clean, lint-free rag to apply Oil Bond directly onto the surface. You'll appreciate that Oil Bond contains both cleaners and deglossing agents, which means you can skip the prep work typically required. Allow the Oil Bond to dry on the furniture for at least an hour, or up to overnight for best results. This method is particularly beneficial for active households where children frequently use the furniture.
Once it's dry, mix 16 ounces of Oil Bond with 1 gallon of latex paint. If you're using a paint sprayer, make sure to add Oil Bond to the paint first; you can thin it with water if needed. Remember, you only need to add Oil Bond to the first coat of paint; subsequent coats don't require it.
This mixture enhances paint adhesion, ensuring it sticks well to the furniture. After applying Oil Bond and mixing it with paint, you can use any painting tool you prefer. This method helps you achieve a durable finish without the hassle of sanding or priming, making your furniture transformation easier than ever.
Cleaning the Surface

Starting with a clean surface is essential for achieving a smooth finish when painting furniture. Begin by giving the piece an initial wipe down. Use a cloth or paper towel dampened with water to remove any dust and debris. For stubborn areas, employ the hose on a vacuum to eliminate cobwebs and crumbs, focusing on all surfaces, including drawers and crevices. Remember to use minimal water to avoid damaging the wood and remove loose particles before applying any cleaning products.
For sticky or greasy areas, utilize degreasing sprays like Zep Heavy-Duty Citrus Degreaser or Krud Kutter. Always read the labels to ensure they're safe for previously varnished surfaces, and follow the application instructions closely. A simple cleaning solution made of water and Dawn dishwashing detergent can also work well; just apply it with a sponge and scrub. Regularly cleaning your furniture also increases its longevity, making it essential to maintain a routine cleaning schedule.
Finally, use Denatured Alcohol to degloss and clean the surface. You can dilute it with water in a 1:1 ratio, spray it on, and scrub with a Scotch-Brite pad. Wipe off any excess, let it dry, and ensure the surface is completely free of residue before you start painting.
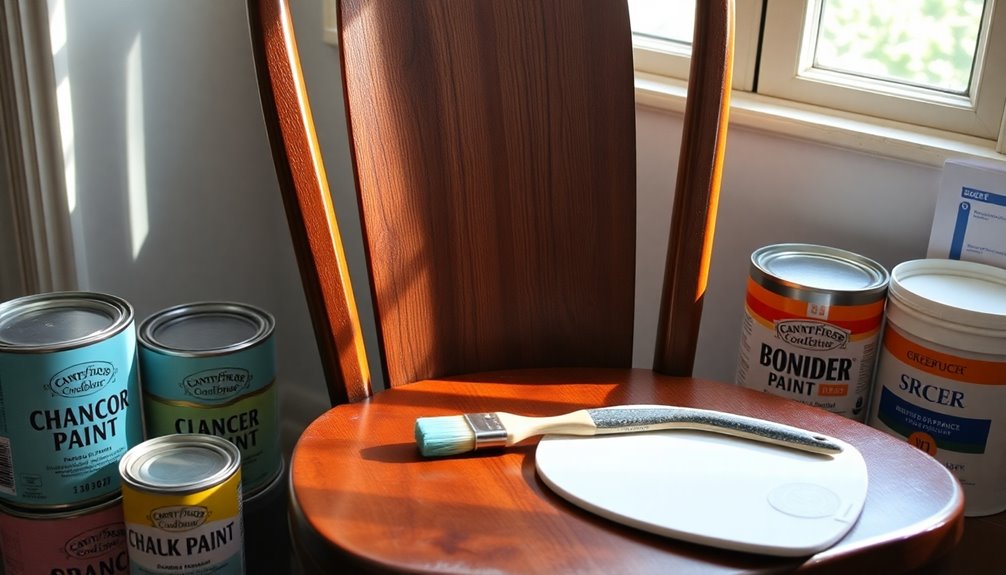
Choosing Specialized Paints
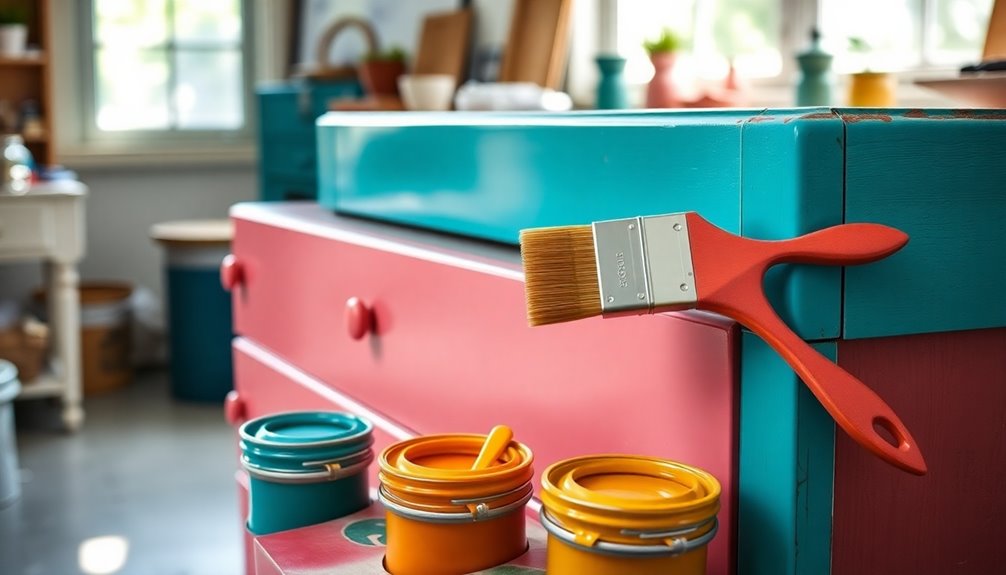
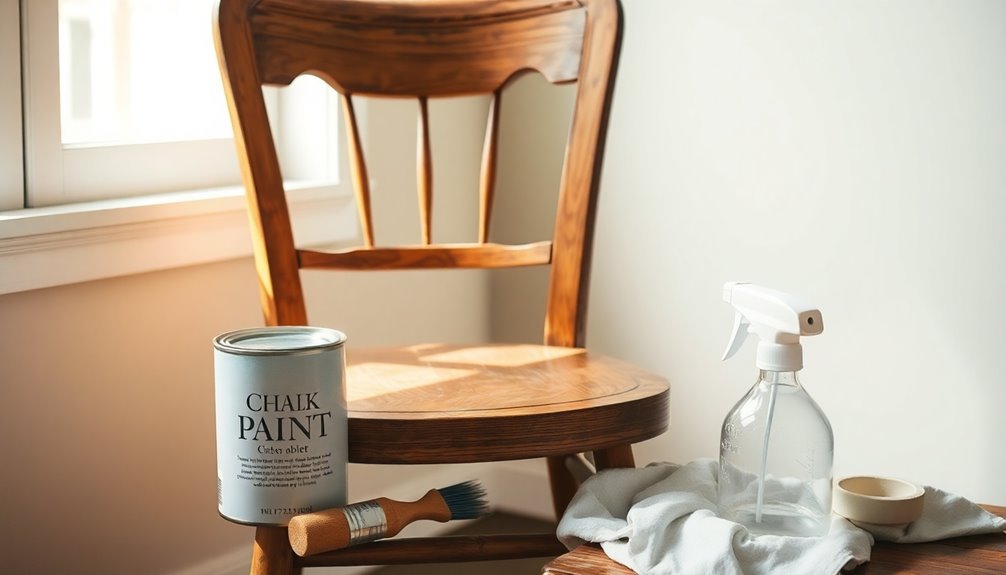
When it comes to painting furniture, selecting the right type of paint can make all the difference in achieving your desired look and durability. One excellent option is chalk paint. It requires no sanding or priming, offering a matte, velvety finish that's perfect for a distressed or farmhouse-style aesthetic. Just remember to seal it with a protective wax for longevity.
If you prefer a more versatile approach, consider using an additive like Oil Bond. This allows latex paint to adhere to previously painted surfaces without the fuss of sanding. It works well with various water-based paints and is easy to apply with a clean rag. Additionally, using specialty paints can enhance the overall aesthetic of your furniture projects.
Another option is acrylic paint, often labeled as "Paint and Primer In One." It provides a self-leveling, smooth finish and usually doesn't need a top coat. For a bit more durability, you might look into alkyd-hybrid paint, which dries to an oil finish but is water-based. While it's pricier, it offers a resilient finish that stands up to damage and humidity. Each of these specialized paints can help you achieve stunning results while saving time and effort.
Handling Lead-Based Paint
Before you dive into painting furniture, it's crucial to assess whether it contains lead-based paint, especially if it was made before 1960. Furniture from this era often has lead paint, which can be hidden beneath layers of non-leaded paint. Common sources include painted windows, doors, stair treads, and railings, as well as wood stains and varnishes. Antique items sold in stores often contain lead paint, increasing the risk of exposure when brought into homes.
Lead dust poses serious health risks, especially if inhaled or absorbed through the skin. Children are particularly vulnerable to lead exposure, which can lead to severe developmental issues. If you suspect lead paint, use Lead Check swabs to test the surfaces.
If you find lead paint, avoid sanding unless you're fully equipped with a hazmat suit and respirator. If sanding is necessary, do it outside to minimize contamination. Always use proper precautions to prevent lead dust from spreading, and keep children and pregnant women away from these areas.
In some cases, it might be safer to dispose of the furniture rather than risk exposure. Prioritize safety and consider the long-term implications of working with lead-based paint.
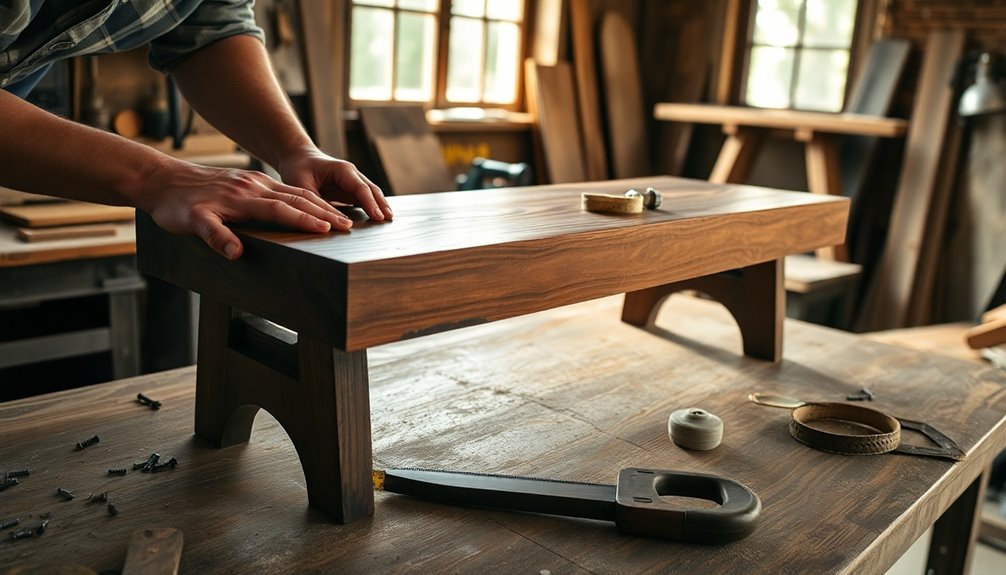
Essential Tips and Tools
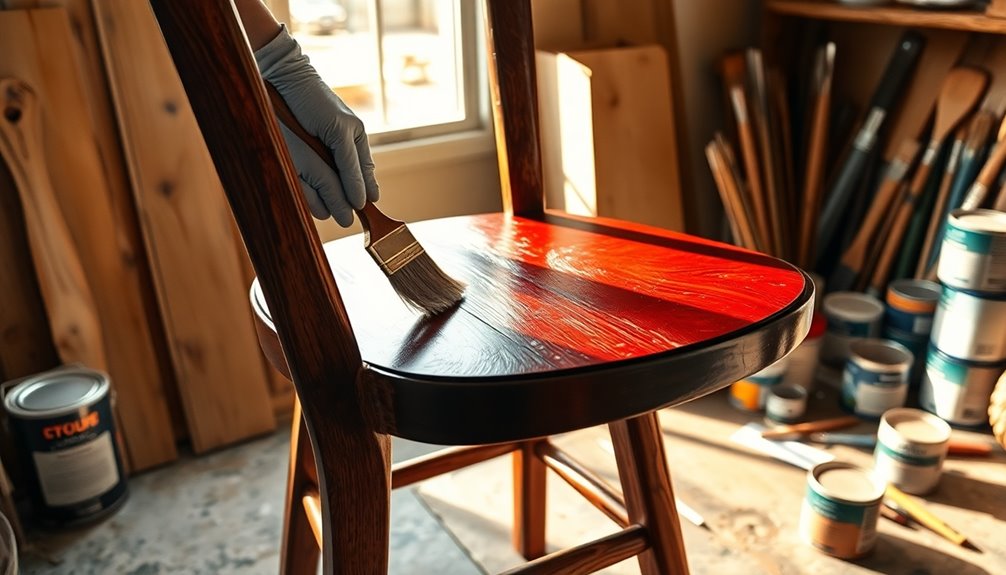
Once you’ve ensured your furniture is safe to paint, gathering the right tips and tools will set you up for success. Start with a deglosser or liquid sander, which can replace traditional sanding. Simply apply it with a rag, wait a few minutes, then wipe down the surface with a clean wet rag to remove any residue. This method is especially effective for varnished or laminated surfaces, ensuring long-term paint adhesion. After preparing the surface, selecting the right type of paint is crucial; consider using acrylic or chalk paint for a durable finish. Knowing how to paint furniture effectively involves more than just the right paint; be sure to apply thin, even coats and allow ample drying time between applications for the best results. Lastly, a sealant can provide added protection and enhance the appearance of your newly painted furniture.
Next, consider specialized paint and additives like Oil Bond, which you can mix with latex paint. This allows the paint to stick to previously finished surfaces without the hassle of sanding or priming. For cleaning, use Murphy's Oil Soap to remove dust and dirt, and always wipe down with a tack cloth to ensure the surface is dry and dust-free before painting. Proper techniques in furniture painting can significantly enhance the durability of your finished project.
When you're ready to paint, use thin coats and tools like foam rollers or brushes for an even finish. For a professional touch, a paint sprayer works wonders. Finally, seal your work with a top coat like Minwax Polycrylic to protect the paint and enhance its durability.
Frequently Asked Questions
Can I Use Any Type of Paint With These Methods?
You can use specific types of paint with these methods, but not all paints are suitable. Chalk paint and mineral paint work well without sanding or priming due to their excellent adhesion. If you opt for latex paint, consider mixing it with a bonding agent like Oil Bond. Milk paint also requires a bonding agent for best results. Always check compatibility to ensure your chosen paint adheres properly to the surface.
How Long Does It Take for the Paint to Dry?
When you're painting, the drying time depends on the type of paint you choose. For water-based latex, it usually dries in 1-2 hours but takes 21-30 days to fully cure. Oil-based paints dry in 6-8 hours but need 3-7 days to cure. Chalk and milk paints dry quickly, around 30-60 minutes, but still require about 30 days for curing. Always consider temperature and humidity, as they can significantly affect these times.
What Should I Do if the Paint Bubbles?
If you notice paint bubbles, don't panic! Start by gently scraping off the bubbled areas with a putty knife. Once you've removed the damaged paint, sand the surface lightly to smooth it out. Clean the area thoroughly to eliminate dust and moisture. Apply a suitable primer if necessary, then repaint using slow, even strokes. Make sure to allow each coat to dry completely before applying the next to prevent future bubbling.
Can I Paint Over Stained Wood Without Sanding?
Yes, you can paint over stained wood without sanding. Using a deglosser is a great alternative; just apply it with a lint-free rag, wait for the recommended time, and wipe it off. This prepares the surface for paint. Choose the right paint, like latex or chalk paint, and consider priming for better adhesion and to prevent bleed-through from stains. Testing samples first ensures you're happy with the color before committing.
How Do I Clean My Brushes After Using Oil Bond?
To clean your brushes after using oil bond, start by removing excess paint with a paper towel. Dip the brush into a solvent like mineral spirits or a natural cleaner, swish it around, and tap off the excess. Wipe the brush with a paper towel, repeating until all paint is gone. Finish by rinsing the brush in warm, soapy water, then let it dry flat or hang it to maintain its shape.
Conclusion
Now you're ready to transform your furniture without the hassle of sanding or priming! By preparing your piece properly, using deglosser and oil bond, and choosing specialized paints, you can achieve a stunning finish with ease. Just remember to handle lead-based paint cautiously and keep your workspace clean. With these tips and tools in hand, you'll breathe new life into your furniture in no time. Happy painting!