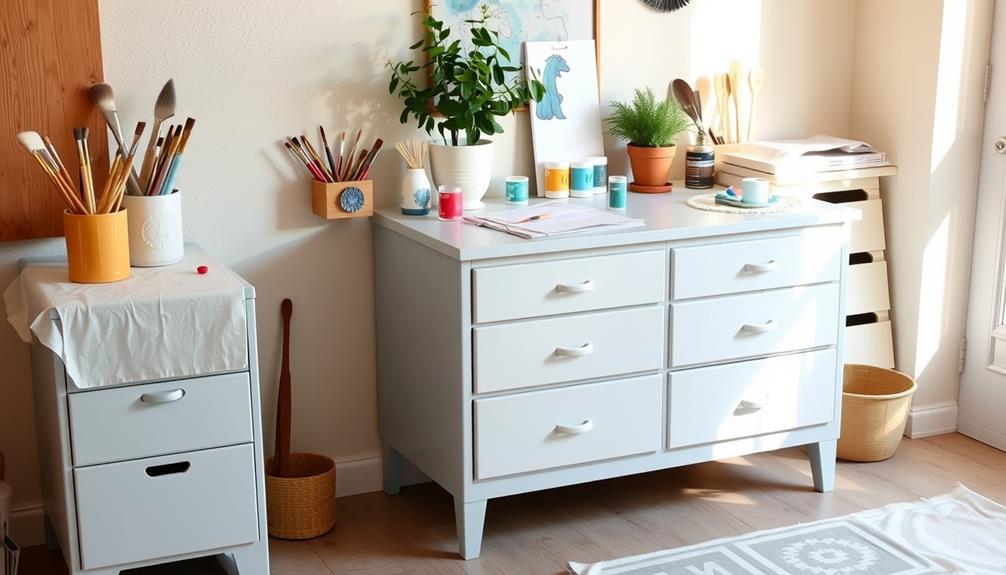
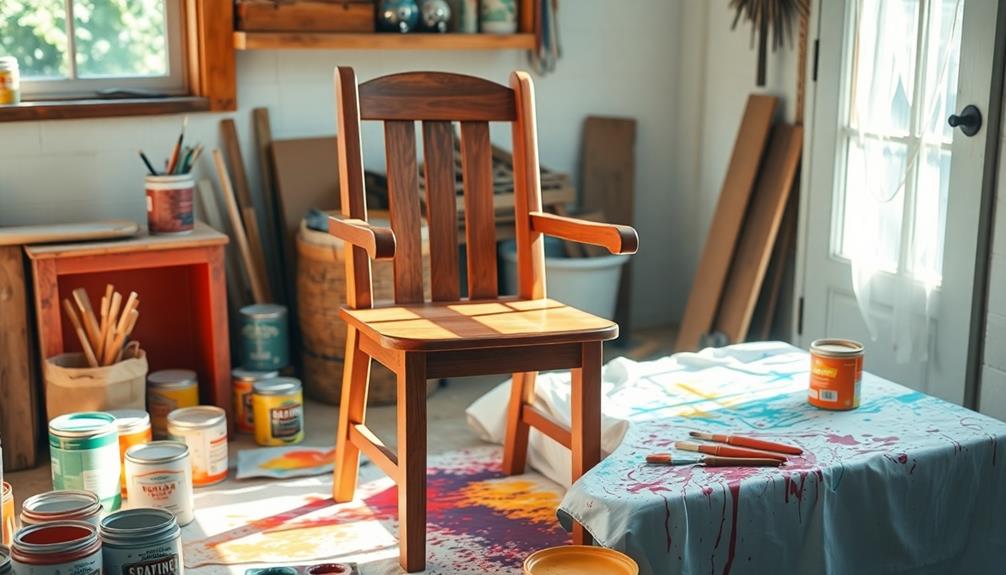
Successfully painting Ikea furniture requires following a specific process. Begin by taking apart the pieces and lightly sanding the surfaces with 120 grit sandpaper. Use a primer with a shellac base to improve paint adhesion, allowing it to dry overnight. Apply two thin coats of high-quality eggshell finish paint, making sure to let each coat dry in between. Lastly, protect your work with a clear sealant like Polycrylic, lightly sanding between coats for a smooth finish. By using the correct techniques and materials, you will achieve a long-lasting and attractive appearance for your furniture. There are additional tips to explore in order to perfect your project! If you are interested in refinishing old wood furniture, the same process can be applied. Just be sure to carefully consider any existing finish or damage on the piece, and take the necessary time to properly prepare the surface before priming and painting. With proper care and attention, you can revitalize old, worn-out pieces and create beautiful, customized furniture for your home.
Key Takeaways
- Disassemble the furniture and lightly sand surfaces with 120 grit sandpaper to create texture for better paint adhesion.
- Apply a shellac-based primer evenly and allow it to dry overnight for optimal paint grip on laminate surfaces.
- Use high-quality eggshell finish paint, applying two thin coats with appropriate drying time in between each application.
- Protect the painted surface with a fast-drying sealant like Polycrylic, sanding lightly between coats for a smooth finish.
- Maintain a clean, dust-free workspace and utilize high-quality brushes or a sprayer for an even application and professional look.
Importance of a Process
When it comes to painting Ikea furniture, following a structured process is important. Most Ikea pieces are made from laminate-covered particle board, which needs specific prep work to guarantee a successful outcome. Proper preparation, including sanding and priming, is essential for achieving good paint adhesion on those slick, non-absorbent laminate surfaces.
Additionally, using essential oils like clove oil may help in alleviating any discomfort from the dust or fumes during the painting process, making it a more pleasant experience.
The painting process consists of four key steps: prep, prime, paint, and seal. Skipping any of these steps can lead to a paint job that peels or flakes, diminishing the overall appearance of your furniture.
By meticulously following this structured approach, you not only enhance the look of your Ikea item but also increase the durability of the finish.
Priming plays a critical role in creating a smooth finish, making sure that the paint adheres properly and lasts longer.
After painting, don't forget to seal your piece; this final touch protects it from wear and tear, extending the life of your paint job.
Committing to this systematic process will pay off, resulting in beautifully transformed furniture that stands the test of time.
Essential Materials Needed

Before you plunge into painting your Ikea furniture, it's essential to gather the necessary materials that will guarantee a successful project. To promote ideal paint adhesion on laminate surfaces, a shellac-based primer like BIN is important. You'll also want to lightly sand the surfaces with 120 grit sandpaper to create texture for better paint grip.
Next, choose an eggshell finish paint for durability and a low shine, perfect for various Ikea pieces. For application, invest in a high-quality brush, roller, or paint sprayer to achieve an even finish. Finally, protect your newly painted surface with a fast-drying sealant like Polycrylic, which provides ideal protection and longevity.
Here's a quick reference table of the necessary materials you'll need:
| Material | Purpose | Notes |
|---|---|---|
| Shellac-based primer | Prepares laminate surfaces | Promotes paint adhesion |
| 120 grit sandpaper | Lightly sand for better grip | Avoid deep scratches |
| Eggshell finish paint | Durable and low shine | Suitable for many pieces |
| High-quality brush | Applies paint for an even finish | Important for smoothness |
Step-by-Step Painting Guide
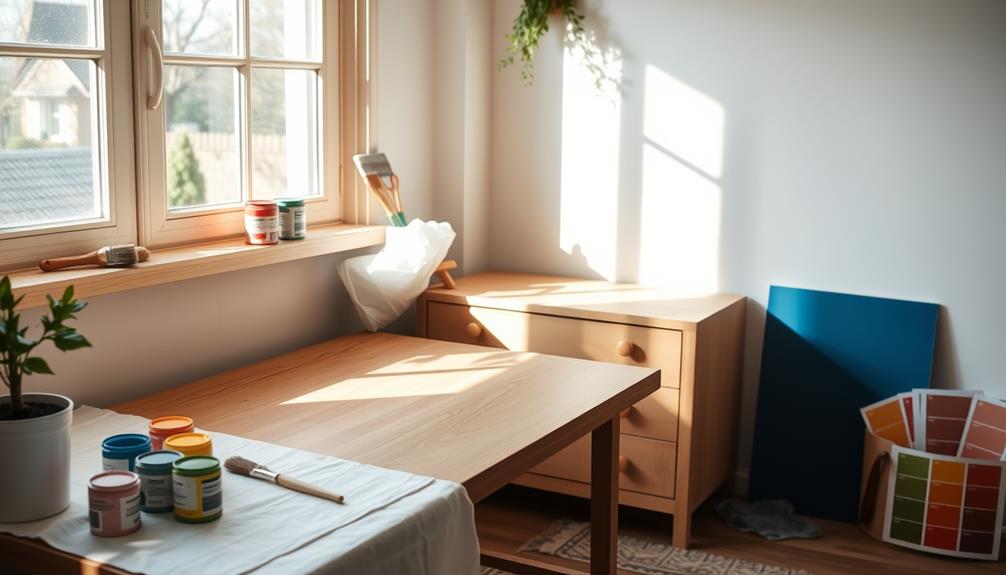
To achieve a stunning paint job on your Ikea furniture, start by disassembling the pieces and sanding all surfaces lightly with 120 grit sandpaper. This initial step creates a texture that enhances paint adhesion.
For those who suffer from allergies or have pets, maintaining a clean environment is crucial, so consider using a best vacuum for dust removal to guarantee your workspace is free from debris before you begin.
Next, apply a shellac-based primer like BIN primer evenly to all surfaces, allowing it to dry overnight for ideal adhesion and durability.
Once the primer is dry, grab some high-quality paint and prepare to apply two thin coats. Use a brush or roller, ensuring you allow adequate drying time between each coat to prevent bubbling and peeling.
After the final coat of paint is dry, it's time to protect your hard work. Apply a protective sealant such as Polycrylic using long, quick brush strokes. For a smooth finish, remember to do some lightly sanding between sealant coats.
Techniques for Application
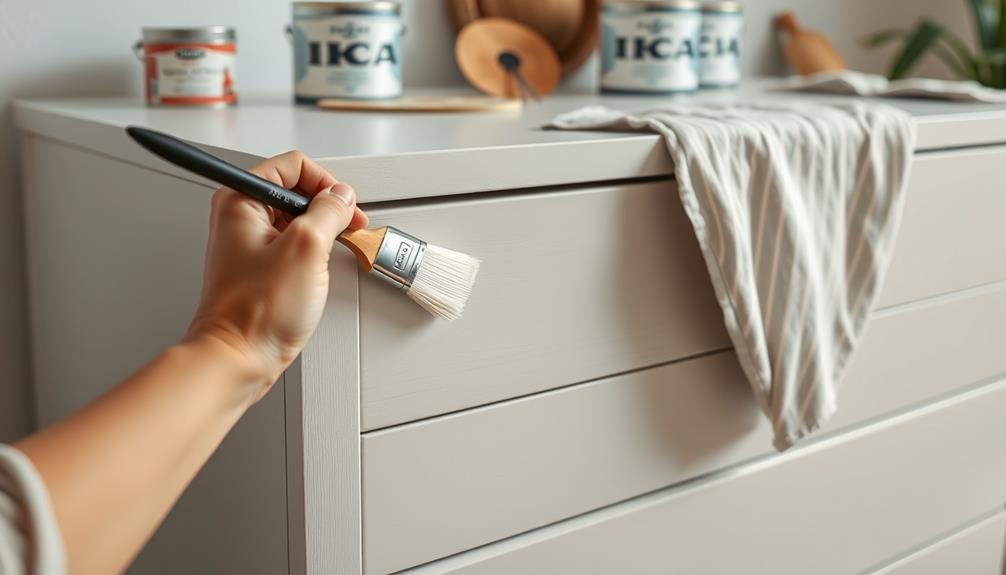
Achieving a flawless finish on your Ikea furniture relies heavily on the application techniques you choose. Start by gathering high-quality tools, like a mini paint roller for larger areas and a 1-1/2 inch nylon/polyester angle brush for detailed sections. These tools help guarantee an even finish throughout your project. Before you begin painting, properly sand the surfaces to ensure they are smooth and free of any imperfections. Using a primer designed for laminates or wood will also help the paint adhere better, especially when working with mix and match wood furniture. Lastly, apply thin, even coats of paint, allowing each layer to dry fully before moving to the next for the most polished result.
Additionally, maintaining a clean and dust-free environment can greatly improve the quality of your paint job, much like how air purifier maintenance dos and don'ts can enhance indoor air quality.
Before you apply your paint, make sure to use a primer that suits the surface to enhance adhesion. Apply at least two thin coats of paint rather than one thick coat. This approach allows for better drying and reduces the risk of bubbling. Follow the manufacturer's instructions for drying times between coats.
To create an ultra-smooth surface, lightly sand between paint layers with fine grit sandpaper.
If you're aiming for a professional look, consider using a paint sprayer, especially for larger surfaces. Just remember to apply multiple thin coats to maintain an even finish.
Finalizing and Sealing the Finish
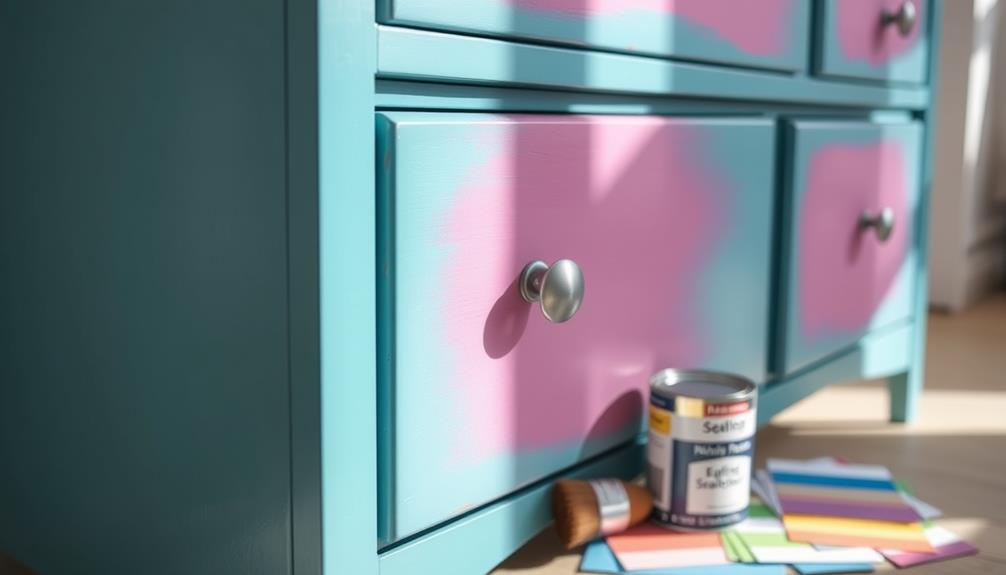
Once the final coat of paint is completely dry, it's time to protect your hard work with a clear Polycrylic sealant. Using long, quick brush strokes, apply the sealant to safeguard the painted surface and enhance durability. If your furniture will see a lot of use, consider a heavy-duty sealant like Minwax Polycrylic for added protection against wear and tear.
To guarantee a smooth finish, lightly sand between sealant coats with fine-grit sandpaper. This step helps eliminate any imperfections and prepares the surface for the next layer.
After applying each coat, allow the sealant to dry thoroughly before reassembling the furniture. This prevents smudging and damage to your fresh paint.
For the best aesthetic results, make sure the finish of the sealant matches that of the paint. This cohesion will enhance the overall look of your furniture while providing a durable, protective layer.
Frequently Asked Questions
What Type of Paint Is Good for IKEA Furniture?
When choosing paint for your furniture, consider high-quality latex options like Behr Scuff Defense for durability. Chalk paint offers a vintage look, while shellac-based paints adhere well to laminate surfaces for a smooth finish.
Can I Just Paint Over IKEA Furniture?
Oh sure, just slap some paint on it—what could go wrong? But really, if you want it to stick, you need to sand, prime, and seal. Otherwise, expect a bubbling, peeling masterpiece!
Can You Paint IKEA Furniture Without Priming?
You can paint IKEA furniture without priming, but it's not ideal. Without proper prep, paint might not adhere well, leading to peeling and uneven finishes. Using a primer enhances durability and overall results considerably.
What Primer Should I Use to Paint IKEA Furniture?
Think of primer as the foundation of a house; without it, everything crumbles. For IKEA furniture, use Zinsser BIN for its strong adhesion. Two thin coats guarantee a smooth, durable finish that lasts.
Conclusion
In the end, transforming your IKEA furniture isn't just about slapping on some paint; it's about breathing new life into pieces that might otherwise feel a bit ordinary. By following this process, you're not just enhancing aesthetics—you're creating a unique expression of your style. So, gather your materials, release your creativity, and watch as your once-vanilla furniture blossoms into something truly special. Embrace the journey, and enjoy the delightful metamorphosis!
