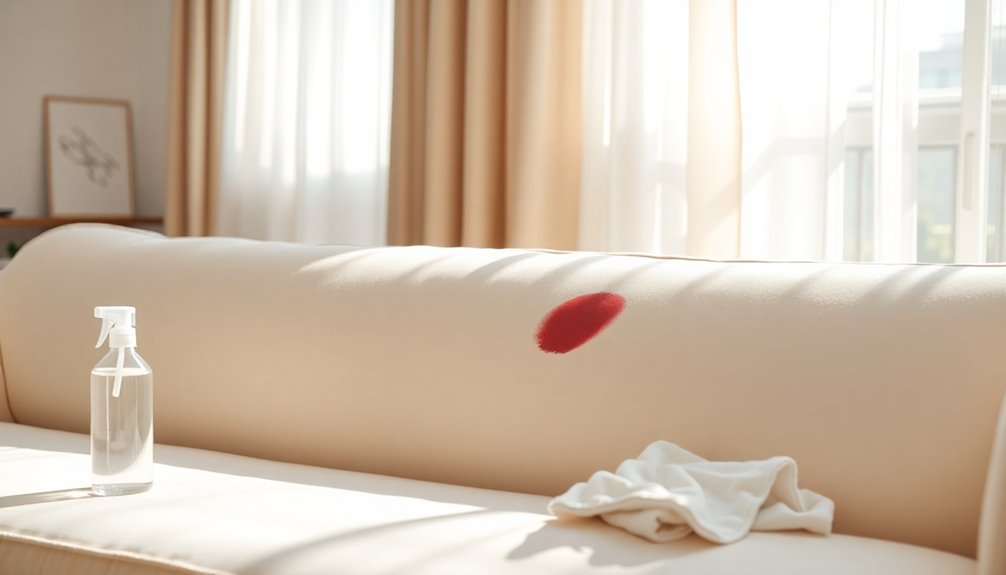
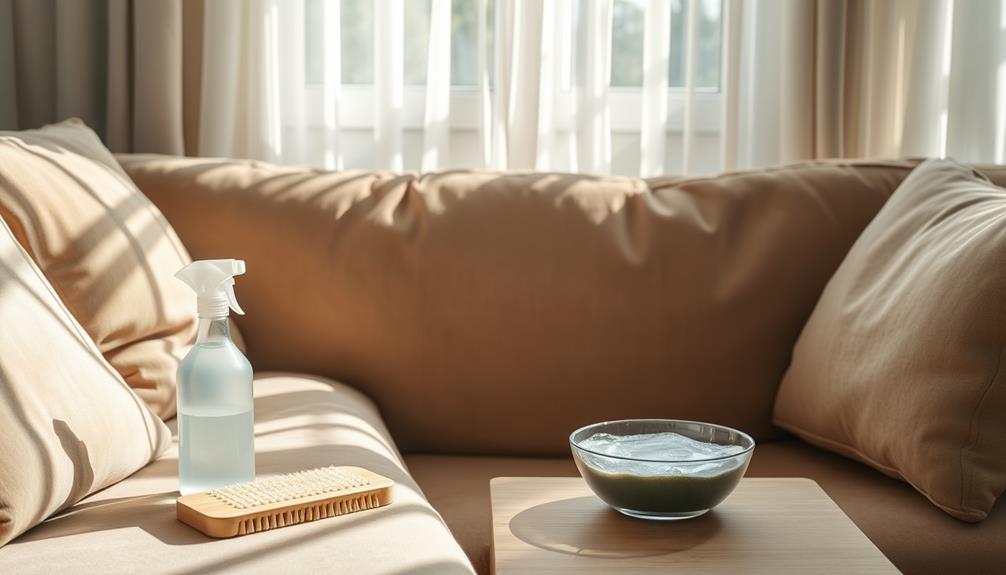
To revamp your outdoor furniture with a fresh coat of paint, it’s important to first assess its condition for any damages or structural issues. Thoroughly clean the surfaces and then lightly sand them to help the paint adhere better. Opt for a high-quality exterior latex paint and think about applying a primer for extra durability. Apply thin, even coats of paint, allowing each layer to dry completely. Utilize a brush for intricate areas and a trim roller for larger sections. For a finish that lasts, be sure to regularly maintain your furniture and keep it indoors during inclement weather. There are many more tips to explore in order to achieve the best results for your outdoor pieces. In addition, when it comes to painting fabric furniture, make sure the fabric is clean and dry before beginning. One important tip for painting fabric furniture is to use fabric paint or a paint additive mixed with latex paint for flexibility and a smooth finish. To protect your work, seal it with a waterproofing spray and touch-up for any signs of wear and tear.
Key Takeaways
- Inspect furniture for structural issues and damage before starting the painting process to ensure proper restoration.
- Clean and lightly sand surfaces, then apply a high-quality oil-based primer to promote adhesion and moisture protection.
- Use high-quality exterior latex paint in thin, even coats, allowing adequate drying time between each layer for optimal results.
- Consider applying two coats of paint and inspect for imperfections after the first coat dries for a smooth finish.
- Maintain furniture by cleaning regularly and reapplying protective coatings to extend its longevity and appearance.

Pro Grade Paint Brushes, 5-Piece Paint Brush Set, Flat & Angle Brushes for Walls, Trim, Cabinets, Interior & Exterior Latex and Oil Paints, Stains
COMPLETE 5-PIECE BRUSH SET FOR EVERY PAINTING TASK — Includes 1 Inch Flat, 1.5 Inch Angle, 2 Inch…
As an affiliate, we earn on qualifying purchases.
As an affiliate, we earn on qualifying purchases.
Evaluate Your Furniture Condition
How can you guarantee your outdoor furniture is ready for a fresh coat of paint? Start by evaluating its condition.
Thoroughly inspect your furniture for any structural issues, like wobbly legs or loose joints. These problems can compromise safety and stability, so address them before you paint. Additionally, consider the potential costs associated with repairs versus replacements; having a budget plan can help you make an informed decision.
Next, look for signs of damage. Wooden furniture may have rot, while metal pieces could show extensive rust. If you find significant damage, you may need to repair or even replace the affected parts.
Don't forget to check the surface for scratches, dents, or peeling paint. These imperfections can hinder the paint application process and affect the finish.
Consider the overall condition of your furniture. Is a fresh coat of paint a cost-effective solution compared to buying new items?
Take into account its age and previous maintenance history; older pieces often require more extensive repairs and preparation.
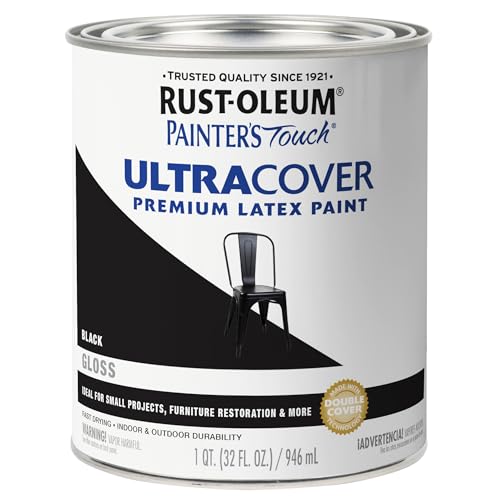
Rust-Oleum 1979502 Painter's Touch Latex Paint, Quart, Gloss Black, 1 Quart, (Pack of 1)
Use for a variety of indoor and outdoor project surfaces including wood, metal, plaster, masonry or unglazed ceramic
As an affiliate, we earn on qualifying purchases.
As an affiliate, we earn on qualifying purchases.
Essential Tools and Materials
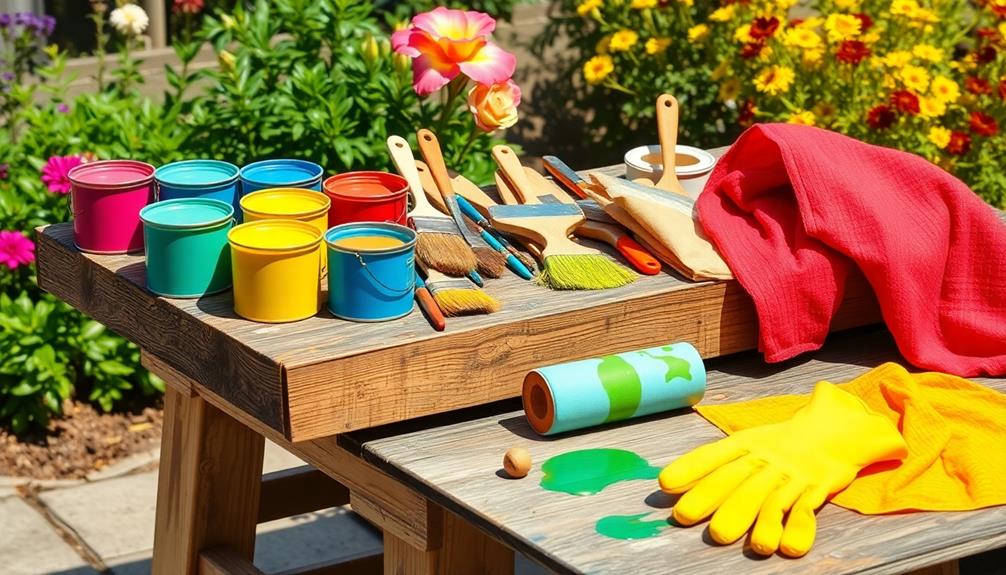
When you're ready to paint your outdoor furniture, you'll need the right tools and materials.
Start with necessary painting supplies, choose recommended paint types for durability, and don't forget essential safety equipment to protect yourself.
Additionally, consider the air quality while working, as maintaining a clean environment helps avoid inhaling harmful particles—using an air purifier can enhance your workspace air purifier maintenance tips.
Gathering these items will set you up for a successful project.
Necessary Painting Supplies
Preparation is key to achieving a successful paint job on your outdoor furniture, and having the right supplies makes all the difference. Start by gathering high-quality exterior latex paint, which is essential for durability against the elements.
Don't forget to choose appropriate primer options that are suitable for outdoor use, as this will help guarantee the paint adheres well to your furniture, particularly when painting wood. For ideal results, consider the benefits of professional cleaning services to make sure your furniture is free from dirt and mildew before you begin your project.
You'll also need a few essential tools. A palm sander and sandpaper (60 or 80 grit) will help you prepare the surfaces by sanding down rough spots, promoting better paint adhesion and creating a smoother finish.
For application, invest in good brushes and trim rollers. Cleaning materials are equally important. Use mineral spirits and old rags to remove dirt and mildew from the furniture before you start painting.
Protect areas that shouldn't be painted with painter's tape, and lay down drop cloths to keep your workspace tidy. Finally, consider additional protective coatings, like a clear varnish, to enhance the longevity of your painted surface.
With these necessary supplies, you're ready to begin your outdoor furniture transformation!
Recommended Paint Types
Choosing the right paint type is essential for guaranteeing your outdoor furniture withstands the elements. For wood furniture, a high-quality exterior latex paint is your best bet. It offers durability and exceptional weather resistance, so your pieces stay looking great for years.
Opt for a glossy finish like semi-gloss or gloss, as these provide better protection and are more forgiving against wear and tear.
Before you start painting, don't forget to use a high-quality primer. An oil-based option, such as Kilz or Zinsser BIN, is vital for preventing moisture damage and guaranteeing better paint adhesion.
Here's a quick list of recommended materials:
- High-Quality Exterior Latex Paint – Guarantees durability against weather conditions.
- Oil-Based Primer – Provides a strong base and moisture protection.
- Glossy Finish Options – Enhances longevity and ease of maintenance.
Essential Safety Equipment
Safety should be your top priority while painting outdoor furniture. Start by wearing safety goggles to protect your eyes from harmful fumes and paint particles.
You'll also want a mask to safeguard your respiratory system from those same dangers. Durable gloves, preferably made from nitrile, are essential for shielding your hands from paint and chemicals throughout the process.
Next, guarantee proper ventilation in your workspace. If you're painting outdoors, that's great, but if you're inside, make sure the area is well-ventilated to minimize the inhalation of fumes.
If you're working on low furniture, consider using knee pads to keep your knees comfortable and protected.
Lastly, keep a first aid kit nearby. It's a smart move to be prepared for any minor accidents or spills, guaranteeing quick access to treatment in case of injuries.
Having these safety measures in place will help you focus on creating your beautiful outdoor furniture without unnecessary worries. By taking these precautions seriously, you'll make your painting experience safer and more enjoyable.

Scotchgard Sun and Water Shield, Repels Water, 10.5 Ounces
Helps protect fabric from fading by blocking out harmful UVA/UVB rays
As an affiliate, we earn on qualifying purchases.
As an affiliate, we earn on qualifying purchases.
Preparation Steps to Follow

How can you guarantee your outdoor furniture is ready for a fresh coat of paint? Following the right preparation steps is essential for a smooth and lasting finish. Here's what you need to do:
1. Clean the Furniture: Start by thoroughly cleaning the furniture to eliminate dust, dirt, and mildew. If it's excessively dirty, consider an extra cleaning step before moving on.
Make sure the surface is completely dry afterward.
2. Sand the Surface: Lightly sand the entire surface to remove any flaking paint and create a smooth base. This step helps with paint adhesion and guarantees a better finish.
Remember to wipe away any sanding dust with an old rag to keep the surface clean.
3. Gather Materials: Collect all essential materials you'll need, such as a palm sander, old rags, exterior primer, and high-quality exterior paint.
Having everything ready will streamline your painting process.
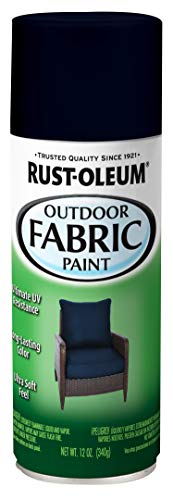
Rust-Oleum 358832 Outdoor Fabric Spray Paint, 12 oz, Navy
Use to refresh and recolor outdoor fabrics including furniture cushions, pillows and more; not recommended for sun umbrellas
As an affiliate, we earn on qualifying purchases.
As an affiliate, we earn on qualifying purchases.
Priming Your Outdoor Furniture

Priming your outdoor furniture is an important step that can greatly enhance its longevity and appearance. Before you start painting, apply a high-quality exterior primer to protect the wood from moisture and improve the durability of your finish. An oil-based primer like Original Kilz or Zinsser BIN works best for covering imperfections and ensuring better adhesion of the topcoat.
Once you've applied the primer, lightly sand the surface. This step is essential as it creates a smoother finish and promotes better paint bonding.
Be sure to follow the manufacturer's instructions for drying times between primer application and paint to achieve ideal results.
For areas that may need extra protection from the elements, consider applying two coats of primer. This additional layer can greatly boost the durability of your outdoor furniture, ensuring it withstands the test of time and weather.
Recommended Painting Techniques

When it comes to painting outdoor furniture, employing the right techniques can make all the difference in achieving a professional-looking finish. Start by using the recommended painting techniques to guarantee a lasting result.
Here are three essential tips to follow:
- Use the Right Tools: For large areas, use a trim roller for even application, and switch to a brush for detailed sections to avoid drips.
- Prime and Sand: Always begin by priming the underside of your furniture. After priming and between each coat of high-quality exterior paint, lightly sand the surface to enhance adhesion and create a smoother finish.
- Apply Multiple Thin Coats: Instead of slapping on one thick coat, apply multiple thin coats of paint. This not only enhances durability but also helps prevent drips and unevenness. Make sure to allow adequate drying time between each layer.
Additionally, consider painting on a dry, mild day to avoid humidity affecting the drying process.
Following these techniques will guarantee your outdoor furniture looks fantastic and stands the test of time!
Choosing the Right Paint

Choosing the right paint for your outdoor furniture is crucial, as it directly impacts both aesthetics and longevity. Start by selecting high-quality exterior latex paint specifically formulated for outdoor use. This guarantees durability against the elements and enhances the overall look of your furniture. Opt for glossy finishes, like semi-gloss or gloss, as they provide better protection and resist wear and tear.
Make certain to choose paint that is UV-resistant and weatherproof to prevent fading and damage from harsh sunlight and moisture exposure. A primer designed for outdoor surfaces is critical, as it enhances adhesion and blocks moisture, prolonging the life of your paint job. You might also want to reflect on low-VOC options to reduce harmful emissions while still achieving a beautiful finish.
Here's a quick reference to help you decide:
| Feature | Importance |
|---|---|
| High-quality exterior latex | Guarantees durability |
| UV-resistant | Prevents fading |
| Weatherproof | Protects against moisture |
| Glossy finish | Resists wear and tear |
| Outdoor primer | Enhances adhesion |
Applying Multiple Coats

After selecting the right paint, you'll want to focus on applying multiple coats for the best results. Applying at least two coats of paint is essential for durability and even coverage. Thin layers dry faster and reduce the risk of drips, leading to a better finish.
Here's how to achieve a uniform finish:
- Start with a Base Coat: Apply the first coat of paint and primer, making sure you cover all areas. Take your time and avoid thick layers.
- Check for Imperfections: After the first coat dries, inspect your work for missed spots or uneven areas. Touch up any imperfections before moving on.
- Allow Adequate Drying Time: Follow the manufacturer's instructions for drying times, which can range from 1 to 4 hours. This step guarantees proper adhesion for the second coat.
Curing and Drying Time
Curing and drying time are vital factors in achieving a durable finish on your outdoor furniture. The curing time for painted pieces can range from several days to weeks, depending on the type of paint you use and the environmental conditions.
It's important to allow each coat of paint to dry fully before applying the next one, following the manufacturer's recommended drying times for best adhesion.
Keep in mind that high humidity or low temperatures can extend both drying and curing times, so try to paint during dry, moderate weather for the finest results. If you rush the process, you risk compromising the finish.
Fully cured paint forms a tough surface that resists chipping, fading, and peeling, which enhances the longevity of your outdoor furniture.
To protect your hard work, avoid placing the furniture outdoors until it has completely cured. This step prevents damage from moisture or UV exposure, ensuring that your furniture maintains its beautiful appearance for years to come.
Patience during the curing process pays off, providing you with a stunning and durable finish.
Maintenance Tips for Longevity

To keep your outdoor furniture looking great and lasting longer, regular maintenance is crucial. Implementing a few simple maintenance tips can greatly enhance the longevity of your painted pieces.
- Clean regularly: Use mild soap and water to remove dirt and prevent mildew buildup. This helps maintain the paint's integrity and appearance.
- Inspect furniture: Check your furniture annually for signs of wear or damage. Spot any rust and address it quickly with primer and paint to protect the underlying material.
- Store properly: During harsh weather, like heavy rain or snow, consider storing your furniture indoors. This will prolong the lifespan of both the paint job and the furniture itself.
Additionally, reapply protective coatings as needed, especially for items that see frequent use. This keeps the paint intact and fresh.
Remember to plan for repainting every few years to maintain both the look and protective quality of your outdoor furniture. By following these steps, you'll guarantee your outdoor pieces stay beautiful and functional for years to come.
Creative Color Ideas and Finishes
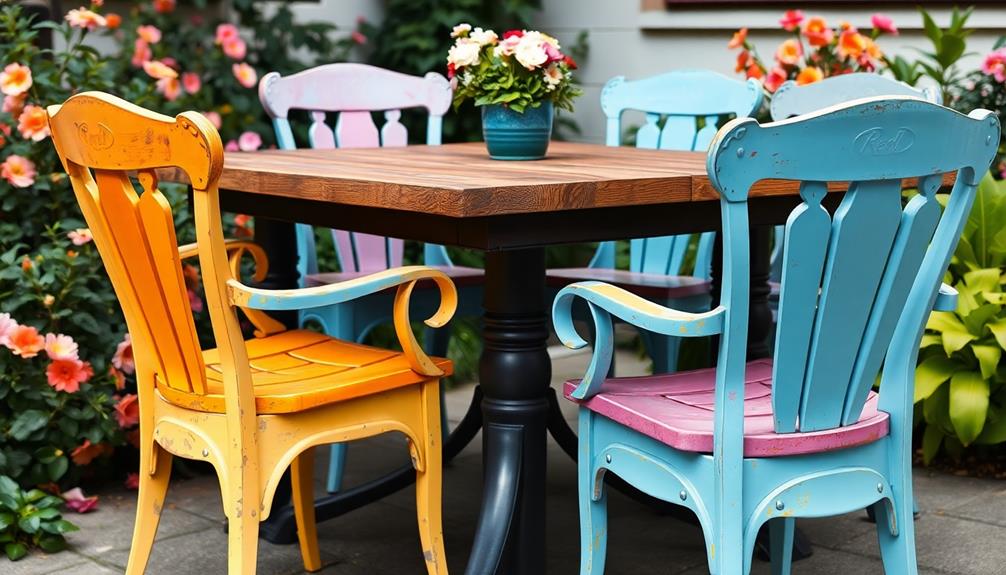
When it comes to painting outdoor furniture, choosing the right colors and finishes can transform your space.
Think about trending palettes that reflect your style, unique finishing techniques for added flair, and seasonal color inspirations to keep your decor fresh.
Let's explore how these elements can elevate your outdoor furniture to new heights.
Trending Color Palettes
Outdoor furniture can truly transform your space, especially when you choose the right color palette. Trending color palettes can elevate your outdoor experience, making it vibrant and inviting. Here are three popular options to contemplate:
- Vibrant Shades: Colors like teal, coral, and mustard yellow add a lively atmosphere, perfect for gatherings and relaxation.
- Earthy Tones: Olive green, terracotta, and sandy beige offer a natural look that blends seamlessly with garden surroundings, creating a calming environment.
- Metallic Finishes: Accents in gold or copper can provide a touch of glamour, reflecting light beautifully and adding sophistication to your furniture.
You might also want to explore bold colors like deep navy or rich burgundy for a striking contrast against green landscapes.
Ombre effects are gaining traction too, allowing for a unique shift of colors on larger pieces like dining tables.
Unique Finishing Techniques
Exploring unique finishing techniques can breathe new life into your outdoor furniture, making it stand out in your space. One popular method is the ombre effect, where you blend two or more colors together, starting with a lighter shade at the top and shifting to a darker shade at the bottom. This creates a visually striking finish that captivates attention.
For a modern touch, consider using stencils or painter's tape to create geometric patterns or stripes. These designs can add character and personality to your pieces.
If you're aiming for a vintage vibe, try a distressed finish. After painting, lightly sand the edges to achieve that charming weathered look.
You can also incorporate metallic spray paints for accents, like on legs or hardware, to add elegance and contrast beautifully with matte finishes.
Seasonal Color Inspirations
Color transforms your outdoor furniture into a reflection of the seasons, inviting warmth and style to your space. Embrace vibrant colors like coral, turquoise, and lemon yellow for a cheerful summer vibe.
As autumn approaches, switch to earthy tones like olive green and rust for that cozy feel. To keep your colors looking fresh, opt for weather-resistant paints with UV protection.
Here are three creative ideas to inspire your seasonal transformations:
- Two-Tone Finishes: Experiment with a glossy top and a matte base to add depth and visual interest. This technique elevates your furniture while allowing you to play with contrasting colors.
- Patterns & Seasonal Themes: Use painter's tape to create stripes or geometric designs. For summer, think nautical stripes, while plaid can warm up your fall décor.
- Modern Accents: For a year-round look, pair sleek black or deep navy with metallic accents. This sophisticated palette adds elegance and can easily adapt with seasonal décor changes.
Frequently Asked Questions
What Kind of Paint to Use on Outdoor Furniture?
For outdoor furniture, you'll want high-quality exterior latex paint for wood and protective enamel or oil-based paints for metal. Glossy finishes work best, ensuring durability and easy cleaning. Always use a rust-inhibiting primer for metal surfaces.
Do I Need to Prime Outdoor Furniture Before Painting?
Yes, you should prime outdoor furniture before painting. It boosts paint adhesion, protects against moisture, and extends the finish's life. Skipping this step can lead to uneven color and a shorter-lasting result.
Can You Paint Outdoor Furniture Without Sanding?
Absolutely, you can paint outdoor furniture without sanding, but it's like sailing without a map—you might get lost. Make certain you clean the surface well and consider using a high-quality primer for better adhesion.
Is It Better to Stain or Paint Outdoor Furniture?
When deciding whether to stain or paint outdoor furniture, consider your desired look and maintenance level. Paint offers vibrant colors and durability, while stain enhances natural wood grain but may need more frequent reapplication. Choose wisely!
Conclusion
Now that you've transformed your outdoor furniture, remember that "a stitch in time saves nine." Regular maintenance will keep your pieces looking fresh and vibrant for years to come. With the right care, your newly painted furniture can withstand the elements and continue to enhance your outdoor space. So kick back, relax, and enjoy the fruits of your labor, knowing that a little effort goes a long way in preserving your beautiful outdoor oasis.