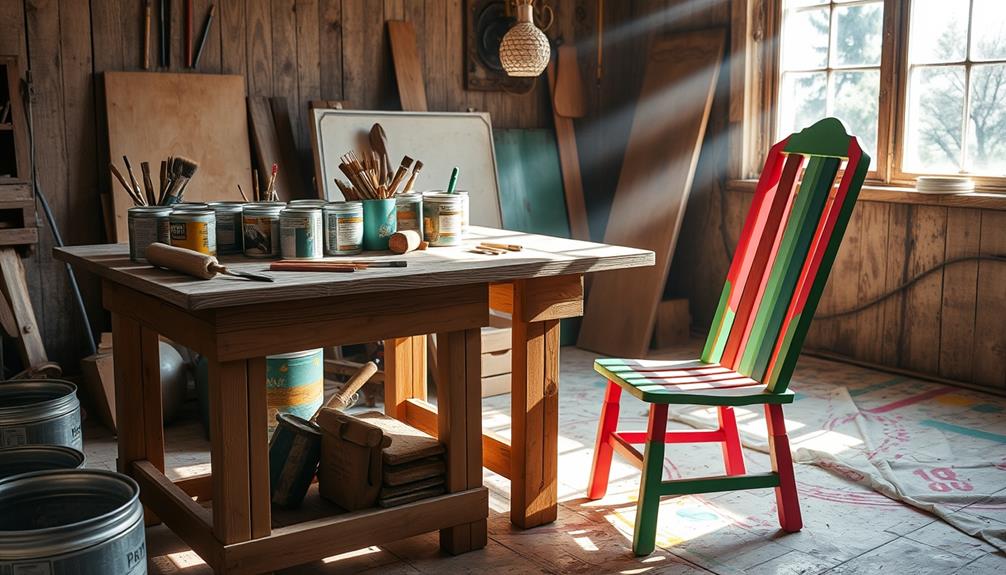
To refinish wooden furniture, begin by setting up your work area in a well-ventilated space. Take off any hardware and thoroughly clean the surfaces with Murphy’s Oil Soap. Smooth out the wood using 80 to 220-grit sandpaper for a nice finish. Apply a primer that blocks stains, making sure it dries completely before moving forward. When painting, use high-quality, thin layers and lightly sand in between to achieve a flawless appearance. Once the paint is dry, add a clear topcoat for extra durability. Allow your furniture to properly cure to improve its longevity and look. There are additional steps you can take to refine your project and ensure stunning results. For those wanting to enhance their DIY skills, staining wooden furniture at home can give a beautiful, personalized touch to any piece. Pick a high-quality wood stain in a shade that complements your space, and apply it evenly with a brush or cloth, following the wood grain. Let the stain soak into the wood for the recommended time before wiping away any excess. With attention to detail and the right materials, staining wood furniture at home can be a gratifying and cost-effective way to change up your space.
Key Takeaways
- Prepare your workspace by cleaning the area, laying down a drop cloth, and removing hardware for easier access.
- Clean the furniture with a mixture of Murphy's Oil Soap and warm water, rinsing thoroughly to ensure paint adhesion.
- Sand the surface using 80-grit, then 120-grit, and finally 220-grit sandpaper for a smooth finish.
- Apply 1-2 coats of primer, letting each coat dry fully and lightly sanding between applications for best results.
- Finish with thin layers of high-quality paint and seal with a clear topcoat for durability and protection.
Prepare Your Workspace
When preparing your workspace for painting wood furniture, start by choosing a well-ventilated area to secure proper air circulation and reduce exposure to fumes. This is essential for your safety and comfort while you work, especially if you're also using air purifiers for improved air quality.
Once you've selected the right spot, lay down a drop cloth to protect your floors and nearby surfaces from any paint splatter or spills that may occur during the project.
Next, to facilitate easier access to all surfaces, remove any hardware using a screwdriver and take out the drawers. This step will make your painting process much smoother.
After that, tape off any glass, metal, or mirrored surfaces with painter's tape. This precaution will help you avoid any unwanted paint on these areas, keeping your work neat and professional-looking.
Clean the Furniture
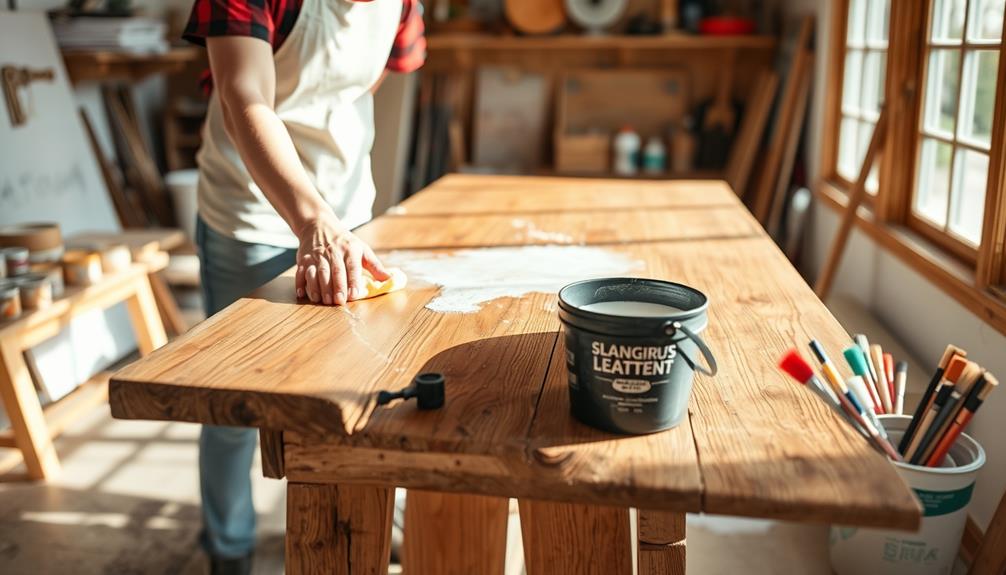
Cleaning the furniture is an important step that sets the foundation for a successful paint job. Start by removing all hardware, including knobs and pulls, to guarantee you can clean every surface thoroughly.
Next, mix Murphy's Oil Soap with warm water to clean the furniture effectively. This solution will eliminate dirt, grease, and sticky residues, helping the paint adhere better. For stubborn spots, use #0000 steel wool to gently scrub away residues without damaging the wood. Additionally, consider using essential oils like eucalyptus oil for its antiseptic qualities, which can help maintain a clean surface during your preparation.
Once you've cleaned the furniture, rinse it with clean water and dry it completely. This step is vital, as any moisture left on the surface can hinder paint adhesion. If you notice any persistent stains or markings after cleaning, consider applying a stain-blocking primer to prevent bleed-through when you start painting.
Make sure you're working in a well-ventilated area throughout this process to keep the air fresh and safe. Properly cleaning the furniture not only guarantees a smooth painting experience but also enhances the overall finish, so take your time with this step to achieve the best results.
Sand the Surface
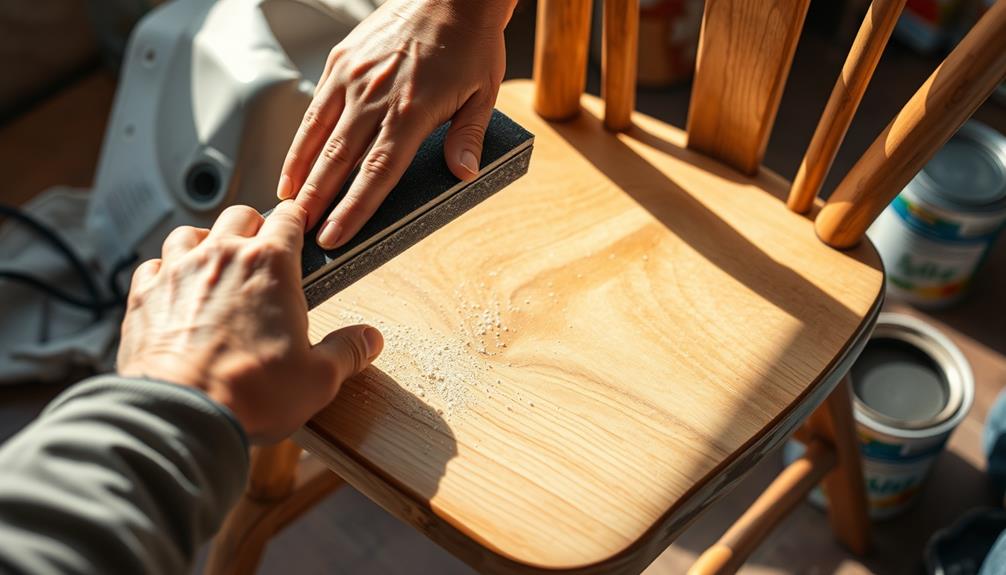
After confirming the furniture is clean and dry, it's time to prepare the surface for painting by sanding. Start with 80-grit sandpaper to remove any existing finish or blemishes. This initial sanding helps to open up the wood grain, making it easier for the paint to adhere later.
It's also important to take into account choosing the right tip size for your airless sprayer, as this can further enhance the finish quality. Once you've sanded the entire surface, switch to 120-grit sandpaper. This finer grit will help you smooth out the surface even more, confirming it's ready for the next step.
Finish with 220-grit sandpaper to achieve a silky-smooth surface. This step is essential for enhancing paint adhesion and creating a professional look. Remember to always sand in the direction of the wood grain to prevent scratches and confirm an even finish.
After sanding, use a tack cloth to remove any dust and debris, leaving you with a clean surface that's perfect for applying a coat of primer. Taking your time with this sanding process will make a significant difference in the final result when you paint wood furniture.
Now that you've prepared the surface, you'll be ready to move on to priming!
Apply Primer
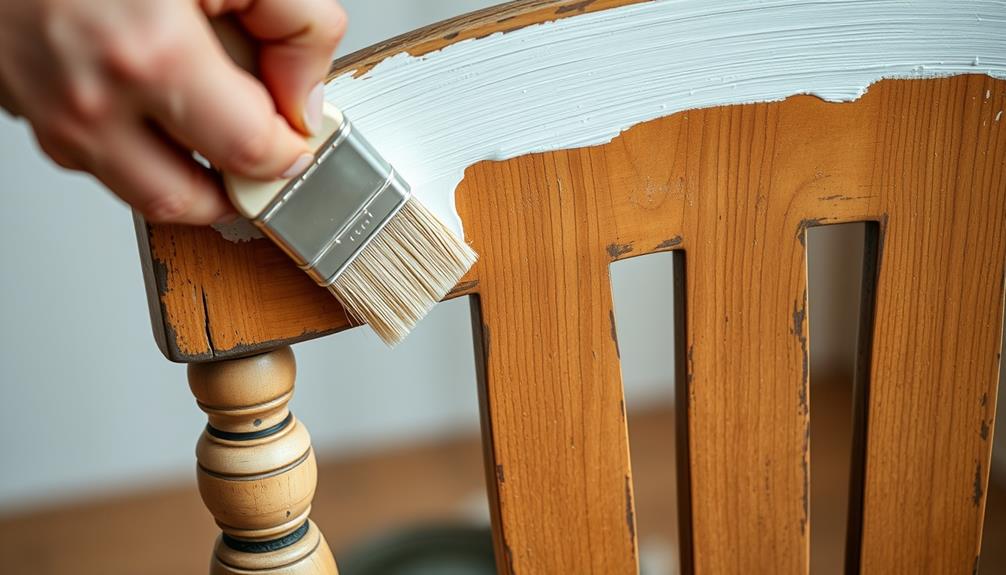
Now that you've sanded the surface, it's time to choose the right primer for your project.
Applying primer correctly is essential, so make sure to use the right techniques and pay attention to drying times between coats.
This step sets the foundation for a smooth and long-lasting finish on your wood furniture.
Choosing the Right Primer
Choosing the right primer is essential for a successful paint job on your wood furniture. The primer you select directly impacts the final result, guaranteeing proper adhesion, smoothness, and a beautiful even finish. Here's how to choose wisely:
- Type of Primer: If you want an odor-free experience, go for a water-based primer. For items with strong odors, Zinsser B-I-N is an excellent choice, but remember to ventilate the area well.
- Coats: Apply 1-2 coats of primer, allowing each layer to dry completely according to the manufacturer's recommendations. This guarantees even coverage and ideal adhesion.
- Sanding: Once the primer dries, lightly sand it with 220 grit sandpaper. This step creates a smooth surface for your paint application.
- Application Method: For intricate surfaces, a spray primer can provide an even finish. Start with the underside of the furniture to guarantee uniformity before moving to the visible areas.
Application Techniques Explained
Applying primer correctly is essential for achieving a smooth and durable finish on your wood furniture. Start by choosing a high-quality water-based primer for odor-free projects, or opt for Zinsser B-I-N if odors linger. Use a foam roller for large, flat surfaces, and a brush for detailed areas, guaranteeing even coverage and preventing drips. Apply 2-3 light coats of primer, allowing each coat to dry completely before adding the next.
Here's a quick reference table for your primer application process:
| Step | Action |
|---|---|
| 1. Choose Your Primer | Select water-based or Zinsser B-I-N |
| 2. Apply Primer | Use a foam roller and brush as needed |
| 3. Coat | Apply 2-3 light coats |
| 4. Dry | Let each coat dry as per instructions |
| 5. Sand | Lightly sand with 220 grit after final coat |
After your final coat has dried, lightly sand the surface to create a smooth base for your latex paint finish. Always test the primer on a small area to guarantee compatibility and prevent stains from bleeding through.
Importance of Drying Time
Proper drying time is essential for achieving a flawless finish when painting wood furniture. Allowing primer to dry for the recommended time, typically 1-2 hours, is vital for ensuring proper adhesion of the paint. If you skip this step, you might face issues like bubbling or peeling later on.
Here are some tips to keep in mind:
- Check for dryness: Make sure the primer is dry to the touch before applying the next coat.
- Wait between coats: Always let each coat to dry thoroughly to avoid compromising the finish.
- Consider environmental factors: Remember that temperature and humidity can affect drying times; warmer weather usually speeds up the process.
- Sand lightly: Once the coat is dry, lightly sanding the primer can enhance the surface, promoting ideal performance for the paint.
Following the manufacturer's instructions on drying times is essential. This way, you can avoid the hassle of additional sanding and repainting, ensuring a smooth, long-lasting finish on your wood furniture.
Paint the Furniture
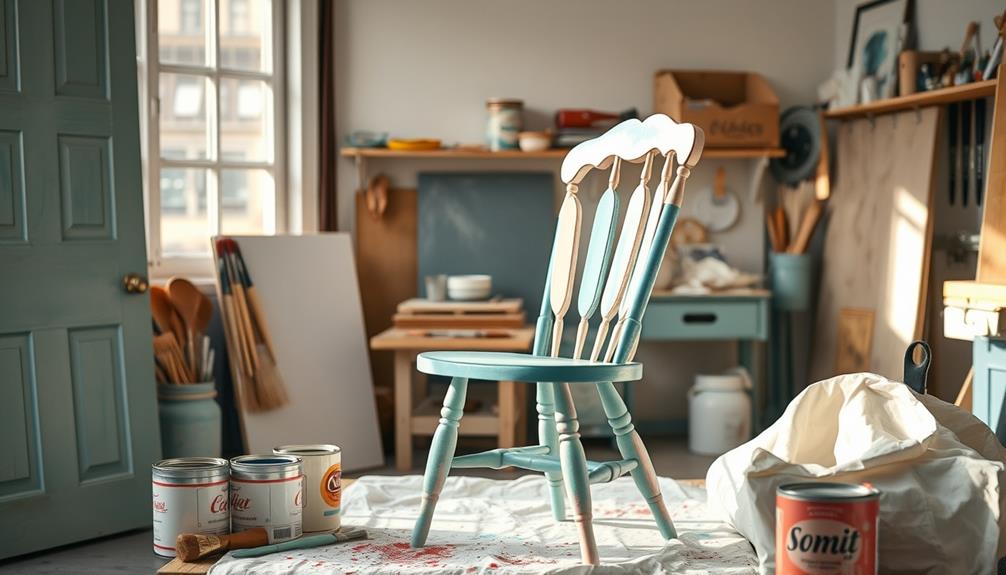
When it’s time to paint your wood furniture, start by using thin, even coats of high-quality paint. This method helps minimize drips and achieves a smooth finish. Choose paint specifically formulated for furniture, like water-based or chalk paint, guaranteeing both durability and easy cleanup. If you are painting particle board furniture, be sure to use a primer specifically designed for laminate surfaces to ensure proper adhesion and coverage. Sand the surface lightly before applying the primer, and use a high-quality brush or roller to achieve the best results. This will help the paint adhere to the smooth surface of the particle board and create a long-lasting finish.
Here's a quick reference table for your painting process:
| Step | Action |
|---|---|
| 1 | Lightly sand the surface with 220-grit sandpaper. |
| 2 | Apply the first thin coat using a high-quality brush. |
| 3 | Wait 2-4 hours for the coat to dry completely. |
| 4 | Lightly sand between coats for better adhesion. |
| 5 | Finish with a clear topcoat for added durability. |
After your first coat dries, repeat the process until you achieve the desired finish. Remember, always allow each layer to cure fully before applying the next. A clear topcoat, like polyurethane or polycrylic, will protect your paint and enhance durability. Following these steps guarantees your painting wood project turns out beautifully!
Seal the Finish
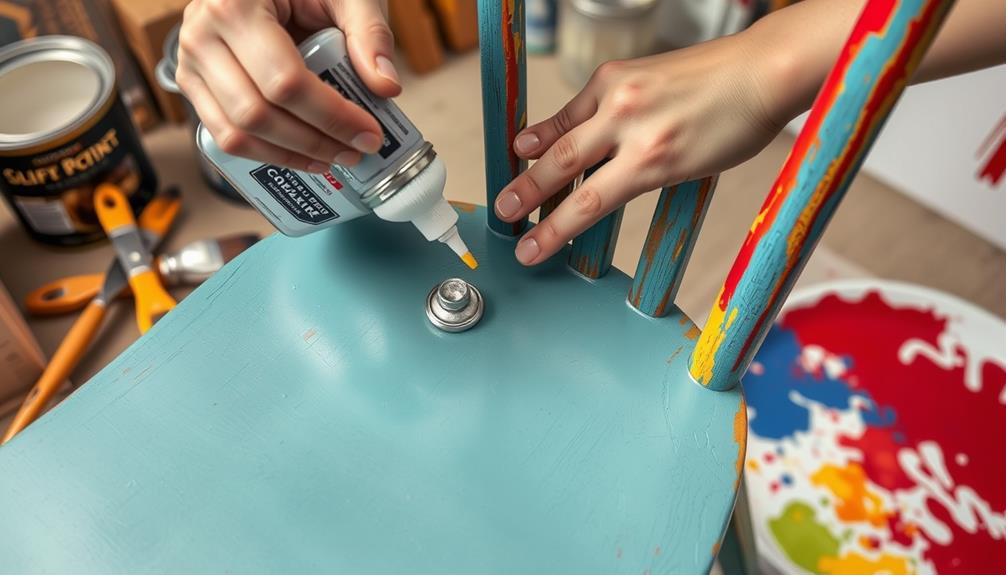
Once you've achieved the desired finish with your paint, sealing the surface is the next step to protect your hard work.
Sealing the finish is essential for safeguarding against scratches, stains, and moisture, ultimately extending the lifespan of your old furniture. For this job, you'll want to use a water-based polyurethane clear coat. It's easy to clean up and prevents yellowing, making it ideal for light-colored paints.
Here are the steps to seal the finish effectively:
- Choose the Right Tools: Use a synthetic paint brush or foam roller for applying the top coats evenly.
- Apply Thin Coats: Spread the clear sealant in thin, even layers, making sure all areas are covered thoroughly.
- Dry and Sand: Allow the first coat to dry completely. Then, lightly sand with 220-grit sandpaper before applying additional coats for maximum protection.
- Cure Properly: After sealing, let your furniture cure for at least 24-48 hours in a well-ventilated area to guarantee the finish hardens correctly.
Following these steps will help you achieve a durable and beautiful finish on your painted furniture.
Allow to Cure
Allowing your painted furniture to cure is a critical step in guaranteeing its durability and longevity. The curing period for painted wood furniture can range from a few days to 30 days, depending on the type of paint and environmental conditions. During this time, the paint hardens and adheres properly, which greatly reduces the likelihood of chipping or peeling in the long run.
It's essential to avoid placing heavy items on your newly painted furniture or using it during the curing period. Doing so can lead to dents or damage that could compromise the finish.
To achieve maximum durability, maintain a well-ventilated area while your furniture cures. This not only speeds up the drying process but also helps prevent the buildup of strong paint odors.
While waiting for the furniture to cure, regularly clean and dust the surface to maintain its appearance. Just be gentle; you don't want to disturb the curing paint.
Frequently Asked Questions
What Kind of Paint Do You Use on Wood Furniture?
To paint wood furniture, you'll want to use high-quality furniture paint designed for durability. Water-based paints are great for easy cleanup, while chalk paint offers a vintage look with minimal prep work. Choose wisely!
Do I Need to Sand Before Painting Wood Furniture?
You'd think skipping sanding is like trying to fly without wings! Yes, you need to sand before painting. It helps the paint stick, prevents peeling, and gives you a smoother, more professional finish.
Can You Paint Over Finished Wood Without Sanding?
Yes, you can paint over finished wood without sanding, but you need a good bonding primer. Clean the surface thoroughly, test a small area first, and consider using furniture-specific paint for better adhesion.
Should You Paint Furniture With a Roller or Brush?
When painting furniture, you should use a roller for large, flat surfaces to guarantee a smooth finish, and a brush for detailed areas. Combining both tools gives you better control and a polished appearance.
Conclusion
Now that you've transformed your wood furniture, stand back and admire your handiwork. The fresh coat of paint glistens like morning dew, bringing new life to each curve and corner. As you run your fingers over the smooth, sealed surface, envision the vibrant colors breathing warmth into your space. Your once dull piece now shines brightly, inviting compliments and sparking conversation. With every glance, you'll remember the effort you poured into this beautiful transformation. Enjoy your masterpiece!
