
To refinish wood furniture without stripping, start by cleaning your piece with mineral spirits to remove dirt and grime. Inspect for damage like scratches or dents. For superficial repairs, use wood filler and smooth it out. Enhance the finish with products like Howard's Restor-A-Finish or gel stains for a fresh look without removing the old finish. Apply a protective coat of polyurethane, ensuring you sand lightly between layers for a smooth texture. Finally, maintain your furniture with regular dusting and gentle cleaners. Keep going to discover more tips that will help you achieve the perfect finish!
Key Takeaways
- Clean the furniture thoroughly with mineral spirits to remove grime without water damage to the wood.
- Use Howard's Restor-A-Finish to enhance existing finishes without stripping the surface.
- Apply a liquid deglosser to prepare the surface for refinishing while retaining the original finish.
- Consider gel stains for a new look, which sit on the surface and are easy to apply.
- Finish with a protective coat of oil-based or water-based polyurethane for durability and preservation.
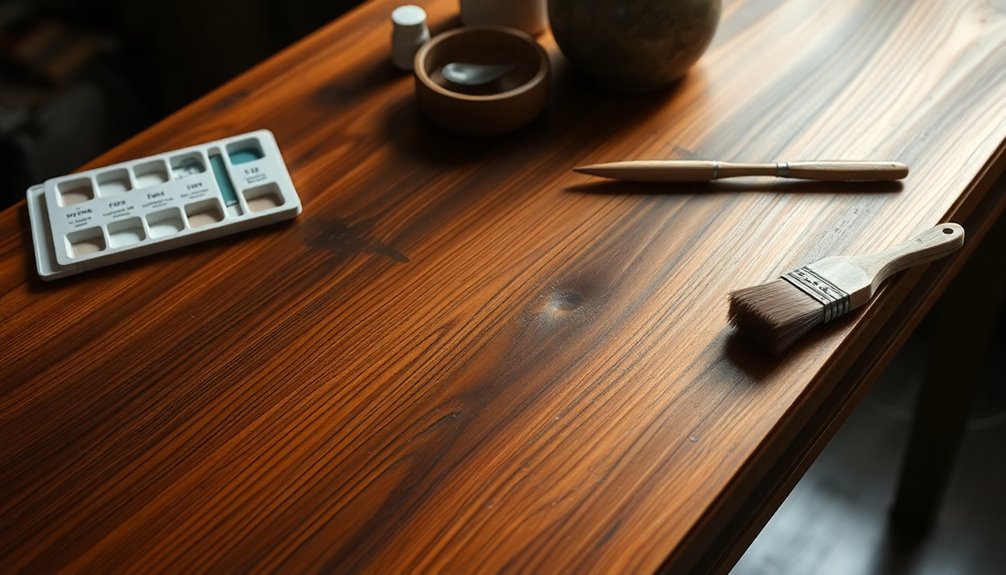
Cleaning the Furniture
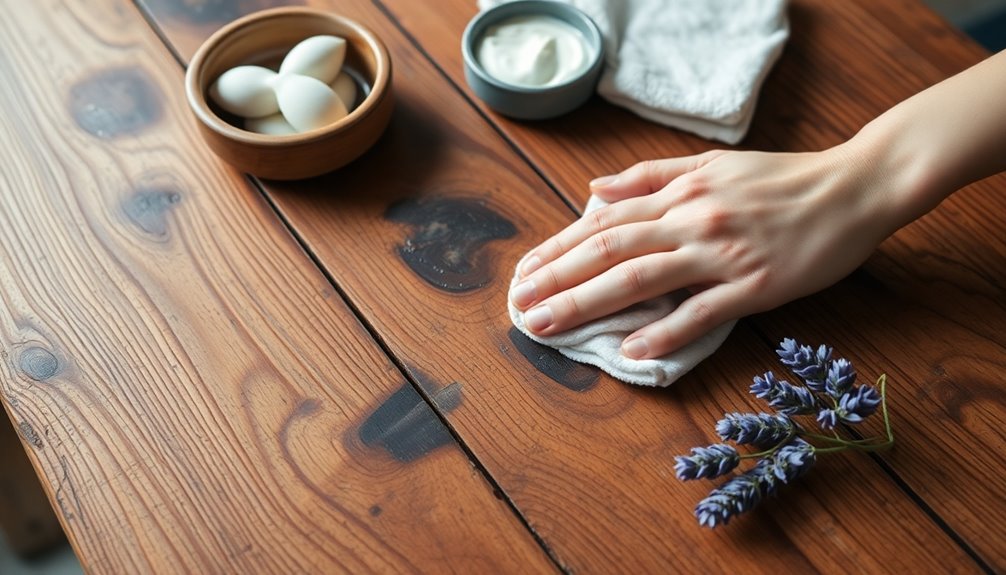
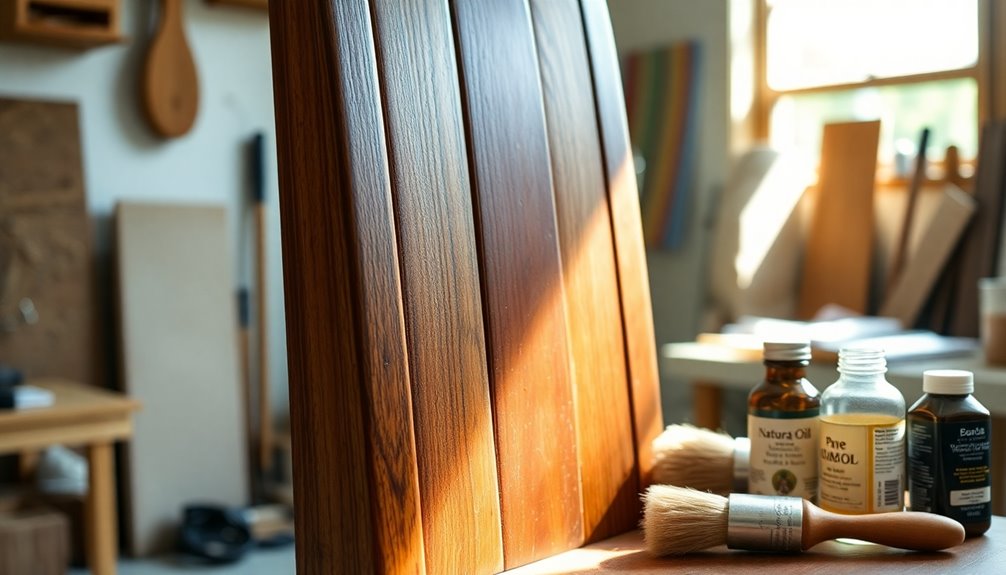
Cleaning wood furniture is essential for maintaining its beauty and longevity. Begin by using mineral spirits to tackle heavily soiled areas, especially if your furniture has an oil finish or wax coating. Dampen a soft cloth with mineral spirits to remove dust and grime from bare or freshly sanded wood. Avoid water unless absolutely necessary, as it can damage the wood or raise the grain. After cleaning, it’s important to protect your wood furniture by applying a suitable polish or wax to enhance its luster and create a barrier against dirt and moisture. Additionally, if your home contains metal furniture, consider using a rust remover or a mixture of vinegar and baking soda to effectively remove rust from metal furniture. Regular maintenance and careful cleaning will ensure that all your furnishings remain beautiful and functional for years to come.
For delicate furniture, test mineral spirits on a small, inconspicuous area before proceeding. You can also use a soft bristle brush dipped in mineral spirits for cleaning hard-to-reach spots around carvings and intricate designs. If you encounter stubborn dirt, consider mild soap solutions like Ivory Flakes or Orvus paste, but steer clear of detergents that leave a film. Avoid soaking wood in water to prevent damage.
Always use clean, soft cotton cloths or microfiber towels to wipe down surfaces. A vacuum with a soft brush attachment can help remove loose dust. After cleaning, ensure the wood is completely dry before applying any new finish. If needed, lightly sand with 220 or 320 grit sandpaper to prepare the surface, ensuring it's smooth for the next steps.
Assessing Damage
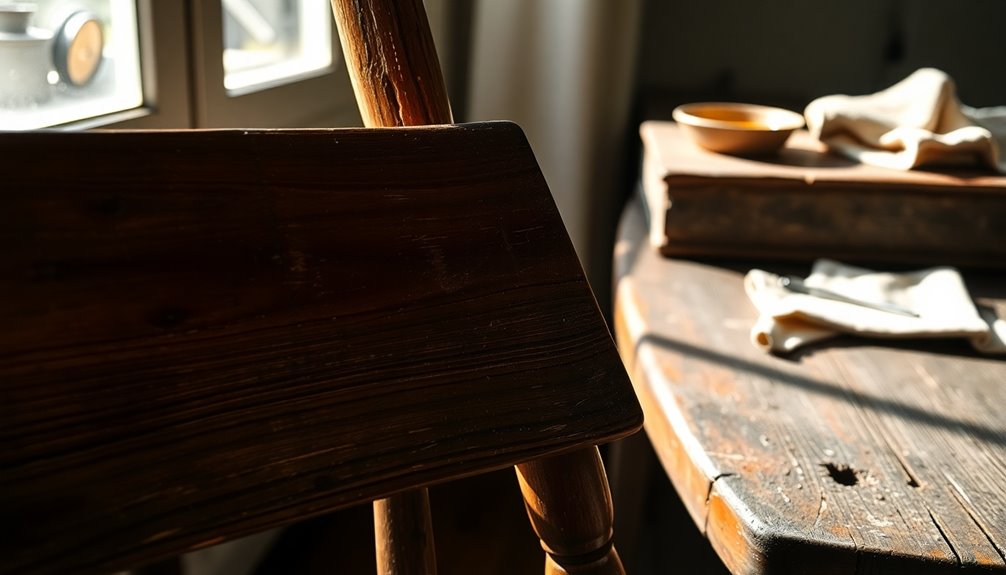
Once you've cleaned the furniture, it's time to assess its condition. Begin by looking for signs of damage like deep scratches, dents, or areas where the finish has worn away. Check for any exposed wood due to cracking, flaking, or chipping of the original finish. If the surface feels sticky, that's a clear indicator that refinishing is necessary. It's essential to recognize that persistent feelings of unhappiness can also be a sign that the furniture's wear is beyond just physical damage.
Evaluate the overall wear and tear, noting any discoloration or fading. Pay special attention to any accidental burns or severe damage. Minor scratches can often be smoothed out with sanding or filled with wood filler, while deep dents might require more extensive work. Regular maintenance can help prevent future upholstery issues and extend the life of your furniture.
Next, assess the existing finish. If it's intact but dull, you might opt for a simpler refinement process. However, if you notice flaking or peeling, be prepared for partial removal or repair. Determine the color and condition of the finish to guide your choice of a new finish. Finally, make a list of tools and supplies needed based on the types of damage identified, ensuring you're well-prepared for the refinishing process.
Repairing Dents and Cracks
When you notice dents and cracks in your wood furniture, addressing these imperfections promptly can prevent further damage and restore its beauty. For dents, you can use an iron and steam method. Just apply a damp cloth over the dent, place a hot iron on the cloth for 5-10 seconds, and repeat if necessary. This helps expand the wood fibers to raise the dent. If that doesn't work, apply a few drops of water directly to the dent and let it penetrate for a day. For deeper dents, consider using commercial wood-swelling liquids or creating small pinholes to allow better penetration of the liquid. Additionally, be cautious when using this technique on finished wood, and always test in an inconspicuous area first.
For cracks, first assess their depth. Shallow cracks can often be filled with wood filler. Ensure you clean the area around the crack before applying the filler, and sand it down once dry to blend with the surrounding wood. For deeper cracks, use epoxy or wood glue for reinforcement. Apply it carefully and clamp if needed, letting it dry completely before sanding. Finally, once everything's repaired and sanded, you can apply a stain and a clear coat to protect and match the finish.
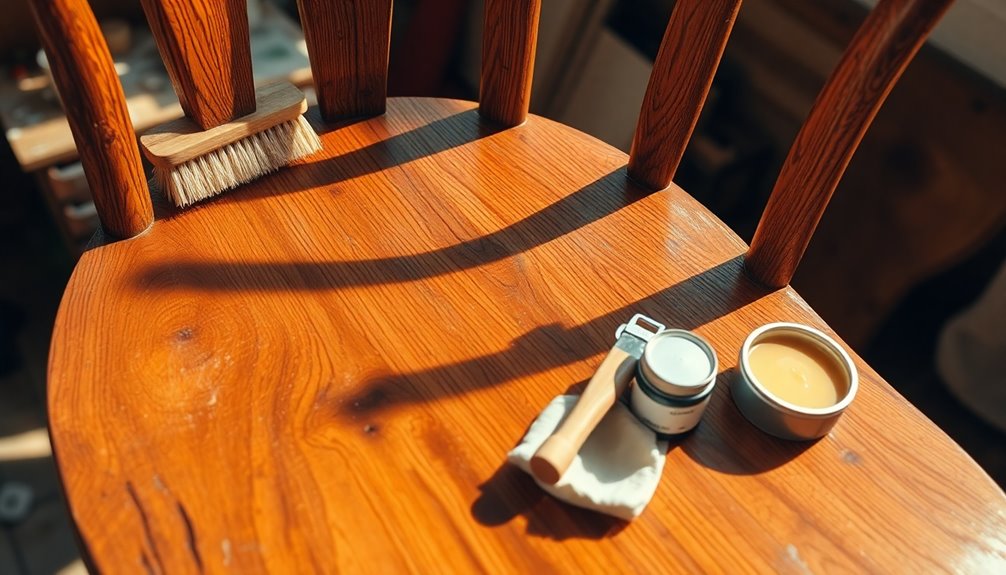
Using Restorative Products
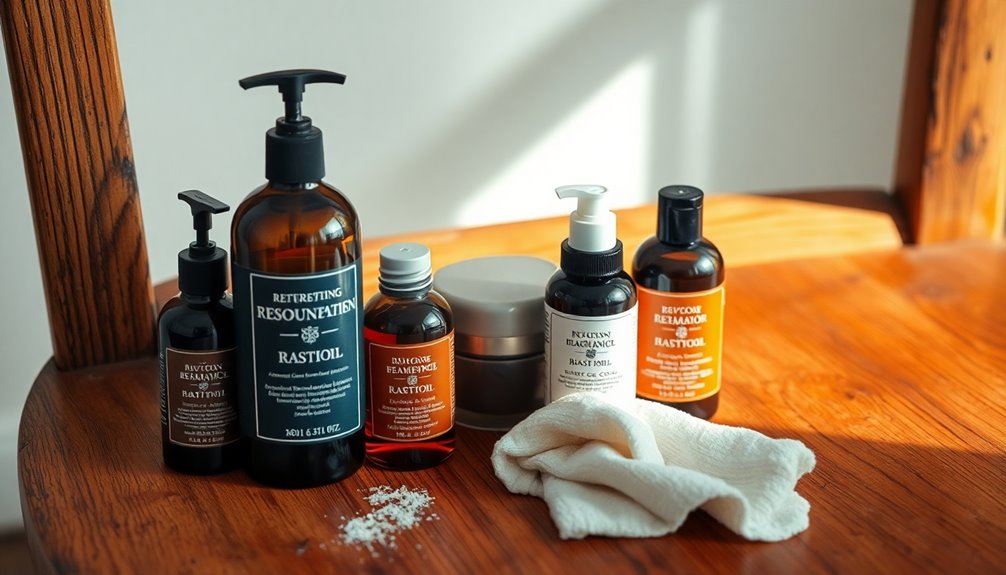
Reviving the beauty of your wood furniture can be easily achieved by using restorative products designed to enhance and protect finishes. Start with Howard's Restor-A-Finish, which combines solvents and wood stain to improve existing finishes. For a more updated look, consider using a gel stain that sits on the surface.
If you want to prepare the surface for new stain or paint without stripping, a liquid deglosser will dull the existing finish. An oil-based penetrating stain can add subtle color while keeping the wood grain visible. Remember to apply these products correctly: use 4/0 (0000) steel wool for Restor-A-Finish, and a rag for gel stain.
Always work in a well-ventilated area due to the solvents involved, and wear a cartridge respirator if you're sensitive to chemicals. Protect your surroundings with drop cloths to prevent splatters. After application, allow the product to dry, typically about 30 minutes in warm conditions. Wipe off any excess with a soft cloth, and inspect for uneven areas, applying additional coats as needed. This process is less labor-intensive compared to traditional stripping methods, making it more accessible for DIY enthusiasts.
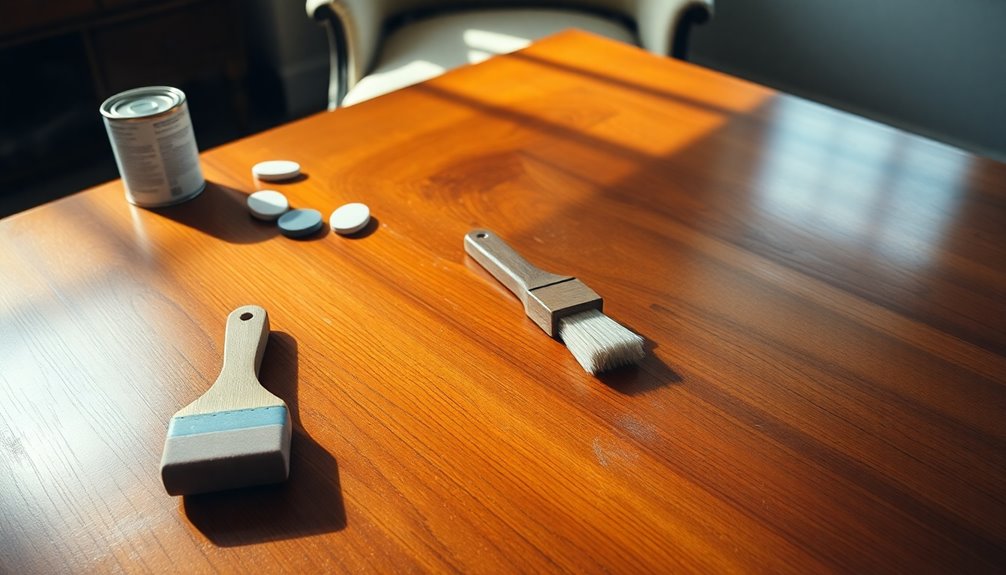
Applying Polyurethane
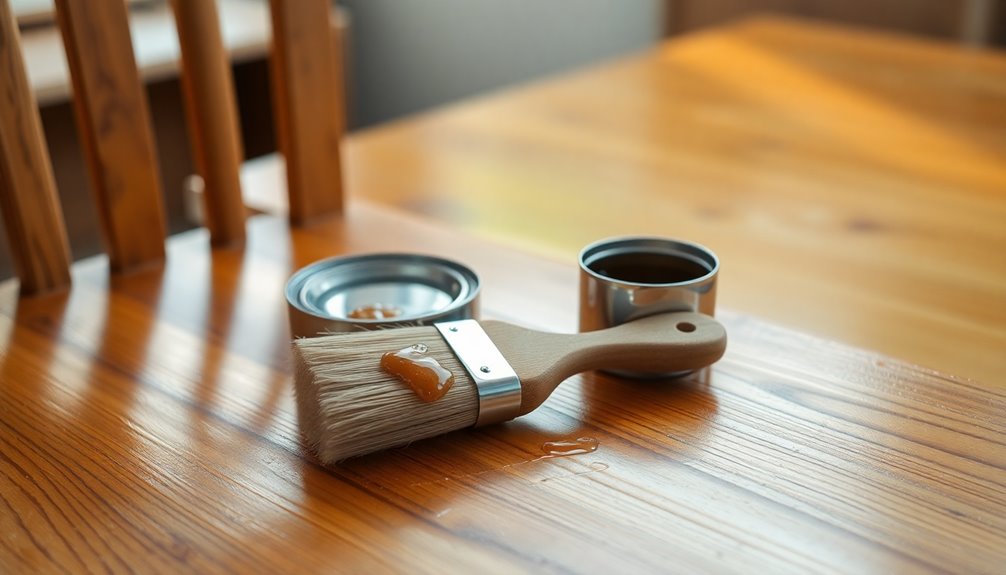
After using restorative products to enhance your wood furniture, the next step is applying polyurethane to protect and seal the finish. Begin by ensuring the wood surface is smooth and even. If needed, sand it with 220-grit sandpaper, removing any old finishes and imperfections. Use a tack cloth to wipe away dust.
Next, choose between oil-based and water-based polyurethane, considering their pros and cons. Decide on the desired sheen and stir the polyurethane well before application. Test it on a small, hidden area if you're working with light-colored finishes, and make sure your workspace is well-ventilated. Water-based polyurethane is particularly advantageous for its lower VOCs, making it a safer choice for indoor use.
For application, use a foam brush, synthetic bristle brush, or a rag, and consider an aerosol spray for tricky spots. Apply thin, even coats with long strokes in the direction of the wood grain, avoiding heavy layers and air bubbles. Overlap your brushstrokes for uniform coverage, and catch any drips along the edges.
Allow the first coat to dry completely, which typically takes several hours. Lightly sand the surface again before applying additional coats, following the same process until you achieve the desired finish.
Avoiding Stripping Methods
Although refinishing wood furniture often conjures thoughts of tedious stripping methods, you can achieve excellent results without them. Start by cleaning the surface thoroughly using a gentle cleaner or a mixture of mild soap and water. Liquid Ivory dish soap mixed with water works great—just scrub gently with a sponge, rinse with a wrung-out sponge, and dry with a clean towel. This step ensures the new finish adheres well.
Next, consider using a liquid deglosser instead of sanding. Wipe the deglosser on with a cloth to dull the existing finish, preparing the surface for new stain or paint without the hassle of stripping. It's a quicker alternative that helps create a uniform base. Additionally, evaluating the value of the piece will guide your refinishing decisions, as some items may be better left untouched.
For the actual refinishing, gel stains are fantastic since they sit on top of the surface. Apply them easily with a rag. Alternatively, Howard's Restor-A-Finish can improve the existing finish without removal. Use 4/0 steel wool in small circles to blend in any repairs, ensuring you achieve the desired color and pattern without stripping the old finish.
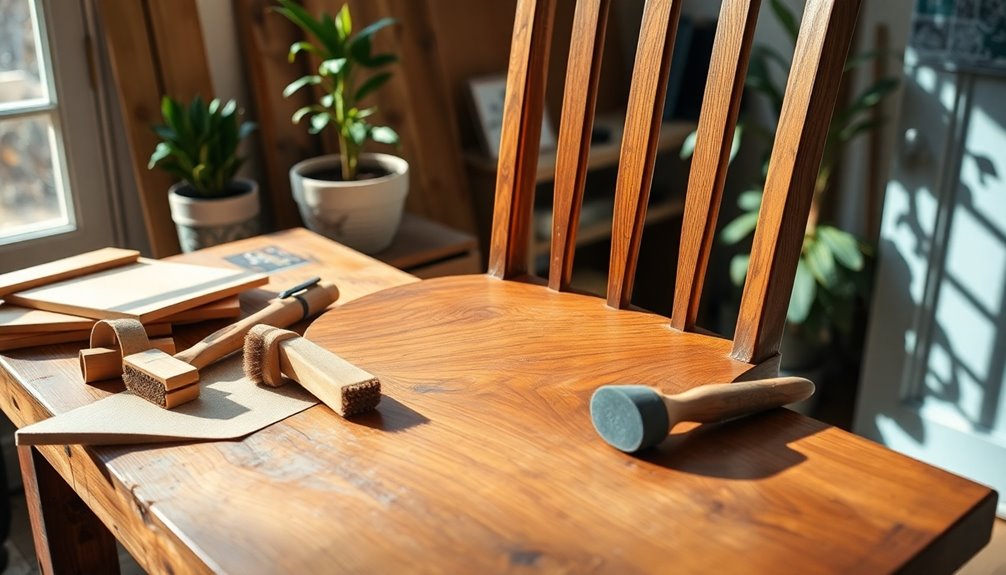
Blending Repairs Seamlessly
When blending repairs seamlessly into refinished wood furniture, the key is meticulous preparation. Start by cleaning the surface thoroughly to eliminate dust and grime. Assess the furniture's state to identify areas needing repair, and choose a wood filler that matches or can be stained to match the wood color. Overfill the void slightly to account for shrinkage as the filler dries, allowing it to set completely, which could take several hours.
Next, apply a burn-in wood filler for precise color matching. Use a soldering iron to melt the filler into the void, applying multiple tones if necessary. This process is further enhanced by using an assortment of burn sticks to achieve various color options. Once it cools and hardens, buff it with a microfiber cloth.
Now, sand the filled area with medium-grit sandpaper to level it with the surrounding wood, then switch to fine-grit sandpaper for a smooth finish. Always sand in the direction of the grain to avoid scratches. Use sanding sponges for tight corners. Finally, find a stain that matches the surrounding wood and apply it in thin layers, ensuring each layer dries thoroughly before proceeding, until the repair blends seamlessly with the rest of the piece.
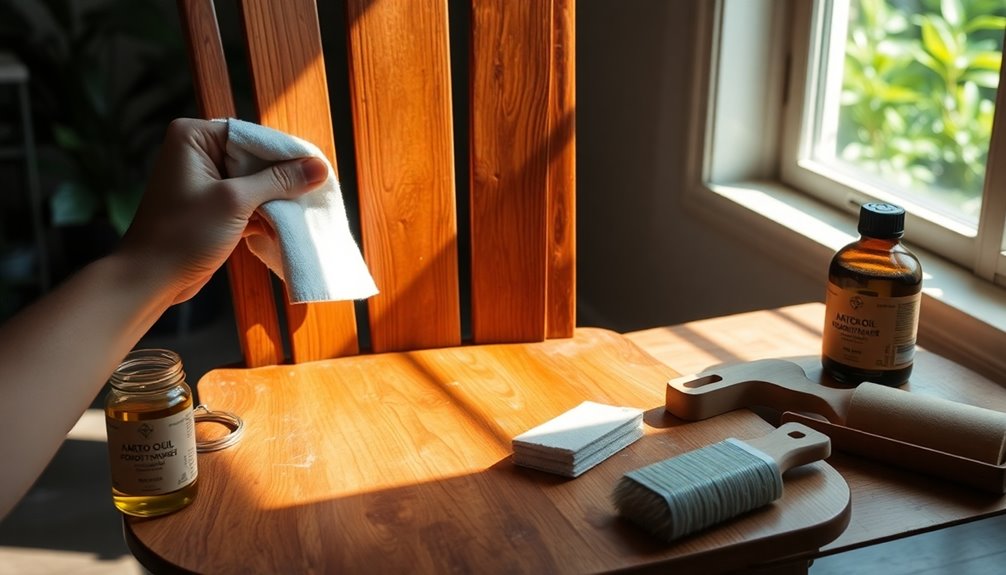
Final Touches for Protection
To ensure your refinished wood furniture stands the test of time, applying a protective finish is essential. Start by choosing a stain that requires a separate finish, allowing you to adjust the color as needed. Apply the stain in thin, even coats, letting each coat dry completely before adding the next. Don't forget to wipe off any excess stain with mineral spirits or a clean rag before it dries to achieve an even look.
Next, seal the wood to protect it and create a smooth base for the stain. Use a thick coat of sealant, allowing it to soak into the wood, then wipe off the excess. Depending on your furniture's use, opt for oil finishes, wipe-on varnish, or polyurethane varnish for high-traffic pieces like tables. Engaging in refinishing is a meaningful way to honor the past and appreciate the craftsmanship involved in your furniture.
Finally, protect your refinished furniture from environmental factors. Keep it out of direct sunlight to avoid fading and use curtains or blinds for added protection. Always use coasters and placemats to guard against water rings and heat damage, and lift furniture instead of dragging it to prevent scratches. These final touches will help maintain your beautiful refinished piece for years to come.
Maintaining Your Furniture
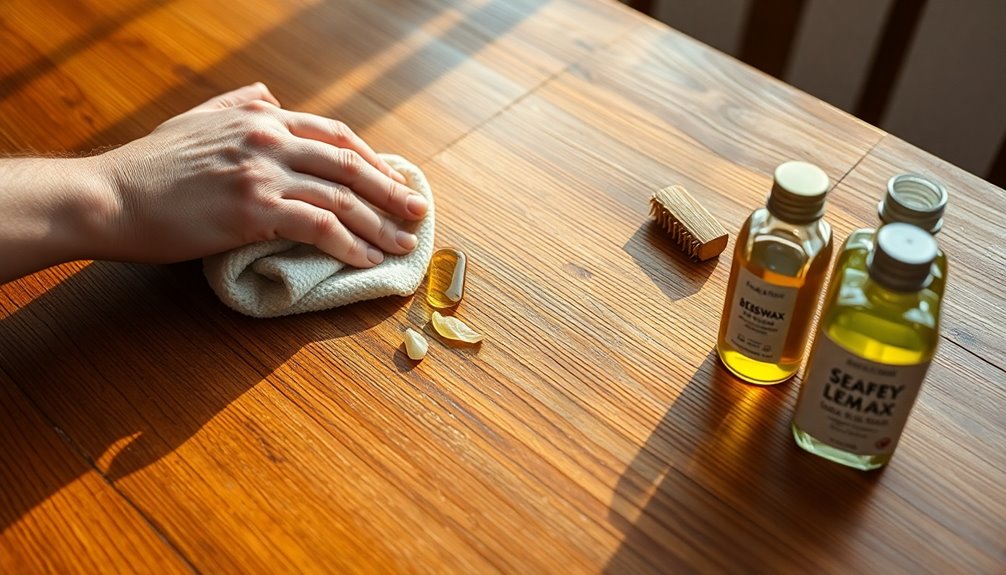
After applying the final touches to protect your refinished wood furniture, maintaining its beauty and functionality becomes a priority. Start by cleaning the surface regularly. Use a gentle cleaner or a mixture of mild soap and water to remove dust, dirt, and grime that can affect the finish. Always ensure the wood is completely dry after cleaning, and protect your surroundings with drop cloths to prevent damage.
Next, assess your furniture periodically. Check for any dents, cracks, or damages that may need repair. Knowing whether your furniture is solid wood or veneer can help you determine the best maintenance approach. Additionally, regular dusting is essential to preserve the quality of your furniture.
When touch-ups are necessary, you can use products like Howard's Restor-A-Finish to blend any uneven areas without stripping the existing finish. If you find worn-out spots, a coat of oil-based Minwax wipe-on polyurethane can add protection while enhancing the wood's color.
Lastly, avoid using harsh chemicals that could damage the finish. By following these maintenance tips, you'll keep your refinished furniture looking stunning and extend its lifespan for years to come.
Tips for a Successful Finish
Achieving a successful finish on your refinished wood furniture starts with meticulous surface preparation. First, clean the surface thoroughly to remove any dust, dirt, or grime using a gentle cleaner or a mixture of mild soap and water. Allow the wood to dry completely before proceeding. Protect your surroundings with drop cloths to catch any splatters, and ensure your work area is well-ventilated, especially if you're using chemical-based products.
Next, choose the right products. Howard's Restor-A-Finish is excellent for enhancing the existing finish without stripping it. Select an appropriate shade, and remember that you can blend shades for a custom color. For added protection, apply oil-based Minwax wipe-on polyurethane. Assessing the finish is necessary before restoration begins to determine the best approach.
When applying the finish, use 4/0 (0000) steel wool in small circles with light pressure for Restor-A-Finish, wiping off excess with a soft cotton cloth. Use long, even strokes for any finish application. After the initial coat dries, inspect for uneven areas and apply additional coats if needed.
Finally, allow the finish to dry completely before using the furniture and maintain it with regular cleaning and touch-ups to keep it looking its best.
Frequently Asked Questions
Can I Use Vinegar Instead of Dish Soap for Cleaning?
Yes, you can use vinegar instead of dish soap for cleaning. Vinegar's natural acidity effectively cuts through grime and grease without leaving residues that might harm your wood's finish. Mix equal parts water and white vinegar, and test it on a small area first. Wipe the surface with a soft, damp cloth, following the grain, then dry it with a clean cloth. This method keeps your furniture looking great while being eco-friendly!
What Should I Do Before Starting the Refinishing Process?
Before starting the refinishing process, you should identify the type of wood and existing finish on your furniture. Clean the surface with a damp cloth to remove dirt and grime, making sure it's free of debris. Assess any imperfections or damage that need fixing, and gather all necessary tools like sandpaper and safety gear. Finally, take safety precautions by wearing protective eyewear and gloves to keep yourself safe throughout the project.
How Long Does the Entire Refinishing Process Take?
The entire refinishing process can take anywhere from a couple of hours to a full day, depending on the methods you choose and the condition of your furniture. Quick methods like cleaning and deglossing or using Restor-A-Finish can be done in under an hour. More detailed approaches, like gel staining or conditioning, might require several hours. Plan accordingly to ensure you've got enough time to achieve the desired results.
Can I Use Water-Based Finishes Instead of Oil-Based?
Yes, you can definitely use water-based finishes instead of oil-based ones. They're widely available and easy to apply with a brush or roller. Water-based finishes dry quickly, often within a couple of hours, allowing you to apply multiple coats in a day. They also have less odor and are generally safer to use. Just make sure to clean and prepare the surface properly for the best results. You'll love their clear, non-yellowing finish!
How Often Should I Clean and Maintain Refinished Furniture?
You should clean and maintain refinished furniture regularly to keep it looking its best. Dust daily to prevent buildup, wipe it down weekly with a damp cloth, and condition it monthly with a wax-based product. Every few months, do a deeper clean using a gentle cleaner and #0000 steel wool. Always check for damage and reapply finish as needed to protect your furniture from wear and tear.
Conclusion
Refinishing wood furniture without stripping can breathe new life into your pieces while preserving their character. By cleaning, repairing, and using restorative products, you can achieve a beautiful finish that enhances the wood's natural beauty. Don't forget to apply a protective coat and maintain your furniture regularly to keep it looking its best. With these simple steps, you can enjoy your revitalized furniture for years to come. Now, go ahead and get started on your project!