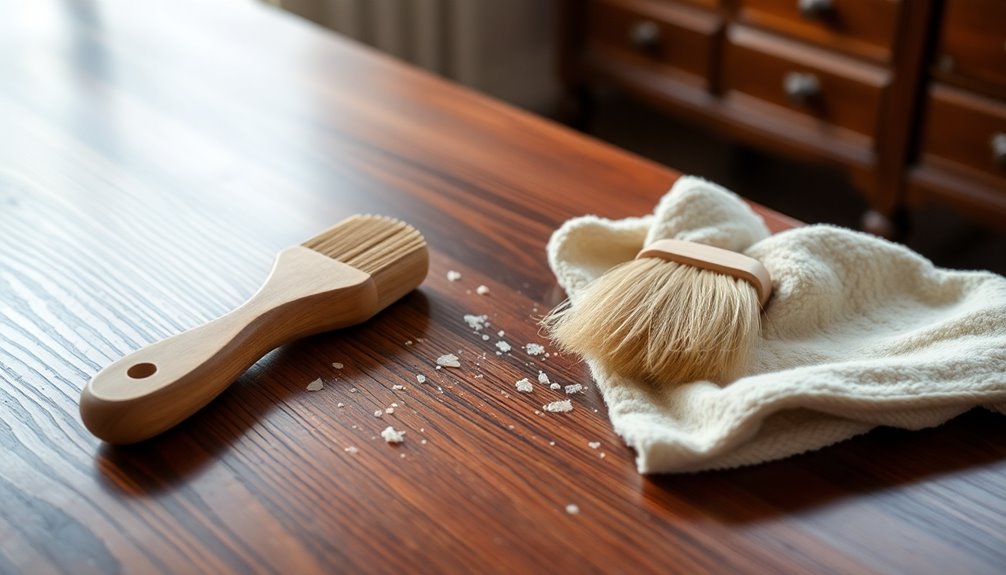

To remove wax from furniture, start by allowing the wax to harden. You can speed this process up with ice cubes. Once it's set, gently scrape it off using a plastic scraper. For stubborn spots, heat the wax with a heat gun or an iron over a cloth, and wipe away as it melts. If needed, apply a solvent like mineral spirits with a soft cloth for complete removal. Finish by cleaning the surface with soapy water or a vinegar solution to eliminate any residue. Stick around, and you'll discover more tips to prevent future wax buildup!
Key Takeaways
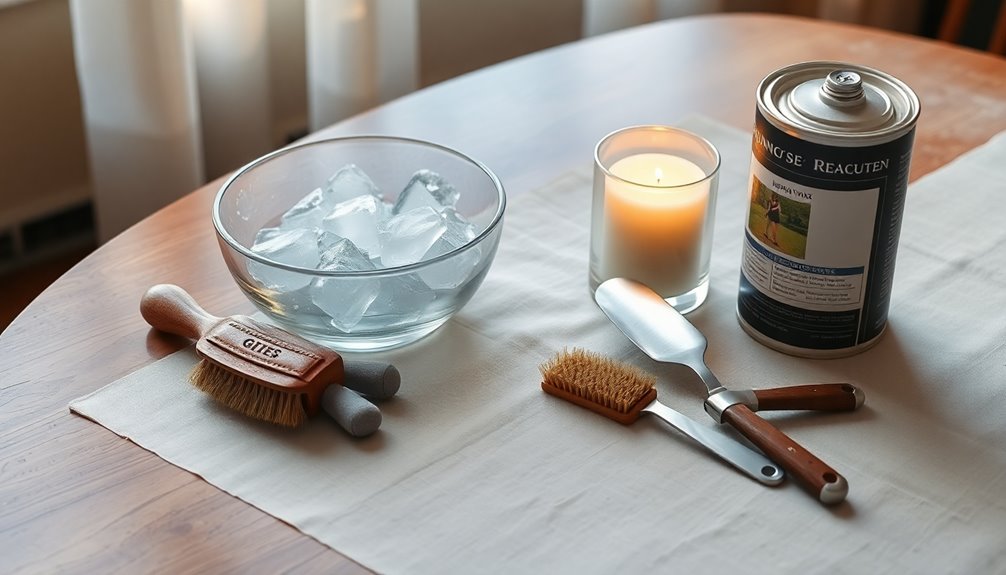
- Allow the wax to harden by using ice, making it easier to scrape off later.
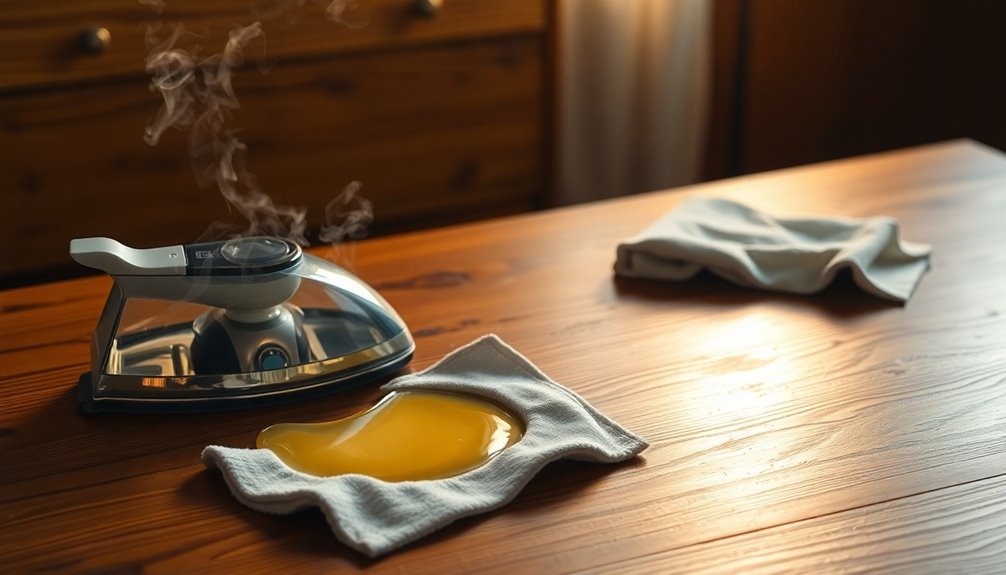
- Use a heat gun or iron on a low setting to melt the wax, then wipe it away with a cloth.
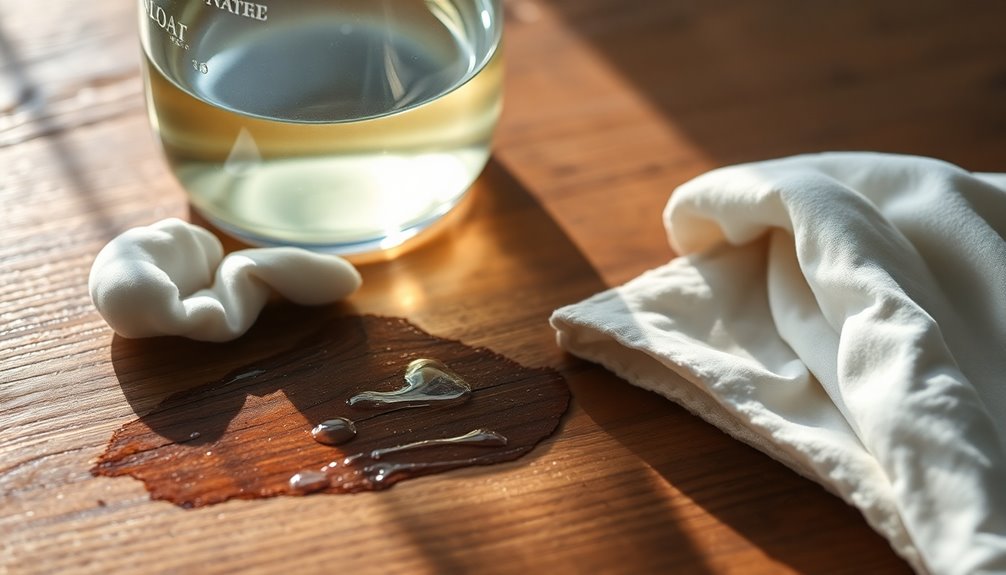
- For stubborn wax, dampen fine-grade steel wool with a solvent and gently rub the affected areas.
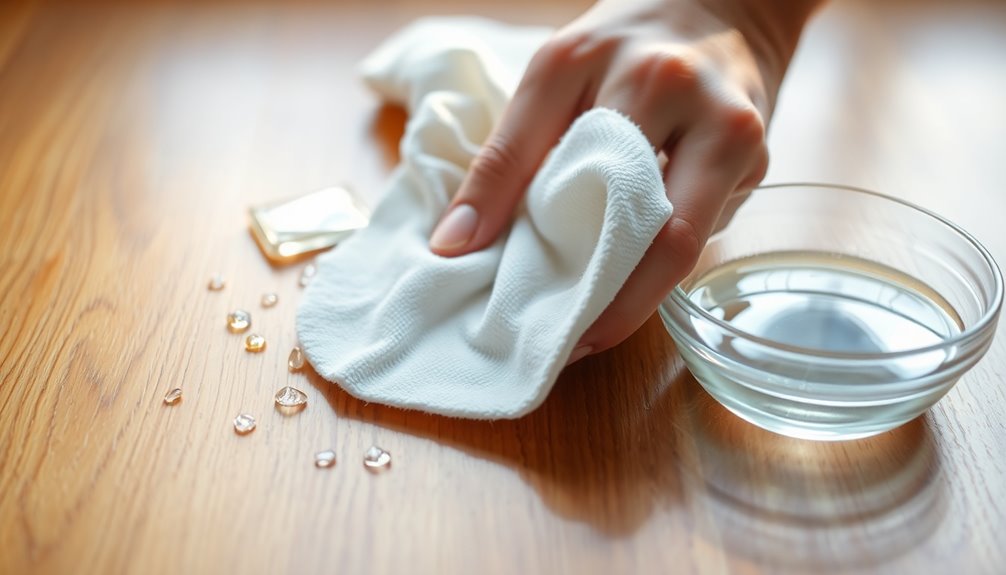
- Clean the surface with a warm soapy water solution to remove any remaining wax and dirt.
- Neutralize any solvent residue with a baking soda paste followed by a vinegar solution rinse.

upsimples 19 Pack Picture Frames Collage Wall Decor for Mounting or Tabletop Display, Photo Gallery Frame Set for Family, Multi Sizes Including 8x10, 5x7, 4x6, Black
【Durable Material】Our collage frame is made of well made wood frame. Comes with a plastic cover, which provides...
As an affiliate, we earn on qualifying purchases.
Preparation and Safety
Before diving into the task of removing wax from your furniture, it's crucial to prepare your workspace and prioritize safety. Start by choosing a well-ventilated area, like outdoors or a garage with open doors. Lay down a drop cloth or old newspapers to catch any spills and protect your flooring. Make sure your workspace is free of flammable materials and set up on a stable, flat surface to avoid accidents.
Safety is key, so wear rubber gloves and safety goggles to protect yourself from solvents and chemicals. A mask is also essential when sanding to guard against wood dust. Always follow the safety instructions on solvent containers and test any solvent on a small, inconspicuous patch first to ensure it won't damage the finish. Avoid using solvents near open flames or sparks. Regular cleaning of surfaces can help prevent wax buildup and make the removal process easier in the long run.
Gather your protective gear and equipment, including soft cloths for applying solvents, fine-grade steel wool for stubborn spots, and a plastic scraper to lift softened wax. Keep baking soda and water handy to create a neutralizing paste, and have warm water with mild dish soap ready for the final cleanup.

Umbra Exhibit Picture Frame Gallery Set, Adjustable Wall Collage Displays Nine Photos (Four 5x7" and Five 8x10"), Set of 9, Black
MULTI-PHOTO WALL DISPLAY: Display your favorite photos in an eye-catching fashion using these hanging, gallery-style frames suspended from...
As an affiliate, we earn on qualifying purchases.
Letting the Wax Dry

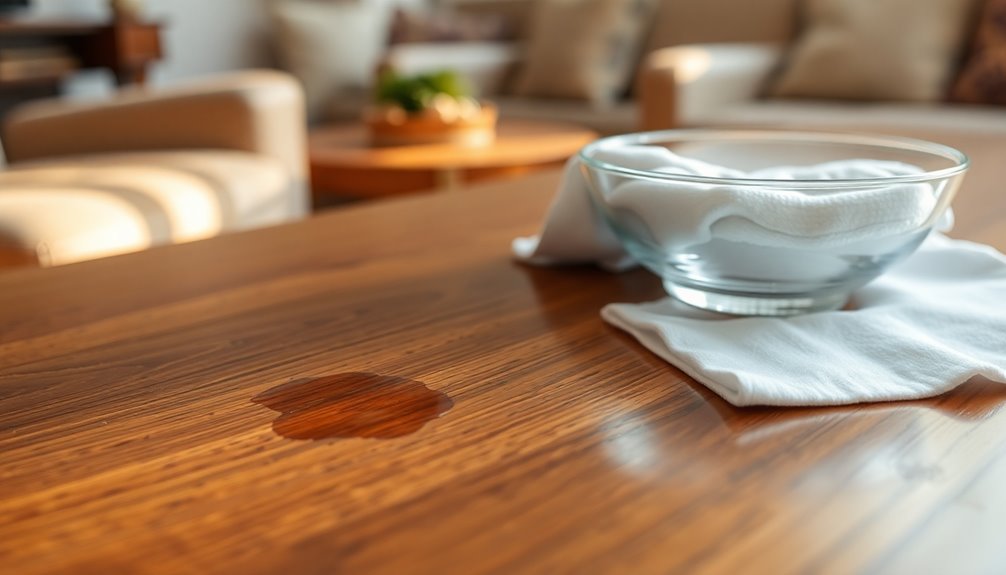
Letting the wax dry is a crucial step in the removal process, as it makes the task significantly easier and more effective. When the wax hardens, it becomes simpler to scrape off, preventing any smearing or spreading that could complicate your efforts. This is especially important for protecting your furniture's surface from damage, as removing dry wax reduces the risk of scratching or harming the finish.
To speed up the drying, you can use ice cubes by applying them directly to the wax. Alternatively, placing the affected area in a cold environment can accelerate the process, but avoid using heat, as it may melt the wax and make removal harder. If possible, be patient and let the wax dry naturally, while ensuring good ventilation to help it along. Additionally, proper drying ensures that you can effectively remove any excess wax without damaging the furniture.
Once the wax is dry, you'll find that it responds better to your removal techniques. You can effectively scrape it off using a butter knife or apply solvents, like mineral spirits, for a more thorough cleaning. This preparation sets you up for success in the following removal steps, making the entire process smoother and more efficient.
Amazon Product B08NWSRHFC
As an affiliate, we earn on qualifying purchases.
Initial Wax Removal
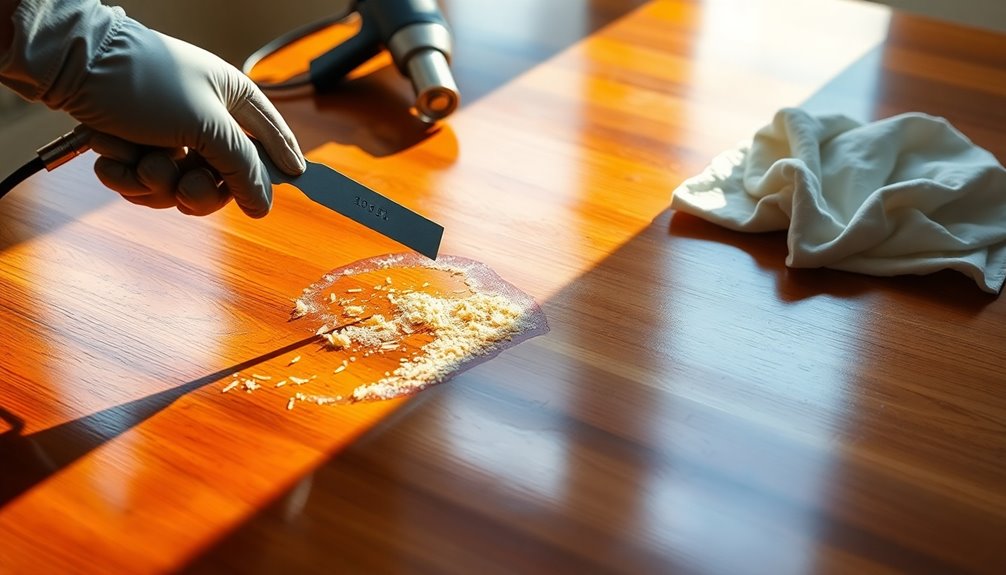
Once the wax has dried, you can begin the initial removal process. Start by applying heat to the waxed surface using a heat gun or an iron. Keep the heat gun about six inches away to prevent scorching the wood. Move the tool slowly back and forth over the waxed area, allowing the wax to melt. As it softens, use a clean cloth to wipe away the melted wax. It's best to work in small sections to avoid the wax hardening again.
Next, take a plastic scraper, spatula, or butter knife to gently scrape off the softened wax. Always scrape in the direction of the wood grain to prevent any damage. Remove as much of the wax as possible during this step, but don't apply too much pressure to avoid scratching the surface. Removing wax is essential for creating a surface that allows paint to adhere properly and ensures a smooth finish.
For stubborn wax spots, you can use fine-grade steel wool. Dampen it with a solvent and rub gently in the direction of the grain. Replace the steel wool frequently as it gets saturated. This process will help you effectively remove the bulk of the wax before moving on to further cleaning.

Vittanly 20 Pack Picture Frames Collage Wall Decor, Multi Sizes Including 4pcs 8x10, 8pcs 5x7 and 8pcs 4x6 Photo Frames, Gallery Frame Set for Wall or Tabletop Display, Black, Brown and Dark Grey
Versatile Sizes for Display: Vittanly 20-Pack multi-size picture frame set includes 4x 8x10", 8x 5x7", and 8x 4x6"...
As an affiliate, we earn on qualifying purchases.
Using Solvents
When you're ready to tackle the remaining wax, using solvents can be highly effective. You'll want to choose the right solvent for your furniture; mineral spirits, denatured alcohol, and turpentine are all good options. If you prefer less odor, consider using odourless solvents. Remember to work in a well-ventilated area because these substances can emit strong fumes. Additionally, using an odourless solvent can make the process more pleasant while effectively removing wax.
To apply the solvent, dampen a soft cloth—make sure it's not soaking wet—and gently rub the waxed areas, working in small sections. For stubborn wax, fine-grade steel wool dipped in the solvent can help, but always rub in the direction of the wood grain and avoid excessive pressure. If you encounter thick layers, a scraper or spatula can lift off softened wax, but be cautious not to gouge the wood.
After removing the wax, wipe the surface with a clean, dry cloth to eliminate any solvent residue. You can neutralize the solvent with a baking soda paste, followed by a wash using warm water and dish soap. Rinse with clean water, dry thoroughly, and consider applying a new protective coating if needed.
Heat Methods
If you're looking for an effective way to remove wax from furniture, heat methods can be a great option. You can use a heat gun, hair dryer, or iron to melt the wax, making it easier to wipe away. When using a heat gun, hold it about 6 inches away from the waxed surface and move it back and forth slowly to prevent scorching the wood. Once the wax melts, simply wipe it off with a clean cloth and use a cloth dampened with mineral spirits for any remaining residue.
For fabric furniture, the iron method works well. Place a paper towel or white cotton cloth over the wax, set your iron to a low to medium temperature without steam, and gently stroke it to melt and absorb the wax. If necessary, switch to a clean piece of paper for better results. Removing old wax can also help reveal the natural beauty of the wood underneath, adding to the effectiveness of these heat methods.
Alternatively, a hair dryer on a low setting can also do the trick. Hold it above the wax, and once it liquefies, wipe it off immediately. Always test these methods on a small area first, and remember to work in sections to manage the process effectively.
Mechanical Methods
Removing wax from furniture can also be effectively achieved through mechanical methods. Start with sanding; use fine-grit sandpaper, like 220 grit, to prevent scratching. For thicker layers, begin with coarser grit and switch to finer sandpaper as needed. Always sand in the direction of the wood grain, applying even pressure to avoid gouging. After sanding, wipe the surface with a tack cloth to eliminate dust and residual wax. Regularly removing wax is crucial to prevent old wax buildup that can hinder future restoration efforts.
If you prefer scraping, soften thick wax using a solvent or heat first. Choose a plastic scraper to lift the wax gently—metal tools can scratch the surface. Inspect the wood afterward to ensure all wax is removed.
You can also use fine-grade steel wool dipped in a solvent such as mineral spirits. Rub gently along the grain without applying too much pressure. Repeat until the wax is gone, then wipe down the surface with a clean, dry cloth.
For minor spills, everyday items like a butter knife or plastic spatula work well. Cool recent spills with ice before scraping. Always avoid metal tools to keep your furniture scratch-free.
Final Cleaning
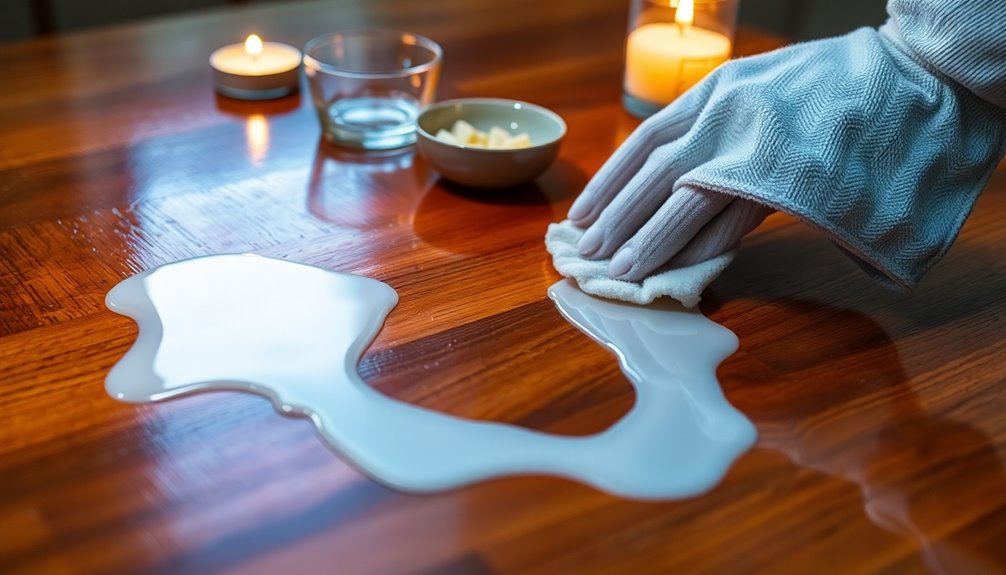
After you've successfully removed the wax from your furniture, it's time to give it a thorough final cleaning. Start by mixing warm water with a few drops of dish soap. Dampen a clean cloth and gently scrub the surface to eliminate any residual wax and dirt. Remember to rinse the cloth in clean water and wipe down the furniture again to remove any soap residue. Be cautious not to soak the surface, as excess moisture can cause damage.
For an extra touch, you can use a vinegar solution made from a 1:3 ratio of white vinegar to water. This acts as a natural degreaser, helping to cleanse and neutralize the surface. Always test the solution on a small, inconspicuous area first, and rinse with clean water afterward.
To ensure no residue remains, use multiple cloths to avoid reapplying wax. Finish by wiping down the furniture with a clean, dry cloth, checking for any remaining wax. If needed, repeat the cleaning process until the surface is spotless. Finally, dry the furniture thoroughly to prevent water spots or damage.
Neutralizing Residue
Neutralizing residue on your furniture is essential for maintaining its finish and ensuring a clean surface for future treatments. Start by creating a baking soda paste—mix baking soda with a small amount of water. Apply this paste to the furniture surface, then wipe it down to help neutralize any remaining solvent residue. Afterward, use a damp cloth to remove the paste entirely, ensuring no residue is left behind. Additionally, remember that ice application can help solidify any soft wax, making it easier to manage before cleaning.
Alternatively, you can prepare a mild soap solution using dishwashing soap and warm water. Gently scrub the furniture with this solution, then rinse thoroughly with clean water. Make sure to dry the surface afterward to avoid water spots. If the furniture still shows signs of mold after cleaning, you may need to apply a more targeted approach. One effective method for how to remove mold from furniture is to use a mixture of vinegar and water; simply spray it on the affected areas and let it sit for a few minutes before wiping it away. Always ensure proper ventilation while cleaning, and remember to test any solution on a small, inconspicuous area first to avoid damage.
Another effective method involves a vinegar solution, which you can make by diluting white vinegar with water in a 1:3 ratio. Wipe the surface with a cloth dampened in this solution, as vinegar acts as a natural degreaser. Always test any cleaning solution on a small, hidden area first to prevent damage. Throughout the process, use soft cloths and work in small sections to protect your furniture and keep track of your progress.
Preventing Future Wax Buildup
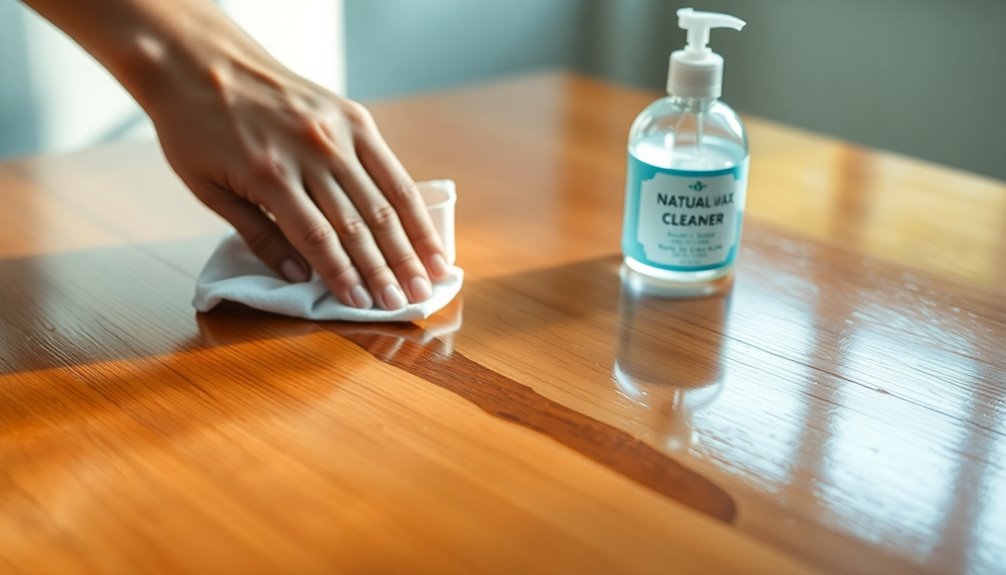
To keep your furniture looking its best, it's crucial to prevent future wax buildup. Start by applying wax properly; use a clean, lint-free cloth and work in a circular motion over small areas to ensure an even coat. Don't overapply, as excess wax can lead to uneven drying and a spotty finish. Always let the wax dry completely before buffing it for that perfect sheen. Regular maintenance is key. Dust your furniture weekly with a soft, dry cotton cloth, and wipe up spills immediately to avoid stains. Use coasters and pads to protect surfaces and reapply wax when the shine diminishes. Avoid using polishes or oils on top of the wax, as this can cause issues.
Choose the right wax for your furniture type, ensuring it's high-quality and suitable for the finish. Natural waxes may contain acids that can affect certain finishes, so it's important to select a product that matches your furniture's needs. Limit the number of products you use to prevent inconsistent results. Finally, keep an eye on wear and tear; areas that get more use, like chair arms, may need waxing more frequently. By following these steps, you can effectively avoid wax buildup and keep your furniture looking beautiful.
Frequently Asked Questions
Can I Use Vinegar Directly on Waxed Furniture?
You might think using vinegar directly on waxed furniture is a good idea, but it isn't strong enough to dissolve wax effectively. While vinegar can help with some cleaning tasks, it often leads to incomplete removal and could damage the surface. Instead, consider using stronger solvents like mineral spirits or denatured alcohol, which work better for wax removal. Always test any product on a small, hidden area first to ensure safety.
What Types of Furniture Are Most Susceptible to Wax Buildup?
You'll find that wood furniture, especially tables and antique pieces, is most susceptible to wax buildup. Intricate carvings on chairs and high-traffic wood floors can also trap wax over time. Fabric and upholstered furniture, like sofas, are at risk from spills, particularly if the fabric is delicate. Lastly, surfaces with lacquer or painted finishes can suffer from wax accumulation, requiring careful attention to maintain their beauty and integrity.
How Often Should I Clean Wax From My Furniture?
You should clean wax from your furniture based on usage and location. If your furniture's in a high-traffic area, inspect it regularly and remove wax more often, especially when it feels sticky or uneven. For less-used pieces, check every few months. Keeping an eye on wax buildup helps maintain the furniture's appearance and prepares it for any future refinishing or repainting you might consider. Regular cleaning prevents damage and keeps surfaces looking their best.
Is It Safe to Use a Heat Gun on Antique Wood?
Using a heat gun on antique wood can be safe, but you need to proceed with caution. Keep the gun about six inches away from the surface and move it in slow circles to prevent scorching. Always wear protective gear like gloves and goggles. Test a small, hidden area first to ensure it won't damage the finish. If done carefully, a heat gun can effectively treat wax without harming your antique furniture.
What Finishes Can I Apply After Removing Wax?
After removing wax, you can apply several finishes to enhance your furniture. If you want a natural look, consider oil finishes, which penetrate deeply and showcase the wood's grain. For more protection, varnishes offer a durable coat suitable for high-use pieces. If you need heavy-duty protection, opt for polyurethane finishes. Alternatively, shellac can enhance antiques, while paints allow for a complete style change. Choose based on your desired appearance and functionality!
Conclusion
By following these steps, you can effectively remove wax from your furniture without causing damage. Always start with the gentlest methods before moving on to more aggressive techniques. Remember to clean and neutralize any residues after removal, and consider applying preventative measures to keep your furniture looking its best. With a little patience and care, you'll restore your furniture's shine and protect it from future wax buildup. Happy cleaning!