
To refurbish furniture, begin by thoroughly cleaning it with Murphy’s Oil Soap to eliminate any dirt and grease. Then, use medium and fine grit sandpaper to sand the surface in order to get it ready for painting. Apply a good quality primer to improve adhesion, followed by 2-3 thin coats of high-quality interior latex paint, making sure to lightly sand in between coats to achieve a smooth finish. Once the final coat is applied, seal your work with a water-based topcoat such as Minwax Polycrylic for extra protection. Allow the furniture to cure undisturbed for a couple of days to ensure a long-lasting finish. Keep reading for more helpful tips!
Key Takeaways
- Start by thoroughly cleaning the furniture with Murphy's Oil Soap to improve paint adhesion.
- Sand the surface using medium and fine grit sandpaper to create a smooth finish.
- Apply a quality primer before painting to enhance adhesion and prevent stains from bleeding through.
- Use high-quality interior latex paint, applying 2-3 thin coats and sanding between layers for a smooth texture.
- Finish with a protective topcoat like Minwax Polycrylic to extend the furniture's lifespan and durability.
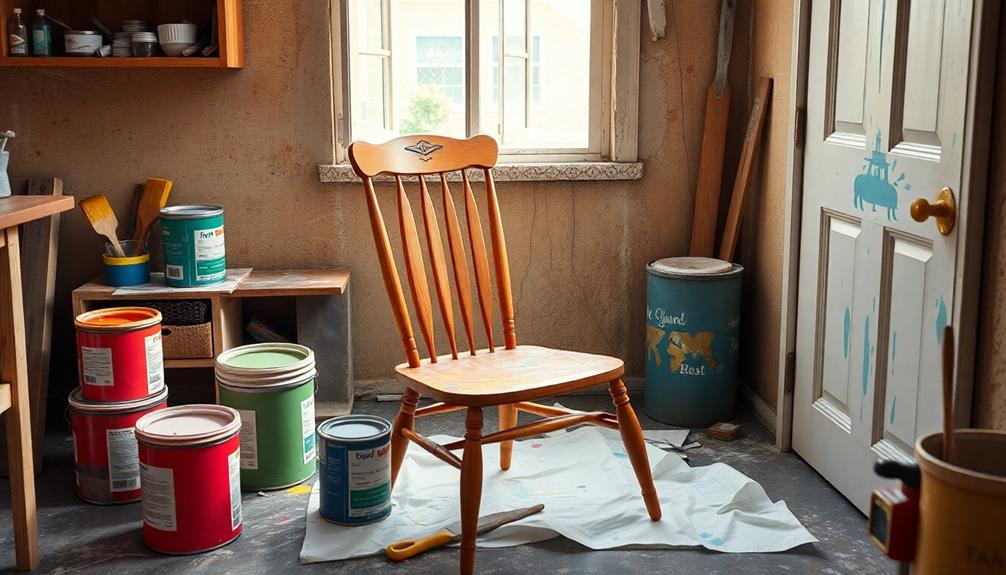
Overview of the Repainting Process
Repainting furniture can breathe new life into your pieces, making them look fresh and updated. The process starts with thorough cleaning using Murphy's Oil Soap to remove dirt, grease, and residues, ensuring the best paint adhesion.
Once your furniture is clean, you'll need to focus on sanding. Use medium and fine grit sandpaper to create a smooth surface and eliminate any glossy finishes that might interfere with the paint sticking. For those looking to keep their indoor air quality high during the process, consider using low-VOC paint options, which are often highlighted in best vacuums for dust removal.
Next, applying a suitable primer is essential. It enhances paint adhesion and prevents stains from bleeding through, setting the stage for a flawless finish.
After priming, you can plunge into the fun part—painting! Opt for high-quality interior latex paint in a semi-gloss finish. Apply thin coats and remember to sand lightly between each layer for durability and an ultra-smooth surface.
Lastly, don't skip the top coat. Sealing your painted surface with a protective finish, like Minwax Polycrylic, will safeguard your furniture makeover and extend its life.
Allow the top coat to cure undisturbed for 1-2 days before using your revitalized piece. You'll love the transformation!
Essential Supplies Needed
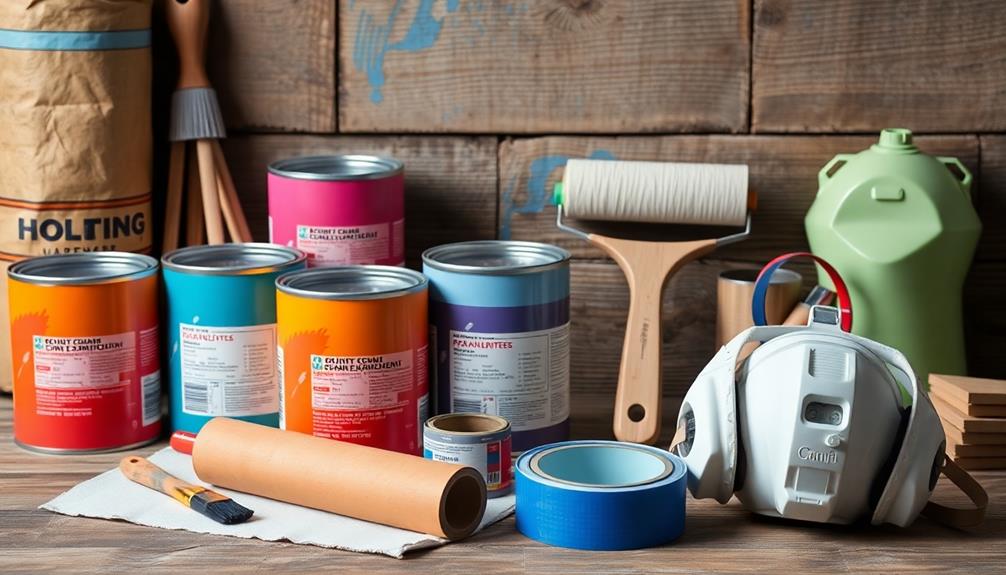
Before you start repainting your furniture, you'll need to gather some essential supplies.
Cleaning products, painting tools, and finishing products are vital for a successful project. Additionally, having a budget in place can help you manage the costs associated with purchasing these supplies, guaranteeing you don't overspend on your home improvement project.
Understanding the importance of a well-planned budget can also prevent financial mistakes like budgeting for home projects.
Let's break down what you'll need for each step to guarantee a smooth process.
Cleaning Supplies Overview
When commencing a furniture repainting project, having the right cleaning supplies is vital for guaranteeing a successful finish. Start with Murphy's Oil Soap, as it effectively cleans furniture surfaces, removing dirt and grease to promote proper paint adhesion.
For best results, consider the benefits of professional cleaning methods top-rated mechanic shops for inspiration on thorough surface preparation. After cleaning, prepare the surface using medium and fine grit sandpaper (80-220 grit). This step is essential for achieving a smooth finish.
Once you've sanded the surface, keep a tack cloth handy to wipe down the area. This guarantees that any dust and debris are removed, setting the stage for a clean application of primer or paint.
Speaking of primer, it's wise to have one ready, such as Zinsser 123 or BIN Shellac, to enhance paint adhesion and prevent stains from bleeding through your new finish.
Lastly, don't forget to use a drop cloth to protect your work area from spills and drips during the cleaning and painting process.
Painting Tools Essentials
Having the right tools makes all the difference in your furniture painting project. Here's a quick list of essential supplies you'll need to guarantee success: Make sure to gather quality brushes, sandpaper, and primer to ensure smooth and long-lasting results. Don’t forget to choose the right paint for your project’s material, whether it’s wood, metal, or laminate. With these tools, you can confidently tackle any project, whether you’re refreshing an old piece or starting from scratch to make your own furniture.
| Tool | Purpose |
|---|---|
| Paint Brush | For smooth and even application of furniture paint. |
| Sandpaper | Use medium and fine grit for surface preparation. |
| Primer | Improves paint adhesion for a long-lasting finish. |
| Murphy's Oil | Cleans surfaces and removes grease or dirt. |
| Painter's Tape | Protects unpainted areas for clean lines. |
| Drop Cloth | Shields your workspace from spills and drips. |
| Top Coats | Seals and protects your painted finish (e.g., Minwax Polycrylic). |
Start by cleaning your furniture with Murphy's Oil, then sand the surface to prepare it for primer. Apply the primer for better adherence, followed by your choice of furniture paint. Using a high-quality paint brush or foam roller will help you achieve a professional look. Don't forget to use painter's tape for crisp lines, and finish off with a top coat to protect your newly painted piece.
Finishing Products Needed
To wrap up your furniture painting project with a professional touch, you'll need some essential finishing products. Start with a high-quality primer, as it enhances paint adhesion and prevents stains from bleeding through. This step is vital for achieving a smooth, lasting finish.
Next, choose a water-based topcoat like Minwax Polycrylic. This option not only simplifies cleanup but also prevents yellowing, especially on light-colored paints. You'll want to apply this topcoat after the paint has dried completely.
In between coats of paint and topcoat, use fine grit sandpaper (220 grit) to guarantee a smooth surface. This will help promote ideal adhesion and create a flawless finish.
Lastly, consider using furniture wax as an additional finishing product. Once your paint has fully cured, applying wax will give your furniture an extra layer of shine and protection. This final touch can elevate your project from good to great.
With these essential supplies—paint, primer, topcoat, fine grit sandpaper, and furniture wax—you'll be well on your way to achieving a beautifully repainted piece of furniture. Happy painting!
Preparation Steps for Success

Proper preparation is vital for a successful furniture repainting project. By following these steps, you'll guarantee a smooth paint job that lasts:
1. Clean the furniture: Start by using Murphy's Oil Soap to thoroughly clean the furniture. This removes dirt, grease, and residues that can hinder paint adhesion.
2. Remove hardware: Take off all hardware and drawers. This gives you easier access and guarantees a clean painting surface.
3. Sand the surface: Use medium grit sandpaper (80-100 grit) to sand glossy finishes. This enhances paint adhesion.
Follow up with fine grit sandpaper (150-220 grit) for a smooth surface.
4. Dust removal: After sanding, use a tack cloth to remove any dust from the surface. This step is vital before applying a coat of primer.
If your furniture is older, be sure to test for lead paint using inexpensive kits.
Always work in a well-ventilated area to guarantee safety.
With these preparation steps completed, you'll be ready to choose the right paint to use and achieve that perfect finish!
The Painting Technique
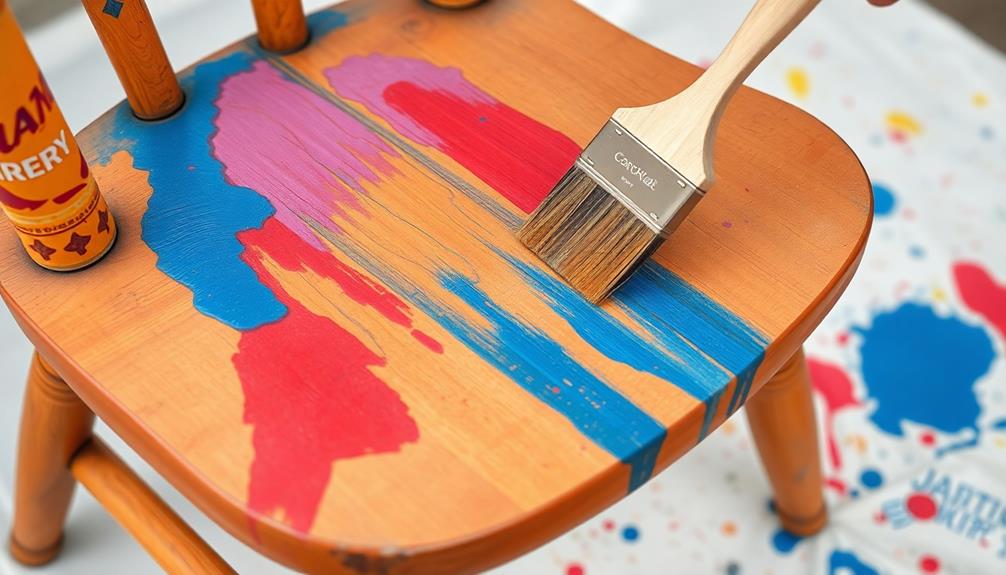
Choosing the right painting technique can make all the difference in achieving a professional-looking finish on your furniture. Start by applying paint in thin, even coats using a high-quality brush or foam roller. This approach helps avoid drips and guarantees an even finish. Typically, you'll want to apply 2-3 coats for ideal coverage and durability.
Before each coat, sand the surface lightly with fine grit sandpaper (220 grit) to achieve a smooth texture and improve adhesion. It's crucial to use a consistent technique; follow the natural lines of the furniture and work one section at a time. This maintains a wet edge, preventing visible brush marks or roller lines.
For detailed areas, a brush is ideal, while a foam roller efficiently covers larger, flat surfaces. Make sure to clean both tools immediately after use to prevent paint buildup.
Don't forget to allow adequate drying time between coats—typically 2-4 hours, depending on the type of paint. This guarantees each layer cures properly and adheres well to the previous coat, leading to a beautiful, long-lasting finish.
Final Protective Measures
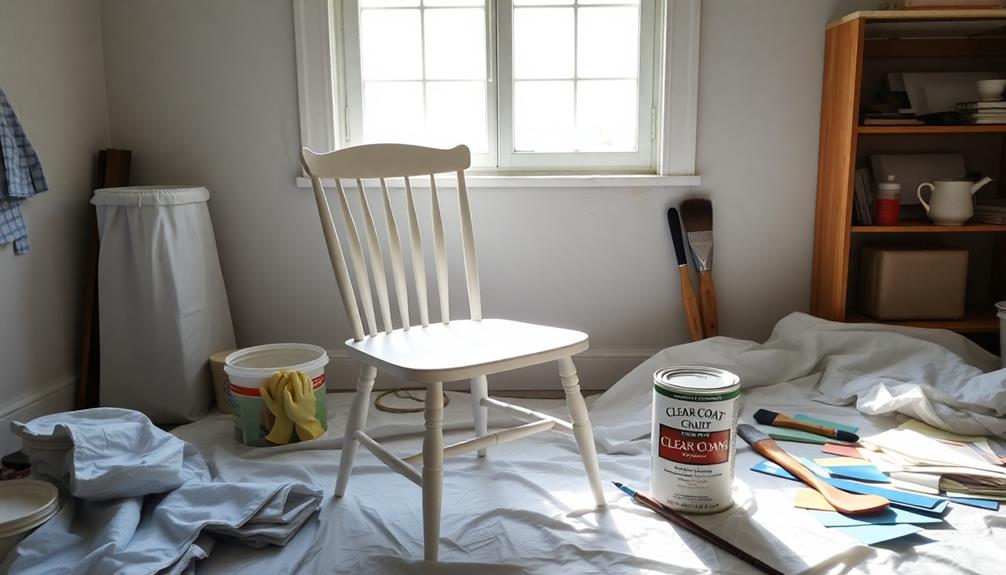
Once your painted furniture has dried for 24 hours, applying a protective topcoat is essential for enhancing its durability against scratches and stains. A water-based topcoat, like Minwax Polycrylic or furniture wax, is ideal.
If you've used light color paint, avoid polyurethane to prevent yellowing over time.
Follow these steps for best protection:
- Choose Your Topcoat: Select a water-based sealer for easy cleanup and to protect your finish.
- Apply Coats: Apply 2-3 coats of topcoat, ensuring each coat dries completely.
- Sand Between Coats: Lightly sand with fine-grit sandpaper between applications to achieve a smooth finish.
- Cure Undisturbed: Allow the sealed furniture to cure undisturbed for 1-2 days before use, letting the finish harden properly.
Maintenance and Care Tips
After you've applied the topcoat and allowed it to cure, keeping your painted furniture looking its best is key.
Regular maintenance is essential for longevity. Start by dusting with a soft cloth to prevent dirt and grime buildup. This simple step helps maintain the appearance of your painted furniture.
For any stains, use mild soap and warm water to spot clean. Avoid harsh chemicals and abrasive materials, as they can scratch or strip the paint, compromising its durability.
To further protect your surfaces, always use coasters and placemats. Heat and moisture can adversely affect the painted finish, so taking these precautions is vital for ongoing care.
Frequently Asked Questions
How Do You Paint Over Already Painted Furniture?
To paint over already painted furniture, start by cleaning and lightly sanding the surface. Use a bonding primer if necessary, then apply high-quality paint in thin coats, allowing proper drying time between layers for a smooth finish.
Can You Paint Over Painted Furniture Without Sanding?
Yes, you can paint over previously painted furniture without sanding. Just clean the surface thoroughly, use a bonding primer for better adhesion, and let it dry completely before applying your new paint for the best results.
What Kind of Paint Should I Use to Repaint Furniture?
You'll find that using furniture-specific paint is key for durability. Water-based paints are easy to clean, while chalk paint can simplify your project. Always test a small area first for the best results.
Do You Have to Strip Paint Before Repainting Furniture?
You don't always have to strip paint before repainting furniture. If the old paint's in good shape, just clean and prime it. But if it's peeling or glossy, consider stripping for better adhesion and finish quality.
Conclusion
Repainting furniture isn't just a DIY project; it's like breathing new life into an old friend. By following the steps outlined, you're not only transforming your space but also embracing the beauty of change. Just as a phoenix rises from the ashes, your furniture can shine anew with a little effort and creativity. Remember, each brushstroke tells a story, so let your imagination run wild and enjoy the journey of renewal in your home.