You can easily repair plastic wicker furniture by first inspecting it for any damaged strands or a compromised frame. Gather your tools, including scissors and pliers, and collect replacement strips in matching size and color. Clean the furniture with mild soap and water before removing any frayed strips. Carefully weave in the new strips while maintaining the original pattern. Secure everything with a hot glue gun or resin epoxy. Finally, do a thorough clean and apply a protective sealant. For detailed steps and tips, there’s so much more to explore on this topic! Additionally, it’s essential to regularly maintain your wicker furniture to prolong its lifespan and prevent future damage. When it comes to fixing wicker patio furniture tips, consider applying a UV protectant to shield the material from sun exposure and fading. By integrating these preventive measures, you can enjoy your beautifully restored furniture for years to come.
Key Takeaways
- Inspect plastic fibers for fraying or breaks, and check the frame for cracks to assess repair needs.
- Gather essential tools and materials, including replacement strips, adhesive, and a hot glue gun for the repair process.
- Remove damaged strips carefully, noting the weaving pattern, and measure new plastic fibers for replacement.
- Weave new strips into the furniture, securing them with clamps, and ensure a professional finish by matching color and width.
- Apply strong adhesive to secure repairs and perform regular maintenance to extend the lifespan of your plastic wicker furniture.
Assessing the Damage
When assessing the damage to your plastic wicker furniture, you should carefully inspect it for any signs of wear. Start by checking the plastic fibers for fraying, looseness, or breaks. Look closely at the frame for any cracks or splits that could compromise its integrity. Pay attention to the weave pattern, as damaged strands may need replacing. If you notice discoloration or fading, it might indicate areas that require additional repair or painting.
Next, evaluate the extent of the damage. Count the number of affected strands and measure how much new fiber you'll need. Weigh the old material to estimate the amount of new plastic wicker necessary. Check whether the damage is isolated to the weaves or if the frame and joints show signs of wear too. Consider how harsh weather, UV rays, or chemicals may have impacted your furniture. Additionally, synthetic materials like polyethylene or PVC used in resin wicker furniture provide weather resistance that may help in assessing potential durability issues.
Finally, assess the type of wicker. Determine if it's synthetic or natural, as this affects your repair approach. Check the frame material, like aluminum tubing, and identify the weave type to ensure consistency in your repairs. Knowing these details will guide you in deciding the best repair method.
Gathering Tools and Materials
What tools and materials do you need for repairing your plastic wicker furniture? Start by gathering a few essential tools: scissors or a box cutter for cutting broken rattan strips, needle-nose pliers for precision tasks, and conventional pliers for gripping and manipulating the resin wicker strands. Wire cutters will help you remove any excess or damaged pieces. Additionally, remember that plastic wicker is a weaving style, which means you'll want to pay attention to how the materials are woven during the repair.
Next, collect the materials necessary for the repair. You'll need replacement plastic rattan strips that match the original size and color. For securing these strips, use resin epoxy or high-quality adhesive; wood glue can also be an alternative for some repairs. Don't forget a paintbrush and matching paint to restore the original look, along with a waterproof coating for added protection.
Additional accessories like spring clamps will hold your wicker in place during the repair. Felt furniture glide pads prevent marring, while wire can reinforce the wicker weave. If you're attaching wicker to aluminum frames, a drill and wire nails will be handy, along with a tack hammer to secure everything. With these tools and materials ready, you'll be well-equipped for the repair process ahead.
Cleaning the Furniture
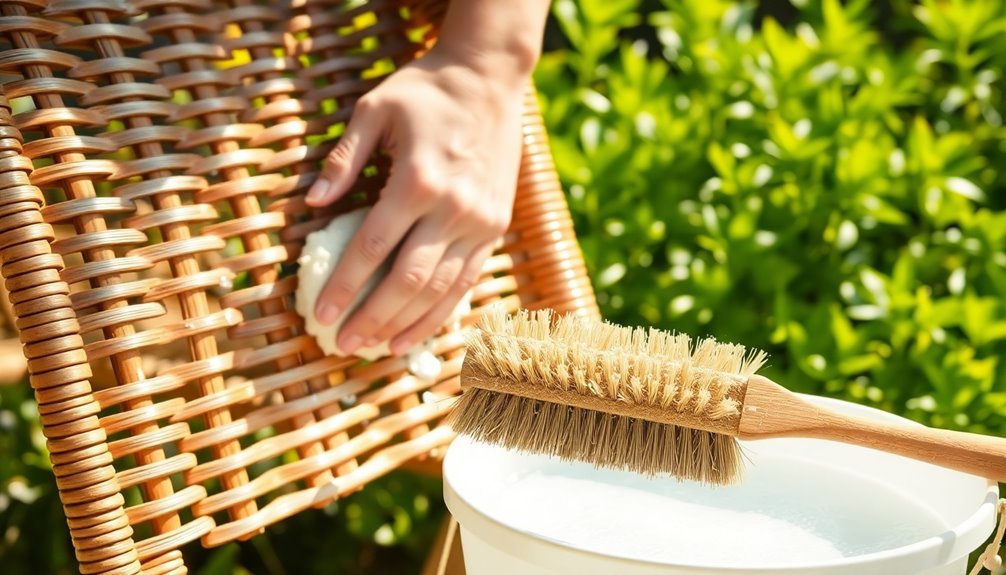
After gathering your tools and materials, it's important to clean your plastic wicker furniture to ensure a successful repair. Start by using a soft brush or a vacuum cleaner with a brush attachment to remove loose dirt and debris. Next, mix a small amount of mild soap with warm water in a bucket to create your cleaning solution. Dip a soft cloth or sponge into the soapy water, wring it out, and gently wipe down the entire surface of the wicker, working in the direction of the weave to avoid damaging the fibers.
For tougher dirt, use a soft-bristled brush or toothbrush to scrub gently. You can also mix equal parts of water and white vinegar for a natural cleaning solution. It's also essential to consider regular maintenance to preserve the beauty and durability of your wicker furniture. Rinse the furniture thoroughly with clean water to remove any soap residue, and use a clean, damp cloth to wipe away remaining suds. Finally, dry the furniture with a soft cloth to prevent water spots. Place it in a well-ventilated area or use a fan to speed up drying. Avoid sitting on the wicker while it's wet to prevent deformation, ensuring your furniture stays in great shape.
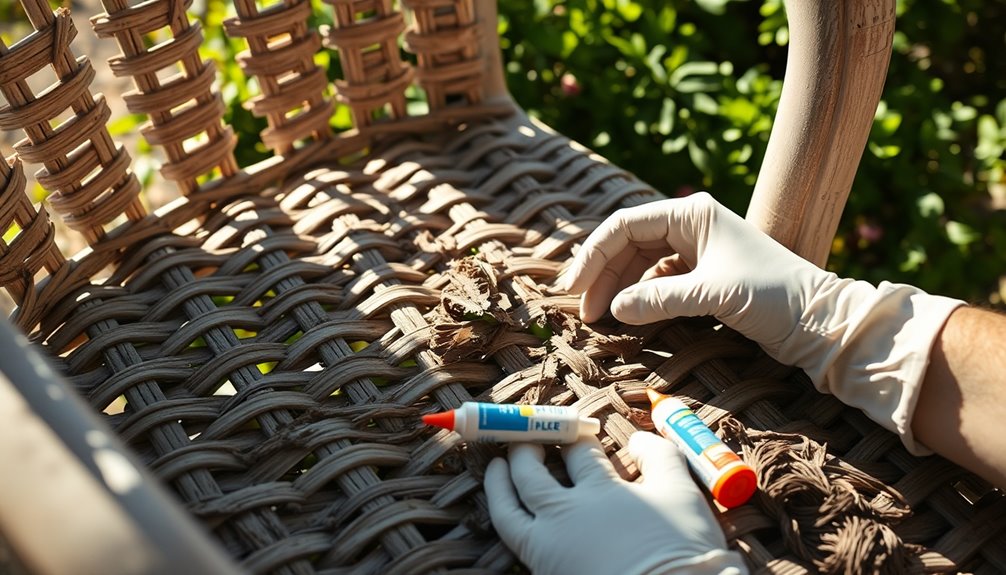
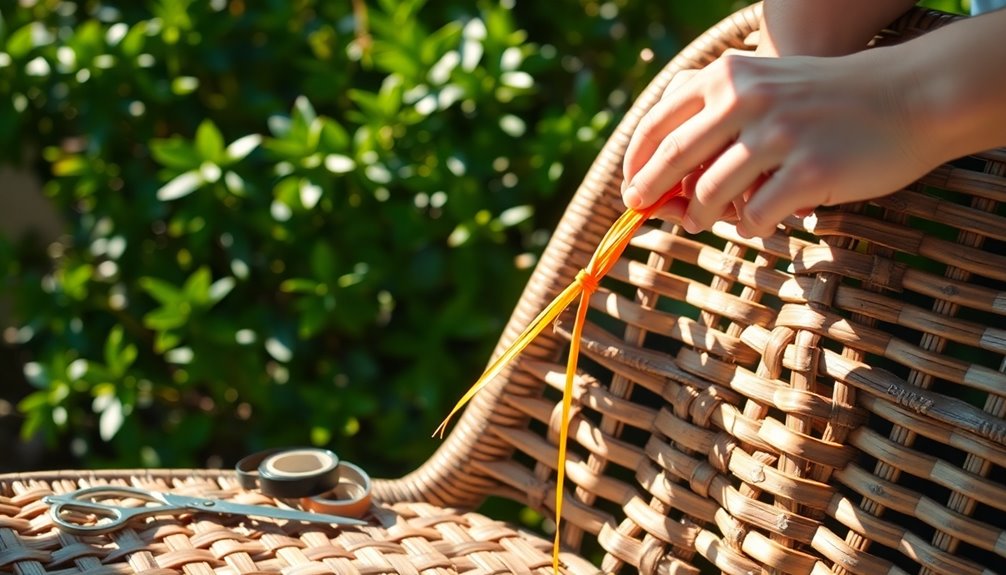
Removing Damaged Strips
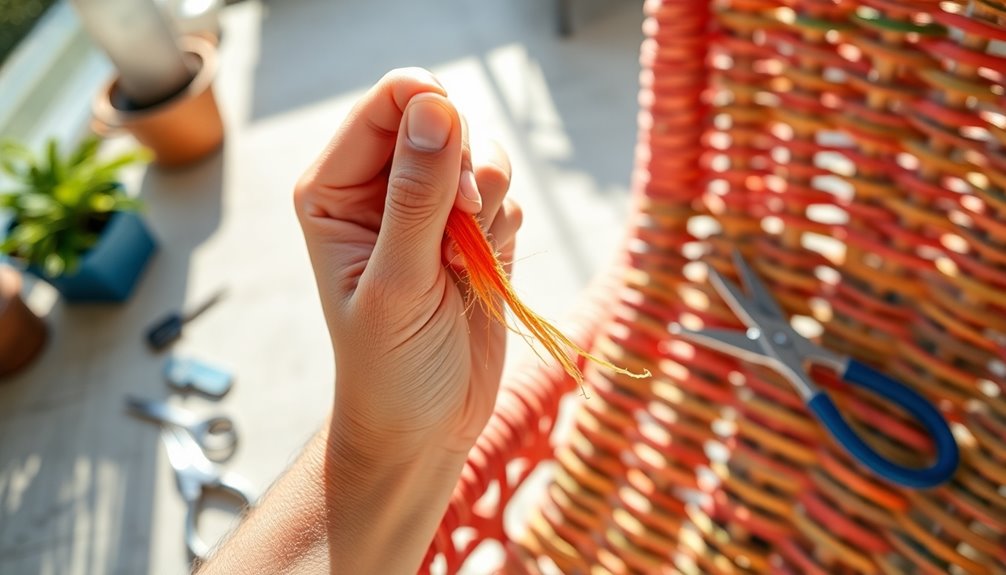
Repairing your plastic wicker furniture requires careful attention to detail, especially when it comes to removing damaged strips. Start by inspecting the furniture for any frayed, severed, or chewed-up strands that need replacement. Look closely at the weaves to identify any loose or broken areas that could compromise the structure. Once you've pinpointed the damaged strips, take note of their color and width, as this will help you find matching replacements later. Additionally, remember that synthetic material used in resin wicker is designed to withstand various weather elements, which can enhance the longevity of your repairs.
To remove the damaged strips, use pliers or a sharp knife. Carefully cut away the damaged fibers, ensuring you extract them one at a time to maintain the original weaving pattern. Cut the strands on each side to prepare for replacement, but be cautious not to pull too tightly on surrounding strands to avoid warping. If needed, use needle-nose pliers to handle smaller, intricate pieces.
For cutting damaged ends, use scissors or a box cutter to create clean cuts close to the intact parts of the weave. Remove any frayed or loose segments to create a solid base for your new fibers. This meticulous process sets you up for a successful repair.
Measuring New Fibers
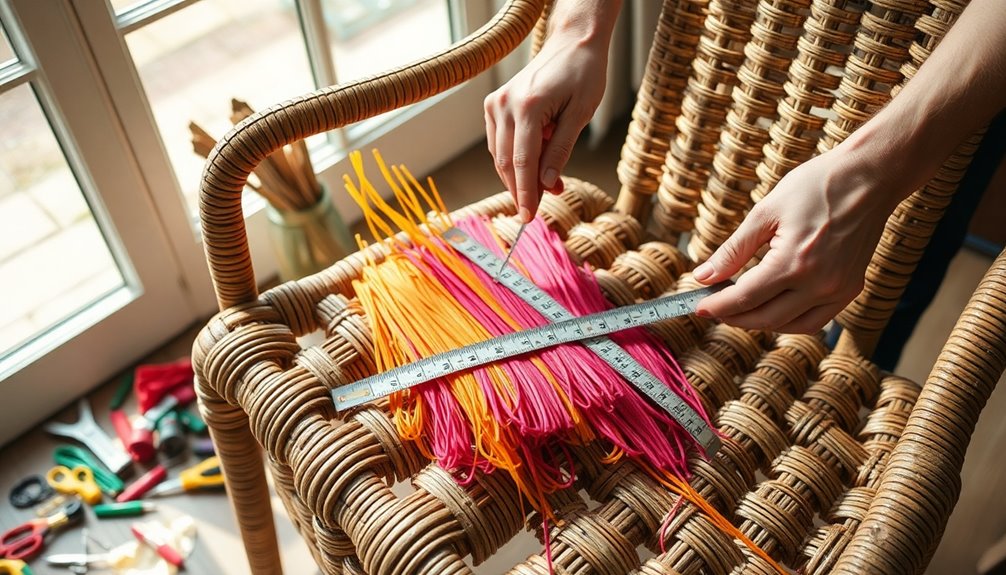
With the damaged strips removed, it's time to focus on measuring new fibers for replacement. First, determine the original length by measuring the intact plastic wicker fibers. This ensures the new fibers match perfectly, maintaining your furniture's aesthetic. Use the original strips as a guide, paying close attention to the pattern and shape to ensure accuracy. When measuring, note any variations in length that result from the weaving style, and measure from one end of the weave to the other to capture the full length.
Next, select the right material. Make sure the new plastic fibers match the original in type, color, and texture. If the original furniture used synthetic resin, stick with that material. Also, verify the diameter of the new fibers to ensure they align with the old ones, and ensure they have the same flexibility and durability. Identifying the extent of damage can significantly influence your choice of replacement materials.
Finally, consider the weave pattern. Identify the original weaving style and replicate it accurately, noting the direction and tension. Cut the new fibers slightly longer than measured to accommodate adjustments and reduce waste. Once woven, you can trim any excess material for a neat finish.
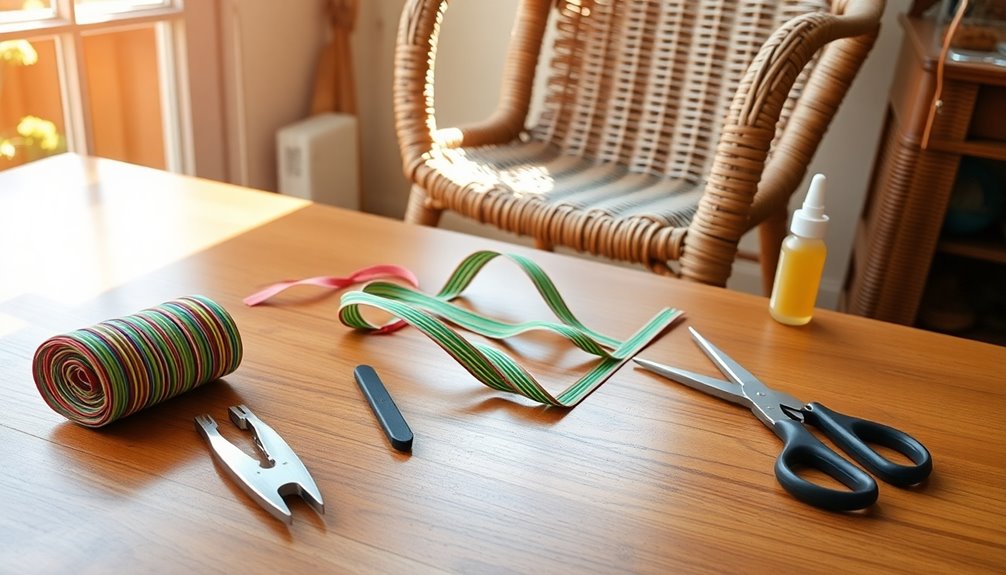
Cutting Replacement Strips
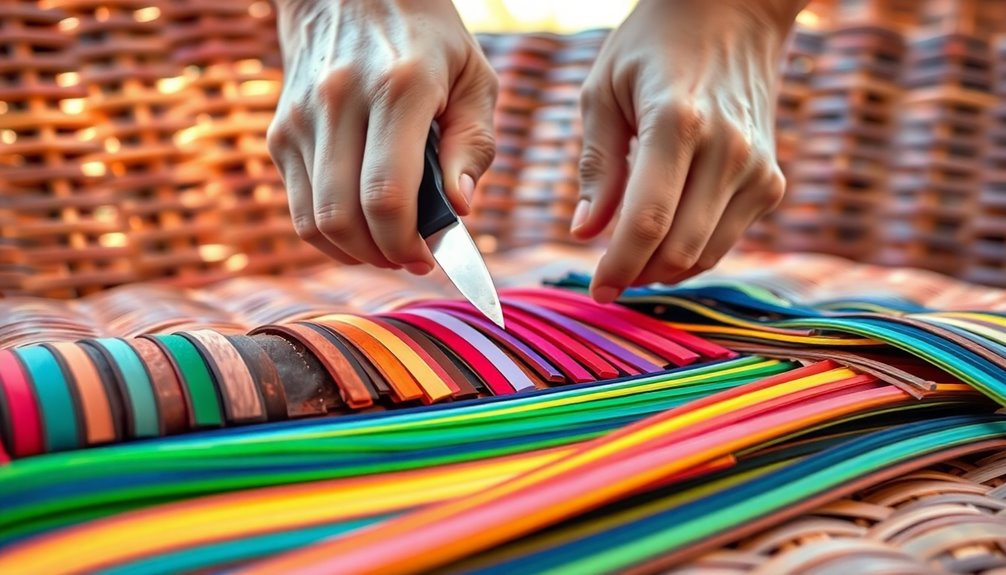
Cutting replacement strips is a crucial step in restoring your plastic wicker furniture to its former glory. Start by gathering your tools: scissors or a box cutter, a sharp utility knife, and a craft knife for finer details. You'll also need a cutting mat to provide stability during the process.
Before you begin cutting, make sure the furniture is clean and completely dry. A clear workspace is essential to avoid accidents, so remove any clutter. Use a ruler or straightedge to ensure your cuts are straight and precise. Protect your surface with a drop cloth or old sheets.
When cutting, remove the damaged strips by cutting on each side, then prepare your new rattan strips slightly longer than necessary. If the design requires it, consider using a miter or angled cut. Always cut away from your body to prevent injuries. If you encounter stubborn pieces, pliers can help grip them effectively. Maintaining the integrity of your furniture is important, especially since regular maintenance can prevent further deterioration.
For safety, wear protective gloves and safety glasses, and make sure your cutting tool is sharp to avoid tearing the rattan. Store your cut strips neatly to prevent tangling and keep everything organized.
Weaving New Strips
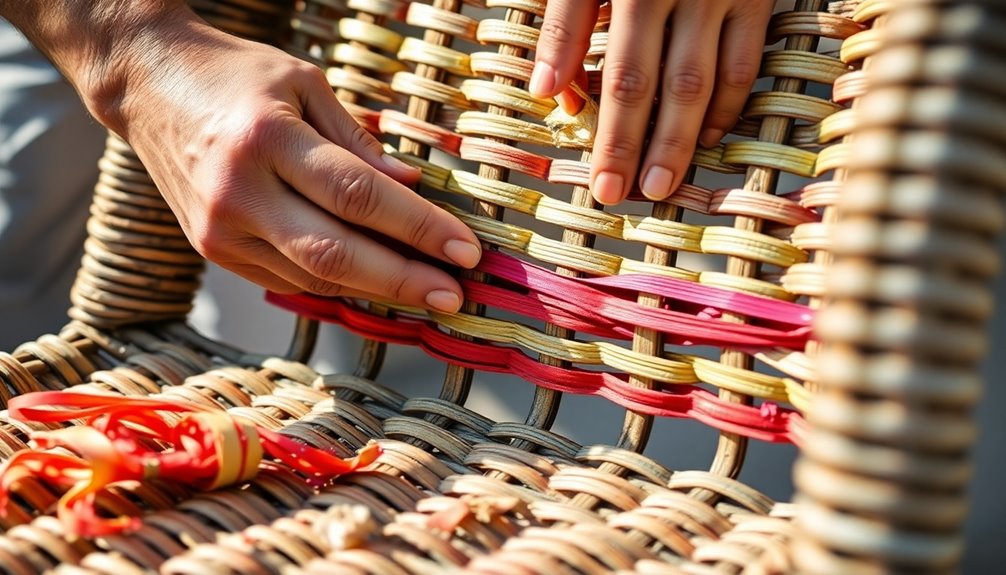
Weaving new strips into your plastic wicker furniture is essential for restoring its original look and durability. Start by measuring the length of the new plastic fibers you'll use to replace the old ones, and cut them to size. If the material feels too stiff, soak the new strips in warm water for about 30 minutes to make them more pliable.
When you're ready to weave, insert the new strip from the backside of the weave to hide the cutting end. Follow the original weaving pattern closely to maintain consistency. As you work, use clothespins or small clamps to hold the new strips in place, making it easier to manage the weaving process. Additionally, be sure to use replacement wicker yarn that matches the original material for a seamless look.
Make sure the new strips blend in with the old ones by matching the width and color as closely as possible. Stagger the joining points of the old and new pieces to avoid creating a straight line. Be cautious not to pull too tightly on the new strands, as this can warp other areas. Finally, use needle-nose pliers for precision when tucking the new strips into place, ensuring a neat and professional finish.
Securing the Repairs
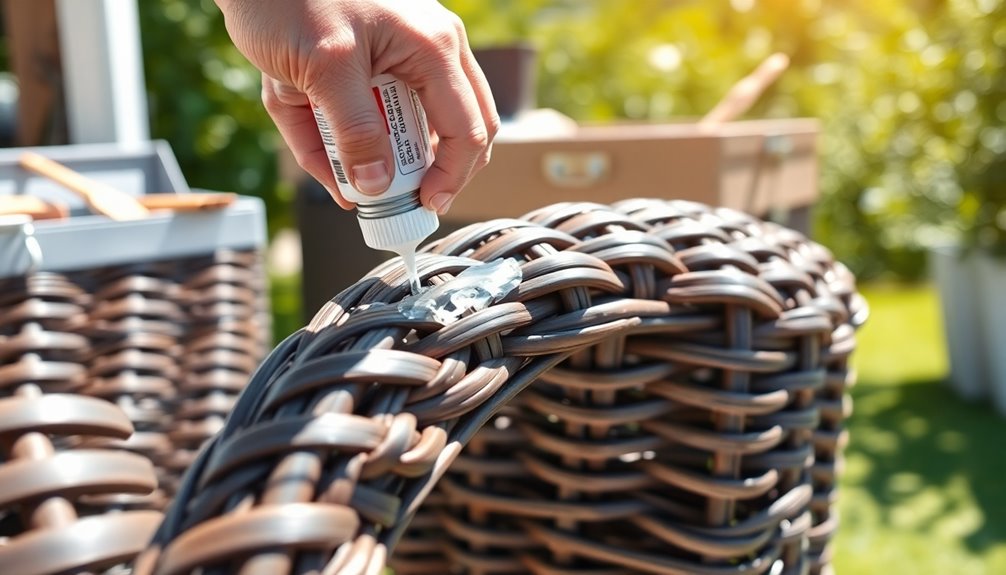
Once you've woven in the new strips, securing the repairs is crucial for ensuring your plastic wicker furniture remains sturdy and visually appealing. Start by using a hot glue gun to attach the new plastic fibers to the furniture frame. For a stronger hold, apply resin epoxy to the ends of the new strips and press them into place until the adhesive cures. Trim any excess plastic fibers, and securely attach them to the frame with a nail gun or staples. Make sure the ends of the new strips are on the underside or back of the furniture for a clean look.
Next, reinforce weak joints and connections by using clamps to hold the joints while applying strong glue, like E600, which is waterproof. Ensure that all loose ends are secured and reinforce the connections further by gluing the strips to the frame with resin epoxy. A thorough assessment of the joints can help identify any areas that need additional support. Check for any rust on metal parts and remove it before applying a new topcoat. Finally, inspect all joints to ensure they're tightly secured, preventing any future damage and keeping your furniture in top shape.
Final Cleaning and Touch-ups
To achieve a polished finish on your plastic wicker furniture, start with a thorough cleaning. Begin by dusting and vacuuming the surfaces. Use a soft brush attachment or a feather duster to remove loose dirt. A handheld vacuum works wonders for cleaning debris from the weave, especially in the fissures and crevices where dust tends to accumulate.
Next, mix a small amount of mild dish soap with warm water—about one tablespoon of soap to two cups of water. Wipe down the entire surface with a soft cloth or sponge, focusing on stains or sticky spots. For stubborn grime, create a vinegar solution using equal parts white vinegar and water. Apply it with a cloth, gently scrubbing the affected areas. Additionally, remember that proper care is crucial in preventing damage from moisture and environmental factors.
After cleaning, thoroughly rinse the furniture with clean water to eliminate any soap or vinegar residue. Use a garden hose or bucket for rinsing, then dry the furniture with a soft cloth to prevent water spots. Finally, allow it to air dry completely in a well-ventilated area, avoiding direct sunlight, to ensure it's ready for use.
Frequently Asked Questions
Can I Use Regular Glue Instead of a Hot Glue Gun?
You can try using regular glue instead of a hot glue gun, but it might not be the best choice. Regular glue dries slowly, making your repairs take longer and less stable initially. It can also be messier to apply and may not bond well with plastic materials. If you're looking for quick and effective results, a hot glue gun is a more reliable option for your project.
How Long Does the Repair Process Typically Take?
The repair process typically takes a few hours, but it really depends on the extent of the damage. You'll spend about 15-30 minutes inspecting the furniture and gathering tools. Cleaning and identifying damage can take another 20-60 minutes. Removing broken parts and weaving in new ones might take an hour or more. Finally, allow time for adhesives and paint to dry, which could add several hours to the overall process.
Is It Necessary to Repaint the New Strips?
It's often necessary to repaint new strips to ensure they match the original color of your furniture. If there's a noticeable difference, repainting helps maintain a uniform look and keeps your furniture aesthetically pleasing. Additionally, environmental factors can cause fading, making it important to refresh the paint. By repainting, you enhance the overall appearance and prolong the life of your furniture, ensuring it remains as beautiful as when you first got it.
Can I Use Fabric Instead of Plastic for Repairs?
You can't use fabric instead of plastic for repairs. Fabric just doesn't match the durability and weather resistance that plastic wicker offers. It can't replicate the structural integrity or support necessary for the furniture's shape and function. Plus, fabric wears out faster and requires more maintenance. You'd also change the look significantly, which might not be what you want. Stick with plastic for a reliable and long-lasting repair.
What Should I Do if the Damage Is Extensive?
If the damage is extensive, you'll need to assess whether a full replacement is the best option. Inspect the furniture thoroughly to gauge the extent of the wear and tear. If multiple sections are affected, consider replacing the entire piece for a more uniform look. You might also want to consult a professional or look for similar styles to ensure you find a suitable replacement that meets your needs.
Conclusion
Repairing your plastic wicker furniture isn't as daunting as it seems. By assessing the damage, gathering the right tools, and carefully replacing the damaged strips, you can restore your furniture to its former glory. A little cleaning and touch-up work can make a big difference too. Remember, you've not just fixed the furniture; you've also saved money and extended its life. So, get started on those repairs and enjoy your revitalized outdoor space!