To repair rattan furniture, start by cleaning it thoroughly with a soft brush and mild soap solution. Inspect for any damaged strands or loose weaves, and trim any frayed ends, leaving some slack for new strands. Use a suitable adhesive for repairs, applying it generously and allowing proper drying time. When weaving new strips, soak them first for flexibility and mimic the original pattern. Finally, finish by stripping and sanding the surface, then applying stain or varnish for protection. Regular maintenance will help keep your furniture looking great. There's a lot more to consider for lasting repairs and care.
Key Takeaways
- Thoroughly clean the furniture before repairs, using a soft brush and mild soap to remove dirt and grime.
- Inspect for damaged rattan strands and trim loose ends, leaving slack for new strand attachment.
- Weave replacement rattan strips by soaking them, replicating the original pattern, and securing the ends with glue.
- Apply appropriate adhesives to ensure strong bonds, allowing sufficient drying time before using the furniture again.
- Protect repaired furniture with UV-resistant sprays and store indoors during severe weather to prevent further damage.
Preparing for Repair

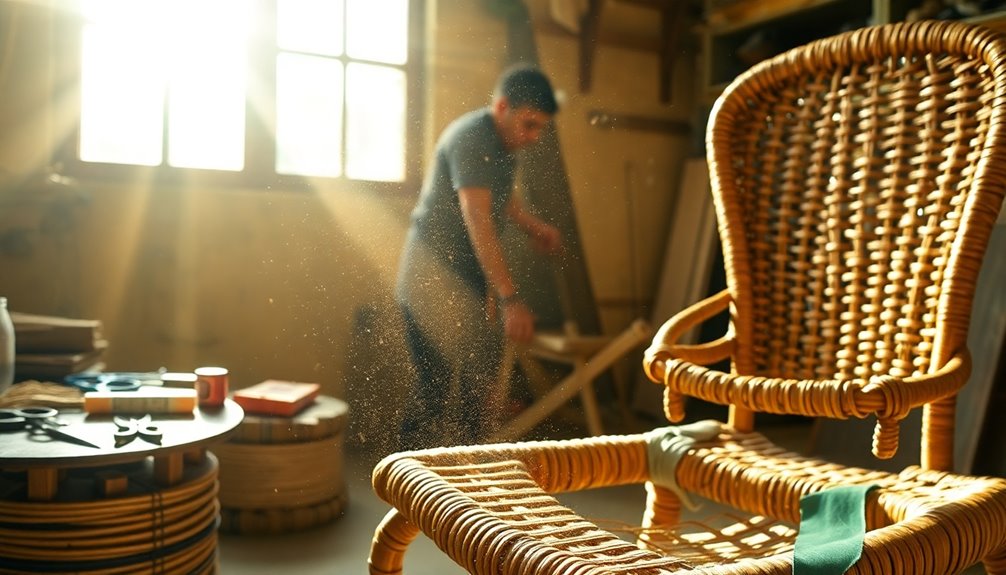
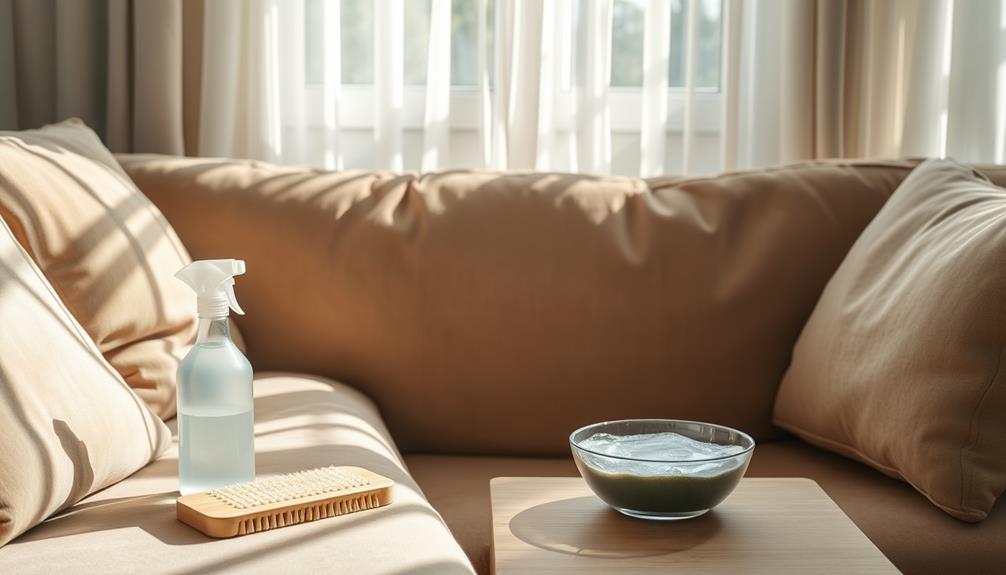
Preparing for repair is crucial to ensure your rattan furniture gets the attention it needs. Start by cleaning the furniture thoroughly. Use a soft-bristled brush to gently remove loose dirt and debris. Then, create a mild cleaning solution with dish soap and water. Wipe down the furniture with a soft cloth soaked in this solution, making sure not to introduce excessive moisture, as that can cause further damage. After cleaning, let the furniture dry completely in the air. Once the furniture is dry, inspect it for any signs of damage or wear, such as loose strands or broken supports. It’s important to assess the condition before diving into specific methods on how to repair rattan furniture effectively. Depending on the level of damage, you may need to reweave sections or apply appropriate adhesives to strengthen loose joints.
Next, gather all necessary tools and materials. You'll need scissors, pliers, a glue gun, and glue sticks. Collect replacement rattan strips that match the existing pattern and color, along with fine-grit sandpaper for smoothing rough spots. Choose a suitable adhesive for rattan material, and prepare epoxy resin if you have significant breaks to repair. Regular maintenance is essential to prevent further damage to rattan furniture.
Make sure the environment is dry to avoid complications. Allow any applied glue or epoxy resin to dry completely according to the instructions. If needed, you can use a hairdryer to soften the weaves but be careful not to overheat. With everything in place, you're ready to tackle the repairs effectively.
Identifying Damaged Areas
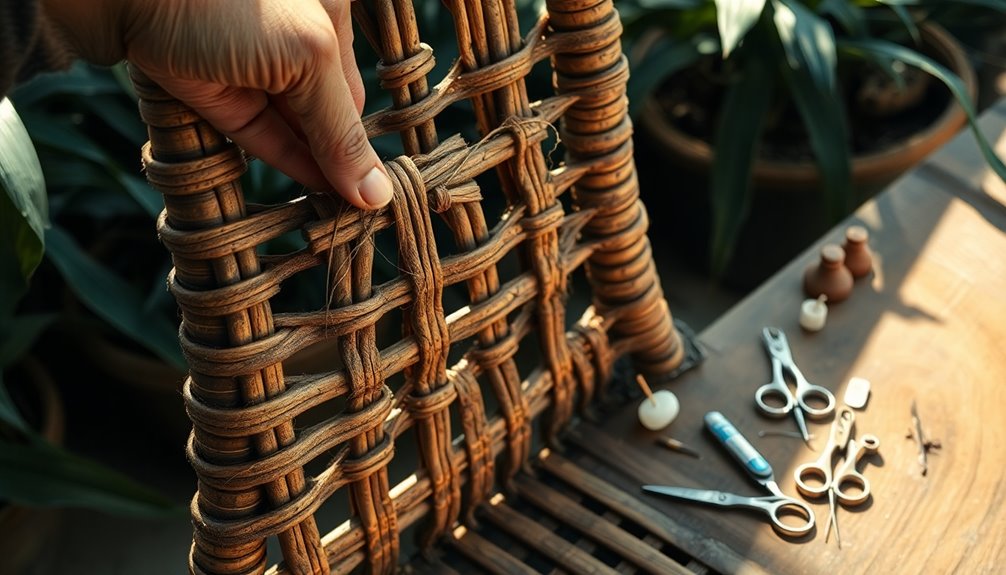
When tackling repairs on rattan furniture, it's essential to identify any damaged areas first. Start by examining the rattan strands for cracks or breaks. Look closely for any splits or fractures, checking the entire piece to ensure you don't miss anything. Make a note of the severity and location of these cracks, as they'll guide your repair efforts.
Next, inspect the weave pattern for loose sections. Identify any disruptions or gaps where the rattan has come undone. Check that no rattan strands are untied or detached from the main structure, as this could affect both stability and aesthetics.
Don't forget to evaluate the frame of your furniture. Ensure it's sturdy and intact, and look for damage to any metal or aluminum components. Check for rust or corrosion that could compromise support; plastic rattan often has a lightweight frame that may be easily damaged.
Finally, look for other forms of damage. Check for fading or discoloration from UV exposure, along with any holes or gaps in the weave. Be mindful of dirt, grime, or stains that may have accumulated, as these elements can signify overall wear and tear.
Trimming Damaged Sections
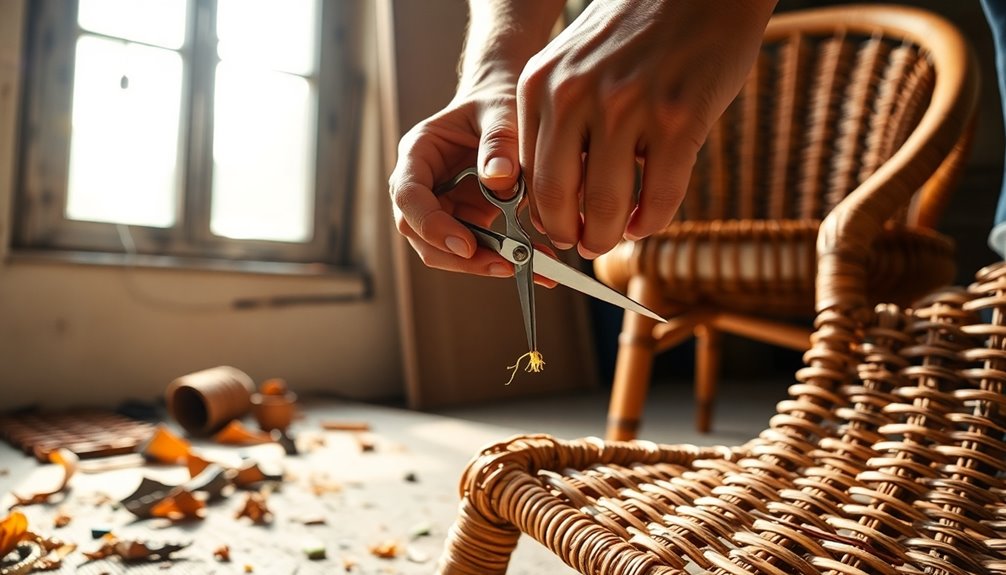
After identifying the damaged areas, it's time to address them directly by trimming any loose or broken sections. Start by cleaning the furniture thoroughly to remove any dirt and debris. Use a soft-bristled brush to clear away loose dust, then wipe down the surface with a mild soap and water solution. Allow the furniture to air dry completely before you proceed.
Next, inspect the damaged area closely. Use scissors or a sharp knife to carefully trim away any loose or frayed ends. Make sure to cut the damaged strands without causing further harm to the surrounding rattan. Aim for even, smooth cuts to facilitate the repair process. Remove any small, loose fragments that could interfere with your work.
For broken strands, cut and discard the damaged sections, leaving about half an inch of slack on either side. Measure and cut a replacement strand slightly longer than the broken one. After weaving it into place, trim the new strand to fit if necessary. Finally, ensure the trimmed ends are secure to prevent unraveling. This preparation sets you up for a successful repair.
It's important to remember that rattan furniture is eco-conscious and sustainable due to its natural materials, which makes it a great choice for those looking to minimize their environmental impact.
Applying Adhesives and Resin
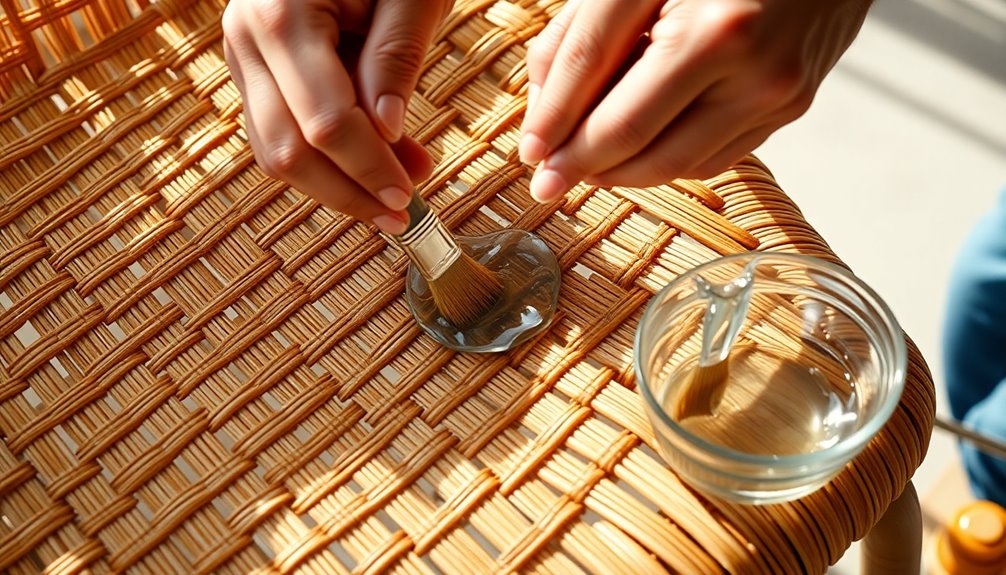
To effectively repair your rattan furniture, applying the right adhesives and resin is crucial for ensuring a strong and lasting bond. Start by selecting the appropriate glue type. For securing new rattan strips, use hot glue or waterproof adhesive. Super glue works well for fixing loose strands, while wood glue is ideal for attaching new strips during the weaving process. If you have broken strands, epoxy resin can be molded into place, providing a robust repair. Additionally, using synthetic materials for repairs can enhance the durability and weather resistance of your furniture.
When applying the adhesive, make sure the area is clean and dry. Apply glue generously to the joining edges, ensuring even coverage on both surfaces. For hot glue, secure the ends of new strips, and for wood glue, spread it on the front side before pressing it into place. Allow sufficient drying time: super glue sets in five minutes, wood glue takes 30 minutes, and Gorilla Glue requires clamping for 20-30 minutes, ideally left overnight. Epoxy resin needs two days to cure completely. Always avoid using the furniture until the adhesive has fully set to ensure a durable repair.
Weaving Replacement Strands
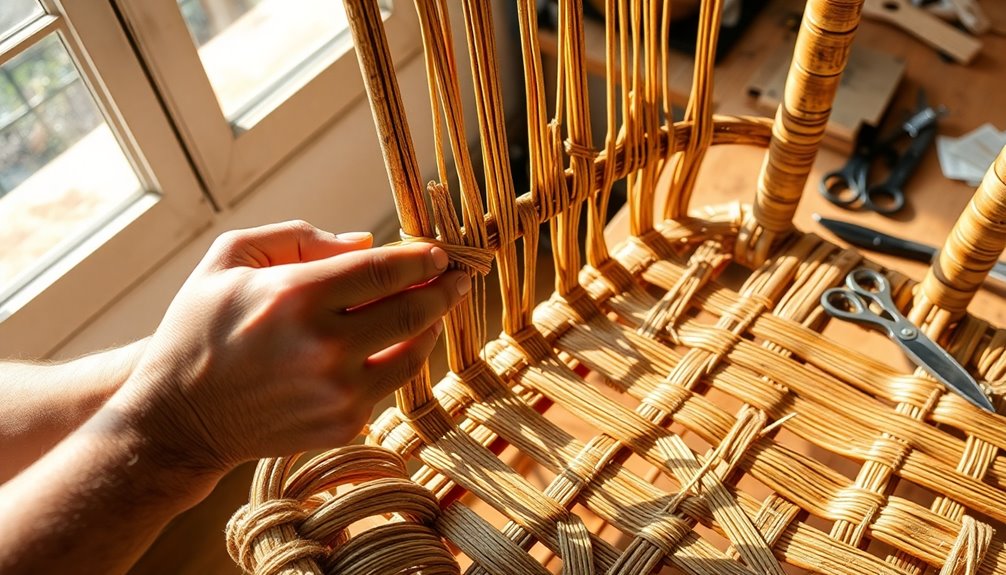
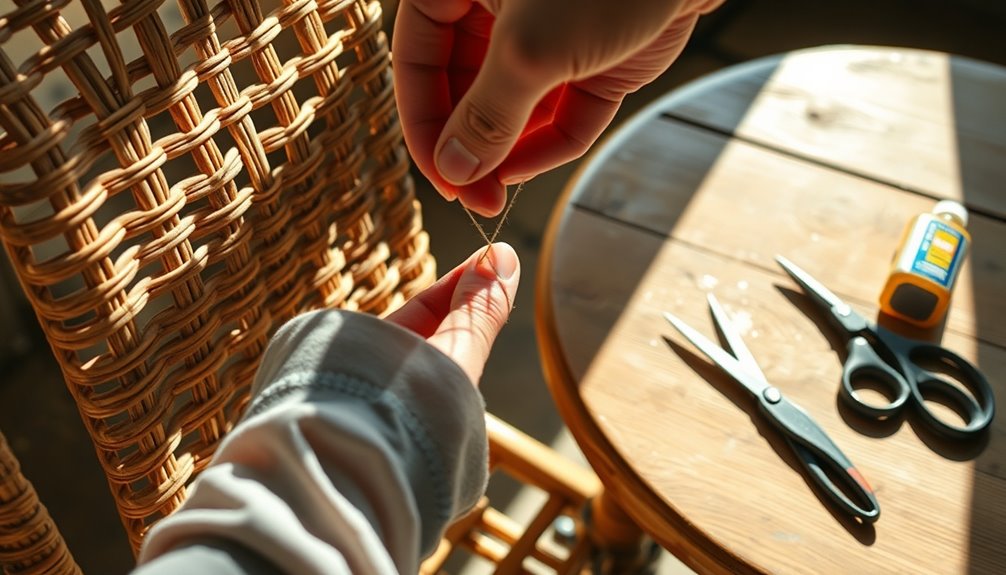
Repairing rattan furniture often involves weaving in replacement strands to restore its original beauty and functionality. Start by identifying the damaged areas, like loose or broken strands, and thoroughly clean the furniture to remove any dirt. Cut out the damaged strands, and capture the original weaving pattern to replicate it accurately.
Next, prepare replacement strands that closely match the existing color and pattern. Soak these new rattan strips in water for 30 minutes to make them pliable. Ensure they're longer than the strands being replaced for easier weaving. If needed, clean them with warm, soapy water, and check for smooth sides to expose during the process. It's also important to conduct regular inspections to identify any wear that may require attention.
Now, it's time to weave. Insert the soaked replacement strands into the existing weave, following the original pattern. Use pliers or small tools to help push them into tight spots. If you encounter resistance, a hairdryer can soften the surrounding weave. Tuck the ends carefully under the adjacent strands for a neat appearance. Finally, trim any excess material and secure the ends with glue to ensure they stay in place.
Final Touches
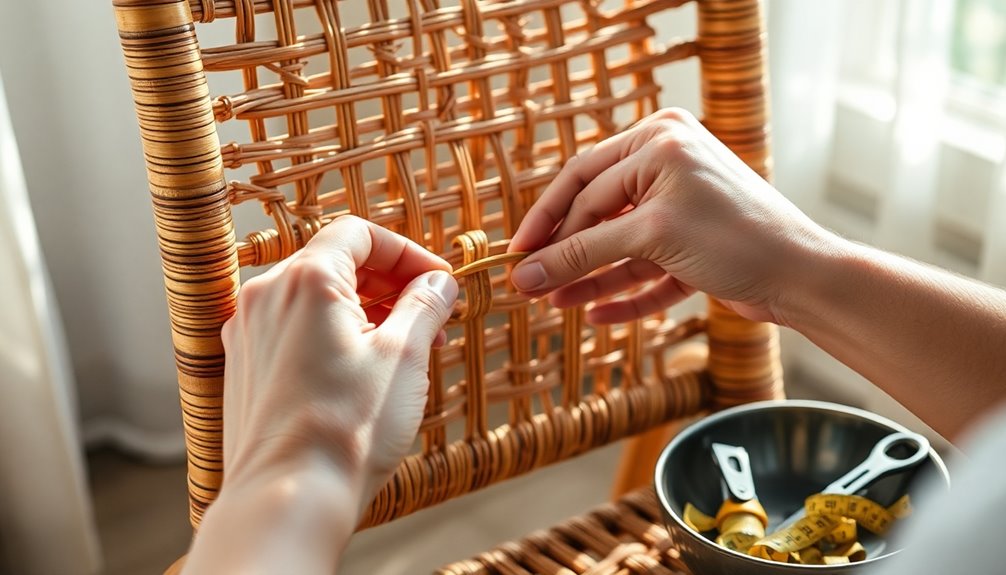
Finishing touches can transform your rattan furniture from a simple repair to a stunning centerpiece. Start by removing the old finish with a varnish stripper to dissolve any remnants. Wipe away the residue with a soft cloth and use a wire brush or scrub pad for crevices. If necessary, scrape out the old finish with a putty knife and clean intricate areas with small brushes.
Next, prepare the surface by sanding it with fine-grit sandpaper for a smooth texture. Sand lightly to avoid damaging the rattan fibers, focusing on rough spots, and clean away dust afterward. Choose a suitable stain or paint, applying it evenly with a brush or sponge. Allow each coat to dry completely, aiming for 2-3 coats of varnish or wax for a polished look. Additionally, consider the importance of oiling as it helps prevent fading and strengthens the fibers against elements.
Finally, seal your work with a clear varnish to protect the new finish. Use a high-quality sealant to guard against moisture. Apply it evenly, ensuring you cover all nooks and crannies. Allow the sealant to cure fully before using your revitalized furniture. With these final touches, your rattan piece will shine beautifully in your space.
Protecting Your Furniture

A few simple steps can significantly extend the life of your rattan furniture and keep it looking stunning. Start by applying UV-resistant sprays and sealants specifically designed for rattan. These will shield your furniture from harmful UV rays and moisture. A thin coat of polyurethane varnish can also add a protective layer, while lacquer or shellac helps guard against moisture and pests.
Invest in high-quality waterproof covers to protect your furniture when it's not in use. This reduces the risk of damage from rain and sun exposure. During severe weather, store your rattan furniture indoors or under cover, and ensure good air circulation to prevent mold growth from moisture. Additionally, since rattan is known for its strength and flexibility, proper care will help maintain these properties over time.
Maintaining moderate humidity levels is essential. Avoid prolonged exposure to direct sunlight, as this can cause brittleness and fading. Position your furniture in shaded areas and use curtains to minimize direct sunlight exposure.
Finally, regularly inspect your furniture for signs of wear or damage, and address issues promptly. By taking these protective measures, you'll ensure your rattan furniture remains beautiful and functional for years to come.
Maintenance Tips
To keep your rattan furniture in top shape, regular maintenance is key. Start by cleaning it with a soft cloth to remove dirt and restore its natural shine. A handheld vacuum or brush attachment works wonders for loosening dust and soil. For deeper cleaning, mix mild detergent in warm water, using a toothbrush to tackle stubborn debris in cracks.
After cleaning, dry your furniture thoroughly, ideally in the sun or a well-ventilated area. Avoid soaking it; if it gets oversaturated, leave it outdoors to dry. Remember to rotate your furniture regularly to prevent uneven fading from sunlight, and keep it away from severe heat to avoid humidity control and warping.
When moving your rattan pieces, lift them instead of dragging, as this prevents splitting the fibers. Protect the feet with felt pads to minimize damage. If you spot mildew, treat it immediately with a strong bleach solution and dry the piece outside. Lastly, check for any loose strands or damage regularly, and use a soft brush to keep it clean. With these tips, your rattan furniture will stay beautiful and last for years.
Frequently Asked Questions
What Tools Do I Need for Rattan Furniture Repair?
To tackle rattan furniture repair, you'll need a few essential tools. Start with a soft-bristled brush and a mild cleaning solution to prep the surface. Scissors or a sharp knife will help you cut rattan strands, while pliers and a weave tool assist in handling tight areas. For adhesives, grab wood glue and super glue to secure loose pieces. Don't forget sandpaper for smoothing rough spots and clamps to hold everything in place while it dries.
Can I Use Regular Glue for Rattan Repairs?
You can't use regular glue for rattan repairs. It often fails to bond effectively, leading to weak adhesion that won't hold up over time. Plus, it may take longer to dry, delaying your project. Regular glue also isn't suitable for outdoor use, as it can degrade in the elements. For best results, opt for stronger adhesives like epoxy resin or super glue, which provide a durable and lasting repair.
How Long Does Rattan Furniture Repair Take?
Repairing rattan furniture can take anywhere from a few hours to a couple of days, depending on the extent of the damage. If you're just fixing minor issues, you might be done in an afternoon. However, if you need to replace several strands or let glue dry, it could take up to 24 hours or more. Make sure to plan for drying time, so you don't rush the repair process.
Is It Possible to Paint Rattan Furniture?
Yes, you can definitely paint rattan furniture! Start by cleaning it thoroughly and letting it dry completely. Lightly sand the surface to improve primer adhesion, then apply a suitable primer. Once that's dry, use acrylic or rattan-specific spray paint, applying thin, even coats. After achieving your desired color, seal it with a clear acrylic to protect your work. Just remember to let everything cure for at least 24 hours before using the furniture.
How Can I Prevent Future Damage to My Rattan Furniture?
To prevent future damage to your rattan furniture, position it in shaded areas to avoid direct sunlight. Use coasters and placemats to protect surfaces from spills and scratches. Keep the furniture away from heaters and air conditioning vents to maintain consistent humidity levels. Regularly clean it with a soft brush and apply a thin coat of furniture wax to shield it from moisture and UV rays. Store it indoors during harsh weather for extra protection.
Conclusion
By following these steps, you can easily repair your rattan furniture and restore its beauty. Remember to regularly inspect for wear and tear, and don't hesitate to tackle minor repairs before they escalate. With a little time and effort, your furniture can continue to provide comfort and style for years to come. So, get started on those repairs, and enjoy your revitalized rattan pieces!
