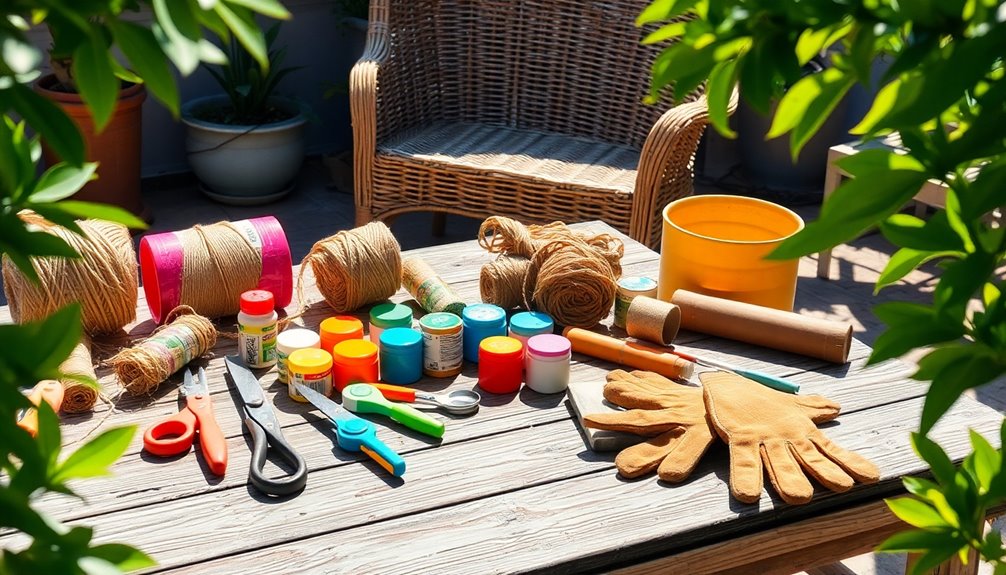
To repair wicker patio furniture, first assess the damage. Check for broken weaves, cracks, and loose areas. Clean the surface and remove any frayed pieces. Use pliers to weave replacement wicker strips, soaking them in warm water for flexibility. For cracks, use wood filler and glue, clamping pieces together to hold them in place. After repairs, sand the area and apply a protective coating to enhance durability. Regular cleaning and maintaining will keep your furniture looking new. There's plenty more to discover about maintaining your furniture's longevity, so keep exploring your options!
Key Takeaways
- Assess and document damage by identifying broken or cracked areas, and inspect the weave for loose strands before starting repairs.
- Soak new wicker strands in warm water for flexibility, then weave them into place, securing the ends with glue.
- Use wood filler for minor cracks and glue for larger splits, clamping the pieces together for even pressure during the repair.
- Clean the repaired areas and apply a waterproof coating to protect against environmental factors and enhance durability.
- Regularly clean and inspect your wicker furniture to address any shifts or broken pieces promptly for long-lasting maintenance.
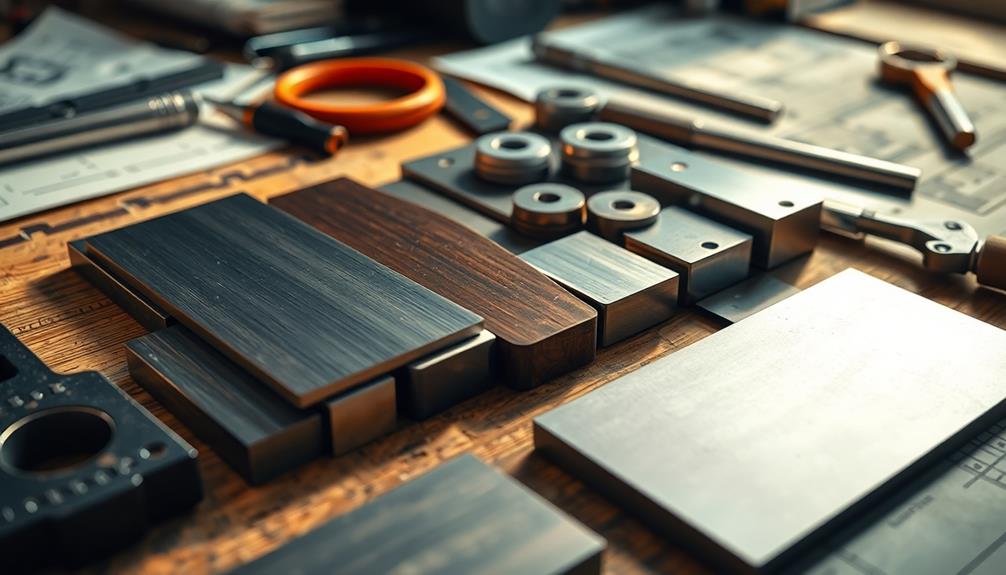
Tools and Materials Needed
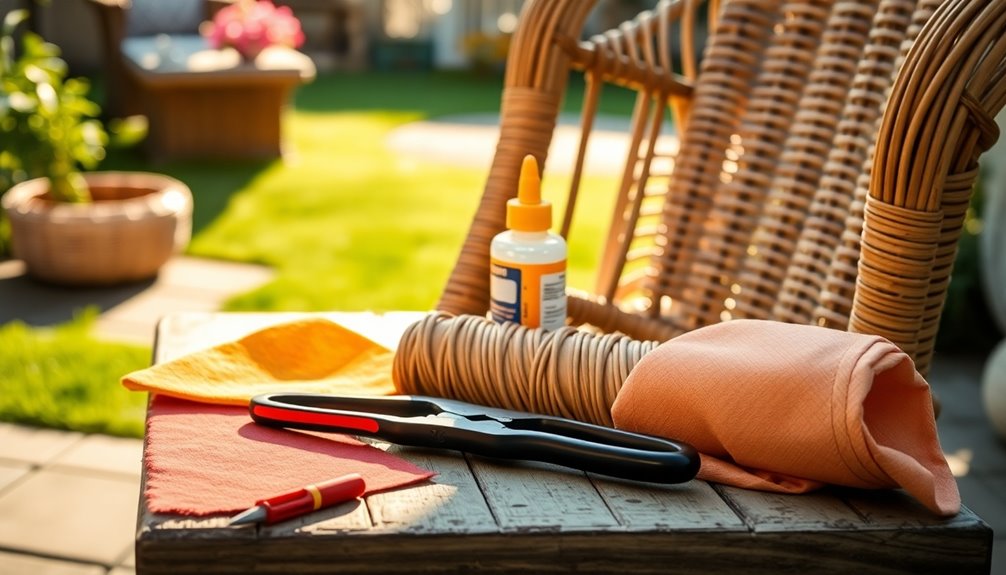
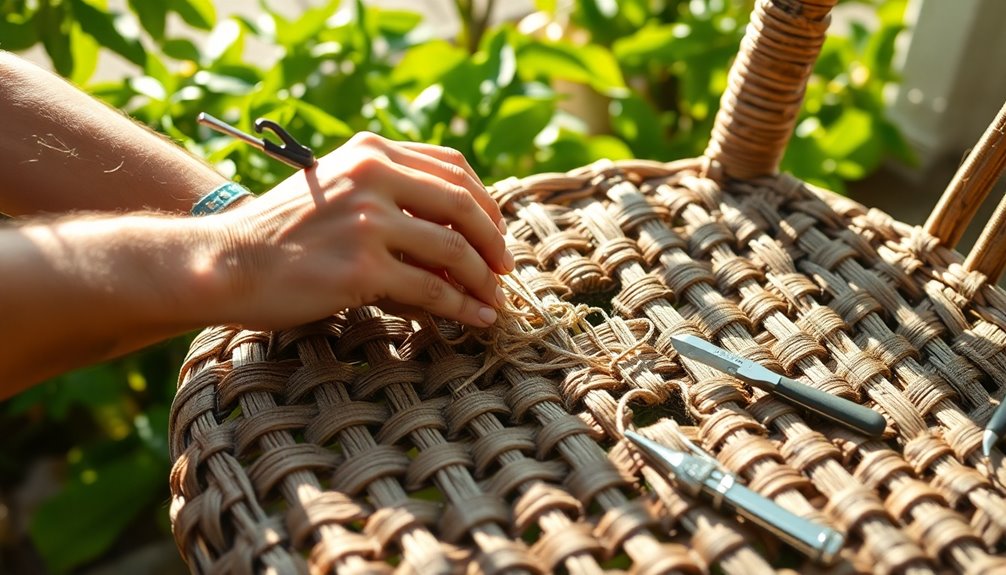
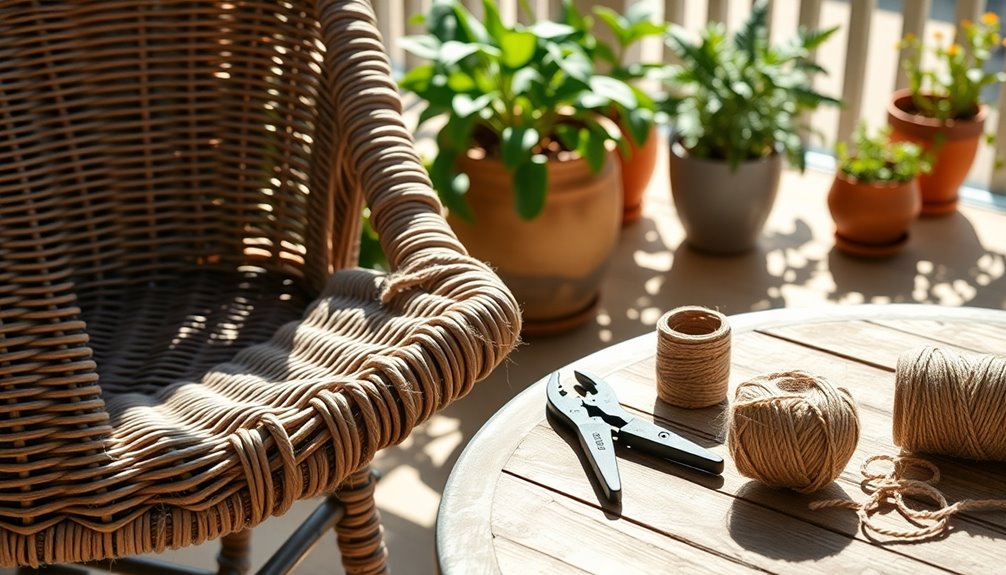
To successfully repair wicker patio furniture, you'll need a variety of tools and materials at your disposal. Start with pliers and needle nose pliers for gripping and manipulating the wicker strands. Wire cutters are essential for cutting any damaged pieces, while scissors come in handy for trimming new rattan or wicker strips to size. Clamps will hold the wicker in place as you work on repairs.
For materials, synthetic rattan or wicker should match the original color for a seamless look. Use wood glue or polyethylene glue specifically formulated for outdoor materials to bond new strips. Wire, similar to a paper clip's consistency, can reinforce the weave for added strength. After repairs, apply a waterproof coating to protect against environmental factors. Repair kits can enhance the ease of selection for materials, making your repair process more efficient.
Don't overlook additional supplies like oil or moisturizer to treat cracks, a cleaning cloth for surface upkeep, and sandpaper for smoothing surfaces if you plan to paint or refinish. Measure out new wicker material with a measuring tape for precision. If you want to streamline the process, consider investing in a wicker repair kit or weave tool for easier repairs.
Assessing the Damage
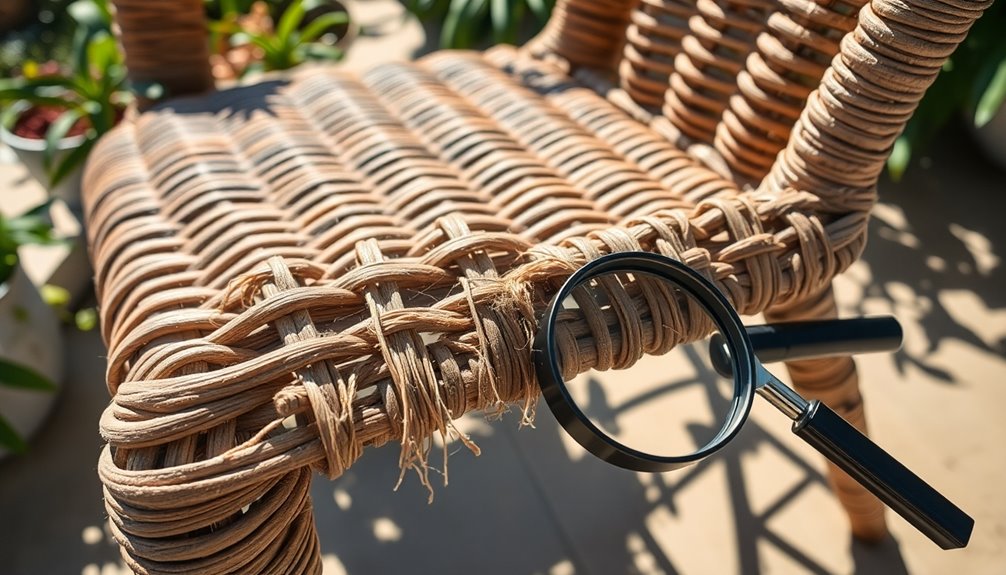
When it comes to repairing wicker patio furniture, assessing the damage is your first step. Start by identifying any broken, cracked, or discolored areas. Look closely for loose weaves, splits, and cracks in the wicker material. Don't forget to check for mold and mildew, especially if the furniture has been in a damp or humid environment. It's also essential to evaluate the frame for any weaknesses or damage. Additionally, remember that wicker refers to the weaving technique used to create the furniture, which can help you understand the structure better.
Next, inspect the damaged areas specifically. Determine if the damage affects just the weaves, the joints, or the entire structure. Check for broken or missing reeds and assess the extent of any cracks or splits. Take note of any mildew or mold growth, and evaluate the color consistency to see where touch-ups are needed.
Prioritize your repairs by focusing on the most damaged sections first. Address weak joints to maintain structural integrity and repair cracks to ensure stability. Document all damaged areas by marking them or taking photos for reference. This organized approach will help you decide if the furniture is worth repairing or if it's time for a replacement.
Preparing the Area
Preparing the area for repairing wicker patio furniture is crucial to ensure a smooth and effective process. Start by cleaning the surface thoroughly. Use water to remove dirt, debris, and mildew, and make sure the furniture dries completely before you move on to repairs. Inspect for any signs of mildew or discoloration that might need extra treatment, and use a soft brush or cloth to tackle stubborn spots.
Next, focus on removing any loose or damaged parts. Cut away frayed pieces of wicker with scissors or a box cutter, and carefully detach broken rattan strips to avoid causing more damage. Check the arms, legs, and seating area for any loose sections, using needle-nose pliers for precision tasks like tucking resin strands into place. Mark areas needing repairs for easy identification. Regular maintenance is essential for preventing common issues that could arise during repairs.
Finally, smooth and sand the surfaces. Use sandpaper to eliminate any rough edges and sand away old paint or varnish. A smooth surface is essential for a consistent finish. Clean the sanded area afterward to get rid of dust and debris before you proceed to priming or painting.
Replacing Broken Weaves
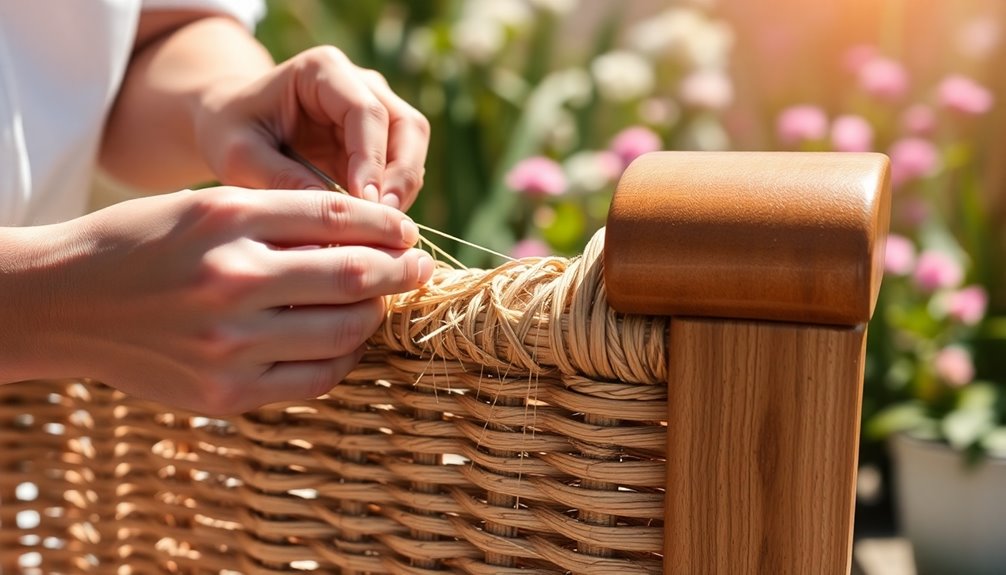
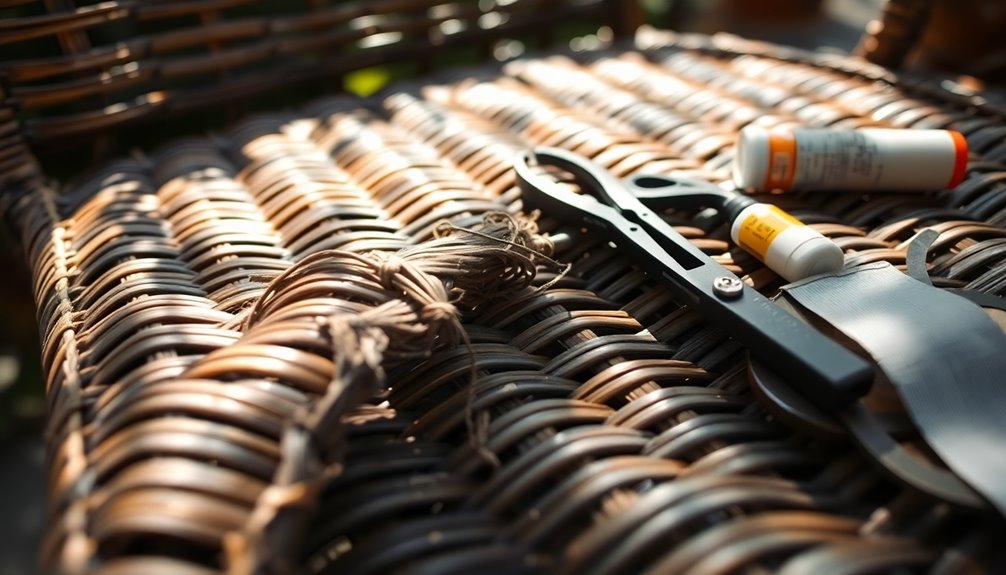
Replacing broken weaves in your wicker patio furniture can seem daunting, but with a clear approach, you'll have it looking as good as new. Start by assessing the damage; identify which wicker strands need replacement. Measure the width, shape, and color of the damaged strands to find a matching replacement. Cut the damaged strand near its base using heavy-duty scissors or a craft knife, then gently pull it out to avoid disturbing the surrounding weave. Remove one strand at a time to maintain the original pattern.
Next, prepare your replacement weaves. Soak new wicker reeds in warm water for 30 minutes to make them pliable. Choose replacement wicker that closely matches the original material, size, and color. Cut the new strand slightly longer than the damaged section to ensure enough material for weaving. It is essential to maintain the appearance and functionality of your furniture during this process to ensure longevity.
When you begin weaving, start from the underside of the furniture. Weave the new strand over and under the existing wicker, using needle-nose pliers for tight spots. Overlap the new and old strands by about 1/4 inch for a seamless transition. Finally, apply glue to secure the ends and trim any excess material. Wait for the glue to dry completely before using the furniture.
Repairing Cracks and Splits
After you've tackled the task of replacing broken weaves, it's time to focus on repairing cracks and splits in your wicker patio furniture. Start by inspecting the furniture for any damage, noting areas affected by wear, weather, or lack of maintenance. Look for loose screws or bolts that might need tightening, and mark spots requiring immediate attention.
Next, clean the affected area using a soft brush to remove dirt and mildew. Apply mild detergent for stubborn spots, then rinse gently with a garden hose and let it dry completely. Once clean, remove any loose or broken pieces carefully.
For minor cracks, use wood filler that matches your furniture color, applying it with a putty knife. Allow it to dry as per the manufacturer's instructions. For larger splits, apply wood glue and clamp the pieces together, ensuring even pressure. Additionally, consider using weather-resistant glue to ensure a durable bond. Use super glue for quick fixes on smaller cracks.
Finally, once the glue or filler has dried, sand the area smoothly with fine-grit sandpaper. This prepares the surface for any additional protective coatings, ensuring your repairs blend seamlessly with the rest of the furniture.
Applying Final Touches
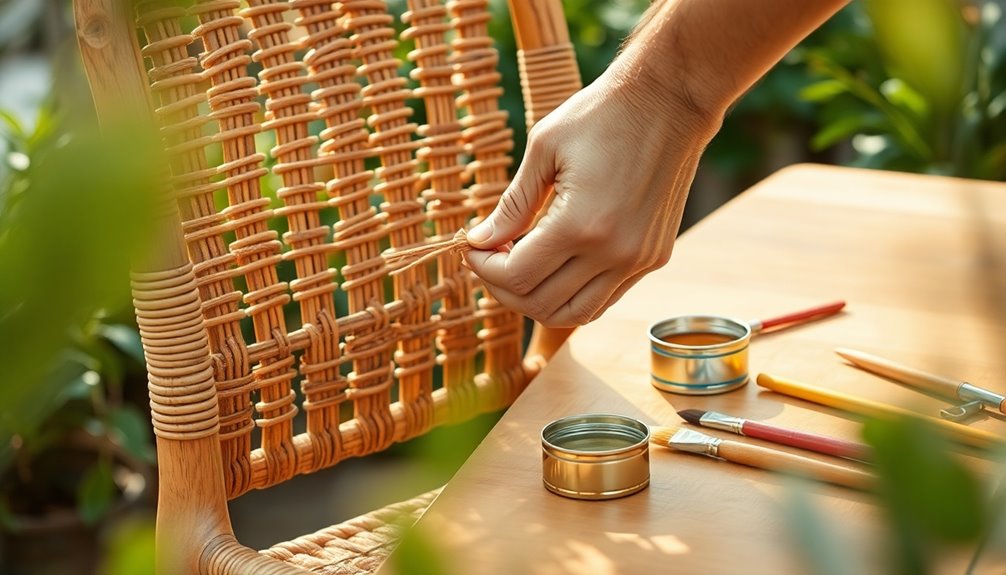
Applying the final touches to your wicker patio furniture can transform its appearance and extend its lifespan. Start by choosing the right primer, as a high-quality option ensures maximum adhesion. Opt for a spray can, like Krylon's sandable aerosol primer, for easy application. A single coat is usually enough unless you need to sand and re-prime for a flawless finish.
Next, select a suitable paint. Spray paints yield the best results, so pick a color that complements your cushions and outdoor décor. White is a popular choice for a cozy ambiance. Always follow the paint can's directions for proper application. Additionally, consider using high-quality materials to ensure that your painted wicker furniture maintains its durability and beauty over time.
When you're ready to paint, apply an even coat to the wicker, ensuring you cover all surfaces, including gaps between the strips. Allow the first coat to dry completely before adding a second for a strong, flawless color. Don't forget to wear safety gear like a paint respirator and goggles.
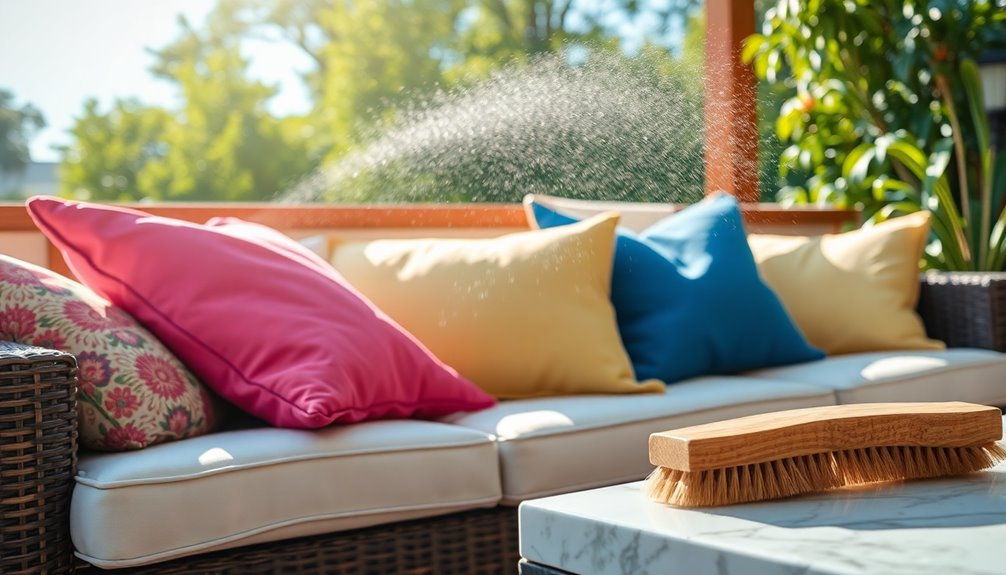
Finally, add a protective coating. A waterproof sealant shields your furniture from environmental factors, while natural finishes like tung oil enhance its beauty. Regularly polish the furniture every six months to maintain its luster.
Maintenance Tips

How can you keep your wicker patio furniture looking great year after year? Start with regular cleaning. Use a soft bristle brush or a dry cloth to dust the furniture, paying attention to crevices where dust collects. A vacuum cleaner with a brush attachment on a low suction setting can also help remove dust and debris effectively. For deeper cleaning, mix mild soap with water, dampen a cloth, and wipe down the furniture in the direction of the weave. Rinse off any soap residue to prevent moisture buildup. Regular vacuuming is essential for dust management to prevent dirt buildup in crevices.
Don’t forget to inspect the weave regularly. If you spot any shifts or broken pieces, push the weave back into place or use wood glue for repairs. Annually, apply a protective finish or sealant to shield your furniture from the elements. Touch up the finish with spray paint or varnish every few years to keep it looking fresh. Additionally, consider incorporating natural cleaning methods into your maintenance routine. For instance, learning how to use vinegar for furniture can effectively remove stains and restore the shine without damaging the surface. Always ensure to test any cleaning solution in a small, inconspicuous area first to avoid any unwanted reactions.
Lastly, during extreme weather, use furniture covers. By following these maintenance tips, you can ensure your wicker patio furniture remains beautiful and functional for years to come.
Storing Your Furniture
When it comes to storing your wicker patio furniture, following a few key steps can make all the difference. Start by cleaning your furniture thoroughly to remove dirt, debris, and any mildew. Use a mild detergent and water for natural wicker and a gentle cleaner for synthetic wicker. Make sure everything dries completely before storage, and double-check for any remaining dirt.
Next, invest in breathable covers that fit well to protect against dust and moisture while allowing for airflow. You might want to use a waterproof coating for added protection, and remember to cover cushions separately. Labeling the covers can save you time later. Additionally, consider using high-quality, breathable covers to ensure your furniture is shielded from UV rays and moisture.
If possible, store your wicker furniture indoors in a garage or basement, keeping the area climate-controlled to avoid extreme temperatures and humidity. If indoor space is limited, consider a large storage shed, but steer clear of damp areas. Elevate your furniture on blocks or pallets to prevent ground moisture damage.
Lastly, store cushions in matching wicker storage boxes or plastic bins. Use cedar planks inside to deter moisture, and keep the area pest-free for optimal protection.
Frequently Asked Questions
How Long Does It Take for the Glue to Dry Completely?
The drying time for glue varies based on the type you're using. Generally, wood glue can take several hours to a full day to dry completely, while plastic glue often requires a few hours or even overnight. Clear-drying glue dries relatively quickly, usually within minutes to an hour. Always check the manufacturer's instructions for specific drying times, and ensure the area is clean and dry to speed up the process.
Can I Use a Different Type of Adhesive for Repairs?
Yes, you can use different types of adhesive for repairs. E600 glue is great for its flexibility and durability, while wood glue works well for natural wicker and reinforcing weak joints. If you're dealing with plastic components, polyurethane glue is your best bet due to its weather resistance. Super glue can handle minor repairs, but it's not ideal for larger fixes. Just choose the adhesive that best fits your project's needs!
What if I Can't Find Matching Synthetic Rattan?
If you can't find matching synthetic rattan, don't worry! Look for a similar color and texture in synthetic materials like PE. You can also choose a yarn that closely resembles the original, even if it's not an exact match. Just ensure it's UV-resistant and weatherproof. This way, you'll maintain a natural look while ensuring the durability of your furniture. Mixing shades can create a unique style, too, so get creative!
How Often Should I Perform Maintenance on My Wicker Furniture?
You should perform maintenance on your wicker furniture at least once a season to prevent buildup and damage. If it's outdoor furniture, aim for gentle cleaning four times a year, especially during peak usage times. Daily dusting keeps it looking great, while deep cleaning is usually needed once or twice a year. Regular inspections will help you catch any issues early, so don't skip that step! Adjust cleaning based on how often you use it.
Is It Safe to Use Outdoor Cushions on Repaired Furniture?
Yes, it's safe to use outdoor cushions on repaired furniture, as long as you ensure the repairs are stable and the materials are compatible. Choose cushions made from weatherproof, UV-resistant materials that'll withstand the elements. Make sure the repaired wicker can support the cushions' weight and check for any loose weaves. Regularly inspect both the cushions and furniture for wear to maintain safety and comfort while enjoying your outdoor space.
Conclusion
By following these steps, you can easily repair your wicker patio furniture and restore its charm. Remember to assess the damage carefully and use the right tools for the job. Regular maintenance will keep your furniture looking great for years to come. When the season changes, store your pieces properly to protect them from the elements. With a little effort, your wicker furniture will continue to be a stylish and comfortable addition to your outdoor space.