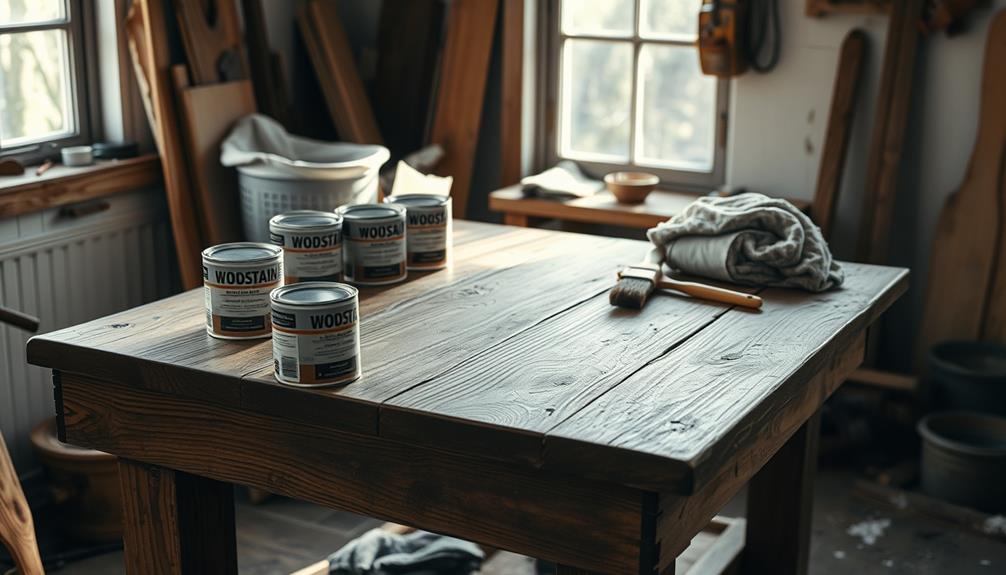
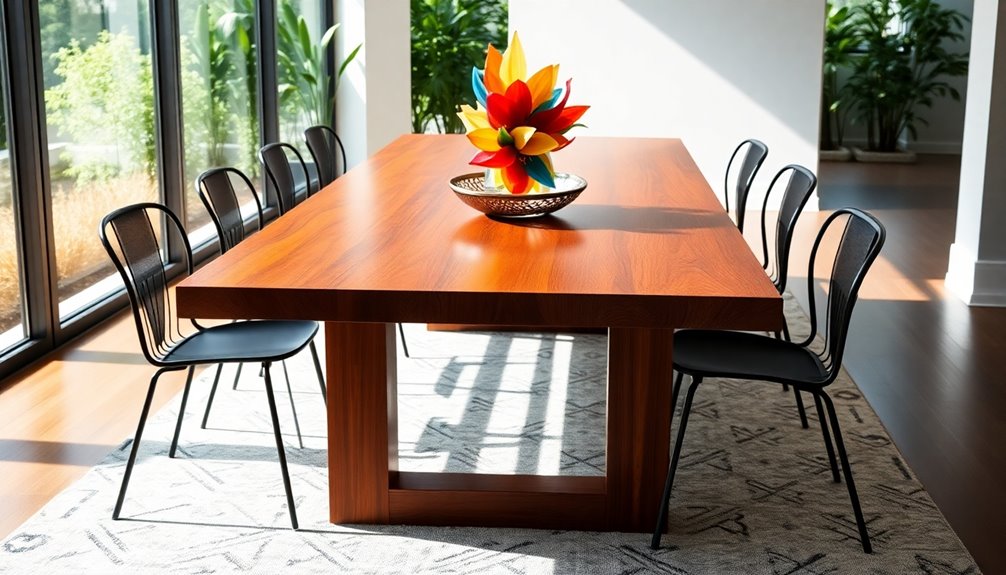
In order to refinish wood furniture, you will need to gather necessary tools such as sandpaper, a high-quality paint stripper, and safety equipment. It is important to work in a well-ventilated area and remove any hardware to make the process easier. Begin by stripping the old finish using chemical stripper or sanding with coarse grit sandpaper. Once the old finish is removed, smooth the surface with fine grit sandpaper before applying the new stain. Use foam brushes to apply the stain evenly, allowing it to penetrate for a few minutes. Seal the wood with polyurethane, applying multiple coats for added durability. Keep an eye out for tips on curing and achieving a flawless finish! If you are considering selling used furniture, a beautifully refinished piece can greatly increase its value. Be sure to take high-quality photos to showcase the updated appearance of the wood and highlight any unique features. Well-restored wood furniture can attract more buyers and command a higher price, making your efforts worthwhile in the end. Additionally, it’s essential to research how to refinish wood furniture properly, as each piece may have specific needs based on its age and type of wood. Take your time during each step of the refinishing process to ensure the best results, and don’t hesitate to consult online tutorials or seek advice from experienced DIYers. With patience and attention to detail, you can transform your furniture into a stunning centerpiece that not only enhances your space but also showcases your craftsmanship.
Key Takeaways
- Start by evaluating the furniture's condition, inspecting for damage, finish wear, and moisture issues before proceeding with any work.
- Remove the old finish using either sanding or chemical strippers, ensuring to use protective gear throughout the process.
- Sand the wood surface with varying grit sandpaper for a smooth finish, always sanding along the grain to avoid marks.
- Apply stain evenly with a foam brush, allowing it to penetrate for 5-10 minutes before wiping off excess for a uniform color.
- Seal the stained wood with at least two coats of polyurethane, allowing adequate drying and curing time for durability.
Essential Tools and Materials
When tackling a wood furniture restaining project, you'll need a few essential tools and materials to secure the best results. First, grab medium and fine grit sandpaper to prepare the surface effectively. Sanding helps remove old finishes and smooths out imperfections, guaranteeing the new stain adheres well. Next, you’ll need a quality wood stain in the color of your choice and a good quality brush or cloth to apply the stain evenly. When it comes to antiquing furniture tips, consider using a gel stain or applying a coat of pre-stain wood conditioner to achieve a more distressed, vintage look. Finally, finish off the project with a clear topcoat to protect the newly stained wood and give it a polished, professional appearance. With these essential tools and materials, along with some antiquing furniture tips, you’ll be able to successfully restain your wooden furniture and give it a fresh new look.
You'll also need a quality paint stripper, like citri-strip, to eliminate any stubborn old finishes. This step is vital for achieving a clean slate. Additionally, understanding the importance of using energy-efficient appliances can help you save on electricity costs while working on your project.
Don't forget to wear safety gear, including rubber gloves and protective goggles, while handling chemicals and during the sanding process. Once the old finish is stripped, use mineral spirits to clean up any leftover residue. This guarantees your surface is pristine and ready for staining.
For applying the new stain, foam brushes work best for achieving an even application. When choosing a stain, consider oil-based options for their deep penetration and rich color. If you prefer a more eco-friendly approach, water-based stains offer quicker drying times without sacrificing appearance.
With these tools and materials at your side, you're all set to bring your wood furniture back to life!
Preparing Your Workspace

Creating an ideal workspace is vital for a successful wood furniture restaining project. First, select a well-ventilated area, like an open garage or outdoor deck, to guarantee proper airflow when you're working with chemicals and finishes. This will help keep you safe and make the process smoother. Incorporating essential oils for respiratory health can further enhance your workspace by providing soothing scents that promote easier breathing.
Next, lay down a drop cloth or tarp secured with masking tape to protect your floor and surrounding areas from stains and spills. Before you begin, remove all drawers, doors, mirrors, and hardware from the furniture to access every surface that needs staining easily. This step is significant for effectively removing the old finish, as it allows you to work on each part thoroughly.
Organize your tools and materials—sandpaper, stain, brushes, and safety gear—within easy reach. This minimizes movement and helps you maintain focus on the project.
Evaluating the Furniture Condition
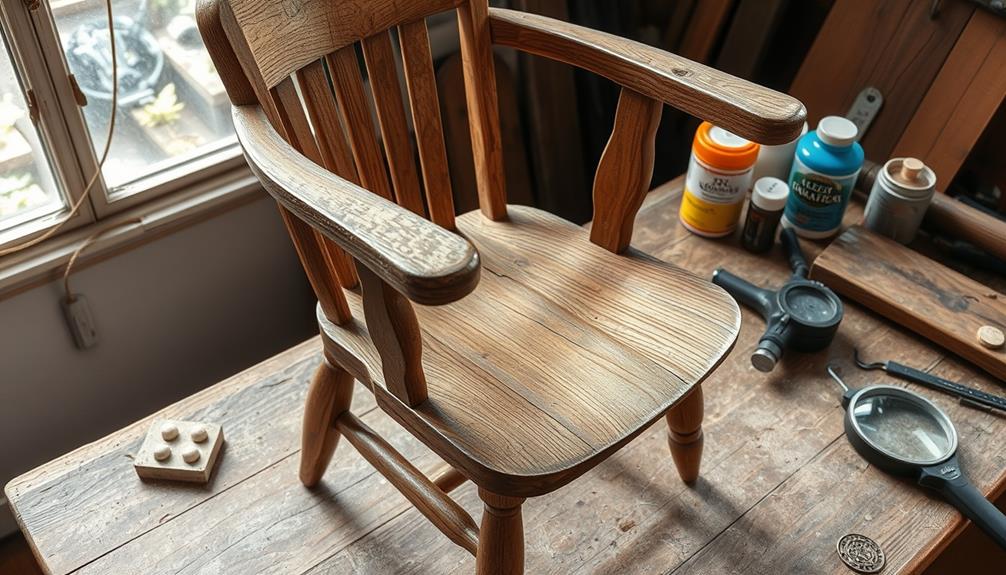
After setting up your workspace, it's time to evaluate the condition of your furniture. Start by inspecting it thoroughly for damages like cracks, chips, or loose joints. These issues may need repair before you begin restaining. Next, check the current finish for wear and tear. Identify areas where the finish has faded or chipped, as this will help you determine how much stripping or sanding is necessary.
Additionally, assess the wood type and grain pattern. Different wood species react differently to stain, which affects the final appearance. Look out for signs of moisture damage or warping, as these can compromise the wood's integrity and the stain's effectiveness. Finally, consider the piece's age; older furniture may have multiple finish layers that need addressing.
Here's a quick reference table to help you during your evaluation:
| Condition Aspect | What to Look For |
|---|---|
| Damages | Cracks, chips, loose joints |
| Finish Quality | Fading, chipping |
| Wood Type | Species and grain pattern |
| Moisture Damage | Signs of warping or water damage |
Stripping the Old Finish
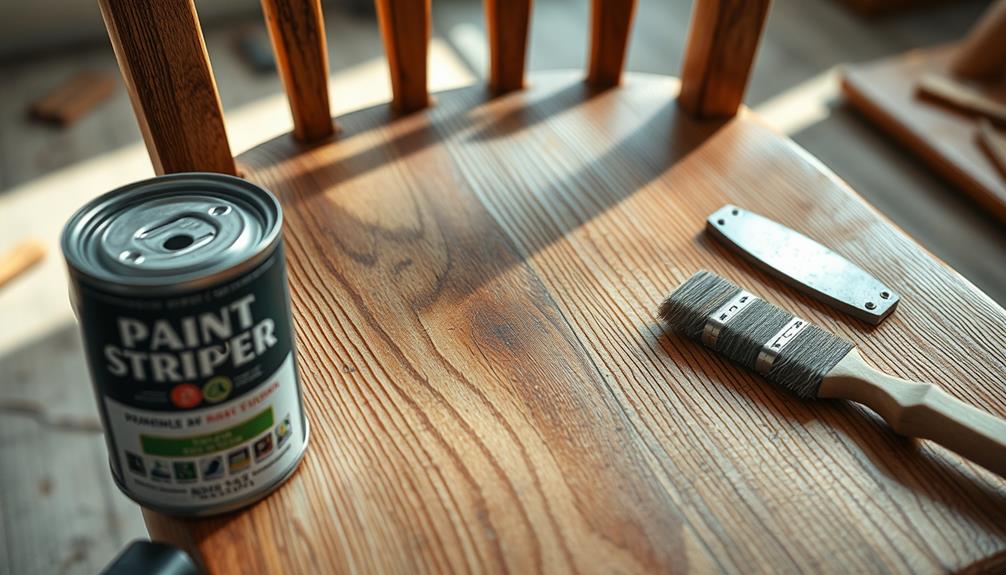
To effectively strip the old finish from your wood furniture, you have two main options: sanding or using chemical strippers.
Chemical strippers often provide a faster and easier method to remove thick layers of varnish or paint, which is similar to how mechanic shops for fuel injection cleaning handle performance issues efficiently. When opting for chemical strippers, apply the solution in thick, even layers and let it soak for 20-30 minutes. After that, scrape off the softened finish using a plastic scraper, making sure to follow the manufacturer's instructions for the best results.
If you choose sanding, start with medium-grit sandpaper (around 80-120 grit) to remove the bulk of the old finish. Once you've tackled the majority, progress to finer grits (200+ grit) for a smoother surface.
Regardless of the method you choose, always wear rubber gloves and protective goggles to prevent skin and eye irritation. Make certain you work in a well-ventilated area to minimize inhalation of harmful fumes.
After stripping, wipe the surface with mineral spirits to remove any residual stripper. Confirm the wood is fully dry before moving on to the next steps in your refinishing project.
Sanding and Staining Techniques
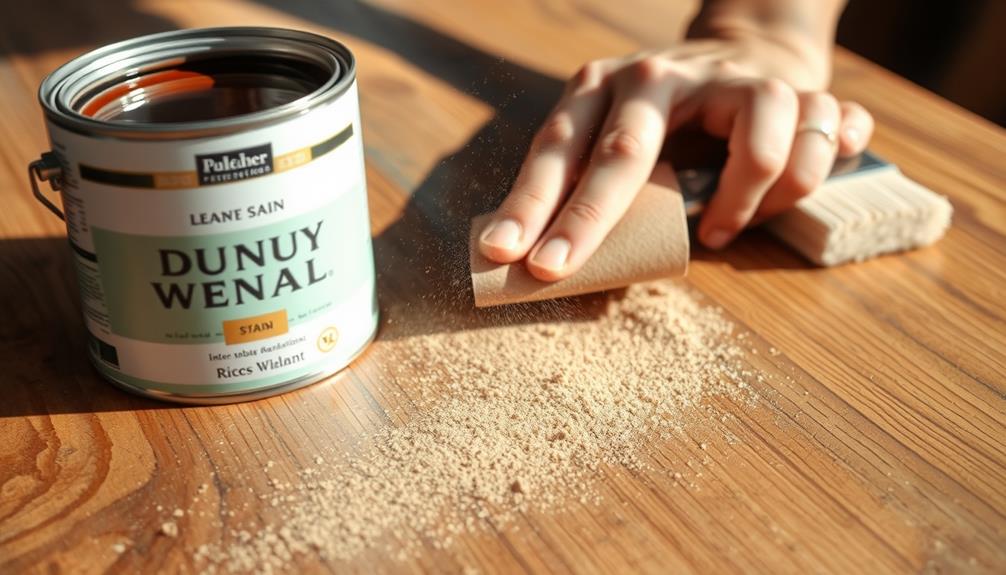
When you're ready to sand and stain your furniture, start by selecting the right sandpaper grit to effectively prep the surface.
Use the appropriate staining application methods to guarantee an even finish and enhance the wood's natural beauty.
Sandpaper Grit Selection
Selecting the right sandpaper grit is essential for achieving a smooth and even finish on your wood furniture.
Start with coarse grit sandpaper, around 60-80 grit, for initial sanding. This grit helps you remove old finishes and roughens the surface, preparing it for the refinishing process.
After this, progress to medium grit sandpaper, about 120-150 grit. This stage smooths the surface and eliminates scratches left by the coarse grit.
For the final sanding, switch to fine grit sandpaper, like 180-220 grit. This grit guarantees a smooth surface that not only feels great but also enhances the absorption of the stain you'll apply later.
Remember to always sand along the grain of the wood. This practice prevents unsightly swirl marks that can show up after staining and ruin your hard work.
Once you've finished sanding, you'll want to wipe down the surface with a tack cloth. This step removes dust and debris, securing the best possible finish when you move on to staining.
Proper sandpaper grit selection is key to a successful refinishing project, so take your time and do it right!
Staining Application Methods
Applying stain to wood furniture requires careful attention to detail for the best results. Start by sanding the wood with medium-grit (150) sandpaper to expose bare wood, then follow up with fine-grit (200+) sandpaper for a smooth finish.
Make certain there are no swirl marks left behind. After sanding, use a tack cloth to wipe down the surface, removing dust and debris to guarantee a clean application of stain.
When you're ready to apply the stain, use a staining pad or cloth. Here are some tips to achieve the best finish:
- Apply the stain with long, even strokes.
- Work in sections to maintain uniform coverage.
- Allow the stain to penetrate for 5-10 minutes.
- Wipe off any excess stain with a clean cloth.
- Consider applying multiple coats for a richer color.
After staining, seal the wood with a clear coat, such as polyurethane. Apply the coat with smooth strokes along the grain, and lightly sand between coats for a professional finish.
This method will give your furniture a beautiful, long-lasting look.
Drying and Curing Tips
After achieving the desired stain application, drying and curing are vital steps in guaranteeing your wood furniture looks its best and lasts longer. Start by allowing each coat of stain to dry for 30 minutes to an hour before adding more layers. This guarantees proper adhesion and enhances color depth.
To achieve an even finish, lightly sand the wood surface with fine-grit sandpaper (200+) between coats. This helps create a smoother finish and improves the stain's absorption.
Once you've applied the final coat of stain, it's essential to let it cure for at least 24 hours in a well-ventilated area. This allows the stain to fully set and maximizes durability, preventing potential damage. Be sure to wipe off any excess stain with a clean, lint-free cloth to avoid blotchiness and achieve an even color over the surface.
If you're sealing with polyurethane, apply it in thin, even coats. Allow each coat to dry completely, typically within 2-4 hours, before sanding and applying the next.
Following these drying and curing tips will guarantee your refinished furniture stands the test of time.
Applying the Final Coat

Once the stain has fully dried, you're ready to enhance your wood furniture's durability with a clear oil-based polyurethane top coat. This step is essential for protecting the wood and guaranteeing a long-lasting finish.
Begin by using a clean foam brush or a high-quality synthetic brush, applying the final coat in the direction of the wood grain to avoid streaks and achieve an even finish.
Here are some key tips for applying the final coat:
- Sand lightly with 200-grit sandpaper between coats to improve adhesion.
- Clean off any dust with a tack cloth after sanding.
- Apply at least two to three coats of polyurethane for high-traffic areas.
- Allow proper curing time (typically 24 hours) between each application.
- Make sure your workspace is well-ventilated to handle any strong fumes.
Following these steps won't only protect your furniture but also enhance its appearance.
Frequently Asked Questions
Can You Restain Wood Without Sanding?
Yes, you can restain wood without sanding. Use gel stains designed for previously finished surfaces. Just clean the furniture well, apply the stain in small sections, and let it dry between coats for the best results.
Do You Have to Remove Old Wood Stain Before Restaining?
You typically need to remove old wood stain before restaining. If you don't, the new stain might not absorb evenly, leading to a disappointing finish. Stripping or sanding the surface guarantees better results.
Can You Stain Over Stain on Wood Furniture?
Staining over existing stain is like painting over a canvas; you can do it, but guarantee the base is solid. Lightly sand, clean the surface, and test on a small area for best results.
Do You Have to Sand Furniture Before Restaining?
Yes, you have to sand furniture before restaining. Sanding guarantees the new stain adheres properly and creates a smooth surface. It's especially important if the finish is glossy or if you're removing an old stain.
Conclusion
You've successfully transformed your old wood furniture into a masterpiece—who knew a little elbow grease could rival a high-end furniture store? Now, as you admire your handiwork, remember: every scratch and stain tells a story, even if that story is about how you tried to DIY and nearly ruined your living room. But hey, at least you didn't have to pay for overpriced "vintage" pieces. Enjoy your newly stained furniture and the inevitable questions about your questionable life choices!
