
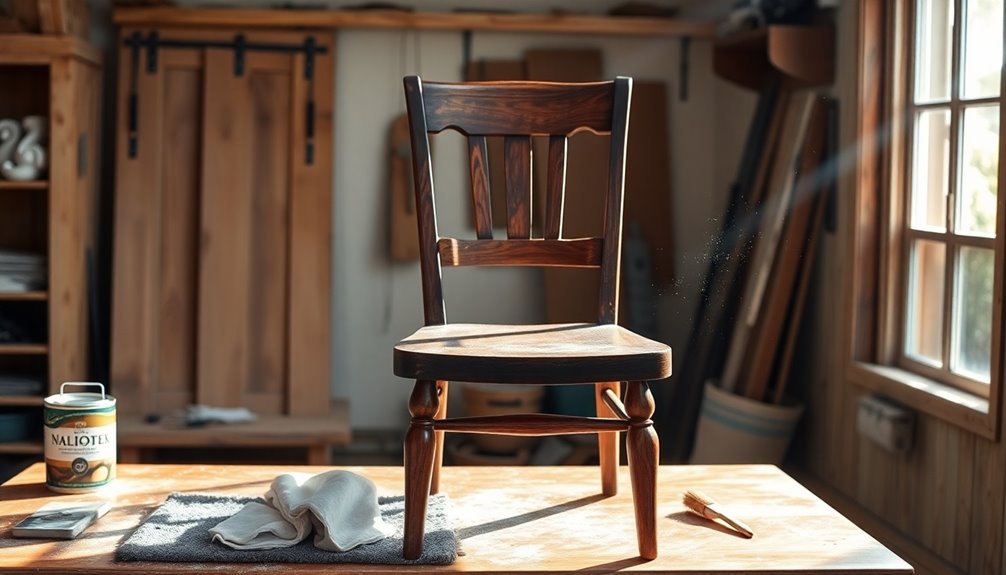
To restore furniture, start by evaluating its condition. Look for scratches, cracks, or discoloration. Next, clean the surface thoroughly to remove dust. For old finishes, you can either sand or use chemical strippers—make sure to follow safety precautions. Repair any damaged parts by tightening joints and filling in imperfections. Once you've prepared the surface, apply a fresh finish, like wax, ensuring it's buffed to a glossy shine. Finally, inspect your work for any touch-ups and maintain your restored piece regularly. You'll discover even more helpful tips and techniques to achieve stunning results!
Key Takeaways
- Assess the furniture's condition by checking for damage, soundness, and quality before starting the restoration process.
- Clean surfaces thoroughly, using appropriate methods for different materials to remove dirt and prepare for refinishing.
- Remove old finishes using sanding or chemical strippers, ensuring the piece is dry and damage is repaired before continuing.
- Apply new finishes, such as wax or sealants, following the grain direction for an even and glossy appearance.
- Conduct a final inspection to address imperfections, reattach hardware securely, and establish a maintenance routine for longevity.
Evaluating the Furniture
When evaluating furniture, start by assessing its overall condition. Inspect for signs of wear, such as scratches, cracks, peeling, or discoloration on surfaces like leather or wood. Next, check the frame and structure to ensure it's sound and not damaged or weakened. Pay close attention to the cushions and padding; assess their condition and note any sagging or lumps that might indicate the need for replacement or repair.
As you evaluate the piece, identify damages and scratches, making a list of areas requiring special attention during restoration. Determine the extent of needed repairs—are they minor, or do they involve significant structural changes?
You should also consider the furniture's quality. Evaluate if it's made from high-quality materials like full-grain leather or solid wood. If you spot any valuable designer or vintage pieces, recognize their potential resale value. Look for signs of skilled craftsmanship, such as quality joinery and carvings, and verify that original materials are preserved as much as possible. Additionally, consider the furniture's monetary and sentimental value, which can significantly influence your restoration decisions.
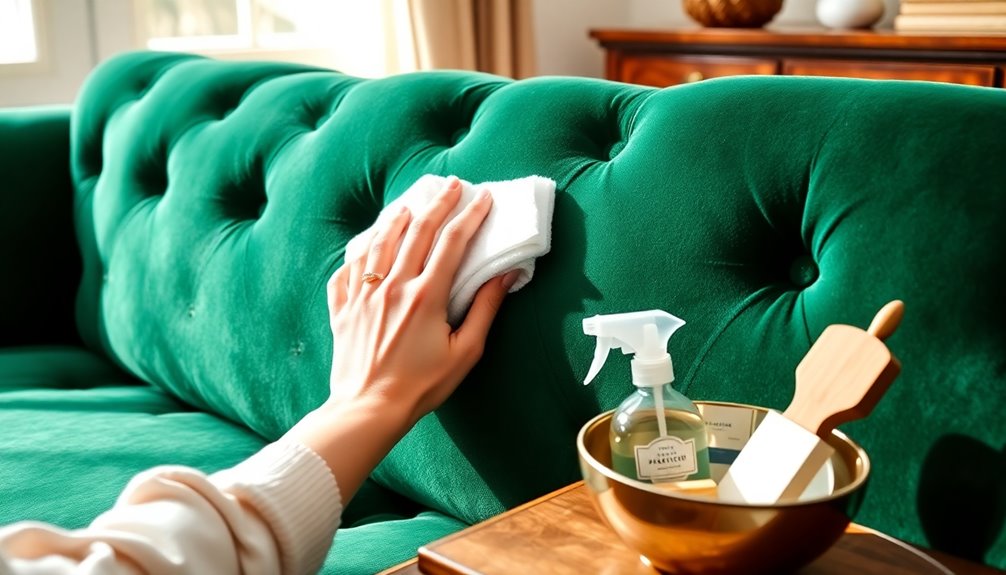
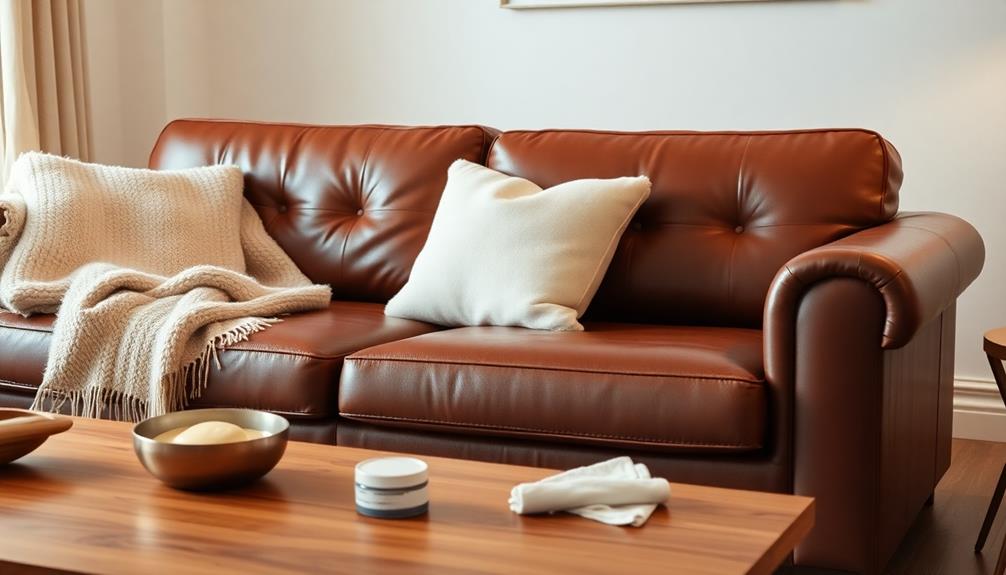
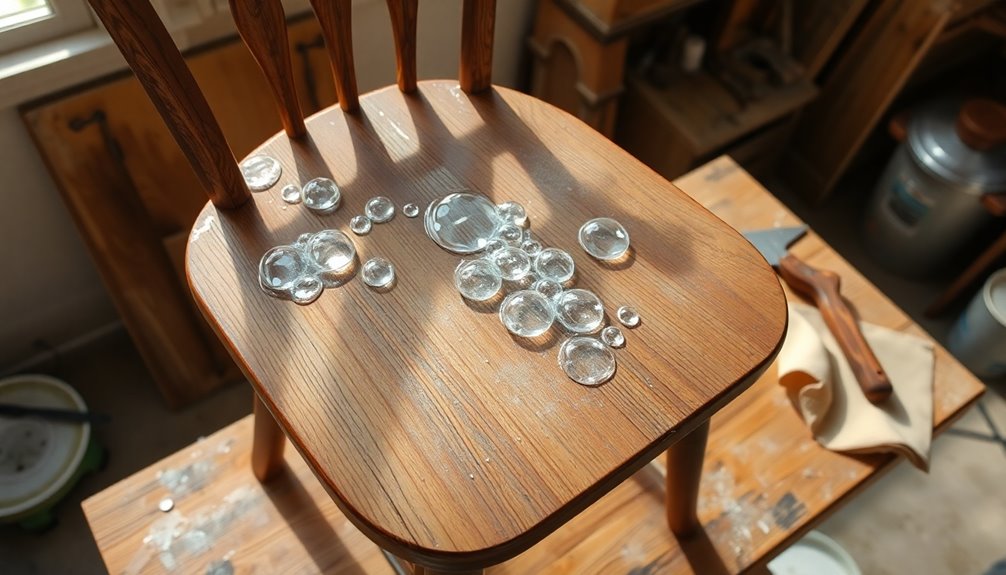
Cleaning the Furniture
Regularly cleaning your furniture is essential to maintain its appearance and longevity. Start by identifying the fabric type of your upholstered furniture to determine the best cleaning method. Vacuum the upholstery thoroughly to remove dirt and dust. For water-based fabrics, mix water, dishwashing liquid, and vinegar, then spray the entire surface with hot water to loosen stubborn stains. For specific stains, use a watered-down laundry stain remover. Regular vacuuming, especially weekly or bi-weekly, maximizes furniture longevity.
When it comes to solid wood and veneer furniture, wipe surfaces with a damp cloth and dry them immediately to avoid water spots. Stick to a solution of warm water, vinegar, and a few drops of dish soap for cleaning. Apply non-abrasive furniture polish sparingly with a soft cloth to maintain shine.
For laminate and thermolaminate furniture, use liquid dishwashing detergent mixed with warm water, and always wipe vertically. For granite surfaces, a damp cloth suffices for daily cleaning, while a mild detergent can be used for deeper cleans. Lastly, clean polymer, metal, and wrought iron furniture with non-scouring products, avoiding abrasive cleaners to protect their surfaces.
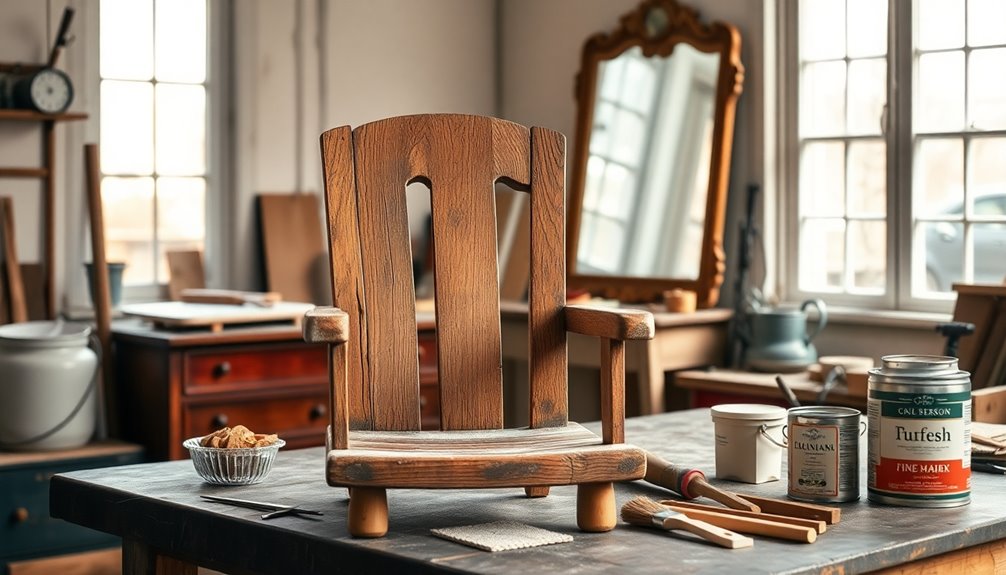
Removing the Old Finish
Removing the old finish from furniture can breathe new life into your pieces, but it requires careful preparation and the right tools. Start by choosing a well-ventilated workspace and covering the floor with newspapers or a drop cloth to catch any debris. Gather your supplies, including rubber gloves, goggles, sandpaper, putty knives, and chemical strippers. Before diving in, remove all hardware, decorative materials, or upholstery. Regular maintenance can extend appliance lifespan by up to 50%, which can also apply to furniture care.
You can choose between two main methods: sanding or chemical stripping. If you opt for sanding, begin with coarse grit sandpaper, gradually moving to finer grits. Sand gently using long strokes that follow the wood grain, and be cautious not to sand too deeply. For those tricky spots, use a sanding sponge or detail sander.
If you prefer chemical stripping, apply the stripper evenly with a brush and let it soak for 20 to 30 minutes. Then, use a scraper to remove the finish, working in small sections. Remember to rub the stripper into the finish with steel wool, wiping the surface clean before the stripper dries. After stripping, make sure the piece is completely dry before proceeding. Additionally, always wear rubber gloves and protective goggles when handling chemicals to ensure your safety during the process.
Repairing Damaged Parts
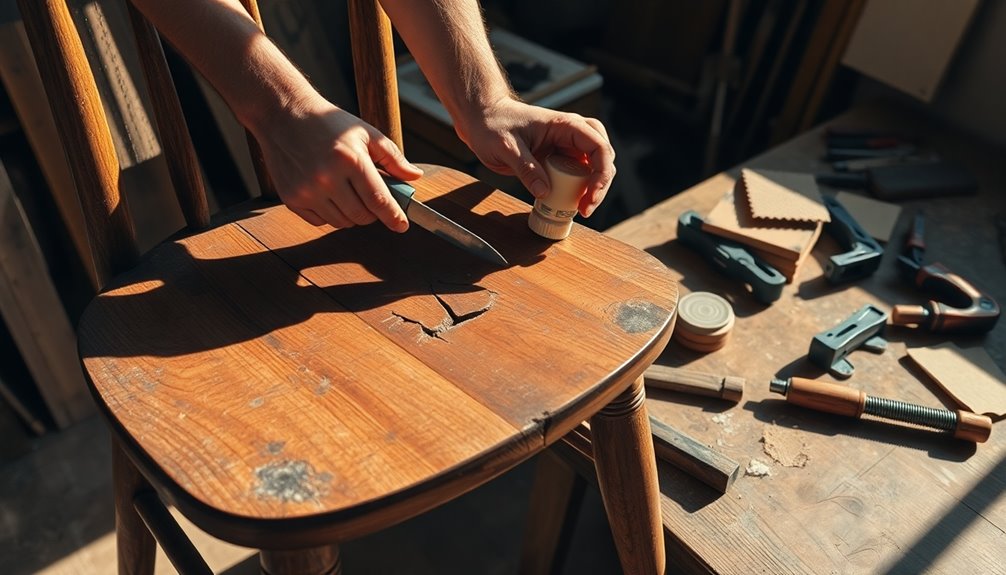
Repairing damaged parts of furniture is essential for restoring its beauty and functionality. Start by assessing the damage. Check for scratches, dents, watermarks, and loose joints. Identify weak areas that may need reinforcement and evaluate the condition of critical structural elements. If the piece is valuable or heavily damaged, consider seeking professional help. Additionally, ensure that your repair process is compatible with various brands to maintain the integrity of the furniture.
Next, re-glue any loose joints. Disassemble the furniture if possible, cleaning the joint surfaces thoroughly. Apply strong wood glue, clamp the pieces tightly, and let the glue dry completely. For extra support, use metal corner braces or dowels and screws.
If parts are broken, trim the rough edges and glue in a block to replace the missing tenon. For added strength, drill a dowel hole through the block and into the existing piece. When reattaching spindles or rungs, use a scarf joint to minimize disassembly.
Lastly, fill and patch any imperfections. Choose a filler that suits the type of damage—latex for small cracks and epoxy for larger repairs. Sand down the filled areas and apply touch-up stain as needed. This thorough approach will help restore your furniture's integrity. Additionally, understanding woodworking skills can significantly enhance your repair effectiveness and precision.
Refinishing the Furniture
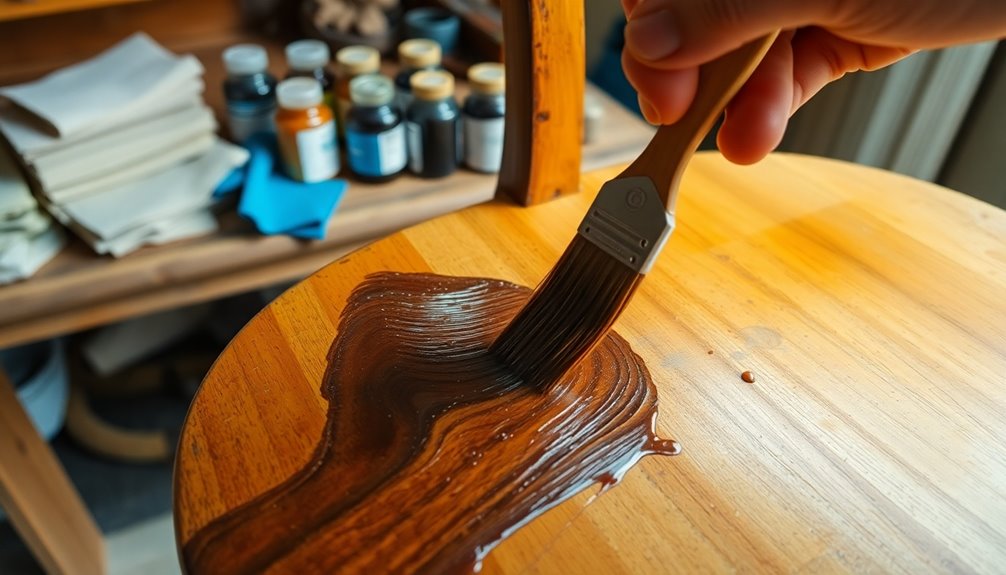
When it comes to refinishing furniture, you'll want to kick off the process with a thorough cleaning to ensure the best results. Remove all dirt, dust, and grime from the surface to prepare for the refinishing. After cleaning, assess the furniture's condition to decide if you'll refinish, restore, or conserve it. Gather your supplies, including dish soap, rags, paintbrushes, paint stripper, sealant, and sanding tools. Protect your workspace with a tarp and ensure good ventilation, especially when using chemical strippers. Don't forget to wear protective eyewear and rubber gloves. Additionally, be sure to have protective eyewear and rubber gloves handy to ensure your safety during the process.
Next, use chemical strippers or sandpaper to remove the old finish. Apply the stripper evenly and let it sit for about 20 minutes, or use coarse-grit sandpaper to strip the finish off until the wood is smooth. Sand the entire surface in the direction of the grain, starting with an 80-grit pad, then moving to medium and fine grit sandpaper. After sanding, wipe down the piece to eliminate any lingering dust. Once you've achieved a smooth surface, you're ready to apply a sanding sealant before moving on to your new finish.
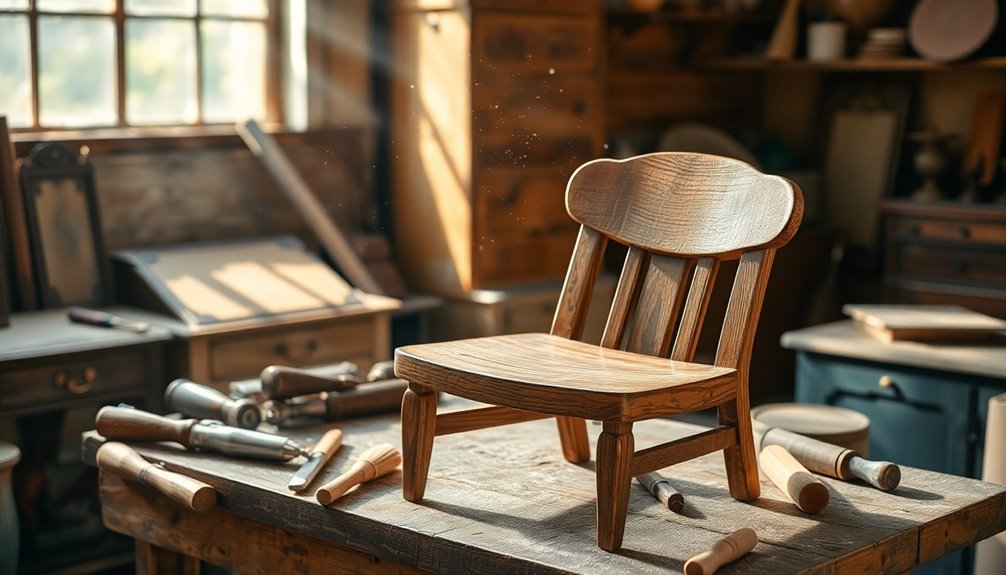
Final Touches and Inspection
After you've completed the refinishing process, it's time to focus on the final touches and inspection of your furniture. Start by sanding any rough areas with coarse-grit sandpaper, then progress to finer grits, always sanding in the direction of the wood grain to avoid scratches. Don't forget to wear a dust mask to protect against inhaling debris. Ensure the surface is completely dry before proceeding.
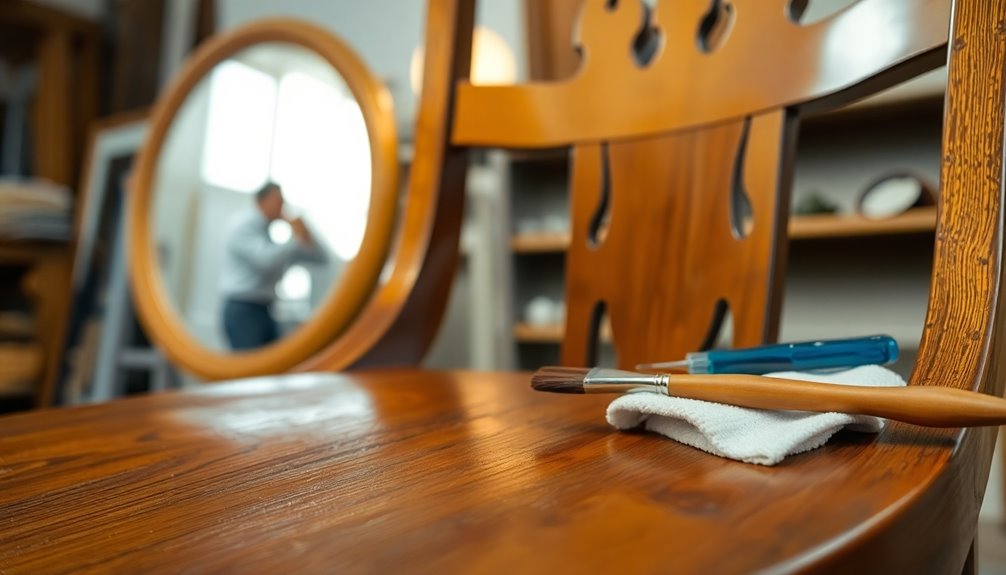
Next, apply a protective coating. Choose wax, like beeswax or paste wax, and use a soft cloth to work it in the direction of the grain. Buff the surface gently in circular motions with a polishing brush to achieve a glossy finish. It's important to use period-appropriate materials to maintain the authenticity of your antique piece.
Reattach any hardware or fixtures, making sure to use appropriate fasteners and ensuring everything is stable. Check for any mismatches and correct them as needed.
Finally, conduct a thorough inspection. Look for imperfections and touch up where necessary. If there are odors, a deodorizer can help. Regularly clean and dust your furniture, applying a new coat of wax or polyurethane as needed to keep it looking its best.
Frequently Asked Questions
How Do I Determine the Value of My Antique Furniture?
To determine the value of your antique furniture, start by researching its type and materials. Look for any identifying marks or provenance papers that could help establish its age and origin. Inspect the piece for condition and damages, noting any repairs. Then, compare market values by checking recent auction prices and catalogues. Finally, assess its rarity, craftsmanship, and historical significance, as these factors can greatly influence its overall value in the market.
Can I Restore Furniture Without Professional Help?
Yes, you can restore furniture without professional help! Start by assessing the damage and gathering the necessary supplies. You'll need tools like sandpaper, wood filler, and quality brushes. Take your time to remove the old finish and prepare the surface properly. With patience and attention to detail, you can apply a new finish that revitalizes the piece. Just remember to follow safety precautions and enjoy the process of bringing your furniture back to life!
What Tools Are Essential for Furniture Restoration?
When you're diving into furniture restoration, you'll need several essential tools. Start with sandpaper or a power sander for surface prep. For repairs, grab wood filler, glue, and clamps. For finishing, gather paint, stain, and topcoats like polyurethane. Don't forget safety gear like goggles and a dust mask. Lastly, have some cloth rags and drop cloths handy to keep your workspace clean. With these tools, you're ready to tackle your project!
How Long Does the Restoration Process Typically Take?
The restoration process can vary widely in time, taking anywhere from a few days to several weeks. It mainly depends on the size, condition, and complexity of the repairs needed. If you're working with a larger piece or one that's severely damaged, expect a longer timeframe. Simple rejuvenation will be quicker than extensive refinishing. Remember, if you're inexperienced, it might take you even longer to navigate the process effectively.
Should I Store Restored Furniture in a Specific Environment?
Yes, you should definitely store restored furniture in a specific environment. Choose a dry, climate-controlled space away from direct sunlight to prevent damage. Avoid areas prone to moisture or extreme temperatures, which can warp or crack your pieces. Cover your furniture with breathable fabrics and ensure the storage area is clean and free from pests. Regularly monitor the environment to maintain optimal conditions and protect your furniture's condition for years to come.
Conclusion
Restoring furniture can be a rewarding project that breathes new life into your beloved pieces. By carefully evaluating, cleaning, and repairing, you'll create a stunning transformation. Once you've removed the old finish and refinished the surface, don't forget those final touches and a thorough inspection. With patience and attention to detail, you'll not only enhance the beauty of your furniture but also preserve its story for years to come. Dive in, and enjoy the process!