
Restoring wood furniture can be a fulfilling process that brings back its beauty and history. Begin by assessing the condition of the piece and determining whether it needs refinishing, restoring, or refurbishing. Gather necessary tools such as sandpaper and chemical strippers, and work in a well-ventilated area. Thoroughly clean the surface, fix any damages, and meticulously remove old finishes. Sand the wood along the grain for a polished look. Select a suitable finish based on function and style, applying it with care for optimal results. Lastly, incorporate personal touches to make the furniture your own–there’s so much to discover in this captivating craft! Once the finish has dried, consider the placement and how to periodically rotate the furniture to ensure even wear and exposure to sunlight. This not only helps preserve the restored piece’s appearance but also contributes to its durability. With perseverance and attention, your hard work will result in a stunning, long-lasting transformation that highlights both the furniture’s artistry and your commitment to its preservation.
Key Takeaways
- Assess the furniture's condition to determine whether to refinish, restore, or refurbish before starting the project.
- Prepare your workspace with essential tools like sandpaper, brushes, and safety gear for an efficient restoration process.
- Clean the surface, repair any damage, and sand progressively for a smooth finish before applying any new coatings.
- Choose a finish based on durability and aesthetics, testing a small area first to ensure compatibility.
- Document the restoration journey with before-and-after photos to celebrate your craftsmanship and inspire others.

EliteSet Curved 7 Drawer Dresser for Bedroom, 53.82'' Wide Chest of Drawers, Modern Storage Cabinet for Hallway & Living Room TV Stand, FSC Certified 1.18" Thick Board, 100 lbs Top Weight, Oak
- Stylish Minimalist Design: Sleek lines and rounded corners
- Enhanced Safety Features: Rounded edges and anti-tip devices
- Adjustable Stability: Bottom feet for uneven surfaces
As an affiliate, we earn on qualifying purchases.
Backstory of Furniture Restoration
The passion for restoring wood furniture often stems from a deep-rooted appreciation for craftsmanship and history. Many enthusiasts start their journey by refinishing wood furniture, drawn to the idea of breathing new life into old pieces. Engaging in this process not only enhances your skills but also aligns with the principles of content quality and topical authority, as restoring furniture requires a thorough understanding of materials and techniques.
You might find yourself inspired to tackle a restoration project that honors a family heirloom, preserving stories that span generations.
As you immerse yourself in furniture restoration, you may engage with community-focused blogs and workshops, discovering techniques that enhance your skills. Even if you start small, your passion could lead you to showcase your refinished pieces in multiple locations, fostering connections with like-minded individuals.
Utilizing resources like vintage hunting journals can greatly boost your creativity, guiding you in restoring old furniture while respecting its original charm. Each restoration project not only transforms artifacts but also contributes to a broader narrative of heritage preservation.
Emotional Connection to Furniture
Restoring wood furniture often creates a powerful emotional connection, transforming mere objects into cherished memories. Each piece you restore carries a story, enhancing your emotional investment in both the furniture and its significance.
As you engage in the process, you're not just reviving a physical item; you're honoring your heritage and the craftsmanship of those who came before you. This act of restoration can also serve as a form of celebrating love and legacy, allowing you to reflect on the moments shared with loved ones through these possessions.
Here are three ways to deepen your emotional connection through restoration:
- Preserve Family Heirlooms: By restoring items passed down through generations, you're safeguarding family history and creating lasting memories.
- Engage with the Craft: The act of restoring wood furniture fosters a commitment to craftsmanship, allowing you to appreciate the skill and artistry involved in each piece.
- Build Community: Connecting with fellow enthusiasts and sharing experiences can enhance your emotional ties to the craft, making restoration a collective journey filled with cherished stories.
Ultimately, when you restore wood furniture, you're creating unique representations of your roots, enriching your home with pieces that reflect both personal and shared histories.
Understanding Refinishing Terminology
When you're working on wood furniture, knowing the key terms like refinish, restore, and refurbish is essential. Each term defines a different level of intervention, which helps you evaluate your project's needs based on the piece's condition.
Understanding this terminology will guide you in choosing the right technique for your restoration goals.
Additionally, just as software quality assurance guarantees high standards in development, having a clear understanding of these terms will help you achieve the best results in your furniture restoration project.
Key Refinishing Definitions
Clarity in terminology is essential when commencing on furniture refinishing projects. Understanding key definitions can help you assess the condition of your old furniture and determine the right approach for your refinishing project.
Here are three important terms to know:
- Refinish: This process involves removing an existing finish from your furniture and applying a new one. It's all about restoring the piece's appearance while protecting the wood.
- Restore: When you restore furniture, you're returning it to its original state with minimal repairs. This approach focuses on maintaining the piece's historical integrity, making it ideal for antiques.
- Refurbish: Refurbishing goes beyond simple refinishing. It may include significant repairs or structural changes, updating both the style and functionality of the furniture.
Familiarity with these definitions helps set realistic expectations for the time, effort, and costs involved in your refinishing project.
Whether you choose to refinish, restore, or refurbish, knowing the right terminology is the first step to achieving beautiful results with your furniture.
Project Evaluation Criteria
Evaluating your furniture project is essential before diving into refinishing. You'll want to assess the condition of your piece, focusing on any damages, the old finish, and its structural integrity. This evaluation helps you decide whether you're going for a complete refinishing, restoring old features, or simply refurbishing with significant repairs.
Understanding terminology like "refinish," which means removing and applying a new finish, and "restore," which refers to returning the item to its original state, is vital.
Next, consider the costs involved. Calculate the time, effort, and finances needed for your furniture refinishing project. This assessment will set realistic expectations and keep you motivated throughout the transformation process.
Visualize the potential outcome—this can enhance your motivation and provide clarity about your desired end result.
Lastly, being familiar with these terms not only aids you in evaluating your project but also improves communication with fellow enthusiasts and professionals.
With a solid understanding of these key concepts, you'll be well-prepared to tackle the refinishing of your wood furniture with confidence.
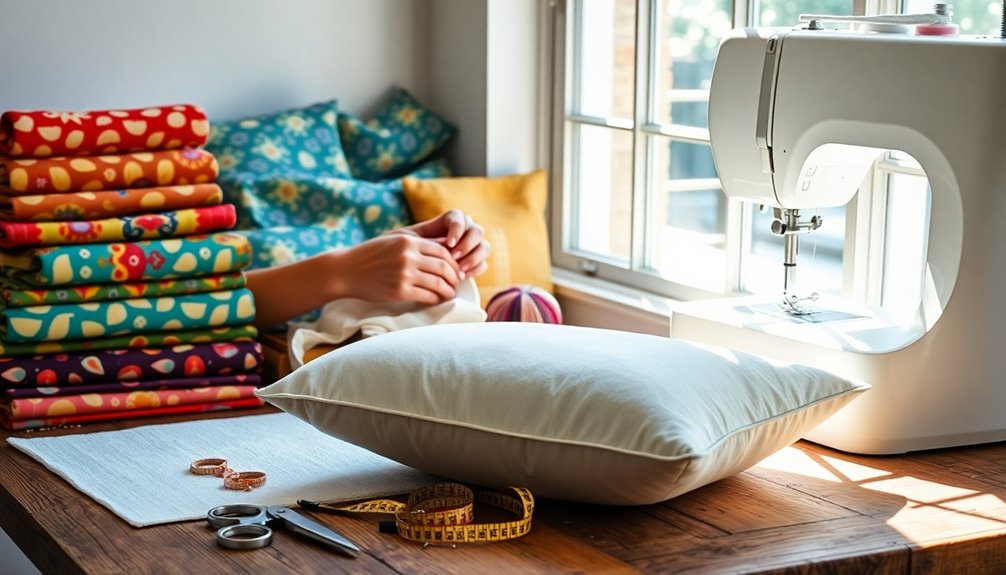
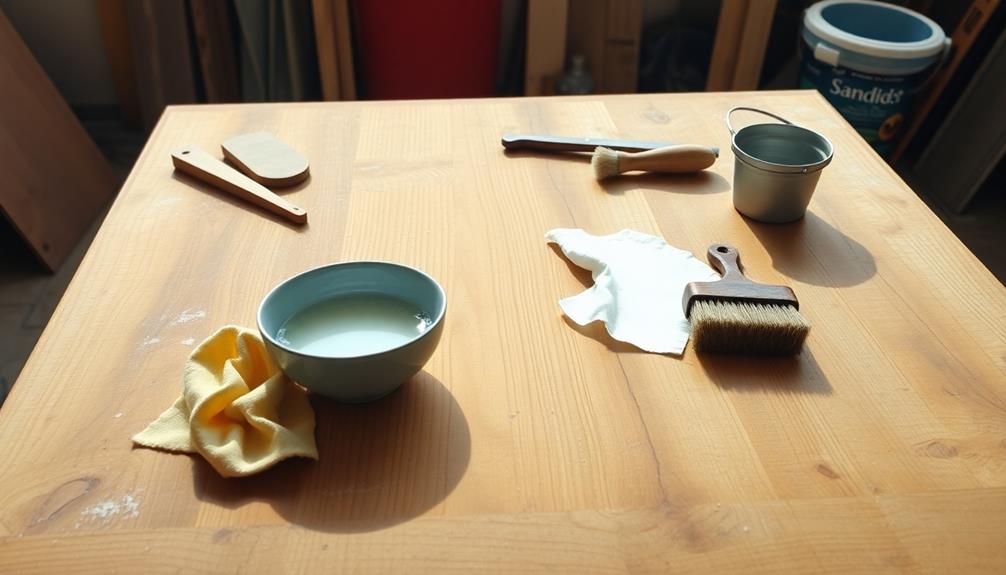
Essential Tools and Workspace Setup
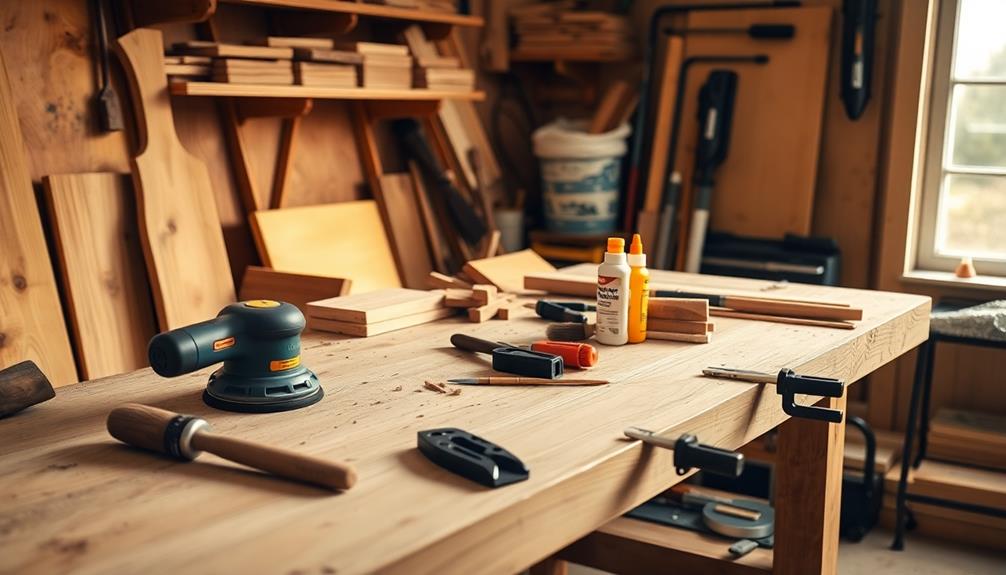
A clean, organized workspace is fundamental for successful wood furniture restoration. A well-structured workspace setup minimizes clutter and hazards, allowing you to focus on the task at hand.
It's imperative to work in a well-ventilated area to reduce exposure to harmful fumes from chemical strippers and finishes. Here are three important tools you'll need:
- Sandpaper or Random Orbital Sander: These tools are essential for surface preparation, helping you achieve a smooth finish.
- Brushes and Rags: Use these for applying stains, finishes, and for cleaning up any excess.
- Safety Equipment: Always wear gloves, masks, and goggles to protect yourself from dust, chemicals, and wood splinters.
Don't forget to protect surrounding areas by using drop cloths to prevent stains and damage to floors or furniture.
Cover your work surfaces to maintain cleanliness and safety throughout your project.
Step-by-Step Refinishing Process
To start the refinishing process, you'll need to gather essential tools like sandpaper and a random orbital sander.
Once you have everything ready, assess the surface to identify any repairs needed.
Proper surface preparation is key to achieving a beautiful finish, so let's explore the techniques involved.
Essential Tools Required
Restoring wood furniture requires a few crucial tools that make the process smoother and more effective. Having the right tools at your disposal not only guarantees efficiency but also enhances the quality of your work.
Here are three key items you'll need:
- Sandpaper and a Random Orbital Sander: Use various grits of sandpaper to smooth the wood surface. A random orbital sander is particularly useful for larger areas, saving you time and effort.
- Chemical Strippers: To remove old finishes, chemical strippers or heat guns are essential. Always use safety equipment like gloves and goggles to protect yourself during this step.
- Paintbrushes and Wood Filler: You'll need paintbrushes for applying your finishes and stains. A putty knife is important for applying wood filler to repair dents or cracks, guaranteeing a smooth surface before finishing.
Additionally, having a well-organized workspace with drop cloths and good ventilation is crucial for a safe and efficient refinishing process.
Don't underestimate the importance of a high-quality sealant to protect your restored wood and enhance its natural beauty.
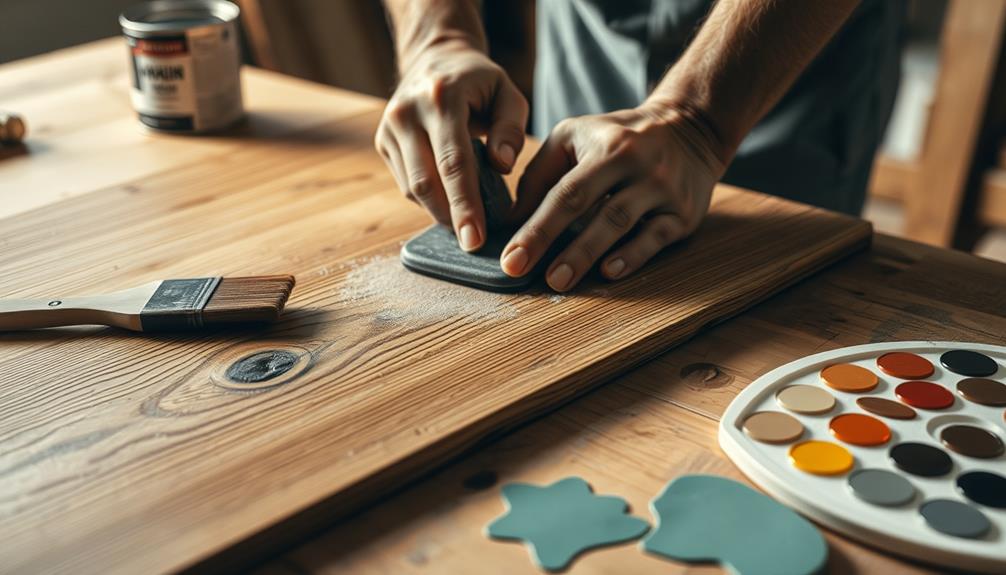
Surface Preparation Techniques
With the right tools in hand, you're ready to tackle surface preparation for your wood furniture. Start by using a clean rag or damp microfiber cloth to wipe down the piece, ensuring you remove any dust or debris. Next, inspect for any water damage or necessary repairs. For large flaws, apply epoxy putty, and for smaller holes, use wax filler sticks.
Now it's time to remove the old paint. You can either sand the wood or use chemical strippers, applying the stripper in thick, even layers and following the manufacturer's instructions. After that, sand the wood surface, beginning with coarse sandpaper and gradually moving to finer grits. This process will help achieve a smooth finish.
Lastly, apply a suitable sealant to protect the wood and prepare it for refinishing furniture. Remember to let dry completely before moving on to staining or painting.
| Step | Action |
|---|---|
| 1. Clean Surface | Wipe with a clean rag |
| 2. Inspect for Repairs | Check for water damage |
| 3. Remove Old Finish | Sand or use chemical strippers |
| 4. Sand the Wood | Use coarse to fine sandpaper |
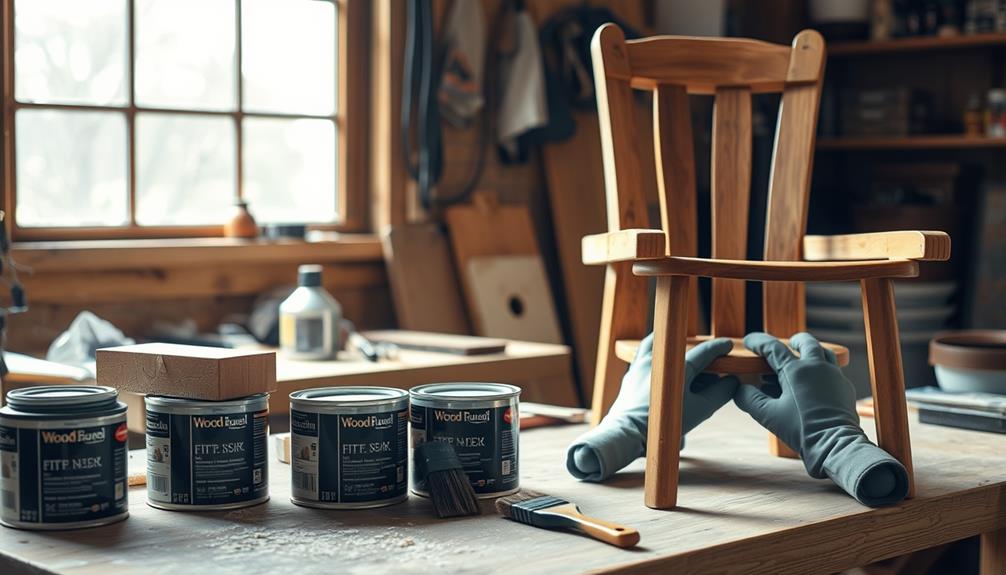
Selecting the Right Finish
Choosing the right finish for your wood furniture is essential for both protection and aesthetics. When you're selecting the right finish, contemplate the durability needs based on how often you'll use the piece. High-traffic items might need a more durable finish like polyurethane, while decorative items can benefit from oil finishes for a more natural look.
The condition of the wood also matters; less transparent finishes can hide flaws in old wood effectively.
To help you decide, here are three key factors to contemplate:
- Durability: Choose finishes based on usage frequency—polyurethane for daily use, oils for occasional pieces.
- Aesthetic Preferences: Think about color and sheen; options range from glossy lacquers to matte oils, impacting your furniture's final appearance.
- Application Methods: Different finishes require different application techniques. Oil finishes often need a rubbing method, while sprays or brushes work best for lacquers and polyurethanes.
Always test a small, inconspicuous area first to verify compatibility and achieve the desired effect.
Cleaning and Preparing Furniture
Cleaning and preparing your furniture is an important step in the restoration process. Start by wiping the surface with a damp microfiber cloth to remove dust and debris, guaranteeing a clean working area.
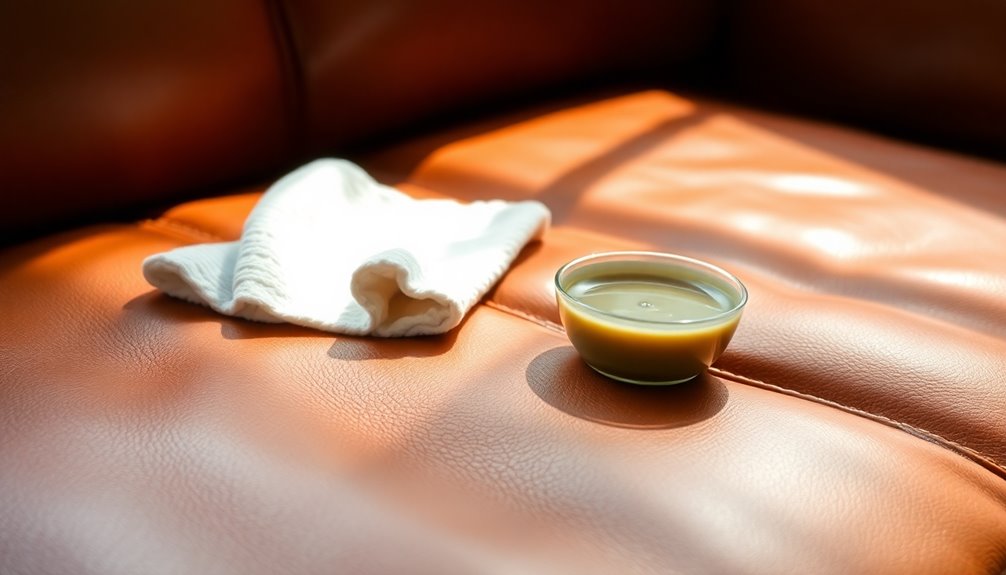
Next, mix a solution of three parts olive oil to one part vinegar. This acts as both a cleaning agent and conditioner, rejuvenating the wood and enhancing its natural beauty.
For deeper cleaning, grab a tack cloth to effectively lift sticky residues and dirt without leaving lint behind. This guarantees a smooth surface for your refinishing process.
After cleaning, take a moment to inspect your furniture thoroughly. Look for any holes or cracks that need repair. Use epoxy putty or wax filler sticks to fill these imperfections, preparing your piece for the next steps.
Once you've cleaned and repaired, let it dry completely. This is vital for ideal adhesion of finishes and stains during restoration.
Following these steps won't only make your old furniture look brand new but also provide a solid foundation for your refinishing efforts.
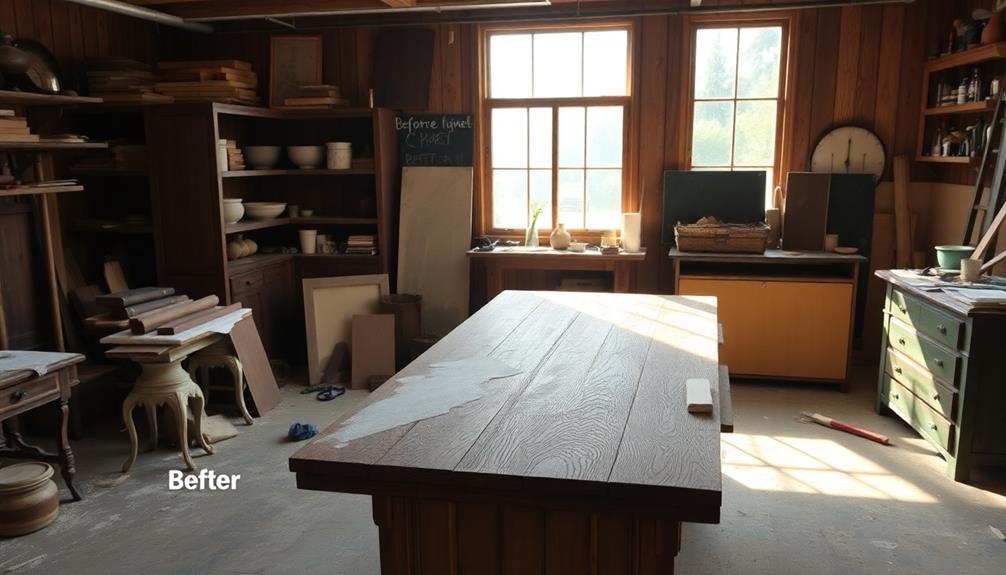
Techniques for Stripping and Sanding
After confirming your furniture is clean and free of imperfections, it's time to tackle the old finish. Start with chemical stripping, applying it in thick, even layers according to the manufacturer's instructions. Once the finish begins to lift, carefully scrape it off and clean the surface thoroughly.
Next, move on to sanding. Use a sanding block or a random orbital sander for larger pieces, and be sure to start with coarse grit sandpaper to remove any residual finish. Progress to finer grits for a smooth surface.
Here are three key steps to follow:
- Sand in the direction of the grain of the wood to avoid scratches and achieve a polished finish.
- Use at least three different grits of sandpaper to remove old finish effectively and prepare the wood for sealing.
- Clean the surface with a tack cloth after sanding to confirm it's free of dust before applying a coat of your chosen finish.
Once you've reached bare wood, sealing it will protect and enhance its natural beauty.
Happy restoring!
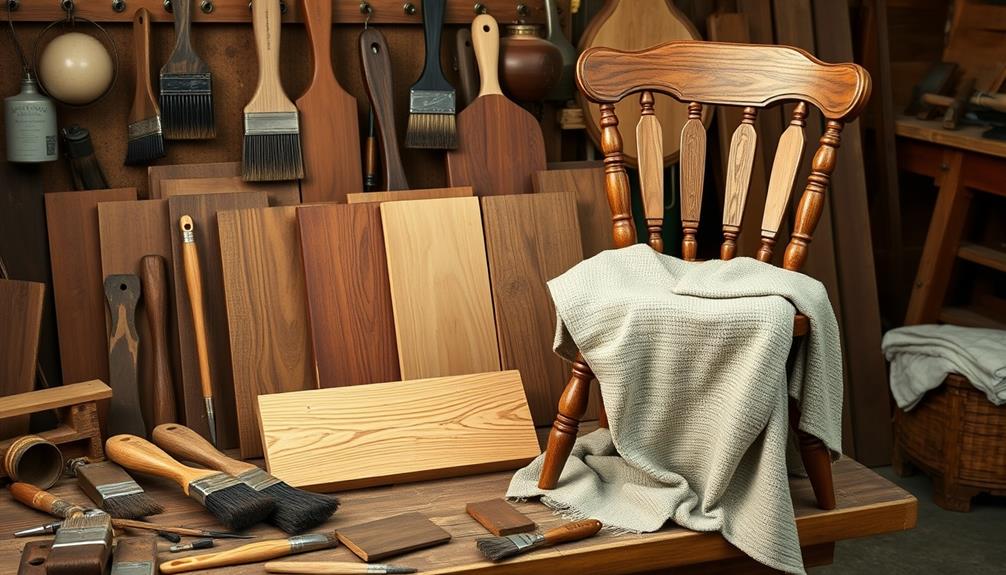
Final Steps and Personal Touches
With the wood now stripped and sanded, applying a suitable finish is essential to protect your hard work and enhance the piece's natural beauty. You can choose from options like oil, lacquer, or polyurethane, depending on the look you want.
Remember to allow sufficient drying time between each application—ideally 24 hours—so the finish adheres properly.
Once you've applied a finish, consider adding personalized details to make the furniture uniquely yours. New hardware or decorative accents can elevate the piece and reflect your style.
For an extra layer of protection, apply a final coat of wax or polish. This not only helps maintain the shine and durability of the finish but also provides a smooth feel.
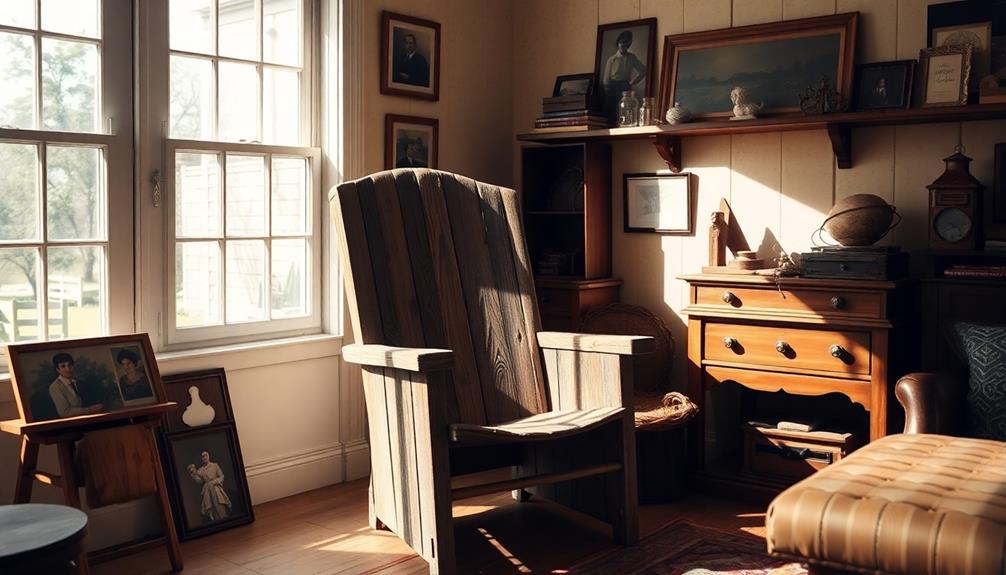
Don't forget to document your restoration process! Take before-and-after photos to showcase your hard work and inspire others in the community starting on similar projects.
These snapshots can serve as a reminder of what you've accomplished and might even spark ideas for future restorations.
Frequently Asked Questions
How Do You Make Wood Furniture Look New Again?
To make wood furniture look new again, start by cleaning it thoroughly, then repair any damages. Sand the surface, apply a stain, and finish with a protective sealant to enhance and preserve its beauty.
What Brings Wood Furniture Back to Life?
Breathing life into worn wood furniture feels like awakening a long-lost friend. You'll scrub away the dust, sand off imperfections, and lovingly apply a finish, transforming dull pieces into vibrant, cherished treasures that tell your story.
How to Restore Damaged Wood Furniture?
To restore damaged wood furniture, first assess the damage. Use a wax filler for minor scratches or epoxy putty for deeper gouges. Regular cleaning and maintenance will help keep your furniture looking its best.
How Do You Restore Old Weathered Wood Furniture?
Imagine finding a weathered chair in your garage. To restore it, clean with vinegar and olive oil, repair cracks, sand it down, apply a stain, and finish with a protective coat for lasting beauty.
Conclusion
Restoring wood furniture isn't just about the final product; it's about breathing new life into pieces that hold your memories. As you apply your personal touch, remember that every scratch and dent tells a story. You're not just refinishing wood; you're reviving a connection to your past. So, grab your tools and let your creativity flow—transform that worn-out piece into a cherished treasure that will continue to hold your family's stories for generations to come.