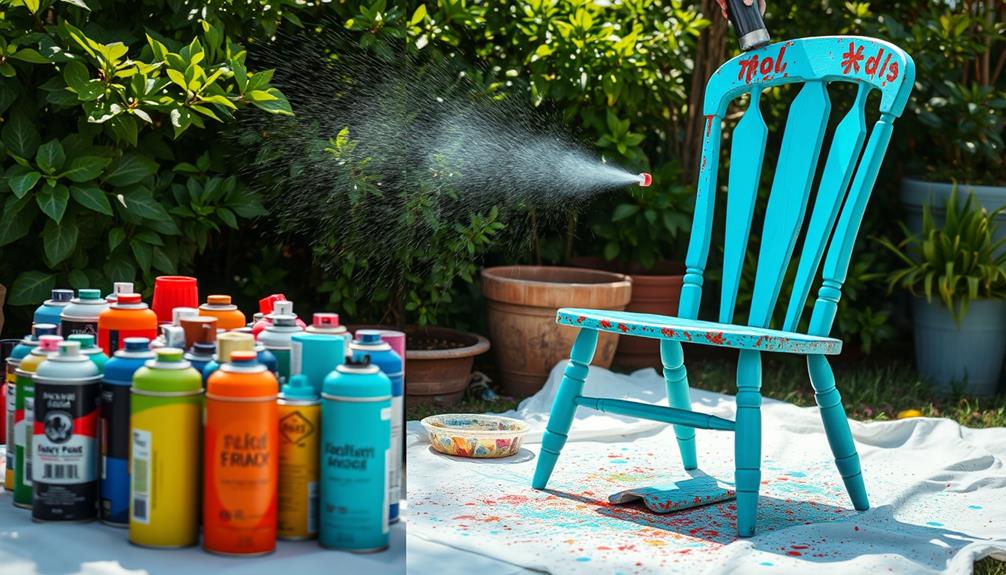
Sprucing up your furniture with spray paint is a quick and effective way to refresh its look. Begin by selecting a well-ventilated space and gathering your supplies: quality spray paint, primer, and safety equipment like masks and gloves. Prior to painting, make sure to clean and lightly sand the furniture to ensure that the paint sticks properly. Apply thin layers of paint, holding the spray can 8-12 inches away, and allow each coat to fully dry before applying the next one. After finishing, check for any imperfections and consider applying a clear topcoat for extra durability. This straightforward process can really enhance the appearance of your furniture, and there are plenty of tips available for achieving fantastic results. It’s important to have patience for the best outcome—rushing through the job may result in drips or uneven coverage. When working with metal furniture, be sure to follow specific painting tips, such as using a rust-inhibiting primer for added protection. A final buff with a clean cloth can help to enhance the glossy or matte finish of your freshly painted furniture.
Key Takeaways
- Prepare your furniture by cleaning and lightly sanding the surface for better paint adhesion and a smooth finish.
- Choose the right spray paint, considering durability, UV resistance, and compatibility with your furniture material.
- Apply multiple thin coats of spray paint, allowing each coat to dry completely before adding the next for an even finish.
- Use painter's tape to mask off areas not intended for painting, preventing overspray and achieving clean edges.
- Finish with a clear topcoat for added protection and longevity, ensuring proper drying time before handling.
Benefits of Spray Painting
Spray painting offers several advantages that make it a popular choice for updating furniture. One of the biggest benefits is the ability to achieve a smooth finish with minimal effort. When you use spray paint, you can apply even coats of paint that eliminate brush strokes and uneven textures, especially on smaller furniture pieces. This technique not only revitalizes your wood furniture but also enhances its appearance, making it look new again.
Additionally, maintaining the air quality while spray painting is essential, so consider using an air purifier for efficient purification in your workspace to minimize inhalation of fumes.
Another advantage is the wide variety of colors and finishes available, allowing you to customize your pieces to match your existing decor perfectly. With spray painting, you can easily switch up the look of your home without investing too much time or money.
Cleanup is also simpler with spray painting compared to traditional brush painting. You won't have to deal with messy paintbrushes or rollers, making it a convenient option for your home improvement projects.
Plus, with the right technique, you can extend the lifespan of your furniture by giving it a fresh coat of paint. So, if you're looking to elevate your home's aesthetic, spray painting is a smart choice!
Choosing the Right Spray Paint
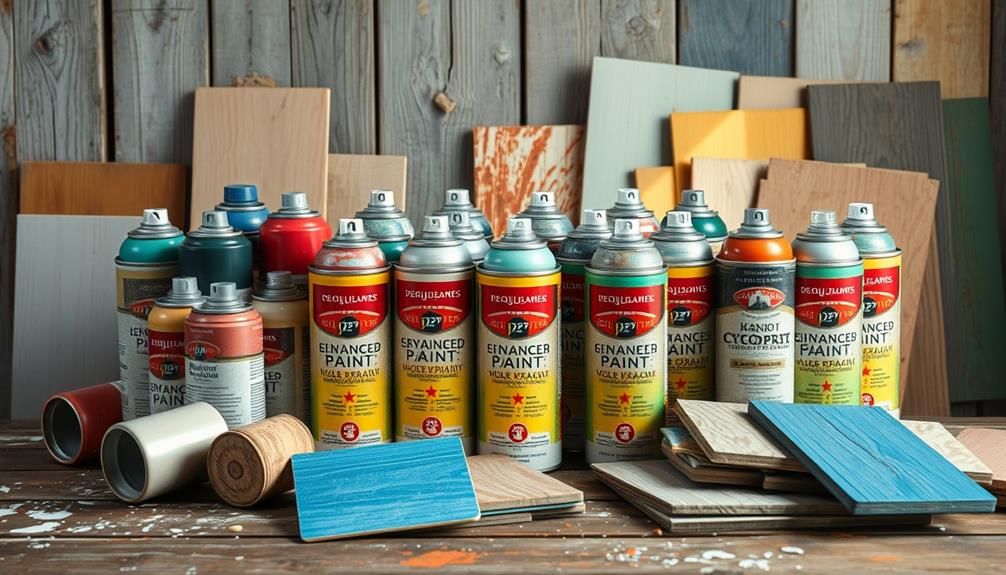
When choosing spray paint for your furniture, you'll want to select a type specifically designed for durability and wear resistance.
Opting for a spray paint compatible with airless sprayers can also enhance the application process, as these tools provide a smooth finish and reduce the effort needed for extensive projects time-efficient application.
Consider how the color will fit with your existing decor and whether you prefer an oil-based or water-based finish.
Paint Type Selection
Choosing the right spray paint is vital for achieving a durable and attractive finish on your furniture. Start by selecting spray paint cans specifically designed for furniture, as this guarantees that you're using a product that can withstand wear and tear known for fuel injection services. Brands like Rust-Oleum are known for their excellent coverage and durability.
If you're painting your wood furniture for the first time, consider whether you want a matte, satin, or gloss finish. This decision will guide your choice between oil-based and water-based paints, with each offering different drying times and application ease.
If your furniture will be exposed to sunlight, look for high-quality spray paints that offer UV resistance. This will help prevent fading and degradation over time. Additionally, opt for low-VOC spray paints to minimize health risks and lessen your environmental impact while still achieving a professional finish.
Here's a vital painting tip: always test a small area with your chosen spray paint before committing to the entire piece. This allows you to check for compatibility and guarantees you're satisfied with the color and finish.
Color Coordination Tips
Your furniture's color can dramatically influence the overall atmosphere of a room, so it's essential to coordinate it with the existing decor.
Start by considering your room's color palette. You want to guarantee that the new spray paint color complements or enhances your decor theme.
Understanding the differences between espresso and coffee can offer insights into how colors evoke different moods and feelings. Use color wheel principles to explore complementary colors, which can create striking contrasts, or stick with analogous colors for a harmonious look.
Before diving into a full spray paint application, test your color choice on a small, inconspicuous area or a sample board. This helps you see how the paint interacts with your existing decor under different lighting conditions, which can change the color perception considerably.
Don't forget about the size of your furniture piece. Lighter colors can make smaller items feel larger and more open, while darker shades create a cozy, intimate vibe.
Opt for spray paints specifically designed for furniture; they provide a wide range of colors and guarantee durability and finish quality that suits various interior styles.
Preparation Steps
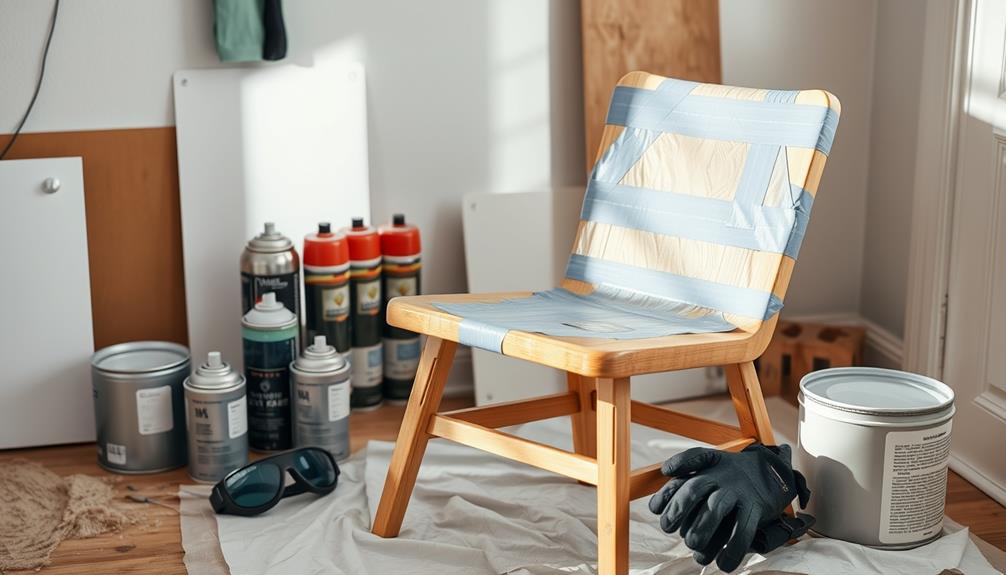
Preparation is key to achieving a flawless finish when spray painting furniture. Start by selecting a well-ventilated area for your project. This helps minimize inhalation of fumes and guarantees good airflow.
Gather all necessary materials like spray paint, primer, painter's tape, drop cloths, and safety gear such as masks and goggles.
Next, clean your furniture thoroughly to remove any dust and debris, grease, or grime. This step is essential for enhancing paint adherence and improving the overall quality of your finish.
After cleaning, lightly sand your furniture to create a smooth base for the paint. Pay attention to any imperfections and fill them with wood filler, if needed. Once the surface is smooth and any imperfections have been addressed, wipe away any dust or debris to ensure a clean workspace. At this stage, you’ll be ready to apply a primer, which will help the paint adhere properly and provide a uniform finish. For a detailed guide on **how to repaint wood furniture**, be sure to choose the right type of paint for your project, whether it’s latex, chalk, or oil-based, depending on the look and durability you want.
Once your surfaces are prepared, use painter's tape to mask off areas you don't want to paint, such as hardware or edges. Protect surrounding surfaces with drop cloths to avoid any mess or damage.
Following these preparation steps will set you up for a successful spray painting experience, guaranteeing that your final coats look polished and professional.
Safety Considerations
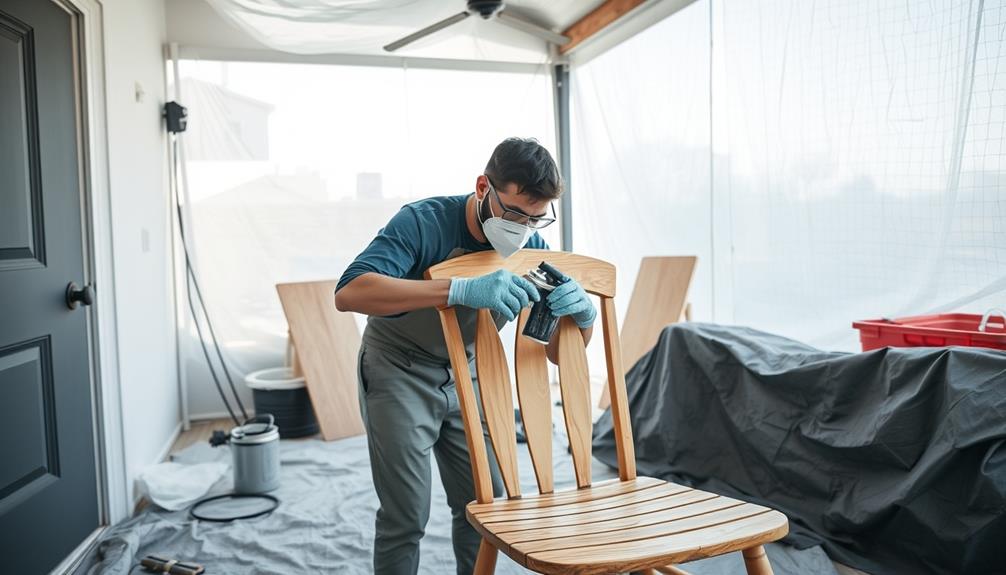
Safety is paramount when spray painting furniture, and taking the right precautions can make all the difference. To guarantee your safety during the process, follow these essential steps:
- Work in a well-ventilated area: Choose an outdoor space or a garage with open doors to minimize inhalation of harmful paint fumes.
- Wear personal protective equipment (PPE): Always use a mask rated for paint fumes, goggles to protect your eyes, and gloves to prevent skin contact with the spray paint.
- Protect your surroundings: Use drop cloths to cover surfaces and flooring, preventing overspray and potential damage from any paint drips.
- Read safety instructions: Always follow the specific safety instructions on the spray paint can, including any recommendations for additional PPE.
Additionally, store your spray paint in a cool, dry place away from direct sunlight and heat sources. This not only helps prevent dangerous reactions but also guarantees the longevity of the product.
Application Techniques
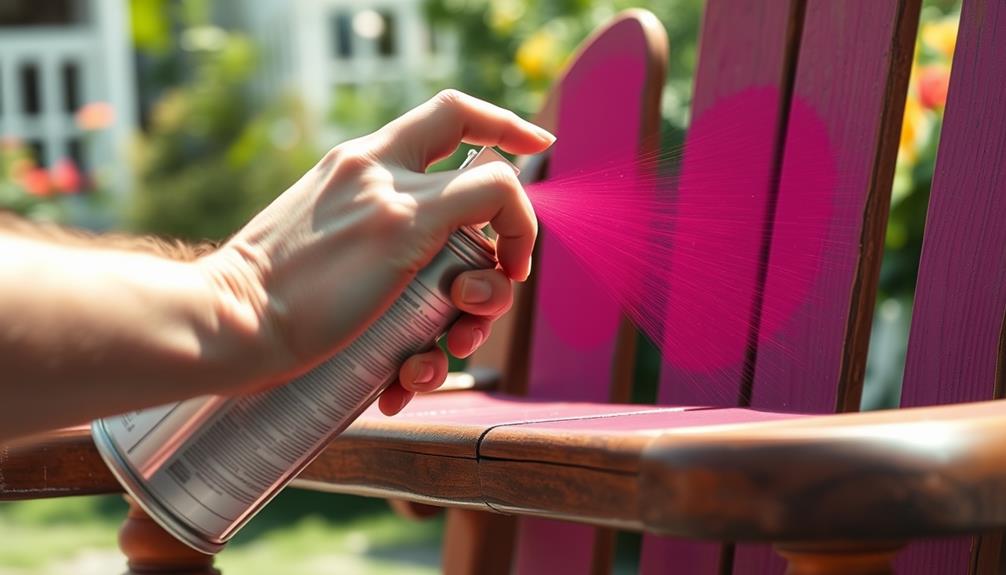
When you're ready to apply spray paint, hold the can about 8-12 inches from the surface for the best results.
Make certain to use smooth, even strokes and overlap each pass to guarantee consistent coverage.
Optimal Spraying Distance
Achieving a flawless finish with spray paint hinges on maintaining the right spraying distance. To guarantee even coverage and ideal paint atomization, aim to keep your spray gun 8-12 inches from the surface. If you hold the can too close, you risk pooling and running paint. On the other hand, being too far away can lead to uneven application.
Here are some key tips for ideal spraying distance:
- Ideal Range: Stick to 10-12 inches for the best results.
- Surface Size: For larger areas, you might need to adjust your distance slightly farther to cover more ground efficiently.
- Steady Grip: Keep your wrist locked and the spray gun parallel to the surface to maintain a uniform spray pattern.
- Practice Control: Move your arm steadily while spraying to avoid drips and guarantee a smooth finish.
Layering for Even Coverage
Maintaining the right spraying distance sets the stage for the next step: layering your paint for even coverage. Start by applying thin coats of paint, keeping a distance of 8-12 inches from the surface. This not only helps prevent drips or runs but also guarantees an even application.
Once you've sprayed your first coat, allow it to dry completely—typically around 12 hours—before moving on to the next layer.
When you're ready to apply the second coat, use a steady, sweeping motion, overlapping each pass by about 50%. This technique ensures consistent coverage across the entire piece of furniture.
Adjust the nozzle angle depending on the area you're painting; use a flat angle for broad surfaces and a sideways angle for corners and edges.
If the surface feels gritty after the first coat, lightly sand between coats with 400 grit sandpaper. This enhances smoothness and improves adhesion for subsequent layers.
Customization Options
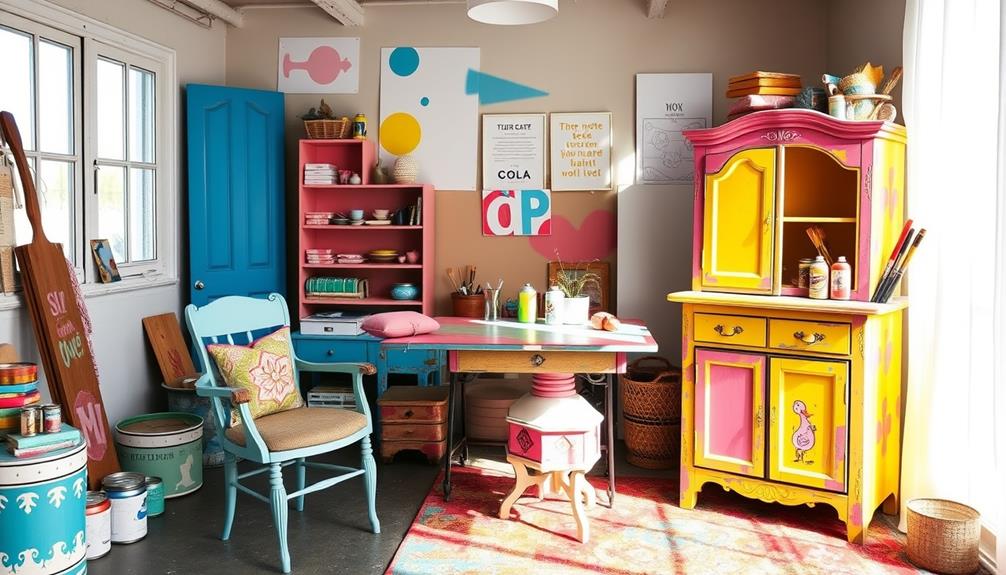
Customization options for your spray-painted furniture can truly elevate its appeal and reflect your personal style. Here are some ideas to contemplate:
- Update Hardware: Spray paint existing knobs and handles with metallic paint. This simple change can complement your rejuvenated furniture and create a polished look.
- Add an Antique Glaze: After spray painting, contemplate applying an antique glaze. This technique adds depth and dimension, enhancing the overall aesthetic and giving your piece a more sophisticated feel.
- Use Distressing Techniques: Lightly sand the edges of your furniture post-painting to create a vintage or rustic appearance. This adds character and makes your piece look intentionally worn, which is very trendy.
- Experiment with Finishes: Choose from various spray paint finishes like matte, gloss, or textured. This experimentation allows you to achieve a distinctive look that aligns with your personal style or complements your home decor.
Finishing Touches
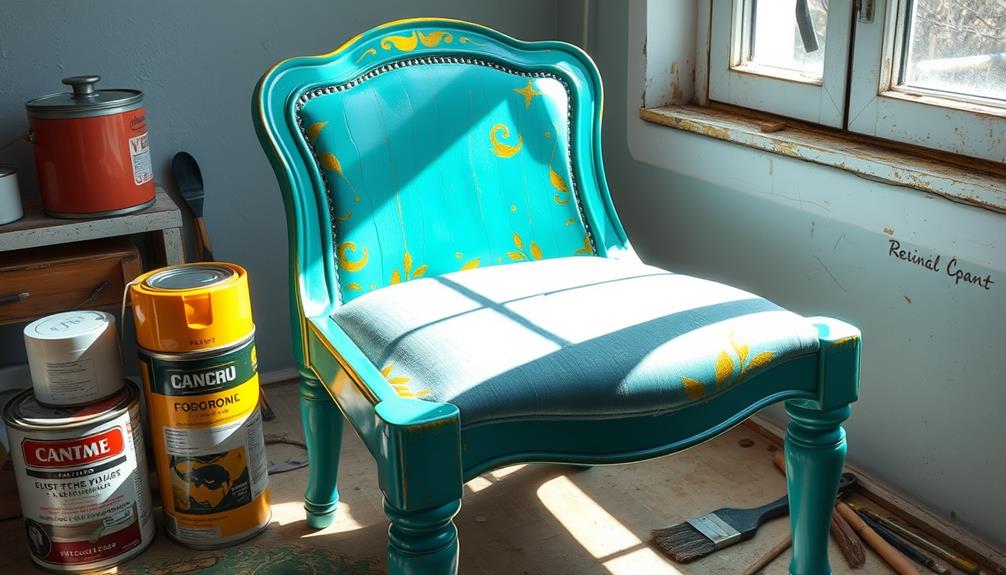
Once your furniture's paint has dried, take a close look for any imperfections that need attention.
Applying a clear topcoat can enhance the finish and protect your hard work, so don't skip this step.
Remember to maintain your piece by dusting regularly and touching up any scratches to keep it looking fresh.
Inspect for Imperfections
After your furniture has dried, grab a bright light and start inspecting the surface for imperfections. This step is vital for guaranteeing your paint job looks flawless. Use the light to spot any missed spots, uneven areas, or blemishes that might've escaped your notice.
Pay close attention to these specific areas:
- Missed Spots: Look for any areas where the primer to dry may have revealed the original surface.
- Uneven Areas: Check for inconsistencies in the coat of paint, particularly in the sheen.
- Rough Patches: Feel for any gritty textures; if you find them, lightly sand with 400 grit sandpaper for a smooth finish.
- Edges and Corners: These spots often need additional coats or touch-ups to achieve an even look.
Once you've thoroughly inspected the furniture and addressed any imperfections, you're ready to move on.
This attention to detail will guarantee that your final coat looks polished and professional. Don't rush this process; a little extra care now will pay off in the long run, enhancing both the durability and appearance of your newly painted piece.
Apply Clear Topcoat
To guarantee your newly painted furniture stands the test of time, applying a clear topcoat is vital. After your paint has fully cured for 24-48 hours, choose a clear topcoat that's compatible with your spray paint and designed for furniture use. This step not only protects the finish but also enhances durability.
When you apply the clear topcoat, use thin, even coats to guarantee a smooth finish. Allow each layer to dry according to the manufacturer's instructions, typically 1-2 hours between coats. For ideal results, lightly sand the surface with 400 grit sandpaper between applications. This helps the next coat adhere to the furniture better and creates a more polished look.
It's important to be patient while waiting for the topcoat to fully dry before removing any painter's tape. If you rush this step, you might accidentally peel off some paint, ruining your hard work.
Once everything is dry and looks perfect, you can step back and admire your newly refreshed furniture, knowing it's well-protected for years to come.
Maintain and Touch-Up
Maintaining your newly painted furniture guarantees it stays looking fresh and vibrant for years to come. To achieve this, follow these essential steps:
- Inspect Regularly: Check the surface often for missed spots or uneven areas. Touch up with matching paint as needed to maintain a uniform finish.
- Let it Cure: Allow your painted furniture to cure for 24-48 hours before using it. This assures durability and helps prevent damage to the finish.
- Clean with Care: Use a clean cloth to dust your furniture regularly. Avoid harsh cleaning chemicals, as they can damage the paint and dull the finish.
- Address Damage Promptly: If you notice any chips or scratches, lightly sand the area and apply matching paint to prevent further deterioration. Quick action helps maintain the overall look.
Maintenance Tips

Keeping your spray-painted furniture looking fresh and vibrant requires regular care. Follow these maintenance tips to keep your pieces in top shape.
Start by regularly dusting your furniture with a soft, dry cloth. This straightforward step helps prevent dirt buildup and maintains the paint's appearance.
When it's time to clean surfaces, avoid harsh chemicals that can damage the paint. Instead, use a gentle soap and water solution to safely wipe down your furniture.
If you notice any chips or scratches, touch them up promptly with matching spray paint. This prevents further deterioration and keeps your finish looking flawless.
To protect your furniture from extreme temperatures and humidity, store it in a climate-controlled environment. Fluctuations in climate can lead to paint degradation over time.
Additionally, consider applying a clear topcoat every few years. This enhances the shine and longevity of your finish while offering extra protection against wear and tear.
Common Mistakes to Avoid
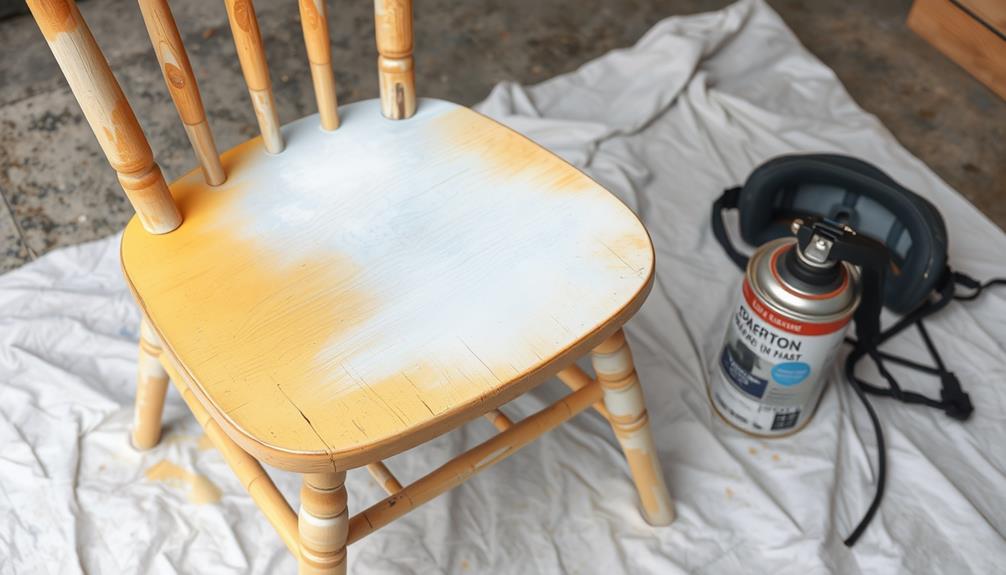
Even with proper maintenance, mistakes during the spray painting process can lead to disappointing results. To guarantee your project turns out well, avoid these common pitfalls:
- Neglecting to clean and sand: Always prepare your furniture by thoroughly cleaning and sanding the surface. This step promotes better adhesion and results in a smoother finish.
- Applying thick coats of paint: Resist the urge to cover the surface quickly with thick coats of paint. Instead, opt for multiple thin layers to avoid drips and guarantee an even application.
- Skipping the drying time between coats: Patience is key! Allow sufficient drying time between coats to prevent smudges and guarantee a professional-looking finish.
- Not masking off areas: Use painter's tape to mask off areas that shouldn't be painted. This prevents accidental overspray and keeps your project looking sharp.
Additional Resources
For those keen to enhance their spray painting skills, a wealth of additional resources is available to guide you through the process.
Start by subscribing to newsletters that keep you updated on new spray painting projects and EASY tutorials. These resources often include step-by-step guides that simplify the painting process, making it easier to tackle furniture transformations.
Engage with the community by participating in comment sections on platforms like Disqus. Sharing your experiences and learning from fellow DIY enthusiasts can provide valuable insights and tips.
Additionally, following MomAdvice on social media can inspire you with a continuous stream of creative ideas, trends, and techniques related to spray painting and furniture restoration.
Don't overlook the power of online video tutorials. They offer visual step-by-step guidance on best practices for achieving professional-looking results when you paint wood.
Frequently Asked Questions
Can You Just Spray Paint Over Furniture?
You can't just spray paint over furniture without preparation. Clean, sand, and prime the surface for better adhesion. Skipping these steps can result in uneven coverage, peeling, or chipping, ruining your project's outcome.
Do You Have to Sand Furniture Before Spray Painting?
Yes, you've got to sand furniture before spray painting. It creates a smooth surface, improves paint adhesion, and prevents peeling. Don't skip this step if you want a durable and finished look that lasts.
What Kind of Paint Do You Use to Spray Furniture?
"You get what you pay for," so choose high-quality spray paint specifically designed for furniture. Opt for low-VOC options, and consider oil-based for durability or water-based for easier cleanup. Color and UV resistance matter, too!
Is It Better to Spray Paint or Brush Paint Furniture?
When deciding between spray painting and brush painting furniture, consider that spray painting offers a smoother finish, quicker application, and easier cleanup. It also reaches intricate areas better, giving you more customization options for your project.
Conclusion
In summary, spray painting furniture can breathe new life into your pieces while allowing for creativity and personalization. By following the steps outlined, you'll guarantee a smooth, professional finish that enhances your home decor. So, why not transform that worn-out chair or table into a stunning focal point? With the right materials and techniques, you can achieve impressive results that not only elevate your space but also showcase your unique style. Happy painting!
