To strip furniture, start by choosing a well-ventilated area and gather your supplies, like a stripping agent, paintbrush, and scraping tools. Wear protective gear to stay safe. Apply the stripper thickly using a paintbrush, covering it with plastic to slow evaporation. Once it bubbles, scrape it off gently in the direction of the wood grain. Clean the wood surface with a mild soap solution and let it dry. Afterward, sand with varying grits of sandpaper for a smooth finish. This process will reveal the wood's natural beauty, and there's much more to discover about preserving your furniture's charm.
Key Takeaways
- Choose a well-ventilated area and wear protective gear, including goggles, gloves, and a respirator, for safety during the stripping process.
- Apply a high-quality stripping agent thickly with a paintbrush, covering it to minimize evaporation, and wait for it to bubble before scraping.
- Scrape off the softened finish in the direction of the wood grain using appropriate tools, collecting residue for easier cleanup.
- Clean the surface thoroughly with mild soap or vinegar solution, followed by mineral spirits or denatured alcohol to remove any stripper residue.
- Sand the surface with progressively finer grits, seal, and finish according to the wood type and desired appearance for optimal results.
Preparing for the Stripping Process
Preparing your workspace is crucial for a successful furniture stripping project. First, choose a well-ventilated area—working outside is ideal. If you must work indoors, open all windows and doors to maximize airflow. Keep children, pets, and anyone else away from the work area to ensure safety.
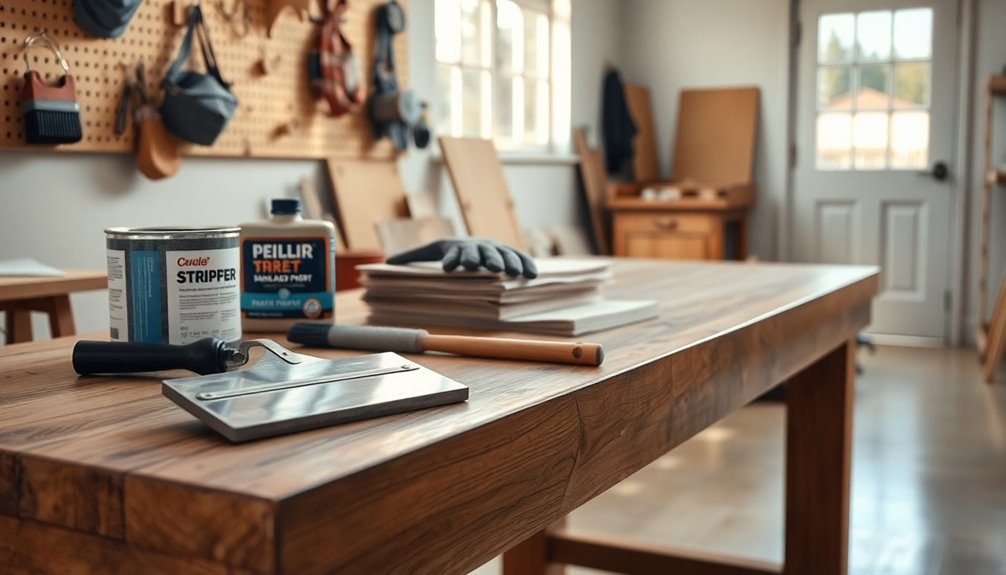
Next, gather your supplies. You'll need a high-quality stripping agent, so read labels carefully to choose one that's effective yet gentle on the wood. A paintbrush, scraping tool, and sandpaper will also be essential. Don't forget protective gear: splash-proof goggles, chemical-resistant gloves, and a respirator with new organic vapor cartridges are vital for your safety. Additionally, remember to use protective gear to safeguard against potential chemical exposure.
Have soap and clean water on hand for rinsing off any chemicals that might accidentally touch your skin. A bucket of water and rags are great for quick cleanup if you need to wipe off stray stripper. Remember, the right preparations will set you up for success, ensuring the process is as safe and efficient as possible. By taking these steps, you'll be ready to tackle your furniture stripping project with confidence.
Applying the Stripping Agent
Now that you've set up your workspace and gathered your supplies, it's time to apply the stripping agent. Choose a high-quality stripper that's effective and safe for your furniture. Carefully read the label to understand its chemical makeup and instructions. Before diving in, test the stripper on a small, inconspicuous area to ensure compatibility and gauge how long it takes to work.
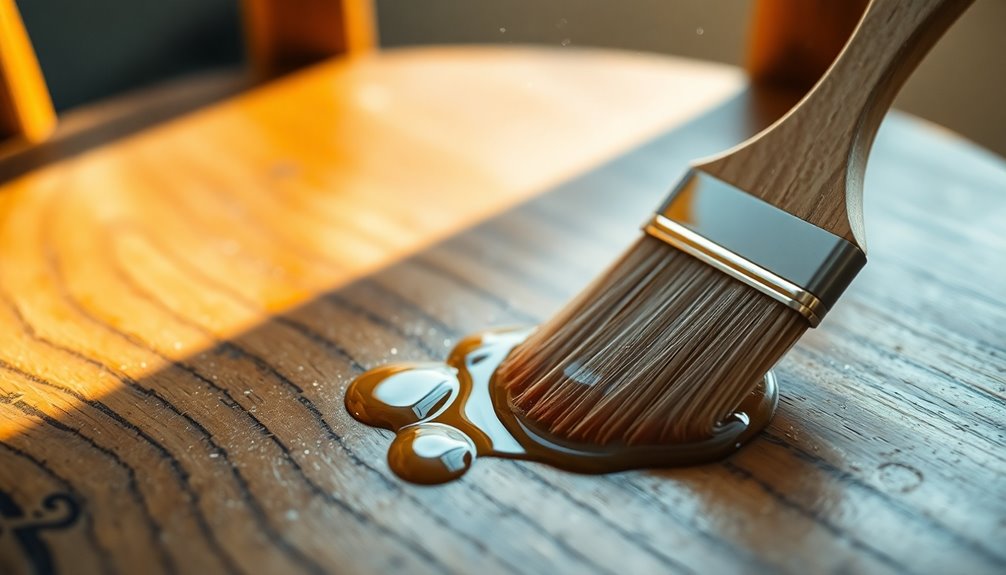
Using a paintbrush, apply the stripping agent thickly, aiming for a thickness of 1/8 to 1/4 inch. If you're working on a large piece, tackle it in sections to prevent the stripper from drying out too quickly. Dip your brush in a metal can for easy access. Remember that selecting appropriate stripping agents is crucial for project success.
Keep the stripping agent wet by covering it with a plastic bag or drop cloth to minimize evaporation. Periodically check to ensure it remains moist, especially in fluctuating temperatures. If the first coat dries before you've finished scraping, don't hesitate to apply a second coat.
Remember to wear protective gear like goggles, gloves, and long sleeves. Keep a bucket of water and rags nearby to clean any spills on your skin. Ensure kids and pets stay clear of your workspace.
Scraping Off the Stripping Agent
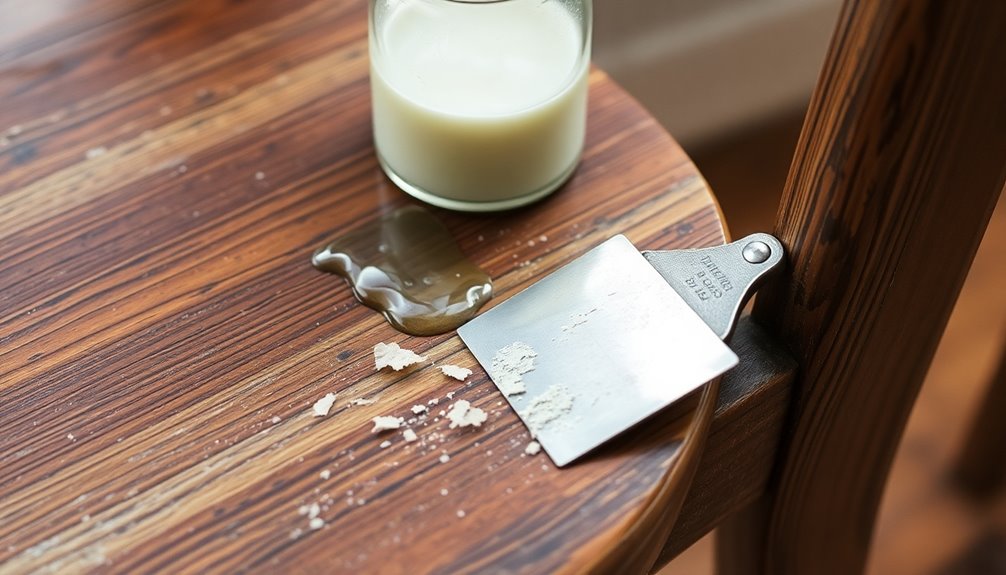
After letting the stripping agent work its magic, it's time to scrape off the residue. First, gather your tools: a plastic or metal scraper depending on your wood type, fine steel wool for those tricky crevices, and a toothbrush or small tools for detailed areas. Don't forget your garbage bags or a lined trashcan for easy cleanup, along with gloves and safety eyewear for protection.
When you start scraping, always work in the direction of the wood grain to prevent damage. Scrape in sections, overlapping each pass to ensure you get everything. Wait for the stripping agent to bubble before scraping; this indicates it's ready to come off. Be patient—scraping too early can create a mess and leave residue behind. Remember, during this process, you are not only removing old finishes but also preserving wood quality beneath those layers.
As you scrape, collect the gooey paint or stain into a line at the end of each section. Use paper towels or rags to clean up any remaining residue. Finally, apply mineral spirits to a cloth to wipe away excess stripper residue, ensuring a clean surface before moving on. Remember, thorough scraping is key to achieving the best results for your furniture.
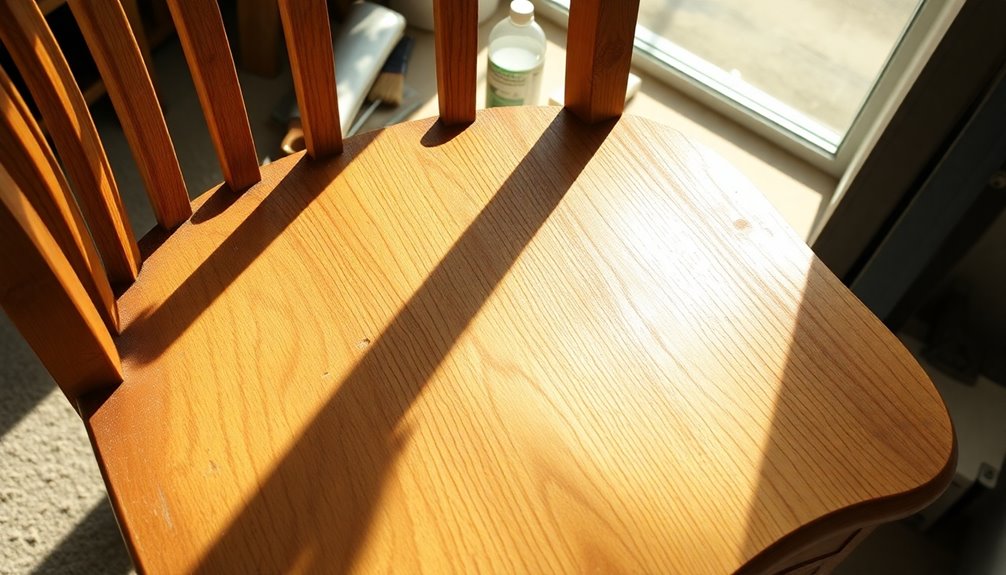
Cleaning the Surface
Before diving into the cleaning process, it's essential to first remove any loose dirt and dust from the furniture. Use a clean, soft cotton cloth or a vacuum to eliminate surface soil. Clear the surrounding area of any decor or cushions to prevent scratches and ensure you have a clear workspace.
Next, grab a damp microfiber cloth or a soft brush to get into hidden spots and remove any lingering dust. It's crucial to avoid harsh chemicals or abrasive cleaners, as these can damage the finish. If you're using a cleaning solution, conduct a spot test in an inconspicuous area first. Additionally, knowing the wood type can help in selecting the most suitable cleaning solution for your furniture's specific finish.
For the cleaning solution, mix a weak solution of mild soap with warm water, or create a natural cleaner by combining equal parts of water and white vinegar in a spray bottle. Wipe down the surface gently, then use a damp cloth to remove any residue. Finally, follow up with a dry, absorbent cloth to eliminate moisture, drying in the direction of the wood grain. Remember, it's important to clean one small area at a time to ensure thorough drying and avoid damage.
Sanding the Surface
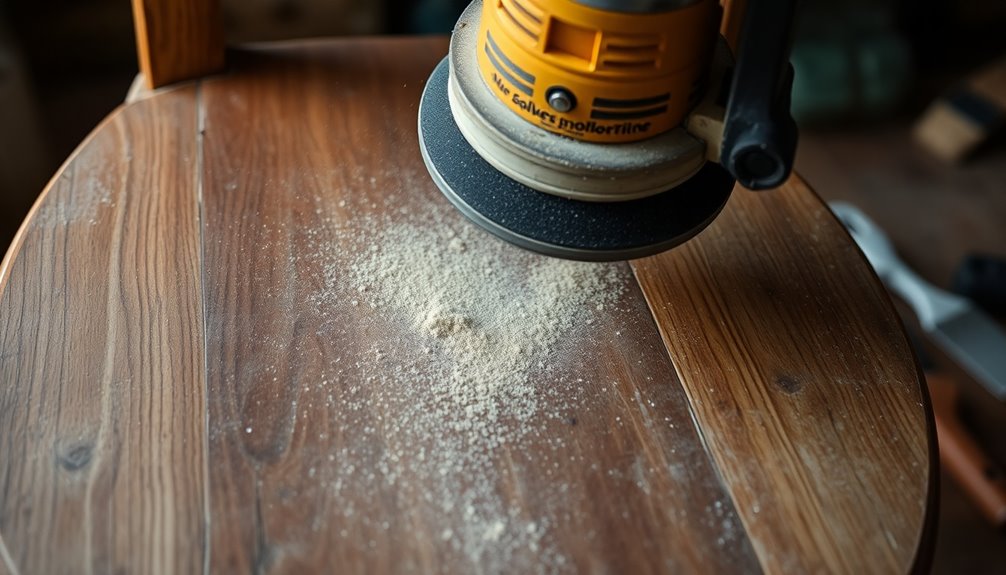
Sanding the surface of your furniture is a crucial step in achieving a smooth, polished finish. Start by using power tools like belt sanders or random orbital sanders to efficiently remove significant material. For large pieces with heavy paint or varnish, a belt sander works best. If you're tackling medium jobs, opt for a random orbital sander for a smoother finish, but be careful of circular motion marks that can necessitate extra sanding along the grain.
Begin with coarse-grit sandpaper, like 100-grit, and gradually progress to finer grits such as 240-grit and 400-grit for that refined touch. Avoid over-sanding, as it can disrupt the final finish. Use sanding blocks to apply even pressure and prevent scratches, and for intricate details, fine-grit sanding sponges are perfect.
Always sand in the direction of the wood grain, using long, light strokes on flat surfaces. For curves, foam padding or a sponge covered with sandpaper will help. Remember to change sandpaper when it clogs, and keep your workspace clean by vacuuming or brushing off debris between sandings. This careful approach sets you up for a stunning result. Additionally, sanding techniques such as starting with machine sanding followed by hand sanding can enhance the quality of your finish.
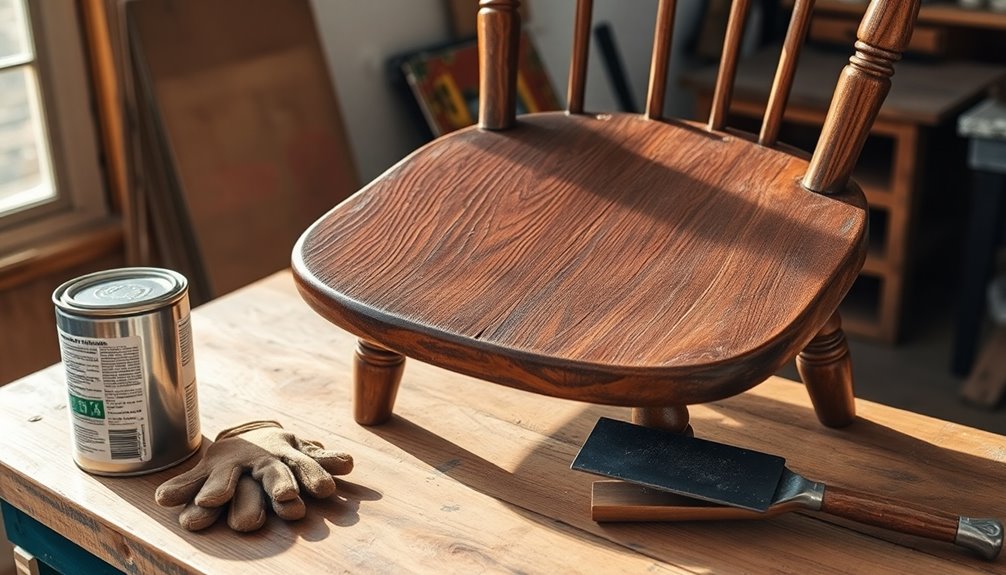
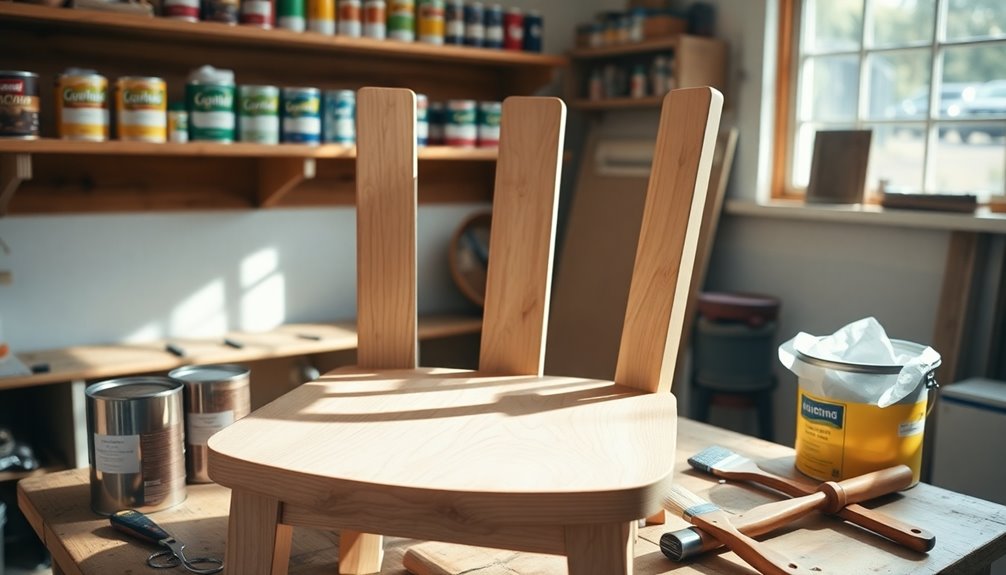
Final Preparations
Final preparations are essential for a successful furniture stripping project. Start by removing all hardware from your furniture piece. Number the parts or take photos to make reassembly easier later. Inspect the furniture for any needed repairs, like fixing splits or loose joints. It's crucial to ensure the piece is structurally sound before you proceed, addressing any damage or wear that could affect your stripping and refinishing process. Additionally, consider the type of environmentally friendly strippers that will be used, as they can help minimize harmful chemical exposure during the project.
Next, prepare your workspace. Choose a well-ventilated area to avoid inhaling fumes, and keep soap and clean water handy for rinsing off chemicals. Make sure children, pets, and other household members stay away from the work area. Set up a bucket of water with rags for quick skin clean-up, and clear your workspace of flammable materials.
Finally, protect yourself. Wear splash-proof goggles, long sleeves, pants, and chemical-resistant gloves to minimize skin exposure. Equip yourself with a respirator and ensure proper ventilation to prevent the buildup of chemical fumes. With these final preparations in place, you're ready to tackle the stripping process efficiently and safely.
Choosing Stain Color
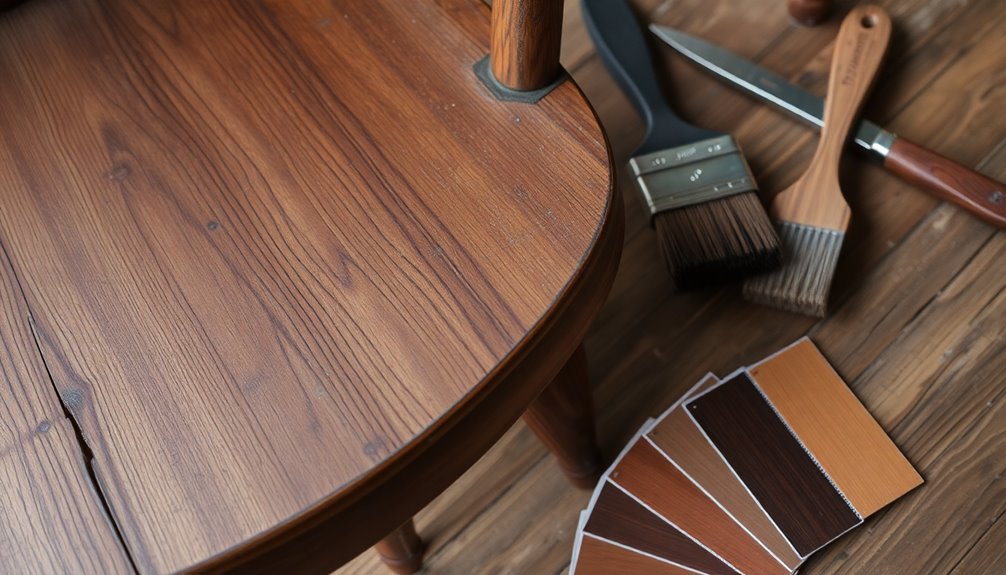
Once you've prepared your furniture and ensured it's structurally sound, it's time to focus on choosing the right stain color. Start by considering the type of wood. Different woods absorb stains differently; porous woods like pine may soak up too much stain, leading to blotchiness, while harder woods like oak provide a more even finish. If you're working with cherry or maple, you might need to pre-treat to achieve a uniform color. Additionally, sealing the wood can help achieve a more uniform tone, especially for highly porous woods.
Next, think about the room's aesthetics. Match the stain color with existing tones in your space, including walls and flooring. Determine if the room leans toward warm or cool undertones, and choose accordingly. Natural finishes work well for a contemporary look, while reddish stains suit traditional styles.
Before committing to a color, always test it on a hidden spot of the furniture. Make sure the stain is dry before deciding. Also, remember that lighting affects how the stain appears, so check it in different light conditions. Popular options like Mocha or Silk Gray can elevate your piece, while Moroccan Red adds a rich touch. Mix and match stains for an eclectic vibe if desired.
Applying the New Finish
Start by ensuring the surface of your furniture is clean and free from any residue left over from the stripping process. Use mineral spirits or denatured alcohol to remove any lingering materials. Then, grab some medium-grade steel wool and gently rub the surface in the direction of the wood grain to achieve a smooth finish. For a final cleaning, apply warm soapy water and let the surface dry completely. If there are any stubborn stains or marks on the surface, consider using a bit of fine-grit sandpaper to even out the texture. Additionally, you can use the same medium-grade steel wool to remove nail polish stains effectively without damaging the wood. Once you’re satisfied with the surface’s smoothness, give it another wipe down with a damp cloth to ensure all debris is removed before applying your chosen finish.
Next, apply a sanding sealer with a small-sized paintbrush, being careful not to let it puddle or fill any decorative grooves. Use two thin coats, allowing the first to dry fully before adding the second. Wipe off any excess sealer and let it dry completely. Once dry, lightly sand the surface with medium-grit sandpaper in the direction of the grain, and use a clean cloth to remove any dust.
Now, it's time to stain. Choose your desired stain and apply it with a cloth or paintbrush, following the wood grain. Let it dry as per the manufacturer's instructions, and sand lightly between coats if you're applying more. Finally, seal your new finish with polyurethane, applying it smoothly along the grain and sanding lightly between coats for the best results. Remember that proper surface preparation is crucial for achieving a lasting and beautiful finish.
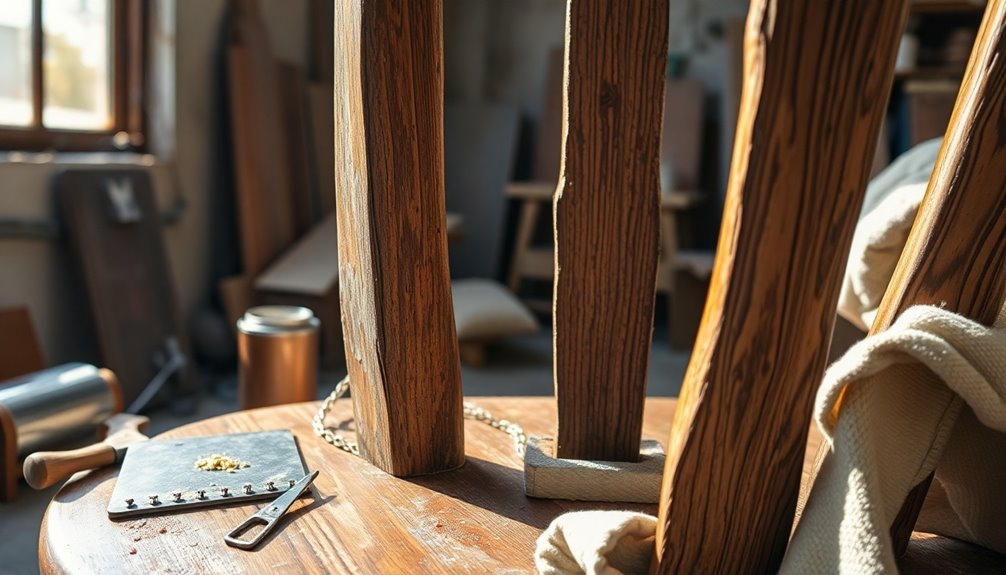
Maintaining Your Stripped Furniture
After applying the new finish, it's important to maintain your stripped furniture to keep it looking its best. Start by ensuring the surface is completely dry after stripping to prevent moisture from interfering with future treatments. Use a stripper rinse or denatured alcohol to eliminate any remaining chemical residue, then apply a refinishing cleaner and scrub with fine steel wool. Avoid coarse wool to protect the wood grain, and wipe the surface dry with a rag.
Once dry, sand the furniture to smooth out the wood, starting with low-grit sandpaper and progressing to finer grits. Be cautious with veneered or delicate surfaces to avoid damage. Lightly sand any raised grain, using a cork-padded block to prevent swirl marks. Proper sanding technique is critical to avoid oversanding and causing irreversible damage to the wood.
To protect your furniture, work in a well-ventilated area and use protective gear like gloves and a mask. Keep a trash can nearby for easy disposal of materials, and cover the work surface to contain the mess. Regularly check for any signs of wear, and promptly address any issues to maintain the beauty and durability of your stripped furniture.
Frequently Asked Questions
Can I Use Homemade Strippers Instead of Commercial Products?
You can use homemade strippers instead of commercial products, but you should consider a few factors. Homemade solutions might be cheaper, but they often require more time and effort, and their effectiveness can vary. Safety is also a significant concern, especially with ingredients like lye. If you want consistent results and ease of use, commercial strippers are generally the better choice, despite the higher cost. Always prioritize safety, no matter which option you choose.
How Do I Know if the Furniture Is Antique?
To determine if your furniture is antique, start by examining its style and craftsmanship. Look for distinctive features like dovetail joints and specific motifs that indicate a certain period. Check the wood type and finish; antiques often use high-quality materials like mahogany or walnut. Additionally, inspect for signs of wear or irregularities that suggest handmade construction. If it's over 100 years old and exhibits these traits, it's likely an antique.
What Types of Wood Are Easiest to Strip?
When you're considering which types of wood are easiest to strip, solid wood tops the list. Its uniform structure makes the process straightforward, allowing for various stripping methods without much risk of damage. Quality veneer is also manageable but requires careful handling to protect the veneer layer. Challenging woods can complicate your project due to thick finishes, while unsuitable woods may be fragile or too worn, making them difficult to strip effectively.
Is It Safe to Strip Furniture Indoors?
Stripping furniture indoors isn't the safest option. You're exposing yourself to harmful fumes, which can accumulate quickly in enclosed spaces. If you must work inside, ensure you've got proper ventilation by opening windows and using fans. Always wear protective gear like gloves and a respirator to minimize risks. However, if you can, choose an outdoor location to keep air fresh and reduce any potential hazards to your health. Safety comes first!
How Do I Dispose of Leftover Stripper Safely?
To dispose of leftover stripper safely, start by checking local regulations for hazardous waste disposal. Contact your environmental department to find out about collection services or recycling centers. If needed, use a specialist disposal firm that handles toxic materials. Ensure you seal the waste in a leak-proof container before taking it to the designated facility. Always keep the area secure from pets and children until you dispose of it properly.
Conclusion
Now that you've stripped your furniture and applied a fresh finish, you can enjoy the fruits of your labor. Maintaining your newly restored piece is key, so remember to clean it regularly and use coasters to protect the surface. If you ever want to change the look again, you've got the skills to do it! With practice, you'll become a pro at reviving old furniture and giving it a brand-new life. Happy decorating!