
To use chalk paint on furniture, start by cleaning and prepping your piece, ensuring it's free of dust and grease. Remove any hardware and fill holes if necessary. Stir your chosen chalk paint well before applying it in smooth, even strokes, allowing each coat to dry thoroughly—typically 1-3 hours apart. If desired, finish with a layer of wax for added protection and shine, buffing lightly to a smooth surface. Remember to maintain your painted furniture with gentle cleaning and periodic wax applications. For tips on techniques and enhancements, there's plenty more you can discover.
Key Takeaways
- Clean and prepare the furniture by removing hardware and filling holes, ensuring a smooth surface for painting.
- Choose a suitable chalk paint, stirring thoroughly, and apply in multiple thin coats for even coverage.
- Lightly sand between coats and allow adequate drying time to achieve the desired finish.
- Seal the paint with a wax or water-based sealer to protect and enhance the surface.
- Maintain the finish by cleaning gently and periodically applying wax to prolong durability.
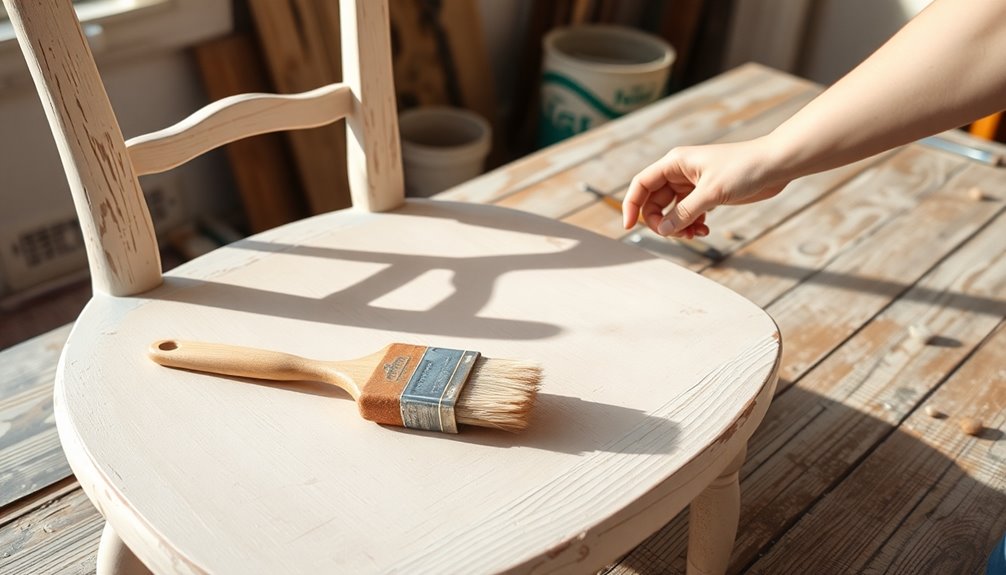
Preparing Your Furniture

Before you dive into painting, it's essential to set up your furniture properly. Start by cleaning the surfaces with a damp cloth, avoiding harsh chemicals. If you encounter stubborn dirt or grease, mix warm soapy water or use a solution like White Lightning or TSP. Spray it on the surfaces and wipe down with a soft cotton cloth or paper towels. For kitchen cabinets, ensure you remove all grease residue to prevent affecting the finish. Finish up by wiping with clean water to eliminate any leftover cleaning solution.
Next, remove any hardware, such as handles, from the furniture to ensure smooth painting. Fill any holes left by removed hardware with wood filler and sand them smooth. If you prefer to paint over hardware, make sure it's clean and free of grease. Don't forget to take off any other fixings that could interfere with your painting process. Lastly, lightly sand shiny surfaces using 220 grit sandpaper for better paint adhesion. Chalk Paint® adheres well to multiple surfaces, including varnished wood, making it a versatile choice for your project. Wipe away any sanding dust before you begin painting. Following these steps will set you up for a successful chalk paint project!
Assessing Surface Conditions

Once your furniture is prepared, it's time to assess the surface conditions. Start by checking for dust or dirt; if you find any, gently wipe the surface down with a damp cloth. Avoid using harsh chemicals, especially on kitchen cabinets that may have grease. It's essential to ensure the surface is clean and dry before you begin painting.
Next, identify the type of surface you're working with. If it's shiny or laminate, you may need to do some light sanding to improve paint adhesion. Use a fine sanding sponge or block, and test the surface with a scratch test to confirm it's not too smooth or glossy.
Now, check for any previous finishes. Use nail polish remover to determine if it's oil-based or water-based; if color comes off, it's water-based. If it's oil-based, you'll need to apply a primer to ensure the Chalk Paint adheres properly. Remember that Chalk Paint™ adheres well without extensive sanding, which simplifies the preparation process.
Finally, inspect for any potential stains or bleeding, particularly in vintage furniture or untreated pine. Look for mold and be prepared to test for lead or other substances that could affect adhesion. This thorough assessment will set you up for successful painting.
Choosing the Right Paint
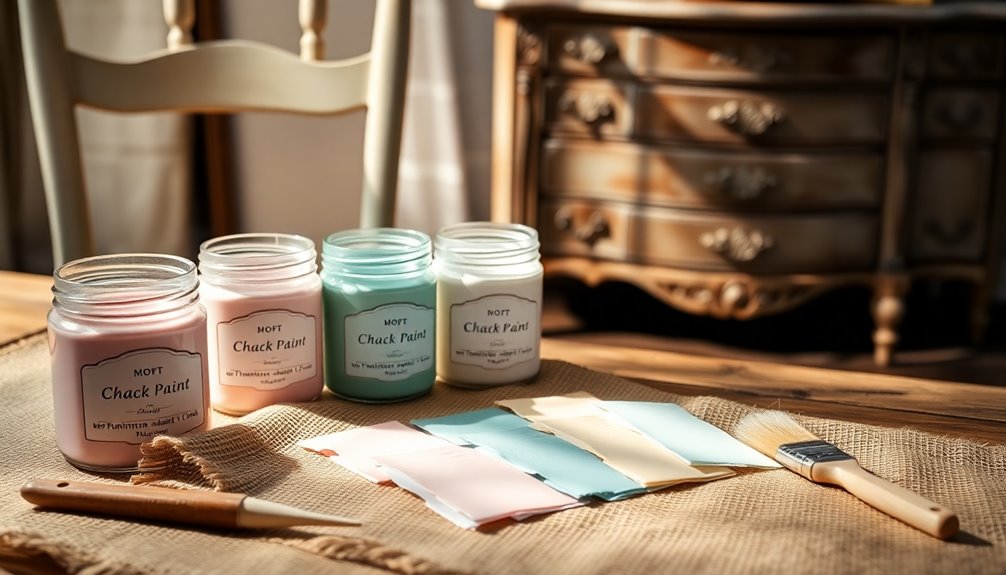
How do you choose the right paint for your furniture project? Start by considering the versatility of chalk paint. It works well on various surfaces like wood, metal, melamine, and even glass. Since chalk paint doesn't require sanding or priming, you can dive right into your project without extensive prep work.
Next, think about color selection. With an extensive palette inspired by historical decor, you'll find shades like Old White, Paris Grey, and Emperor's Silk. If you're feeling creative, you can mix your own bespoke shades. To avoid surprises, grab color cards and samples to test out your choices before committing.
When it comes to brands, Annie Sloan Chalk Paint is a widely recognized option, but don't overlook other cost-effective alternatives available at local hardware or DIY stores. Check online retailers for even more choices. Additionally, remember that Chalk Paint® is designed for both beginners and professionals, making it an excellent choice regardless of your skill level.
Lastly, consider your budget. Prices range from $16 to $45, but remember, you'll save on prep costs. Typically, two coats are enough for full coverage, giving you a durable finish that lasts. With these points in mind, you're set to choose the perfect chalk paint for your furniture project!
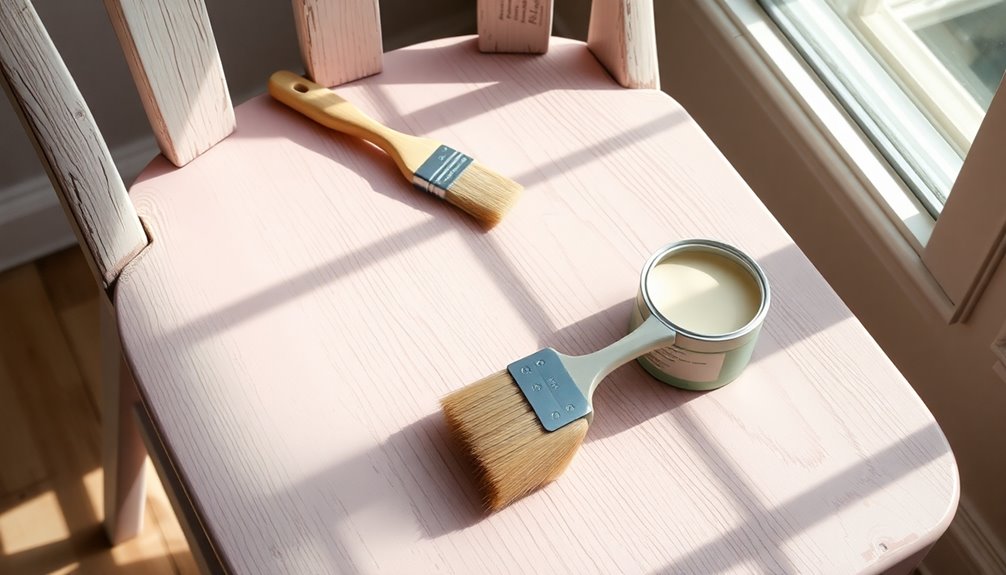
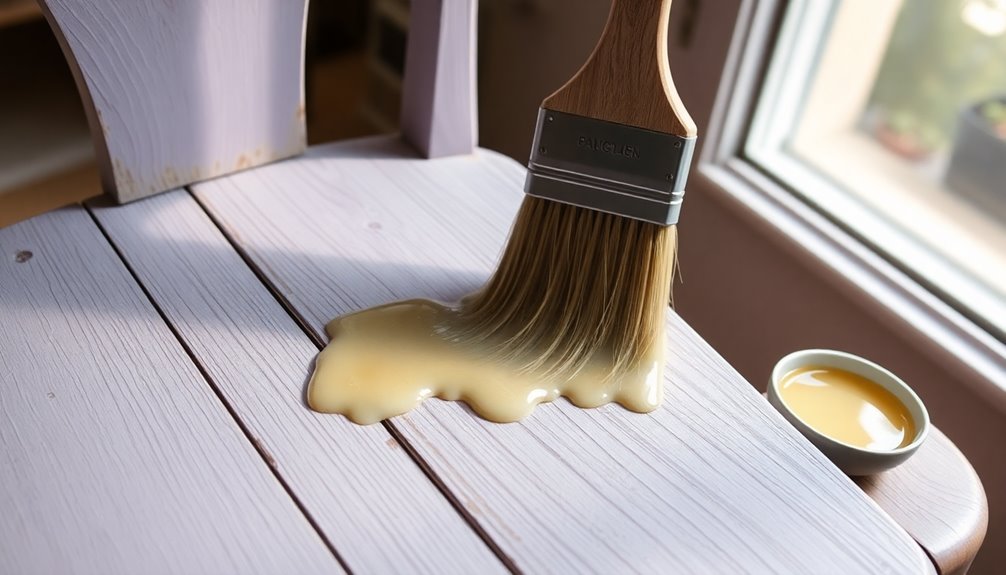
Applying Chalk Paint

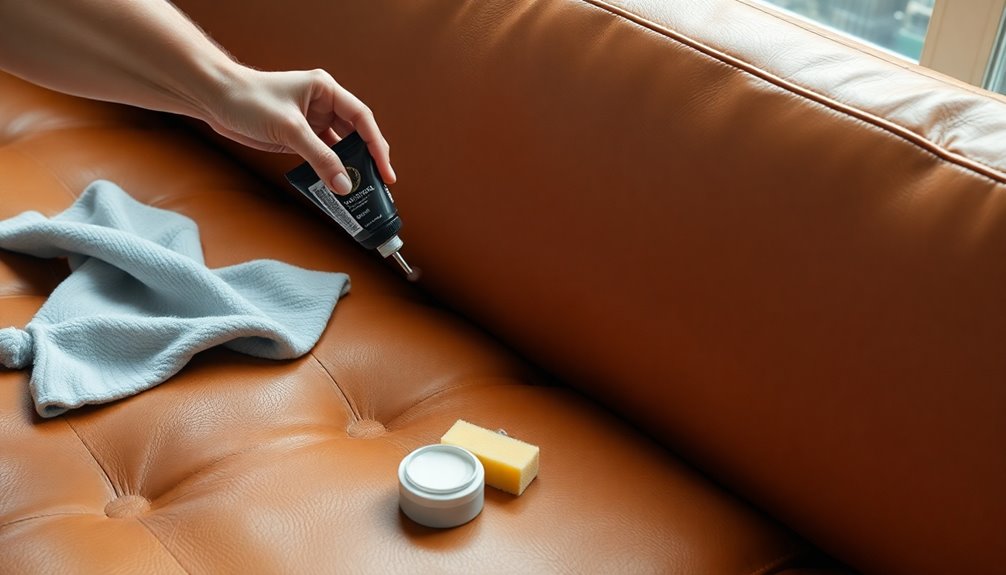
Applying chalk paint can transform your furniture with relatively little effort. Start by stirring your chosen color thoroughly. If you’ve prepped your furniture by removing hardware and cleaning the surface, you’re ready to paint. Dip your brush into the paint and apply it directly onto the furniture. Move the brush in all directions to ensure even coverage. If you prefer a rustic look, apply the paint thickly; for a modern finish, keep it smooth. Once the first coat is dry, assess whether you need a second coat for better saturation and durability. Additionally, consider sealing your painted furniture with a clear wax or topcoat to enhance its longevity and protect the finish. If you’re working on a sofa or upholstered piece, learning how to maximize love sofa benefits can also elevate your overall decor and comfort, ensuring that your furniture not only looks great but feels inviting as well.
Allow the first coat to dry until it's touchable, which usually takes 1-3 hours, depending on your environment. If you feel additional coats are necessary, apply them in the same manner. Remember, each coat should be fully dry before you proceed to the next step.
Once your final coat is dry, you can sand it lightly with very fine sandpaper or a sanding sponge to achieve a smooth finish. Chalk paint's low VOCs make it a great choice for indoor projects, ensuring a safe environment while you work. If you want to create a distressed look, use sanding techniques to expose some of the underlying surface. Make sure the paint is completely dry before moving on to sealing it with wax, ensuring your hard work is protected.
Layering Additional Coats
When layering additional coats of chalk paint, it's essential to assess the coverage you desire and the color you're working with. If you're painting a dark piece with white or off-white, you might need three coats for solid coverage. Conversely, darker colors usually only require two coats for excellent results. For a distressed look, you can often achieve it with just two coats, while unfinished wood may need extra layers if staining is involved.
Timing is crucial between coats. Chalk paint dries quickly, typically within 1-3 hours, but you should wait until the first coat is completely dry before adding the next one. For layered effects, waiting 24 hours helps prevent unwanted mixing of colors. Keep an eye on humidity and weather, as these factors can influence drying times. It's also important to consider using a light coat of chalk paint for initial coverage to ensure a smooth finish.
When applying your coats, consider techniques like dry brushing for a textured finish. Use a nearly dry brush with stiff bristles for feathery strokes, concentrating darker shades along edges to create depth. Always test for bleed-through on older woods and apply primer as needed. This preparation ensures a smoother and more vibrant final result.
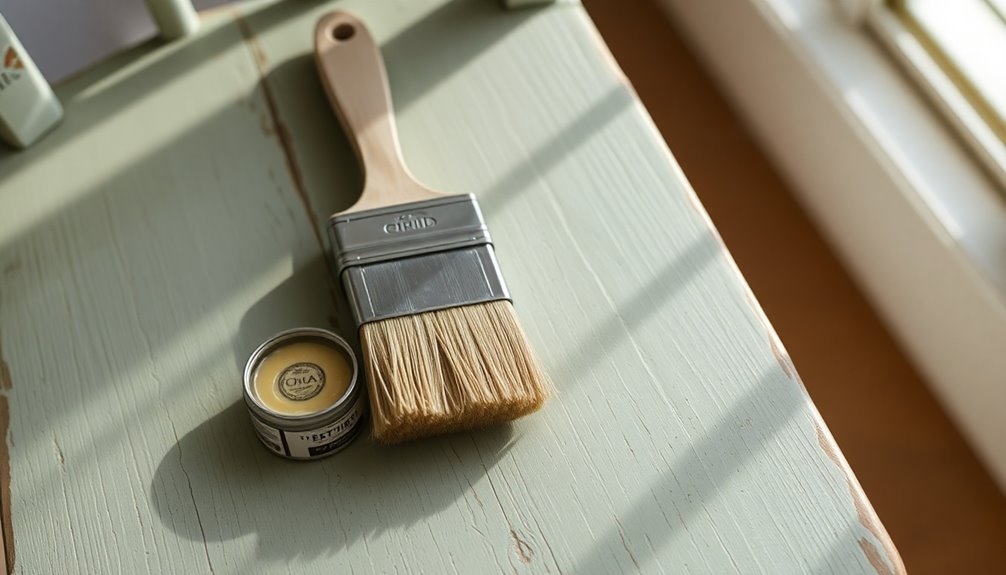
Waxing Techniques
Waxing is a crucial step in achieving a durable and beautiful finish for your chalk-painted furniture. Before you start, make sure the paint is fully dry. Use a fine sanding pad to smooth out any remaining texture, and wipe the surface with a damp cloth to remove dust. It's also wise to remove any hardware to avoid interference during waxing. Always work in a well-ventilated area to keep fumes at bay.
When applying the wax, use a Chalk Paint™ Wax Brush. Charge your brush with Clear Chalk Paint™ Wax and apply it in sections, sweeping it over the paintwork with either brush strokes or a lint-free cloth. Aim for thin, even layers, working in larger areas for better control. Applying wax in sections allows for better control and finish.
After applying the wax, use a clean, lint-free cloth to wipe off any excess while it's still wet. Rub lightly in one direction to minimize marks. Don't forget to check each section and remove any excess wax promptly. Allow the wax to be touch dry within 24 hours, but remember that full curing can take up to 21 days. Be gentle with your piece during this time to avoid damage.
Final Touches and Care
After you've successfully painted and waxed your furniture, it's essential to focus on the final touches and care to ensure your piece remains beautiful and durable. Start by sealing the paint with a water-based sealer or additional wax. Use a clean brush to cover every surface, and let it dry completely before handling. Once dry, buff the surface with a lint-free cloth to achieve a smooth finish.
For everyday cleaning, simply wipe off dust with a dry, lint-free cloth. For deeper cleaning, use a slightly damp cloth, wiping in the direction of the brush strokes. If you encounter tough stains, gently scrub with a mix of dish soap and water. Avoid harsh chemicals that could damage the paint. Remember that proper sealing prolongs the life of your finish, so be diligent in this step.
In case of spills, quickly wipe up any water to prevent spots. For oil spills, use a degreaser and follow with clean water. Remember to maintain your finish by periodically applying wax and addressing scratches or scuff marks as they arise. This way, your chalk-painted furniture will stay looking fresh and vibrant for years to come.
Enhancing With Dark Wax

Enhancing your chalk-painted furniture with dark wax can elevate its character and depth significantly. Start by ensuring your chalk paint is completely dry and has a beautiful texture from your brushwork. Once you're ready, apply a thin layer of Clear Chalk Paint® Wax using a Wax Brush or a lint-free cloth. This step protects the paint and prevents the dark wax from staining too much. Let the Clear Wax absorb and then wipe away any excess.
While the Clear Wax is still wet, grab your Dark Chalk Paint® Wax. Work in small sections, applying the dark wax liberally with a Wax Brush. Don't worry if it looks too dark at first; you can always wipe back the excess with a lint-free cloth to achieve your desired look. Focus on blending the dark wax into crevices and brush marks to enhance texture. Additionally, remember that Black Chalk Paint® Wax is compatible with Clear Chalk Paint® Wax for sealing, ensuring a durable finish.
If some areas become too dark, simply use Clear Wax as an "eraser" to lighten them. Always test on a small, hidden area first if you're unsure. This method allows you to control the darkening effect, giving your furniture a beautifully aged finish. Enjoy the transformation!
Frequently Asked Questions
Can I Use Chalk Paint on Outdoor Furniture?
Yes, you can use chalk paint on outdoor furniture! It adheres well to various surfaces, making it a great choice. Just remember to clean the furniture thoroughly before painting, and apply at least two thin coats for proper coverage. After painting, consider using a protective varnish to seal the paint and provide UV protection. This'll help maintain your furniture's beauty and durability against the elements. Don't forget to inspect and reapply varnish as needed!
How Long Does Chalk Paint Take to Cure Completely?
Chalk paint generally takes at least 24 hours to cure completely, but it can take up to two weeks under certain conditions. Factors like humidity, temperature, and the thickness of your paint layers can affect this time. You'll notice it's dry to the touch in 30 minutes to 2 hours, but don't rush—if the surface scratches easily, it's not fully cured. Patience is key for the best results!
What Is the Best Brush for Applying Chalk Paint?
When you're looking for the best brush to apply chalk paint, consider using an oval brush. Its domed profile and tapered bristles help you achieve a smooth finish. For larger areas, a flat brush can provide even coverage, while a round brush works well in tight spaces. If you're detailing small areas, a detail brush is your best bet. Natural bristles are ideal for chalk paint, ensuring a beautiful application every time.
Can I Mix Different Colors of Chalk Paint?
Absolutely, you can mix different colors of chalk paint! Just choose 2-3 complementary colors for a cohesive look. Experiment with various combinations to see what unique effects you can create. When blending, use a good quality brush and apply thin layers to help the colors merge smoothly. Remember, practice makes perfect, so don't hesitate to try out different techniques until you achieve the desired blend. Enjoy the creative process!
How Do I Remove Chalk Paint if Needed?
If you need to remove chalk paint, you've got several options. You can sand it off using medium and fine grit sandpaper for a smooth finish. Chemical strippers work well too—apply, wait, and scrape. A heat gun can soften the paint for easy removal, but be cautious. For a gentler approach, try warm water and soap to soften the paint before scraping. Always wear protective gear regardless of the method you choose!
Conclusion
Now that you know how to use chalk paint on furniture, you're ready to transform your pieces into stunning focal points. Remember to prep your surfaces well and take your time with each coat for the best results. Don't forget the finishing touches, like waxing, to add durability and a beautiful sheen. With a little practice, you'll master the art of chalk painting and give your furniture a fresh, stylish makeover that reflects your personal taste!