
You can easily unleash your creativity with simple mehndi designs by starting with basic techniques. Focus on mastering fundamental strokes like lines and curves, which can lead to beautiful patterns. Utilize essential tools like a henna cone for precision and practice paper to refine your skills. Try simple flower patterns and leafy vines to bring life to your designs. As you gain confidence, explore elegant peacock feathers and inspiring mandalas. Consistent practice is key; setting aside time each week will help you flourish. Keep going, and you’ll discover even more ways to express yourself through mehndi artistry!
Key Takeaways
- Start with mastering basic strokes like lines and curves to build a solid foundation for creativity in mehndi designs.
- Experiment with simple flower patterns using basic shapes like circles and teardrops to unlock unique design ideas.
- Incorporate leafy vine designs to add flowing elements that enhance creativity and complexity in your mehndi art.
- Utilize mandala patterns to combine geometric shapes and floral elements, allowing for exploration of intricate designs.
- Practice regularly and document your progress to inspire new ideas and develop a personal style in mehndi artistry.
As an affiliate, we earn on qualifying purchases.
Basic Techniques for Beginners

When you first pick up a henna cone, mastering basic techniques is essential for creating beautiful designs. Start by practicing with a pen to get comfortable with strokes like lines, curves, dots, hearts, and leaf shapes.
Focus on maintaining continuous strokes in one direction, which helps your designs flow smoothly. Experiment with drawing simple alphabets and leafy structures to broaden your skills.
As you develop confidence, shift to a henna cone for more precise application. Don't forget to practice on paper first to refine your control.
Consistent practice is key, so try different shapes and simple flower designs. With dedication, you'll build a strong foundation that sets you up for more intricate patterns in the future.
Essential Mehndi Tools

To create stunning mehndi designs, having the right tools at your fingertips is essential. Here's a quick rundown of the must-have mehndi tools that can elevate your artistry:
| Tool | Purpose |
|---|---|
| Henna Cone | For precise application of designs |
| Practice Paper | To perfect your strokes before applying |
| Toothpick/Needle | For fine detailing and correcting mistakes |
| Stencil | For beginners to create consistent patterns |
With these tools, you'll find it easier to craft intricate designs and build confidence in your skills. Start practicing today, and you'll see how essential these tools are for your mehndi journey!
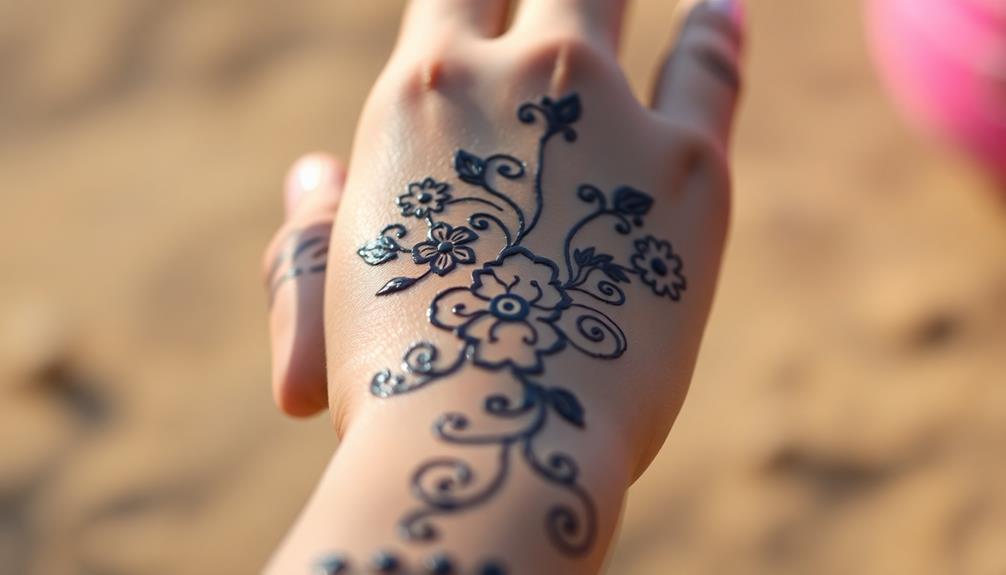
Simple Flower Patterns
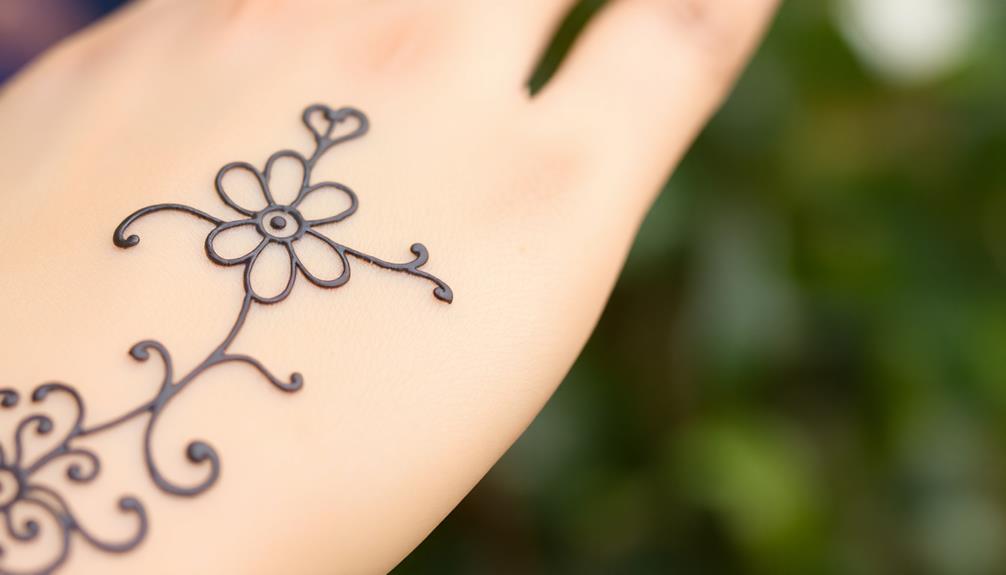
Simple flower patterns are a great starting point for anyone looking to master mehndi designs. These designs allow you to explore your creativity while keeping things manageable.
Begin with basic shapes like circles and teardrops to form petals. You can arrange these petals in a circular pattern or layer them for a more intricate look. Adding small dots or lines in the center of the flowers enhances their beauty.
Experiment with various sizes and placements to create visual interest. Remember, practice makes perfect, so don't hesitate to draw these patterns on paper before applying them on your skin.
With consistent practice, you'll gain confidence and develop your own unique style in mehndi artistry. Enjoy the process!
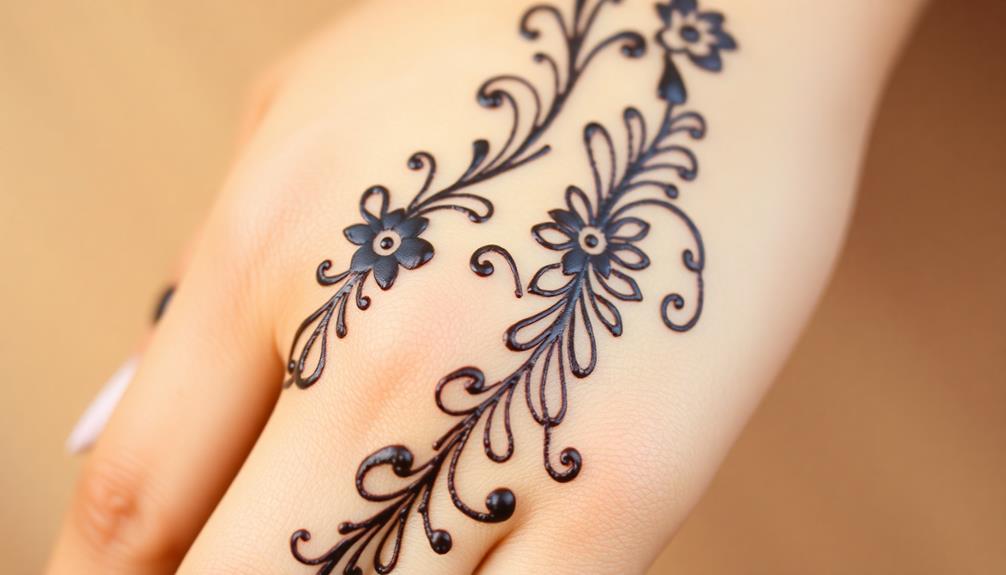
Creative Leafy Vine Designs

Creative leafy vine designs add an elegant touch to your mehndi artistry, making them a favorite for both beginners and experienced artists. These designs often incorporate flowing vines adorned with leaves and small flowers, creating a natural and sophisticated look. You can use them as fillers or borders in larger patterns, enhancing the overall design. Start with simple leaf shapes and gradually experiment with intricate vines for a personalized touch.
Here's a quick reference table to inspire your leafy vine creations:
| Leaf Shape | Design Element |
|---|---|
| Simple Leaf | Curved Vines |
| Double Leaf | Small Flowers |
| Twisting Vine | Buds Along the Vine |
Elegant Peacock Feather Styles
Peacock feather styles in mehndi offer a stunning blend of elegance and intricacy, making them a popular choice for various occasions, especially weddings.
To create your peacock feather design, start with a central spine that represents the feather's backbone. From there, draw delicate curved lines to form the feather's graceful shape. Incorporate eye shapes, dots, and swirling patterns to add depth and complexity.
You can experiment with different sizes and styles, allowing your creativity to shine. These designs not only enhance your mehndi but also symbolize beauty and grace, making them perfect for brides.
With practice, you'll master this enchanting style and impress everyone with your artistic flair. Enjoy the process and let your creativity flow!
Inspiring Mandala Patterns

Mandala patterns in mehndi offer a unique opportunity to combine geometric precision with floral elegance, much like the intricate designs found in peacock feathers.
These enthralling patterns draw you in with their symmetry and depth, making them perfect for any occasion.
Begin by sketching simple elements like dots and circles, then gradually expand to more complex shapes and petals.
Focus on maintaining even spacing and balance to create a harmonious design.
As you practice, let your creativity flow—experiment with different sizes and styles.
Mandalas not only enhance your mehndi art but also inspire mindfulness and focus during the application process.
Embrace the journey, and you'll find joy in each stroke as you reveal your artistic potential.
Cultural Significance of Mehndi

Mehndi holds deep cultural significance across various traditions, serving as a symbol of joy, celebration, and artistry. You'll find it prominently featured in weddings, festivals, and other special occasions, where it represents beauty and good fortune. Mehndi designs vary globally, reflecting the distinct cultural identities and artistic expressions of different regions. Just as the intricate patterns of mehndi tell a unique story, the Christopher Radko ornament collection captures the spirit of celebration and festivity through its meticulously crafted, heirloom-quality decorations. Both serve as enduring symbols of tradition and shared joy, connecting people across generations.
In many cultures, applying mehndi is a cherished ritual that brings communities together, often accompanied by music and dance. The designs you choose can carry personal meanings, reflecting your heritage and individuality.
Whether it's intricate floral patterns or bold geometric shapes, each design tells a story. Embracing mehndi allows you to connect with these rich traditions, celebrating heritage while expressing your creativity.
Tips for Consistent Practice
To develop your mehndi skills consistently, it's essential to set aside dedicated practice time each week. This routine helps you build muscle memory and enhances your confidence in design creation.
Here are some tips to keep your practice consistent:
- Choose specific days and times for practice to create a habit.
- Start with basic strokes and gradually incorporate more complex designs.
- Use online tutorials to explore new styles and techniques.
- Keep a practice journal to track your progress and note improvements.
Frequently Asked Questions
What Are the Best Practices for Storing Henna Paste?
To store henna paste, keep it in an airtight container in the fridge. It'll stay fresh for about two weeks. For longer storage, freeze small portions, then thaw when needed. Always check for quality before use.
How Long Does Henna Remain on the Skin?
Henna can stay on your skin for about one to three weeks, depending on skin type and aftercare. Notably, darker stains typically last longer, often indicating a stronger dye release from the henna paste.
Can I Mix Different Henna Colors for Unique Designs?
Yes, you can mix different henna colors to create unique designs. Experimenting with shades adds depth and dimension to your artwork, allowing for personalized patterns that reflect your style and creativity. Enjoy the process!
What Skin Types Are Best for Henna Application?
What skin types are best for henna application? Generally, smooth, clean skin absorbs henna better, giving vibrant results. Oily skin can repel henna, while dry skin might not hold designs well. Experiment to find what works for you!
How Can I Remove Henna Stains From Skin Safely?
To remove henna stains safely, apply lemon juice or a mixture of baking soda and water to the area. Gently scrub with a washcloth, then rinse off. Moisturize afterward to soothe the skin.
Conclusion
To sum up, diving into the world of mehndi is like hitting the creative jackpot. By mastering basic techniques and exploring simple designs, you'll not only develop your skills but also discover your unique artistic voice. Remember, practice makes perfect, so don't be afraid to experiment and let your imagination run wild. As you create beautiful patterns, you'll find joy in every stroke. So grab that henna cone and get started—you're on the brink of something beautiful!