To color furniture, begin by making sure it is thoroughly cleaned to ensure the dye is absorbed evenly. Opt for a bright dye, such as fuchsia, and combine it with hot water in a sizable container. Before proceeding, test the dye on a concealed area. Use a paintbrush or sprayer to apply the dye, working on small sections for consistent coverage. Once applied, allow it to dry naturally for about two days. Complete the process by applying a fixative to preserve the color and rinse until clear. Looking for advice on problem-solving and preserving that new appearance? Stay tuned for more information.
Key Takeaways
- Thoroughly clean the furniture by vacuuming and spot-cleaning to ensure even dye absorption before starting the dyeing process.
- Test the dye on a small, inconspicuous area of the fabric to check for compatibility and color results.
- Apply dye using a suitable method, like a paintbrush or airless sprayer, ensuring even coverage in circular motions.
- Allow the dyed furniture to air dry completely for up to two days, promoting airflow with fans to prevent odors.
- After drying, apply ColorStay Dye Fixative to lock in color, followed by a final rinse until water runs clear for durability.
Supplies Needed for Dyeing
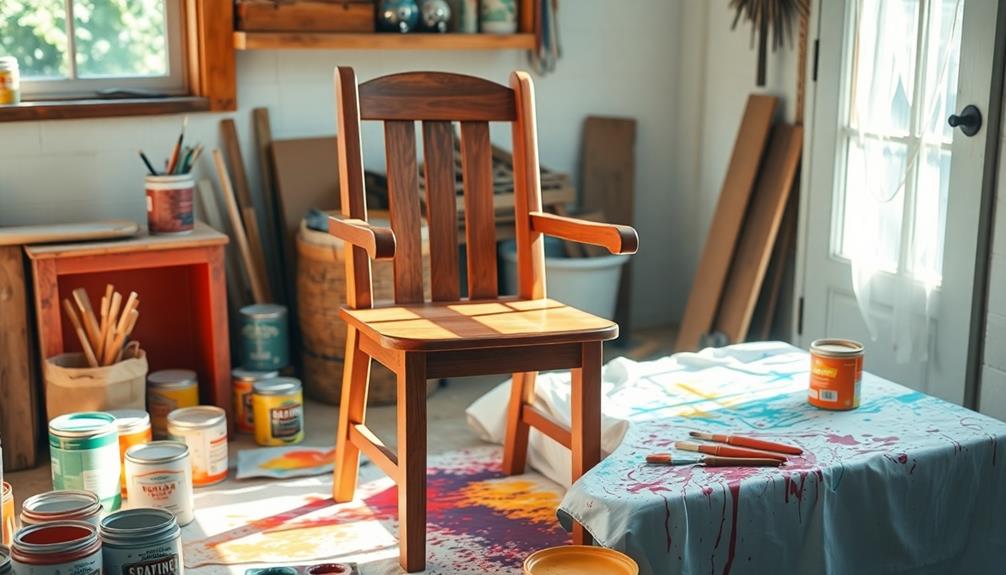
Gathering the right supplies is vital for successfully dyeing your furniture. Start with an upholstered chair that you want to transform. You'll need Fuchsia All Purpose Dye from Rit, a vibrant choice for your project. For added peace of mind, consider using essential oils for calming effects during your process; they can help create a pleasant atmosphere while you work.
Don't forget to grab ColorStay Dye Fixative; this product enhances durability and guarantees your new color lasts longer.
Next, prepare for the application process. A garden hose will come in handy for rinsing the dyed fabric afterward, so keep it nearby. Also, have a paintbrush or Preval Sprayer ready for applying the liquid dye evenly across your furniture. To protect your hands from staining, put on rubber gloves before you begin.
You'll also need a large container to mix the dye. Combine one full bottle of dye with four gallons of hot water, making sure to mix thoroughly. This step is vital for an even color application.
Preparing Your Furniture
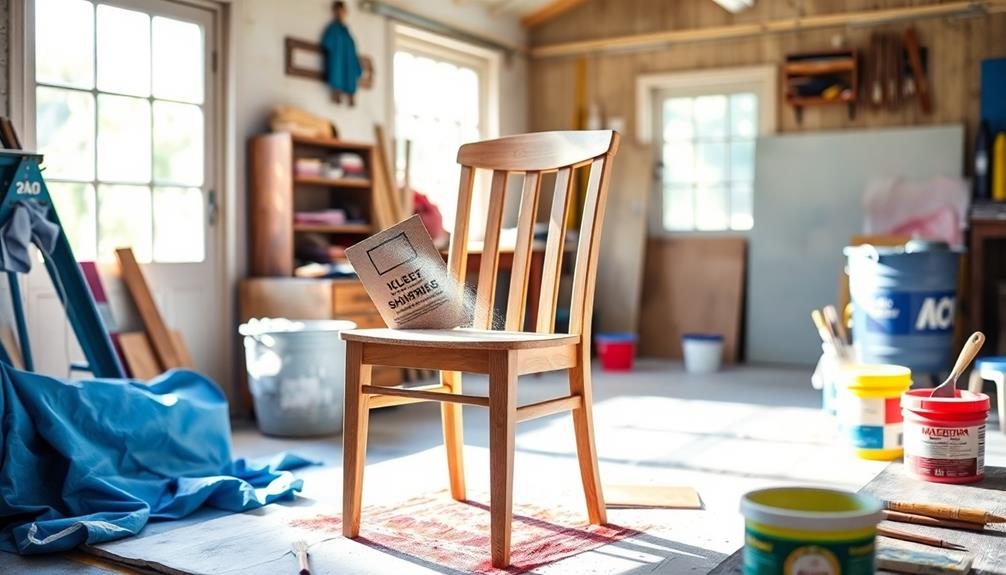
Before you begin dyeing your furniture, it's vital to prepare it properly. Start by thoroughly cleaning the piece. Vacuum it to remove dust and debris, and spot-clean any stains to guarantee even dye absorption and eliminate odors. This step is significant for achieving the best results, much like how fuel injection cleaning enhances vehicle performance. Once the furniture is clean and dry, ensure that all surfaces are completely smooth by lightly sanding them. If you’re working with a wooden piece and you want to change the natural color, you may need to research *how to bleach wood furniture* before applying dye. This process helps strip the wood of its previous finish, allowing for better color penetration and a more vibrant end result. After sanding, it’s also a good idea to test the dye on a small, inconspicuous area to ensure you’re happy with the color and coverage. If the existing color is too dark, learning *how to bleach wood furniture* can help lighten the wood, giving the dye a clean slate to achieve the desired hue. By preparing the surface properly and understanding *how to bleach wood furniture*, you can ensure a smooth, even application and better long-term results.
Next, protect your surrounding area from potential dye spills. Lay down plastic drop cloths or old sheets to safeguard your floors and nearby items. This precaution will save you from unexpected messes.
You'll also want to conduct a fabric test on an inconspicuous area of the furniture. This is especially important for mixed-fiber upholstery, as it helps you predict how the material will react to the dye.
If possible, move the furniture outdoors or to a well-ventilated area. This not only helps avoid indoor mess but also maintains temperature control during the dyeing process, which is necessary for the best results.
Dye Application Techniques
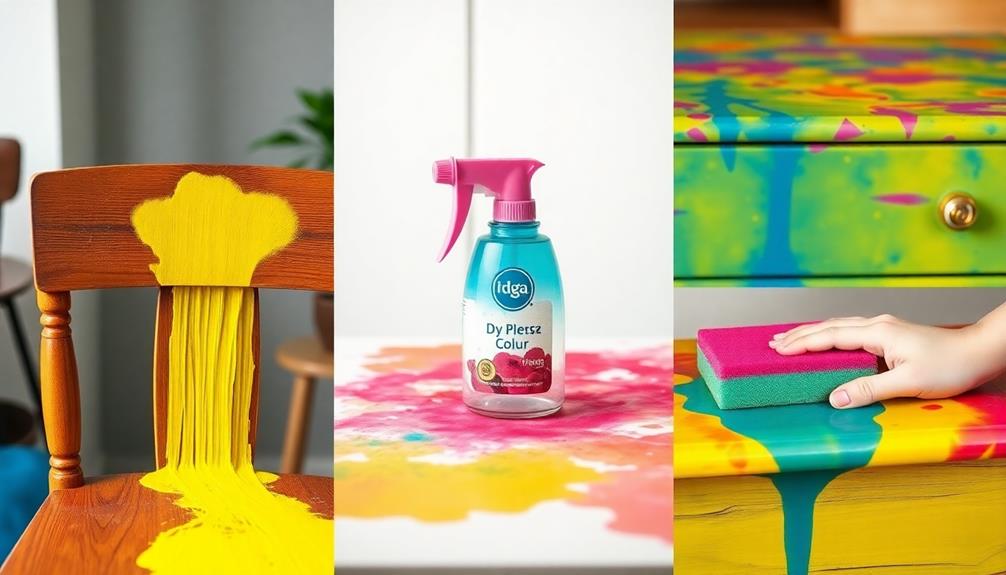
When it comes to dye application techniques, you'll want to explore different methods for achieving an even color distribution. Using a large paintbrush or a Preval Sprayer can help you cover the fabric uniformly, but you might find other approaches work better for your specific project.
For instance, using an airless paint sprayer can make the application faster and provide a smoother finish, similar to the benefits of using airless sprayers for painting projects time-efficient application.
Consistency is key, so let's look at some effective techniques to guarantee your furniture turns out just right.
Application Methods Comparison
Choosing the right dye application method for your furniture can greatly impact the final look and durability of your project.
If you're working with detailed areas or intricate designs, the paintbrush method allows for precise application. However, this technique can be time-consuming for larger surfaces.
For quick coverage, a spray bottle or continuous sprayer is efficient, providing an even coat while minimizing oversaturation risks.
If you have removable fabric items, consider the bucket method for a dye bath. This option guarantees uniform dye absorption. Unfortunately, it's not suitable for upholstered furniture without removable covers.
For fabrics that can be submerged, the stove top method is effective, as it maintains dye temperature, promoting better fiber penetration.
Lastly, if you're tackling large pieces, using a paint sprayer offers the fastest application. Just remember to maintain careful control to avoid overspray and achieve an even finish.
Achieving Even Color Distribution
Achieving even color distribution is vital for a professional-looking finish when dyeing furniture. To start, use a 2-inch angle paintbrush for precision. This helps you apply the dye onto the fabric, making sure you work into any creases for a solid base layer.
Apply the dye quickly to maintain its effectiveness, and remember to tap off excess dye from the brush to minimize drips before you start.
For uniform color, focus on achieving even coverage by using circular motions with a round brush during subsequent coats. This technique helps distribute the dye evenly across the surface.
It's essential to let it dry adequately between coats; this prevents oversaturation, which can lead to uneven color distribution and unsightly drips.
To guarantee consistency, work in small batches and remix the dye as needed. This practice maintains the dye's temperature and helps you apply it uniformly.
Drying and Fixative Steps
Once you've dyed your furniture, you'll want to let it air dry completely for the best results.
Applying a dye fixative is essential to lock in that vibrant color and prevent any unwanted bleeding.
In this section, we'll cover effective drying techniques and how to properly apply the fixative to guarantee your project lasts.
Drying Techniques and Tips
After dyeing your furniture, it's vital to let it air dry completely, which can take up to two days in sunny weather. This step guarantees that the natural fibers can fully absorb the dye, keeping the color vibrant and preventing moisture-related issues when you bring it indoors.
To expedite the drying process, consider using fans to promote airflow around the furniture. This not only helps the fabric dry completely but also prevents musty odors and uneven drying.
Once the upholstery has dried, rinse it thoroughly with a garden hose until the water runs clear. This step removes any excess dye that could lead to color bleeding later on.
If you want to enhance the durability of your dye job, applying ColorStay Dye Fixative generously on the dry fabric is imperative. This fixative locks in the color and protects against fading.
Additionally, consider using Scotchgard on the dry upholstery. It provides an extra protective layer against water-based spills and stains, guaranteeing that your newly dyed furniture remains looking fresh and beautiful for years to come.
Applying Dye Fixative Properly
With your furniture fully dried and ready for the next step, applying the dye fixative is key to preserving the vibrancy of your new color.
Start by allowing the dyed fabric to dry completely for at least 24 hours, adjusting for weather conditions and humidity levels. Once it's dry, grab a bottle of Rit ColorStay Dye Fixative and prepare to apply it generously.
Using a spray bottle or continuous sprayer, mist the fixative evenly over the dyed areas. Verify every part is thoroughly covered without oversaturating, as this could lead to uneven results.
Remember, the goal is to lock in the dye and enhance its durability against fading.
After applying, let the fixative dry fully—this usually takes another 24 hours, so be patient.
Once it's completely dry, rinse the upholstery with water until it runs clear. This step removes any excess dye and secures the final color, preventing future bleeding.
Following these steps will verify your newly dyed furniture retains its vibrant hue and looks stunning for years to come.
Choosing the Right Dye Color
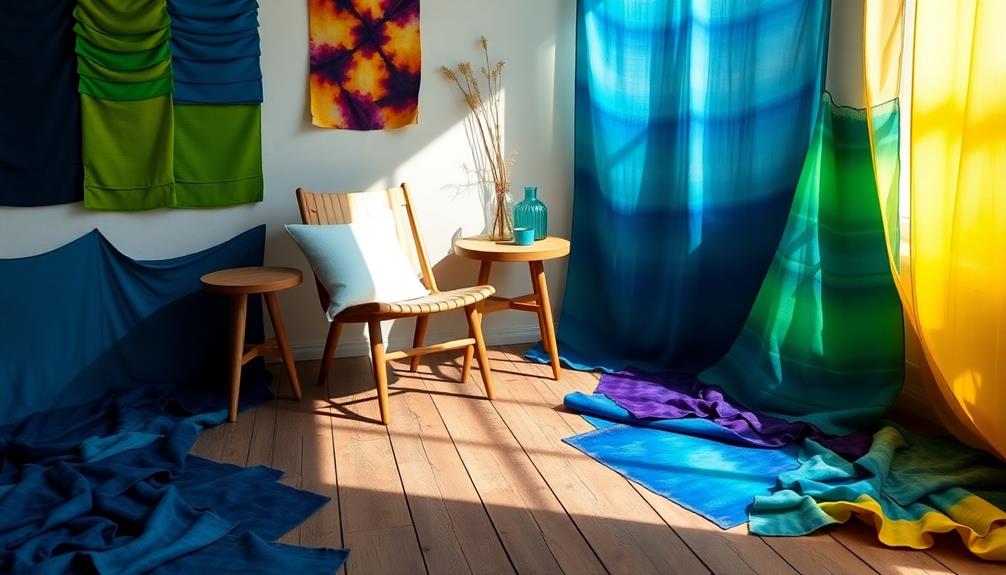
Choosing the right dye color for your furniture can greatly impact the overall aesthetic of your space. Start by considering the original fabric color. Lighter fabrics typically yield better results with vibrant dyes, while darker fabrics may require more effort to achieve your desired shade.
To guarantee you're making the right choice, always test dye colors on small, inconspicuous fabric samples. This will help you predict how the final color will appear and guarantee compatibility with your fabric type.
If you're aiming for a custom shade, don't hesitate to mix colors. Combining different dye colors can create unique and personalized results that perfectly match your decor.
However, be cautious—some colors might produce unexpected undertones. For example, applying blue dye on an off-white base can create a greenish tint, so pre-planning your color choices is essential.
Finding Furniture to Dye
Finding the right furniture to dye can be an exciting adventure. To kick off your search, consider these three great sources:
- Thrift Stores: They often have rotating inventories, making them perfect for finding inexpensive furniture, usually priced under $100. Keep an eye out for unique pieces that catch your eye.
- Estate Sales: These events can yield some fantastic finds, especially on Saturdays when items are often marked down. You might just stumble upon a unique piece that needs a little love.
- Online Marketplaces: Platforms like Facebook Marketplace and Craigslist allow you to negotiate prices, giving you the chance to snag furniture to dye at a lower cost.
When you're selecting items, focus on pieces made from natural fibers, as they absorb dye better than synthetic materials.
Additionally, look for furniture with removable fabric, like slipcovers. This feature makes it easier to dye and lets you experiment without committing to dyeing the entire piece.
Cleaning Upholstery Before Dyeing

Before dyeing your furniture, it's vital to clean the upholstery thoroughly to guarantee the best results.
Start by vacuuming the upholstery to remove dust, dirt, and debris. This step is essential for making sure even dye absorption during the dyeing process.
Once you've vacuumed, spot clean any visible stains or odors using appropriate cleaning products. For instance, you can use Lysol spray or a simple mixture of baking soda and water.
If your upholstery needs a deeper clean, consider using a portable carpet cleaner, like the BISSELL Little Green Pet Pro, to enhance the fabric's cleanliness.
After cleaning, allow the upholstery to dry completely; any residual moisture can interfere with the dyeing process and lead to uneven results.
Before you proceed, conduct a fabric test on an inconspicuous area to assess how the upholstery reacts to the cleaning products.
This step guarantees there are no adverse effects, preparing your furniture for the dyeing process.
Tips for Successful Dyeing
When you're ready to dye, proper surface preparation is key to achieving great results.
You'll want to test your dye on a small, hidden area first and guarantee the fabric is clean and dry.
Understanding application methods will also help you apply the dye evenly for that perfect finish.
Surface Preparation Importance
Proper surface preparation is essential for achieving a successful dye job on your furniture, as it directly affects how the dye adheres and the overall finish.
If you want your furniture to look great, make certain you take the following steps:
- Thoroughly clean the furniture: Remove odors, stains, and any residues to guarantee even dye absorption. I once dyed my sofa without cleaning it properly, and the results were disappointing.
- Use plastic drop cloths: Protect surrounding surfaces from dye splatters and spills during the dyeing process. This simple step can save you a lot of cleanup later.
- Allow adequate drying time: After cleaning, let your furniture dry completely. Moisture can lead to uneven dye results, ruining your hard work.
Additionally, vacuum the upholstery a day before dyeing to eliminate any dirt that could interfere with the process.
By following these surface preparation tips, you'll set the stage for a successful dye job that looks professional and lasts for years.
Color Testing Techniques
Color testing is a crucial step in the dyeing process that can save you from potential mishaps. Before you plunge into dyeing your entire piece, conduct tests on inconspicuous areas of the fabric. This helps you evaluate how the dye will absorb and appear on the material. Use small fabric swatches or even paper towels to test your dye mixtures, allowing you to see the final color after drying and fixing.
Consistency is key during your testing phase, so keep a uniform dye application technique. This guarantees that the results you see accurately reflect what you'll achieve on the whole piece.
Remember, different fabric compositions can yield varying results, so try to test on similar fabric types whenever possible to predict the final outcomes.
As you experiment, be certain to document dye ratios and application methods used during testing. This way, you can replicate successful results on the larger piece later.
Application Methods Explained
Getting started with the dye application process can make all the difference in achieving a stunning finish for your furniture. Choosing the right application methods is essential. Here are some tips to guarantee successful dyeing:
- Use a paint sprayer: For large upholstery surfaces, a continuous sprayer helps you achieve efficient and even coats, minimizing the risk of streaks.
- Test first: Always test your dye mixture on an inconspicuous area before diving in. This helps you gauge the fabric's reaction and adjust your techniques accordingly.
- Work in small batches: Maintain the temperature of your dye mixture by mixing fresh dye as needed. This guarantees saturation and consistency throughout the application.
When applying the dye, keep your coats thin and even. Allow adequate drying time between each coat to evaluate color depth and avoid oversaturation.
Focus on areas like fabric creases and seams for thorough coverage. By following these steps, you'll guarantee a uniform finish that enhances the beauty of your furniture.
Troubleshooting Common Issues
Dyeing furniture can sometimes lead to unexpected challenges, but troubleshooting these common issues can help you achieve the results you want.
If you notice uneven color, verify you're applying the dye in thin, even coats. A paint sprayer can provide a more consistent application, helping you avoid patches.
If color bleeding occurs after dyeing, act quickly by applying a fixative like ColorStay Dye Fixative to set the color and minimize future bleeding.
For fabrics that resist dye absorption, pre-soak them in a mixture of water and salt to improve dye retention before you start.
Should the dye seem to wash out during rinsing, it likely means you didn't apply enough dye initially. Be ready to add additional coats to deepen the color and saturation.
Finally, if the final color isn't what you expected, remember that dye results can vary based on the original fabric color and type. Testing on a small, inconspicuous area before full application can help you predict the outcome and make necessary adjustments.
Keep these tips in mind, and you'll be better equipped to tackle any issues that arise during the dyeing process.
Final Touches and Care
Once you've successfully tackled any issues that arose during the dyeing process, it's time to focus on the final touches and care for your newly dyed furniture.
Start by allowing the furniture to air dry completely, which may take up to 2 days, depending on the weather. This step is essential to avoid moisture problems when you bring it indoors.
Next, apply ColorStay Dye Fixative generously according to the manufacturer's instructions. This will enhance color durability and prevent any unwanted bleeding.
Finally, follow these maintenance tips to keep your dyed furniture looking great:
- Use a protective spray: Apply Scotchgard or a similar product on the dried upholstery to create a barrier against water-based spills and stains.
- Regularly check for fading: Inspect the dyed fabric for signs of fading or color bleeding, especially if it's in direct sunlight or frequently used.
- Clean gently: Vacuum the area gently and spot clean with mild soap and water to preserve vibrancy without damaging the upholstery.
Frequently Asked Questions
Is It Possible to Dye a Couch?
Yes, you can dye a couch, especially if it's made of natural fibers. Just clean it first, test the dye on a small area, and use the right dye for the fabric type.
Can You Use Rit Dye on Furniture?
Imagine transforming a drab piece into a vibrant centerpiece. Yes, you can use Rit dye on furniture! Just make certain it's made of natural fibers, and remember to test a hidden spot first for best results.
How to Dye a Sofa Without Removable Covers?
To dye a sofa without removable covers, clean the fabric thoroughly, mix the dye according to instructions, and spray in small sections. Keep each area wet for even color, then let it air dry completely.
How to Dye Upholstered Furniture Fabric?
Think of your upholstery as a blank canvas waiting for vibrant colors. Start by cleaning the fabric, then mix Rit dye with hot water. Test, apply evenly, rinse, fix, and let it dry completely before enjoying your masterpiece.
Conclusion
Now that you know the ropes of dyeing furniture, it's time to release your creativity and breathe new life into your pieces. Like a painter with a blank canvas, you can transform worn-out items into stunning focal points that reflect your style. Remember, patience and practice make perfect, so don't be afraid to experiment. With these tips in hand, you're ready to immerse yourself and create furniture that not only looks great but tells your unique story!
