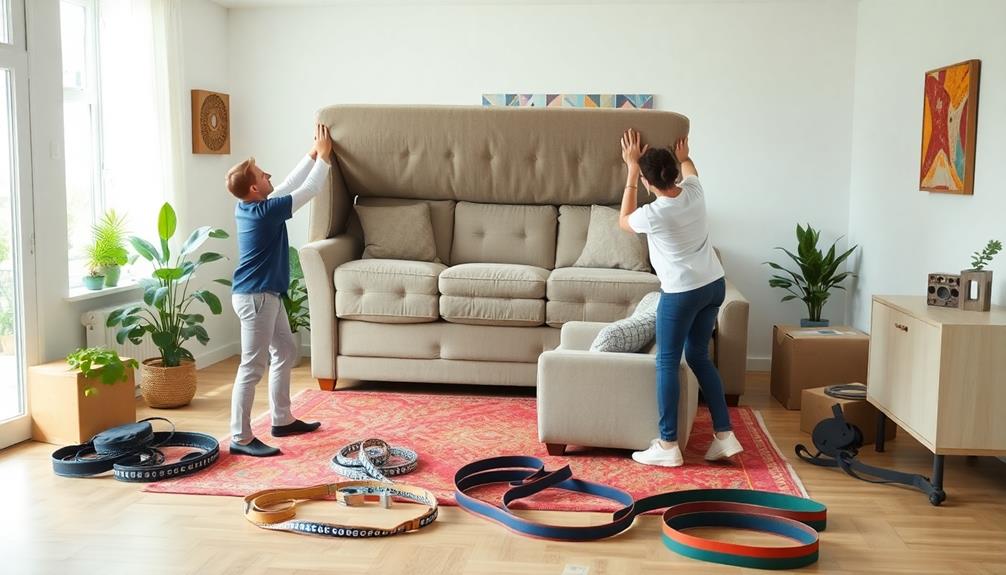

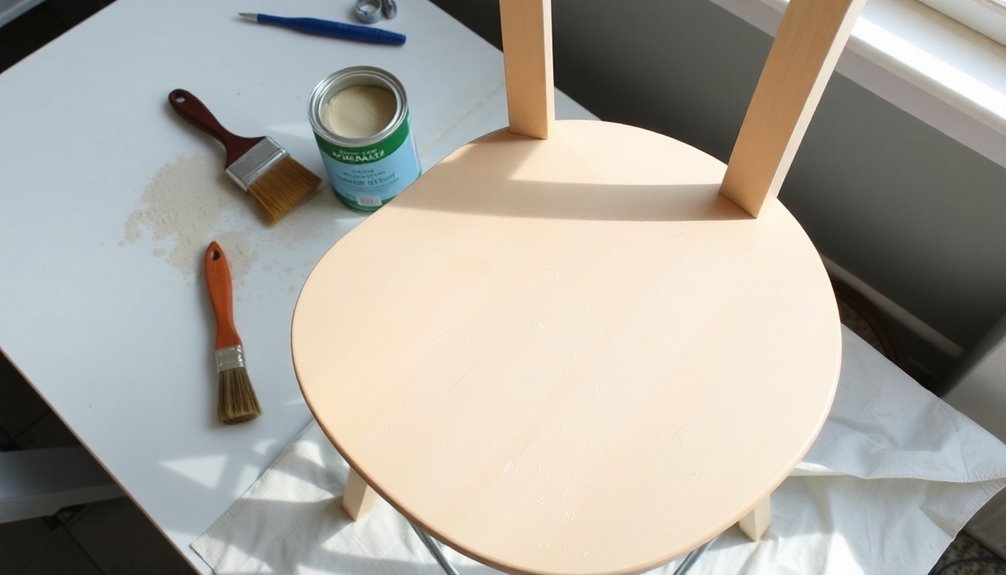
To paint wooden furniture, start with thorough preparation. Sand the surface with fine-grit sandpaper to improve paint adherence. Inspect for damage and fill cracks with wood filler before applying a quality primer. Once dry, clean the surface to remove dust and ensure it’s well-ventilated. Choose the right paint for your project, applying thin coats in the direction of the grain. Lightly sand between coats for a smooth finish. Finally, seal your work to protect it. By following these steps, you’ll achieve a beautiful result that lasts. Stick around to uncover tips for maintaining your newly painted furniture! To ensure your furniture continues to look its best, regularly dust and clean it with gentle, non-abrasive cleaners. If you’re considering updating textiles to match your newly painted pieces, learn how to choose fabric paint that complements your color scheme. This knowledge will help you coordinate your furniture with cushions and upholstery for a cohesive and stylish aesthetic.
Key Takeaways
- Sand the wooden surface with fine-grit sandpaper after initial coarse sanding to ensure better paint adherence.
- Clean the furniture thoroughly, removing dust and grease before applying primer or paint.
- Apply a quality wood primer to enhance paint adherence and ensure an even finish.
- Use thin, even coats of paint, allowing ample drying time between layers for a smooth finish.
- Seal the painted surface with a water-based sealer after drying to preserve durability and appearance.
Preparation Steps
When you're ready to paint wooden furniture, the preparation steps are crucial for achieving a smooth and long-lasting finish. Start by sanding the surface with fine-grit sandpaper (180-220 grit) to de-gloss the existing finish and enhance paint adherence. If you encounter thicker finishes, begin with lower grit sandpaper (80-100 grit) and work your way up for a smooth result. Use an orbital sander for large areas and a sanding block for tight corners, then wipe away any dust.
Next, inspect the wood for cracks or damage. Fill any gaps with wood filler, smoothing it out to match the surrounding surface. Ensure it dries completely before lightly sanding again. If needed, relocate hardware holes during this stage.
After repairs, apply a quality wood primer to help the paint adhere better and cover any stains. Choose a reputable brand, and allow the primer to dry fully before proceeding. Additionally, using quality primer will significantly improve the durability of your paint job. Finally, check that the surface is dust-free using a shop vac and a tack cloth. Remove any hardware and ensure good ventilation as you prepare to paint. Taking these steps will lay the foundation for a beautiful finish.
Cleaning the Furniture
Thoroughly cleaning your wooden furniture is essential before painting to ensure a smooth finish. Start by using a soft microfiber cloth or feather duster to remove dust and debris from the surfaces. For deeper cleaning, dampen a cloth with minimal water—too much can damage the wood. Don't forget to vacuum crevices and drawers to eliminate cobwebs and crumbs.
If you encounter greasy spots, grab a degreasing spray like Zep Heavy-Duty Citrus Degreaser or mix mild dish soap with warm water. Scrub the affected areas gently with a sponge. White vinegar mixed with water can also cut through grease effectively. Always read product labels to ensure they're safe for varnished surfaces. Proper cleaning helps to ensure better adhesion of paint or finish.
Once cleaned, wipe the furniture down with a dry rag to prevent watermarks. If there are stubborn stains, you can use non-gel toothpaste for water stains or baking soda paste for heat stains. After cleaning, let the furniture dry completely. This step is vital for the paint to adhere properly. Finally, consider applying a wood polish or oil to restore shine and add a protective layer before moving on to the next steps in your painting project.
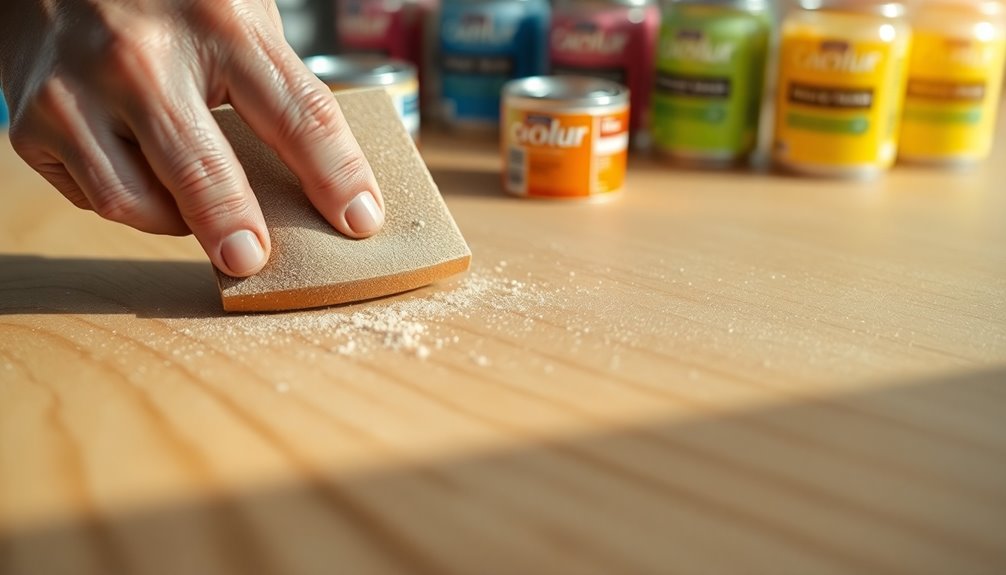
Sanding the Surface
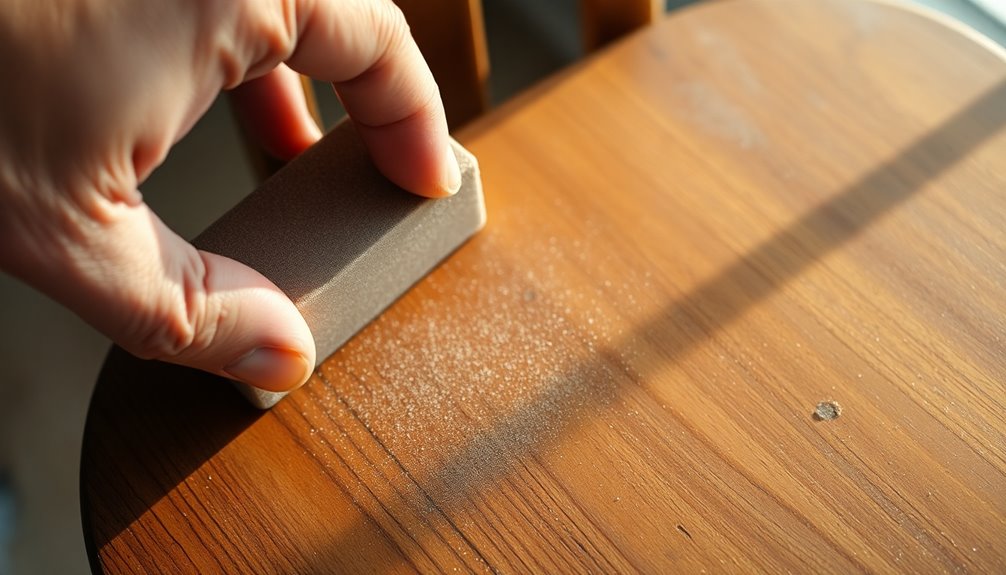
Before you start painting, sanding the surface of your wooden furniture is crucial for achieving a flawless finish. Begin by inspecting the wood for any cracks, holes, or remnants of old paint and varnish. Use wood filler to address imperfections, ensuring a smooth surface. For initial sanding, grab coarser grit sandpaper (100-150 grit) to remove old paint or smooth rough areas. As you progress, switch to finer grits (220-320 grit) for a polished look. Remember to sand in the direction of the grain to avoid scratches.
When sanding, use handheld sandpaper, sanding blocks, or electric sanders depending on your project size. A backing block helps prevent uneven pressure. Change your sandpaper often to avoid clogging. For intricate designs, opt for smaller tools or hand sand carefully. After sanding, thoroughly remove the dust with a tack cloth or damp cloth. For woods like oak, ensure you eliminate any metal filings that could lead to staining. Wipe the surface with denatured alcohol for a clean finish. Finally, make sure the surface is completely dry before moving on to the next steps in your painting project. Quick sanding is recommended even for unfinished wood to enhance paint adhesion.
Importance of Priming
Once you've sanded your wooden furniture to a smooth finish, priming is the next step that can't be overlooked. Priming serves several crucial purposes that enhance your painting project. First, it seals the original wood, preventing the paint from soaking in and ensuring even coverage. It also prevents bleed-through from knots and natural blemishes, so any imperfections don't mar your final finish.
By applying primer, you create a smoother surface that helps hide joints or seams, making everything look more polished. Most importantly, primer enhances paint adhesion by bonding physically and chemically to both the wood and the paint, increasing the durability of your finish. This means your furniture will resist peeling, cracking, and fading over time. Additionally, using the right primer can significantly reduce the number of paint coats needed, allowing for a more efficient painting process.
Choose the right type of primer for your project—latex for quick-drying convenience, shellac for dark woods, or oil-based for oil paints. Remember to lightly sand the surface again after priming and clean up any dust before applying your topcoat. With these steps, you'll ensure a flawless and long-lasting finish for your wooden furniture.
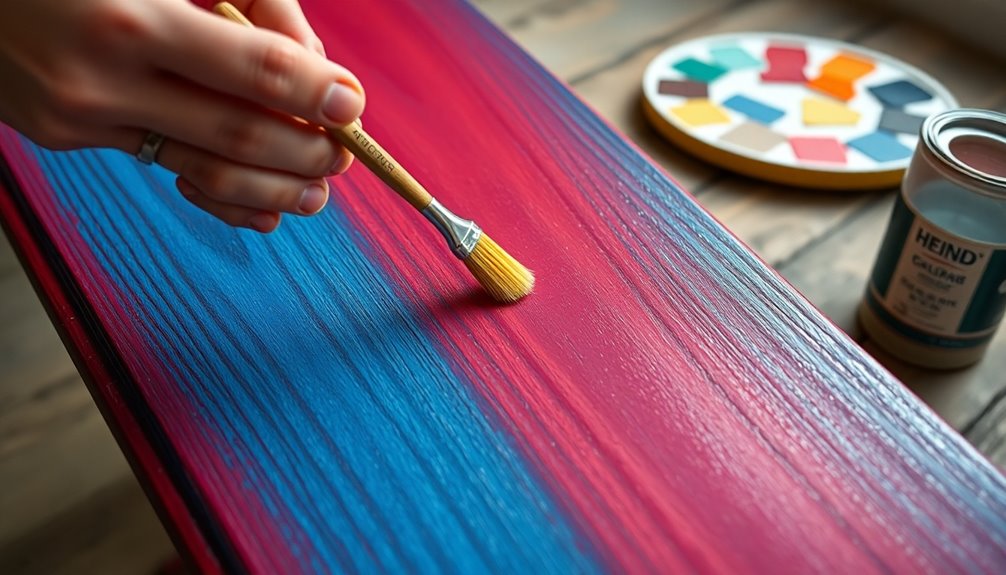
Choosing the Right Paint
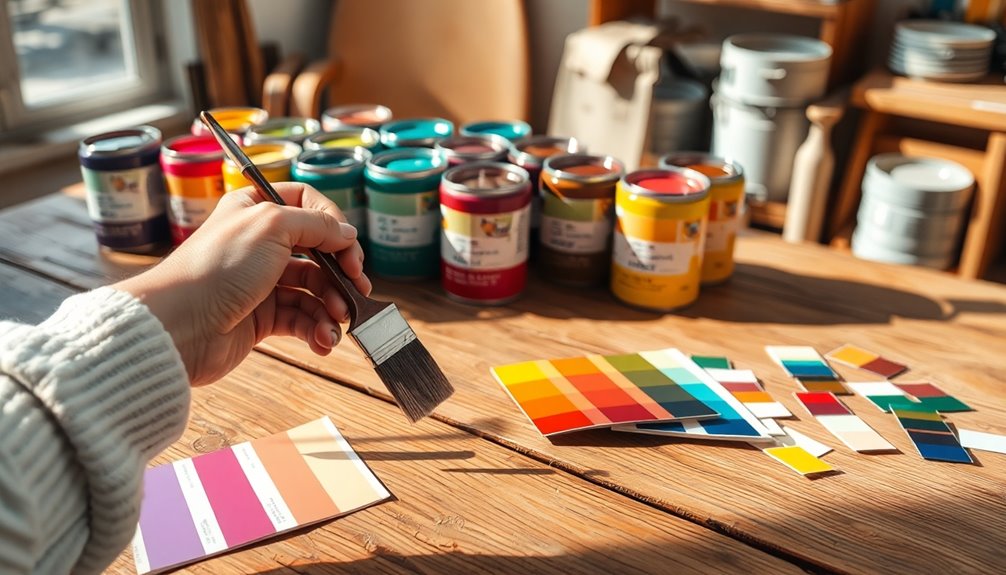
When it comes to choosing the right paint for your wooden furniture, you'll want to weigh your options carefully to achieve the desired look and durability. If you're aiming for a velvety matte finish with a distressed vibe, chalk paint is your go-to. It's perfect for a farmhouse or country chic aesthetic and requires minimal prep work. Just remember to seal it with a protective wax for added durability.
For a more vibrant and durable finish, consider mineral or acrylic paints. Fusion Mineral Paint is particularly resilient and doesn't need a top coat, while acrylic paints offer a wide range of vivid colors and are also easy to apply. Both types are non-toxic and work well on wood and laminate. Additionally, light sanding before applying your paint can enhance adhesion and improve the final finish.
If you're on a budget and your furniture won't see heavy use, latex paint is an affordable option. It comes in various sheens, but you'll need to prep the surface thoroughly for the best results.
Lastly, oil-based or alkyd paints provide a strong finish suitable for high-traffic areas, though they come with higher VOCs and longer drying times. Choose wisely based on your needs and your furniture's intended use!
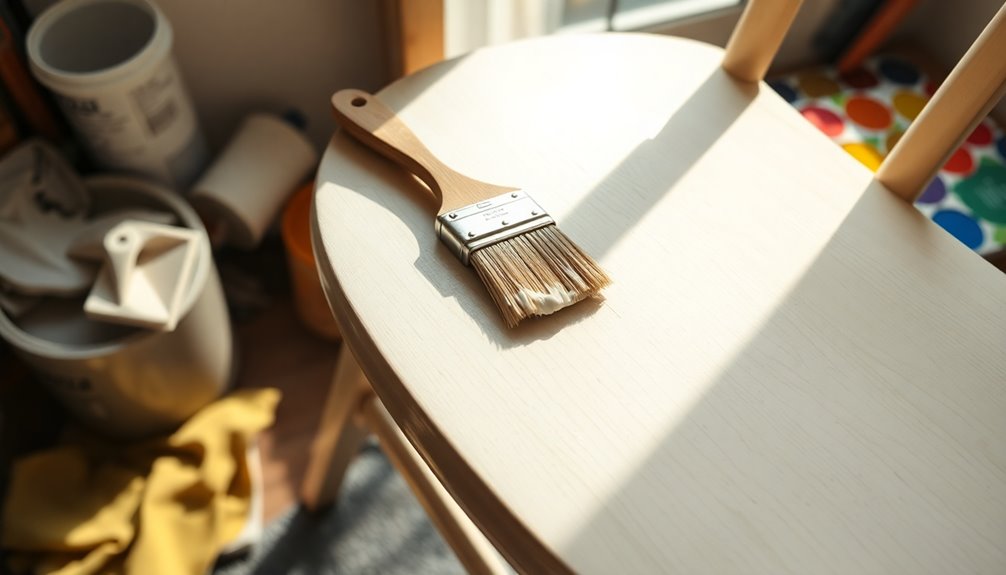
Application Techniques
Achieving a smooth finish on your wooden furniture hinges on the application techniques you choose. Start by considering paint additives like Floetrol, which can minimize brush strokes and extend drying time. Just be careful not to overdo it; too much can make your paint runny and affect its coverage.
If you prefer a flawless finish, using a paint sprayer is an excellent option. Although cleanup is more involved, sprayers like the Wagner Flexio 3000 deliver impressive results. Always work in a well-ventilated area and use a spray shelter to manage overspray.
When using brushes, pick the right type based on your paint; synthetic bristles work well with water-based options. Initially, use a round brush, then switch to smaller ones for detailed areas. Load your brush carefully to avoid drips, and always paint in the direction of the wood grain. Lightly sanding the surface before painting can also significantly enhance paint adhesion and lead to a more professional-looking finish.
For an even smoother application, lightly mist the wood with water before painting. This helps the paint glide seamlessly over the surface, especially with porous paints, allowing for quicker drying and easy reactivation if needed.
Sanding Between Coats
After you've applied your paint using the right techniques, the next step is sanding between coats to ensure a smooth and flawless finish. First, make sure the previous coat is completely dry. Inspect the surface for any imperfections and thoroughly clean it to remove dust or debris. Use fine-grit sandpaper, typically 220-grit or higher, to gently scuff the surface, sanding in a circular motion. Apply light to moderate pressure; too much can create scratches. Sand the entire surface evenly, being careful around the edges to avoid creating a worn look.
Once you've finished sanding, it's crucial to clean the surface again. Use a vacuum with a bristled attachment to remove dust particles, and follow up with a tack cloth to catch any remaining debris. Check the surface once more to ensure it's dust-free. If needed, you can use a damp cloth to wipe down the surface, but make sure it's completely dry before applying the next coat. This sanding process significantly improves the adhesion of subsequent layers, leading to a more durable and professional-looking finish. Additionally, this step enhances adhesion and durability of the paint job, ensuring long-lasting results.
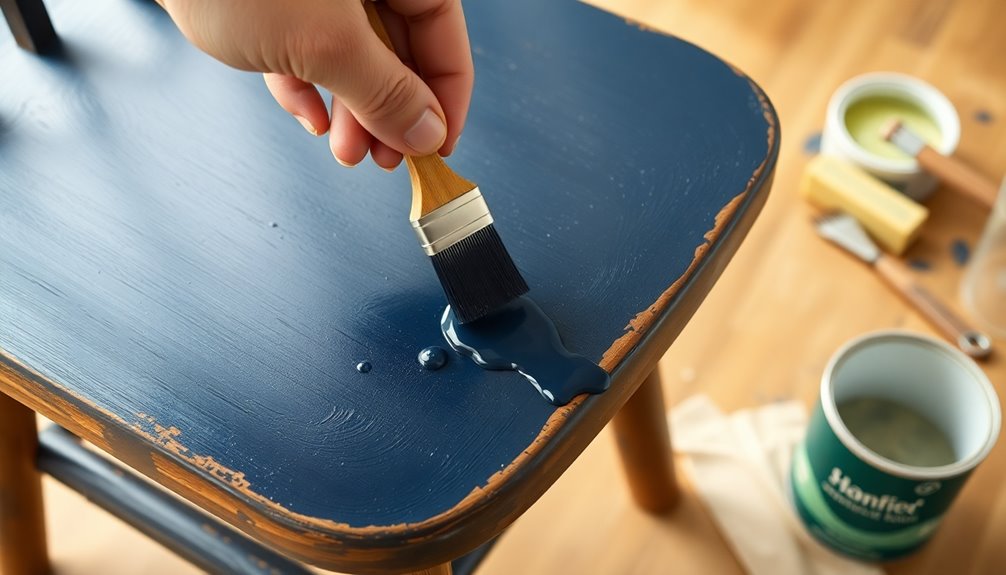
Finishing Touches
To achieve a polished look for your wooden furniture, focus on the finishing touches that can elevate your project. Start by applying thin, even coats of paint to prevent drips and ensure a smooth finish. Always paint in the direction of the wood grain for a consistent appearance. Work in small sections to avoid the paint drying too quickly, and use a high-quality brush for corners and intricate details. Many DIY enthusiasts find that using affordable airless paint sprayers can significantly streamline the painting process.
Consider using a mini roller for even coverage, followed by a dry brush technique if you want a subtle antique look. Be gentle; too much pressure can disturb your carefully applied paint. To maintain a professional appearance, use top-notch brushes and rollers to avoid bristles or lint in your finish. Quality materials significantly improve the finishing process and enhance durability, making it essential to choose the right wood type for your project.
Paint in a well-ventilated area, allowing ample drying time between coats. For easier cleaning and a more resilient surface, opt for a semi-gloss finish. Lastly, clean the furniture thoroughly before painting to remove any dust, grease, or old polish. This attention to detail in the finishing touches will ensure your furniture looks both beautiful and durable.
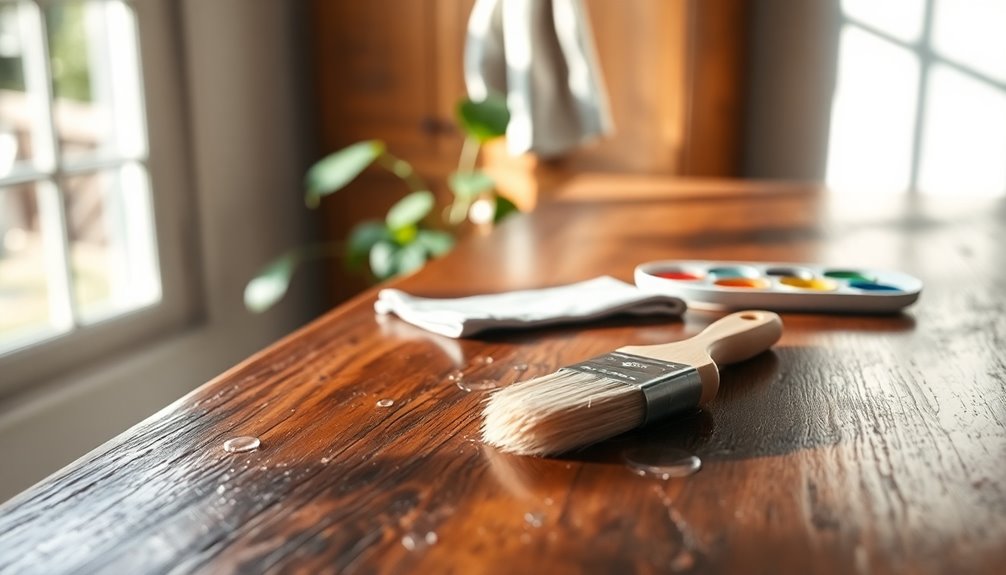
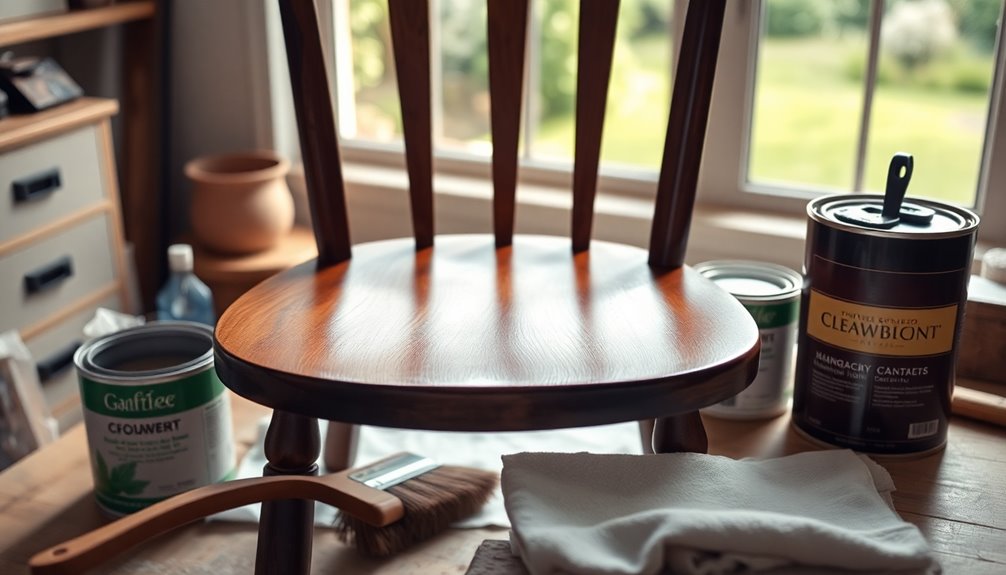
Sealing the Paint Job
Sealing your painted furniture is crucial for protecting your hard work and ensuring a lasting finish. Start by choosing the right sealer; water-based sealers are ideal as they won't alter your paint's color or cause yellowing. If you've used chalk paint, consider wax or polycrylic sealants. For acrylic or latex paints, a clear polyurethane finish works best. It's generally recommended to wait 24 hours for the paint to dry before sealing to allow for better adhesion.
Before you apply the sealer, make sure the paint is completely dry, which can take from a few hours to a couple of days. Lightly sand the surface with fine-grit sandpaper for a smoother finish, then wipe away dust with a damp cloth. Always test the sealer on a small area first to check compatibility.
When applying, use a high-quality synthetic brush for polyurethane, working in thin, even coats along the wood grain. For wax sealants, apply in a circular motion with a soft cloth, then buff after 20 minutes. Aim for 3-5 thin coats, allowing each to dry completely before adding the next. Finally, avoid heavy objects on the furniture for a few days while the finish cures, and clean gently to maintain its beauty.
Frequently Asked Questions
Can I Paint Over Previously Painted Furniture Without Sanding?
Yes, you can paint over previously painted furniture without sanding. Start by cleaning the surface thoroughly to remove dust and grease. Use a deglosser to prepare the finish, following the product's instructions. Opt for chalk paint or other no-prep options that adhere well. Make sure to apply a top coat for protection. Just remember to ensure good ventilation while working, as some chemicals can produce strong odors. Happy painting!
How Do I Choose the Right Color for My Furniture?
Choosing the right color for your furniture depends on several factors. First, consider the wood type and its undertones; they can guide your color selection. Next, think about the ambiance you want to create—warm colors energize, while cool colors soothe. Also, evaluate the room's style and decor to ensure harmony. Lastly, remember color psychology; certain shades can influence mood and interactions, so pick a color that resonates with your desired atmosphere.
What Type of Paint Is Best for Outdoor Wooden Furniture?
When choosing paint for outdoor wooden furniture, consider oil-based, latex, or acrylic options. Oil-based paints offer durability against harsh weather but take longer to dry. Latex paints are quicker and environmentally friendly, making them easier to work with. Acrylic paints provide excellent coverage and fade resistance. Ultimately, select a paint that matches your climate needs and desired finish, ensuring your furniture stays protected and beautiful for years to come.
How Can I Fix Paint Drips or Runs?
To fix paint drips or runs, act quickly while the paint's still wet. Use a brush to smooth the area, blending it with the surrounding paint. If the drips are dried, grab a utility knife to carefully scrape them away, then sand the surface smooth. After that, repaint the area, feathering outwards to ensure a seamless blend. Always let each coat dry before inspecting for any additional touch-ups you might need.
Is It Necessary to Seal Chalk Paint for Durability?
Yes, it's necessary to seal chalk paint for durability, especially if you want to protect it from wear and tear. Sealing helps prevent chipping, scratching, and marks from daily use, ensuring your paint job lasts longer. You can choose between wax sealants for a classic look or lacquer and varnish for more robust protection in high-traffic areas. Ultimately, it depends on how you plan to use the painted item.
Conclusion
Now that you've prepped, painted, and sealed your wooden furniture, you can enjoy your refreshed piece for years to come. Remember, taking the time to clean, sand, and prime makes all the difference in achieving a smooth, durable finish. Don't hesitate to experiment with colors and techniques to truly make the furniture your own. With a little patience and creativity, you've transformed your furniture into something special. Happy painting!