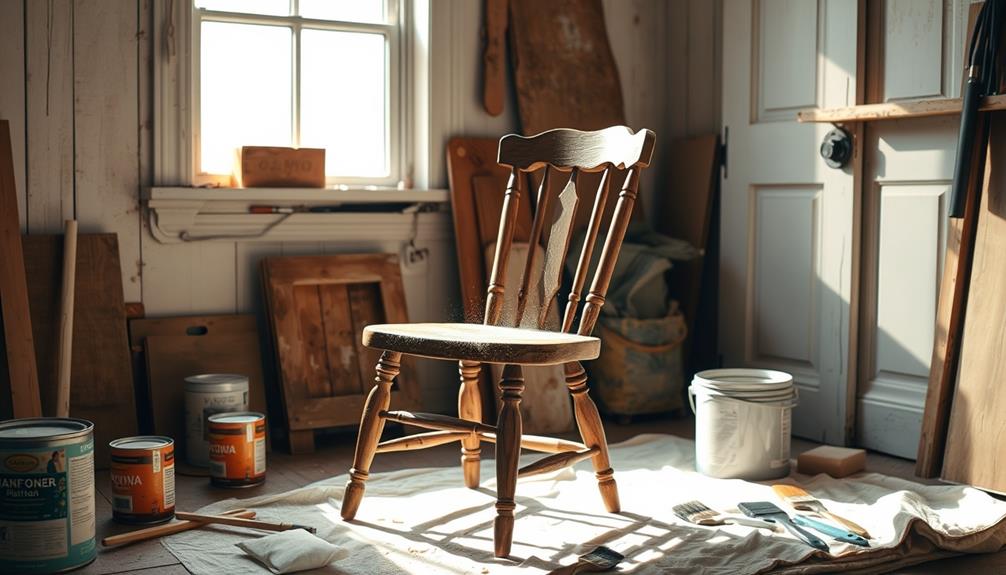
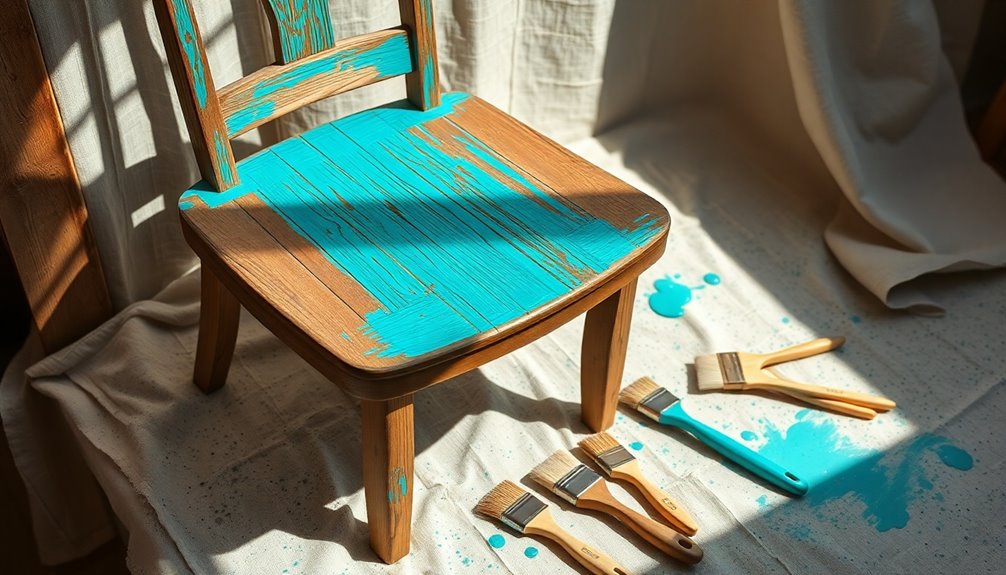
When refreshing wooden furniture, make sure to set up your workspace in a well-ventilated area. Get rid of all hardware and **thoroughly clean the surface** with a degreaser like Murphy’s Oil Soap. Smooth out imperfections by sanding the wood, then **put on primer** to ensure the paint sticks well. Pick a **great furniture paint** and use a synthetic brush or foam roller for application, adding 2-4 thin coats. Allow each coat to dry properly and lightly sand in between for a smooth finish. Lastly, **seal your masterpiece** with a clear coat for extra durability. Don’t stop just yet, there are more expert tips to come! For added protection, think about applying a wax or oil finish, depending on the shine and preservation levels you desire. Techniques for restoring wood furniture can vary, so make sure to choose the right products for your specific piece. By being patient and paying attention to detail, you can achieve a professional finish that enhances both the beauty and lifespan of your furniture. When refurbishing old furniture, it’s crucial to inspect any structural issues, such as loose joints or damaged areas, before starting cosmetic improvements. Taking the time to fix these underlying problems will guarantee the long-term success of your project. With your new skills and keen eye for detail, you’ll turn even the most worn-out piece into a stunning addition to your living space. So don’t miss out, keep reading for more valuable insights!
Key Takeaways
- Prepare your workspace by cleaning the wood surface, removing hardware, and laying down a drop cloth for protection.
- Sand the furniture using a combination of grits for a smooth finish, and wipe down with a tack cloth to eliminate dust.
- Apply 2-3 thin coats of primer suitable for your paint type, lightly sanding between coats for a uniform finish.
- Choose a durable furniture paint and apply 2-4 thin coats, allowing adequate drying time and sanding lightly between each coat.
- Finish with a clear coat for added durability, applying 2-3 coats while allowing proper drying and light sanding in between.
Preparing Your Workspace
When preparing your workspace for repainting wood furniture, start by choosing a well-ventilated area to keep yourself safe and help the paint dry faster. Proper ventilation is essential, especially if you're using products that emit strong odors.
Next, lay down a drop cloth to protect the floor and surrounding surfaces from any paint splatters and drips. This will make cleanup easier and prevent damage to your space. Consider also utilizing best practices for organizing prep tables to guarantee a tidy workspace.
Before you get started, remove all hardware, like knobs and pulls, using a screwdriver. Store these in a labeled plastic bag to avoid losing any pieces.
With the hardware out of the way, it's time to clean the wood surface thoroughly. Use a degreaser, such as Murphy's Oil Soap, to eliminate dirt and grease, which can affect paint adhesion.
Cleaning and Sanding
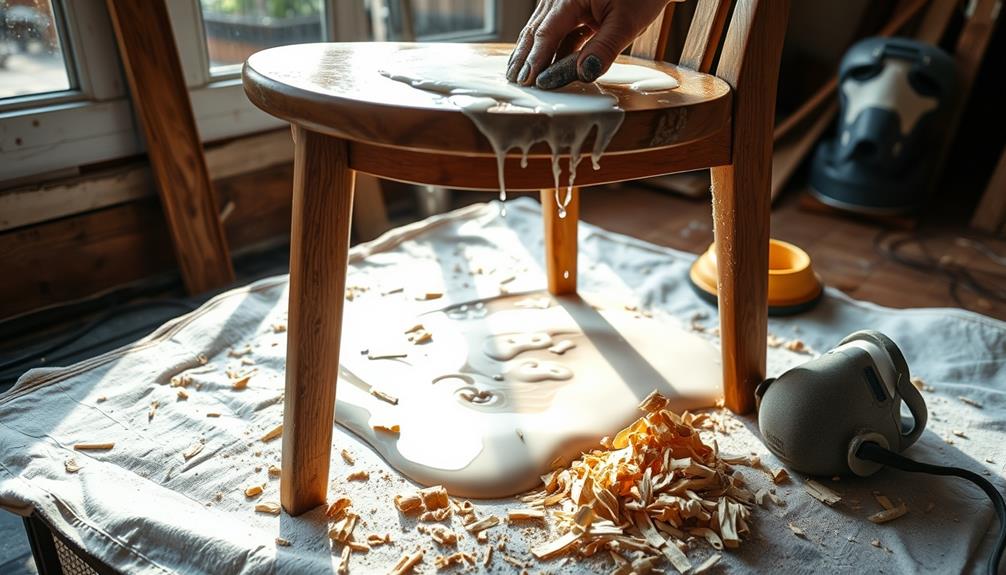
Before you start painting, you need to clean and sand your wood furniture properly. First, use Murphy's Oil Soap to get rid of any dirt and grease, as maintaining your furniture is essential for its longevity and appearance, much like regular appliance upkeep extends the life of home appliances.
Then move on to sanding, starting with a coarser grit and finishing with a finer one for a smooth surface. This process not only prepares the surface but also guarantees your new paint adheres well and looks great.
Surface Preparation Techniques
To achieve a flawless finish when repainting wood furniture, thorough surface preparation is essential. Start with cleaning the wood surface using Murphy's Oil Soap to eliminate dirt, grease, and sticky residues. This step guarantees the paint adheres properly.
Additionally, consider using essential oils like clove oil for its antimicrobial properties to keep the surface clean and free from bacteria.
Next, use a combination of sandpaper grits. Begin with an 80-grit to remove old coats of paint, then move to 120-grit for smoothing, and finish with 220-grit for a fine touch.
Once you've sanded, grab a tack cloth to remove any dust particles left behind. This will create a clean area for painting.
As you inspect the furniture, look for cracks or imperfections. If you find any, use wood glue and wood filler to repair these areas before lightly sanding them to blend seamlessly with the rest of the surface.
If your furniture has a glossy finish, scuff sanding can help enhance grip for the primer and paint, promoting better adhesion.
Sanding Methods Explained
Sanding methods play an important role in preparing wood furniture for a fresh coat of paint. Start with 80-grit sandpaper to remove old paint and finish. This initial step helps you tackle the rough spots.
Once you've stripped the surface, switch to finer grits like 120 or 220 to create a smooth surface, which is vital for ideal paint adhesion.
For large flat areas, using a palm sander can save you time and effort. However, for detailed or intricate sections, hand sanding with finer grit will give you better control.
After sanding, don't forget to wipe down the surface with a tack cloth or a damp cloth. This step clears away dust and debris, guaranteeing a clean surface for priming.
If you encounter heavily soiled or sticky areas, consider using Murphy's Oil Soap before sanding to eliminate any grease that might hinder paint adhesion.
Priming the Furniture
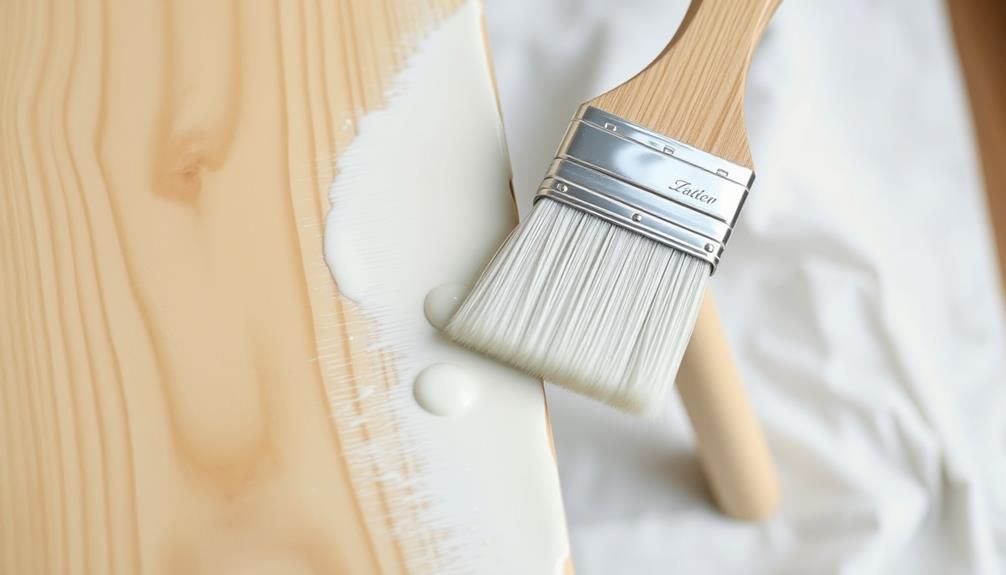
Once you've cleaned your furniture thoroughly, it's time to prime the surface for painting. This step is essential for achieving a smooth finish and guaranteeing good adhesion between the primer and paint.
Start by choosing a primer that matches your paint type—water-based primers work best with water-based paints, while oil-based primers are ideal for oil-based paints.
Apply 2-3 thin coats of primer using a high-quality brush or roller. It's important to allow each coat to dry completely according to the manufacturer's instructions before adding the next. This method helps you avoid drips and guarantee an even finish.
Once you've applied the final coat and it's fully dried, lightly sand the surface with 220-grit sandpaper. This will smooth out any imperfections and further enhance the adhesion of the paint.
Don't forget to prime the underside of the furniture first. This guarantees uniformity and prevents any visible discrepancies when you turn the piece upright.
With the priming done, you're well on your way to achieving a gorgeous new look for your wood furniture!
Painting Techniques
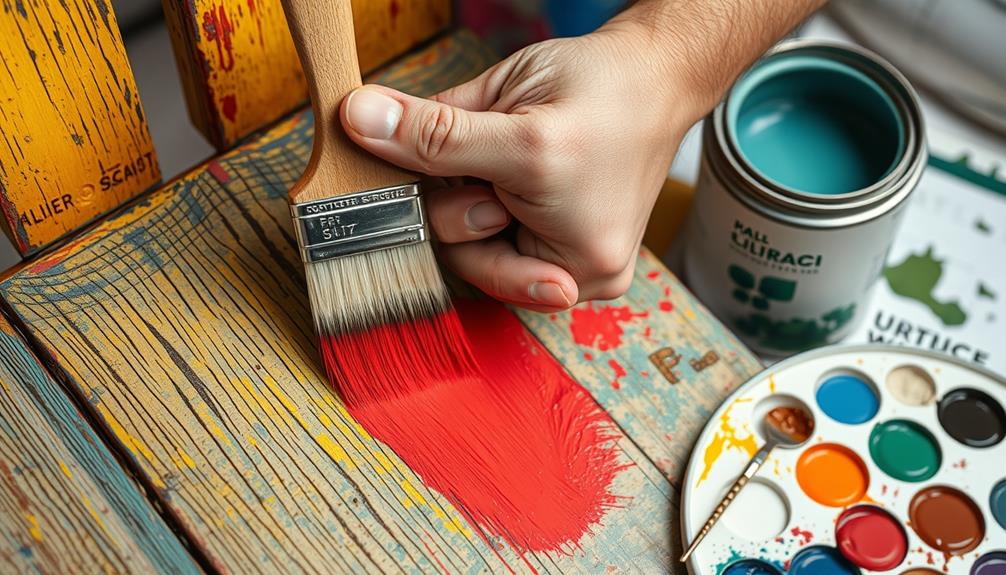
When you're ready to paint, choosing the right paint is essential for achieving the look you want.
You'll also want to pick the right application tools and follow some tips for the best results.
Layering your paint correctly can make all the difference in achieving a superior finish.
Choosing the Right Paint
Choosing the right paint is vital for achieving a professional finish on your wood furniture. Opt for furniture paint instead of latex paint for better durability and adhesion. If you're after a vintage look, consider using chalk paint, or choose water-based paints for easy cleanup and low odor.
For the finish, matte, eggshell, or satin options give a polished appearance, while high-gloss finishes can add vibrancy to eclectic styles.
When you're ready to apply, use a synthetic paint brush or roller to guarantee a smooth application. Remember not to overload your brush to prevent drips.
Aim for 2-4 coats of paint for ideal coverage and color depth, allowing each coat to dry for 2-4 hours. This drying time is critical, so don't rush it!
Lightly sand between coats with 220-grit sandpaper to enhance adhesion and achieve a silky finish. After your final coat, consider applying a clear coat for added protection and durability.
Follow these Painting Tips, and you'll be well on your way to beautifully repainted furniture!
Application Tools and Tips
Getting the right application tools and techniques can make all the difference in your furniture painting project. Start by investing in a high-quality brush, ideally one with nylon bristles. This will give you better control and a smoother finish, helping to minimize brush strokes.
For larger surfaces, a foam roller can help achieve an even finish, while a brush is perfect for detailed areas.
When applying paint, remember to paint in thin coats, allowing for adequate drying time between each layer—typically 2-4 hours. This prevents drips and enhances the overall look of your furniture.
Always brush in the direction of the wood grain to guarantee an even appearance and reduce the visibility of imperfections.
Here are some essential tips to keep in mind:
- Use a high-quality brush for better control.
- Apply paint in thin coats for a professional finish.
- Allow adequate drying time between layers.
- Sand lightly with 220-grit sandpaper for a smoother surface.
- Brush in the direction of the wood grain to minimize brush strokes.
Layering for Optimal Finish
Applying paint in thin, even coats is key to achieving a polished finish on your wood furniture. Start by applying your first coat of paint, making sure to paint in the direction of the wood grain. This technique not only enhances the natural appearance but also helps avoid visible brush strokes. Allow the first coat to dry completely before moving on to the next.
To achieve solid coverage, you'll typically need 2-3 coats of paint. After each coat, sand lightly with 220-grit sandpaper. This step promotes adhesion and creates a smoother surface for the next layer.
If you're aiming for a professional look, opt for a high-quality synthetic brush or foam roller. These tools are easy to use and minimize brush marks, ensuring an even application.
Consider diluting your paint by about 10% with a compatible thinner. This can enhance flow and create a smoother finish, reducing the likelihood of drips and uneven texture.
Once you've finished your top coats, step back and admire your beautifully repainted furniture! With these layering techniques, you'll achieve a stunning result that transforms your space.
Applying the Clear Coat
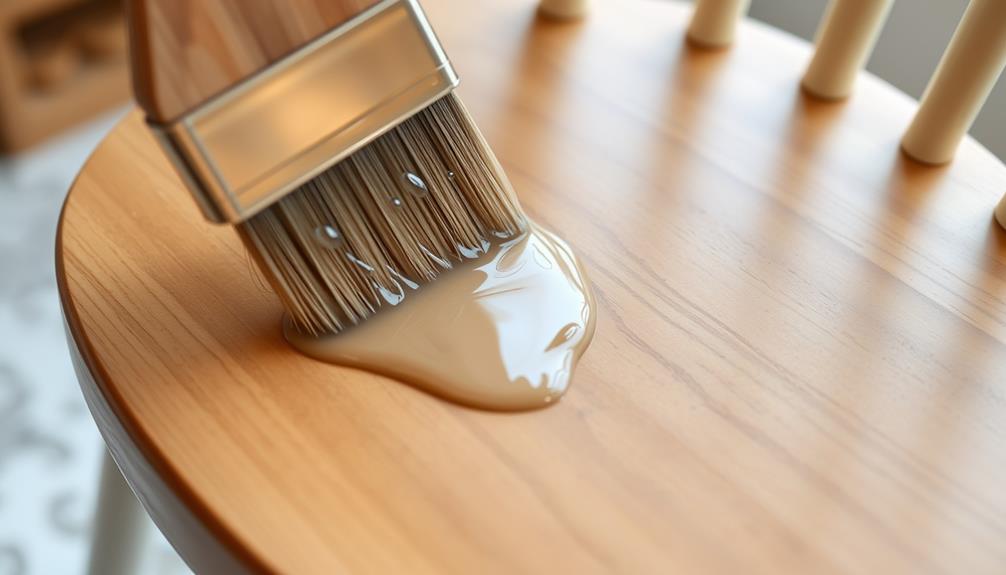
A clear coat acts as a protective barrier that enhances the durability and appearance of your newly painted wood furniture. To achieve the finest results, follow these steps for applying the clear coat:
- Choose a clear coat that matches your paint, like oil-based polyurethane for durability or water-based polycrylic for easy cleanup.
- Wait at least 24 hours after your paint job to guarantee it's fully dry before applying the first coat of clear finish.
- Sand lightly with 220-grit sandpaper to smooth any imperfections; this step is essential for a professional look.
- Apply the clear coat using a high-quality brush or spray can, keeping the applicator 10-12 inches from the surface for even coverage and to avoid drips.
- Aim for at least two to three coats of clear finish, allowing each coat to dry for 2-4 hours as per manufacturer instructions. Sand lightly between coats for ideal protection.
After applying the final coat, let it cure fully for up to 30 days before heavy use. This guarantees that your furniture not only looks great but is also well-protected for years to come.
Maintenance Tips and Tricks

Even after applying the final clear coat, maintaining your wood furniture is essential to keeping it looking its best. Start by regularly dusting your painted surfaces with a soft cloth. This simple step prevents grime buildup that can dull the finish over time.
For spot cleaning, use a mild soap and warm water solution; steer clear of harsh chemicals that could damage the paint. To maintain protection and shine, consider applying a fresh coat of clear sealant every couple of years, especially for high-use items.
It's also important to avoid placing heavy objects on freshly painted surfaces for at least 30 days. This allows the paint to fully cure and helps prevent unsightly indentations.
Additionally, store your furniture in a climate-controlled environment. Excessive humidity or dryness can lead to paint chipping or cracking, undermining your hard work.
Frequently Asked Questions
Can You Just Paint Over Painted Furniture?
You can paint over previously painted furniture, but it won't stick well without proper prep. Clean the surface, sand it lightly, and use a primer to guarantee good adhesion and a smooth finish.
Can I Paint Wood Furniture Without Sanding It?
Yes, you can paint wood furniture without sanding it. Just clean the surface thoroughly, use a high-quality bonding primer, and choose furniture paint designed for good adhesion. Apply thin coats for the best results.
What Kind of Paint Do You Use on Wood Furniture?
When you're choosing paint for wood furniture, think of a protective shield. Use durable furniture paint, like water-based for ease or oil-based for strength. A semi-gloss finish will keep your masterpiece shining bright.
Should You Sand Furniture Before Repainting It?
Yes, you should definitely sand furniture before repainting. It helps the paint stick better and prevents peeling. Just use medium grit first, then fine grit, and always clean off the dust afterward.
Conclusion
Now that you've transformed your wood furniture, think about how this simple project can breathe new life into your space. By following these steps, you've not only enhanced its appearance but also extended its lifespan. Isn't it amazing how a little paint can change your surroundings? Keep up with the maintenance tips to guarantee your furniture stays looking fresh. Embrace your creativity and enjoy the satisfaction of a job well done!
